
Alexander Grabovetskiy, woodcarver, School of Woodcarving · Published 2022
How do you keep both sides of a carving at the same level?
Quick answer: Keeping two sides of a carving level is carving each side down to one mark and watching the far side as you go. The high spot sat marked on the board's side. The volute stayed high, and a small variation between the sides was okay.
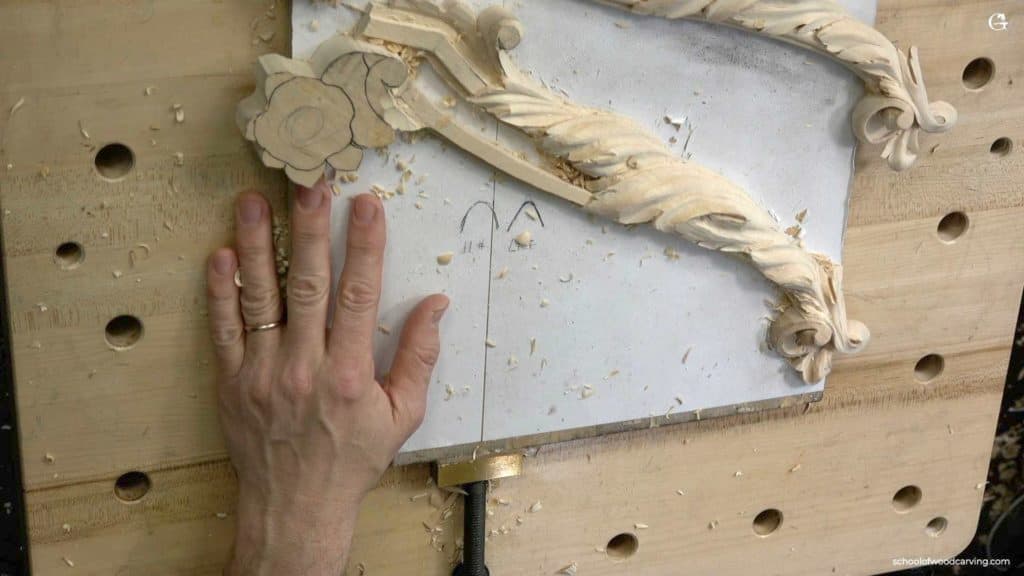
Keeping both halves of a carving level means lowering each one to a single mark and watching the far side while you carve. On this acanthus over a molding, the high spot had a mark on the board's side. I had marked it earlier. The volute stays high, everything around it goes lower, and I keep an eye on the opposite side while I lower a section.
Once one side of a leaf is down, the other side has to come to the same level, pretty much. In this lesson I carve the second side to match the first, and I'll show you every tool I picked up to do it, along with the spots where I almost made a mistake.

Six things I did on this leaf
- A mark on the side of the board showed my high spot, and a number 9 brought me exactly onto it.
- The second side came down to that level with the same tool, and I did not touch the volute.
- I watched the opposite side all through, and some small difference there is fine.
- The walls stayed square, because the ground beside them was going much lower.
- Two trails behind the gouge told me my tool was not sharp, so I stopped and buffed it.
- A raised part on my way made a back bent the safer pick, though a straight tool works if you're careful.
Where does the height mark go?
On the board's side, from earlier. What I marked on the side is just a high spot. Everything else on that part of the leaf goes down almost all the way, and that meant bringing the carving straight down in that direction.
From this side I came in with a number 9, 3/8 in (10 mm). That way I'd be exactly on the mark.
On camera you don't really see the high spot from the first angle. From the other angle it's better, so I showed it that way. How I put the first marks on a molding is on the page for the first lesson.
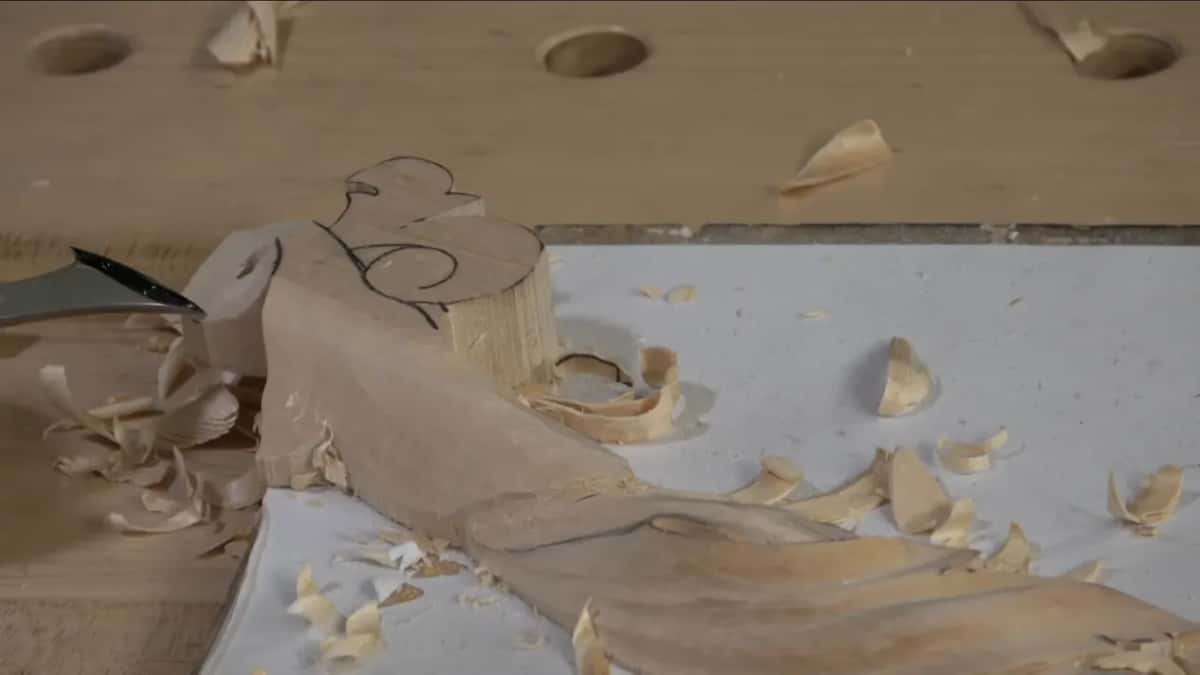
After that I went at the next bit against the grain, which I highly recommend not to do. The reason was the camera. Coming the other way, I'd be covering it.
How do you lower the second side to match the first?
With the same tool, to the same level, while the volute stays the high spot. I leave it alone. I also need to make sure I come in at the right angle.
This part sat low, no more than a quarter inch (6 mm) from the surface, so I could use a much bigger tool. So out came a big number 7, about an inch (25 mm) wide. Coming from the other side is always better. It's safer. But my tool was sharp, and I'm always slicing, so I was okay.
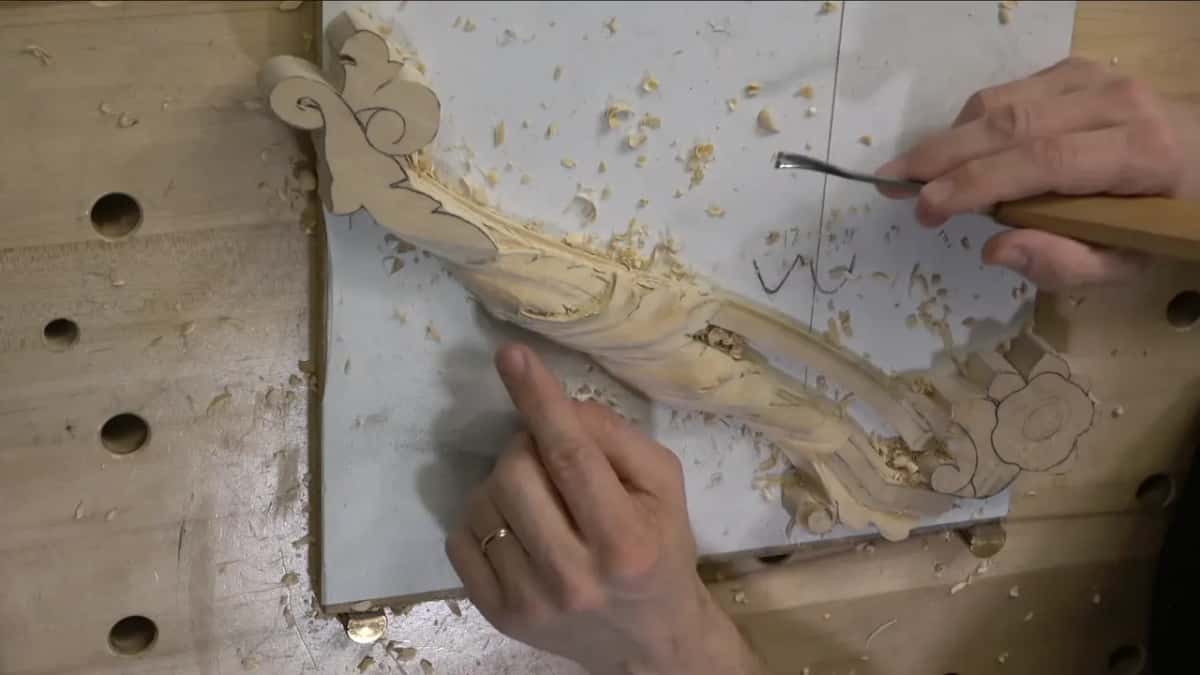
At one point I had maybe 3/8 of an inch, about 10 mm, from my background surface. I wasn't going to risk it. I thought it was enough.
Next came the number 9 again, and I carefully went around the part beside it. Like I said, it's always better to come from the outside toward that line, but there it was not too convenient for me.
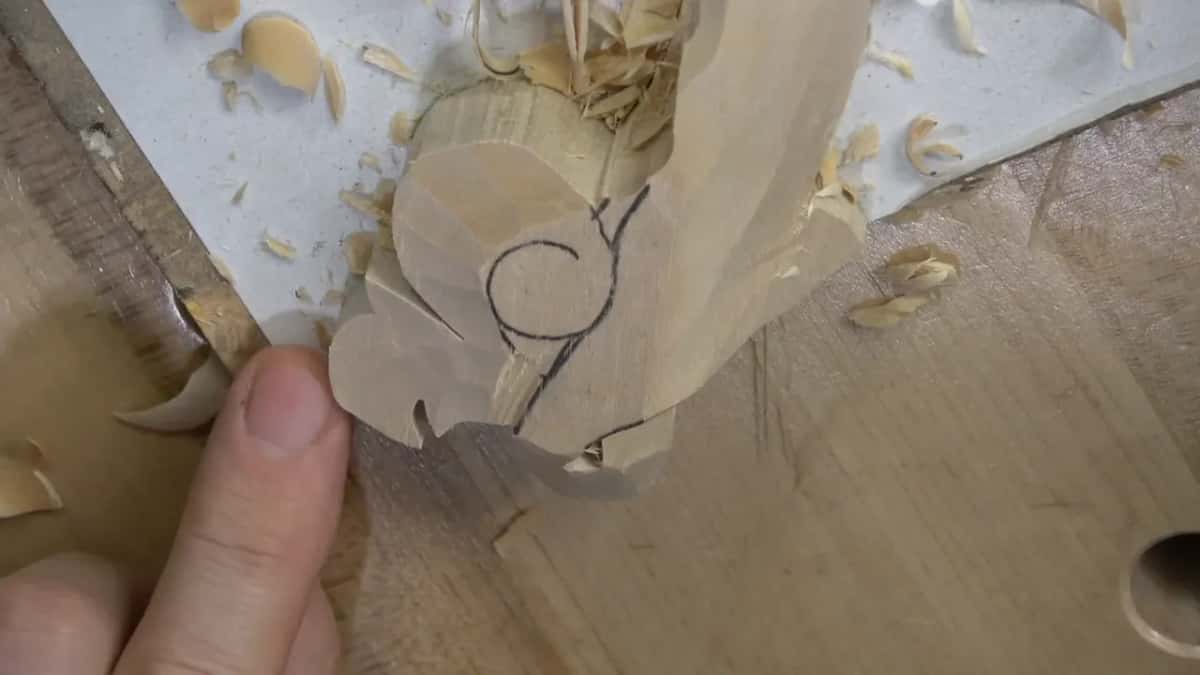
When do you look at the far side?
While you are lowering your section. It's really important for me not to mess up and to see exactly what is going on. The two sides have to be somewhat at the same level. A small variation is okay.
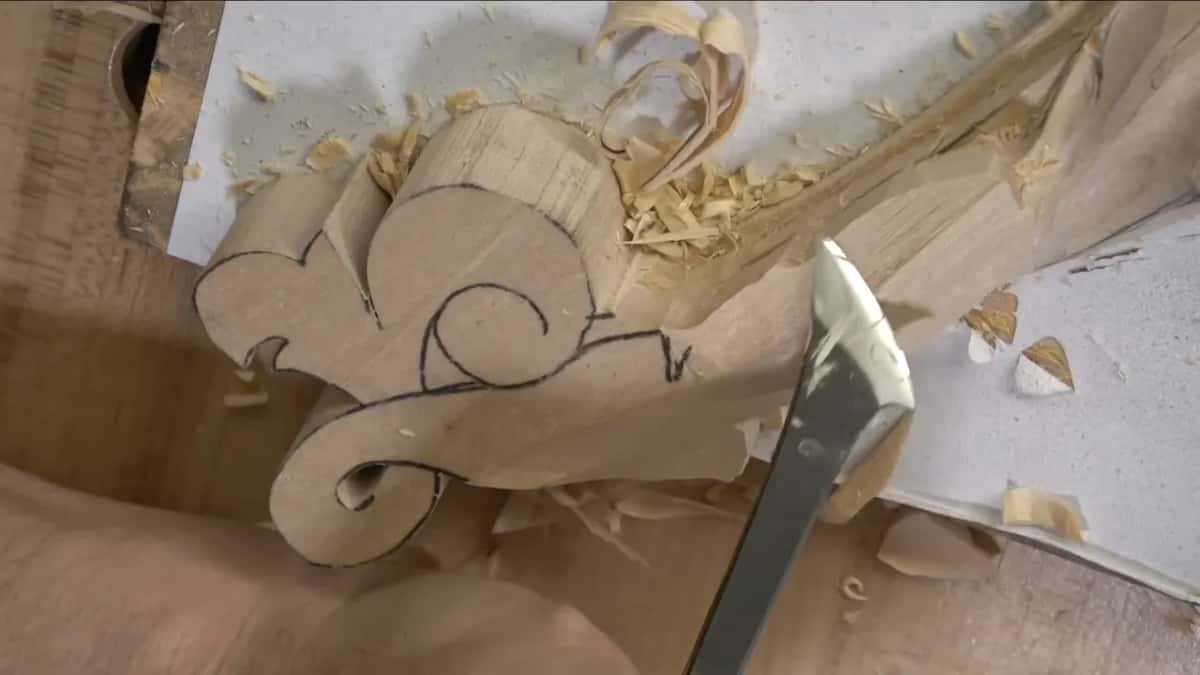
After a little cleaning I was about the same level with the opposite side, and I said those two sides were good. A skew came next. I held it at 90 degrees to the surface and cleaned the side that didn't look too clean.
Last, I took one point and brought it exactly to the height on the opposite side. Now it was exactly the same.
On the Dining Table Apron course I put it this way: "You can always go deeper, but you can't go back." That job was matching an existing piece. When you match a piece, it's really important that you replicate exactly what the original carver did. He didn't go deeper than an eighth of an inch (3 mm), and only a few spots went to 3/16, up to 5 mm.
Why leave the wall square for now?
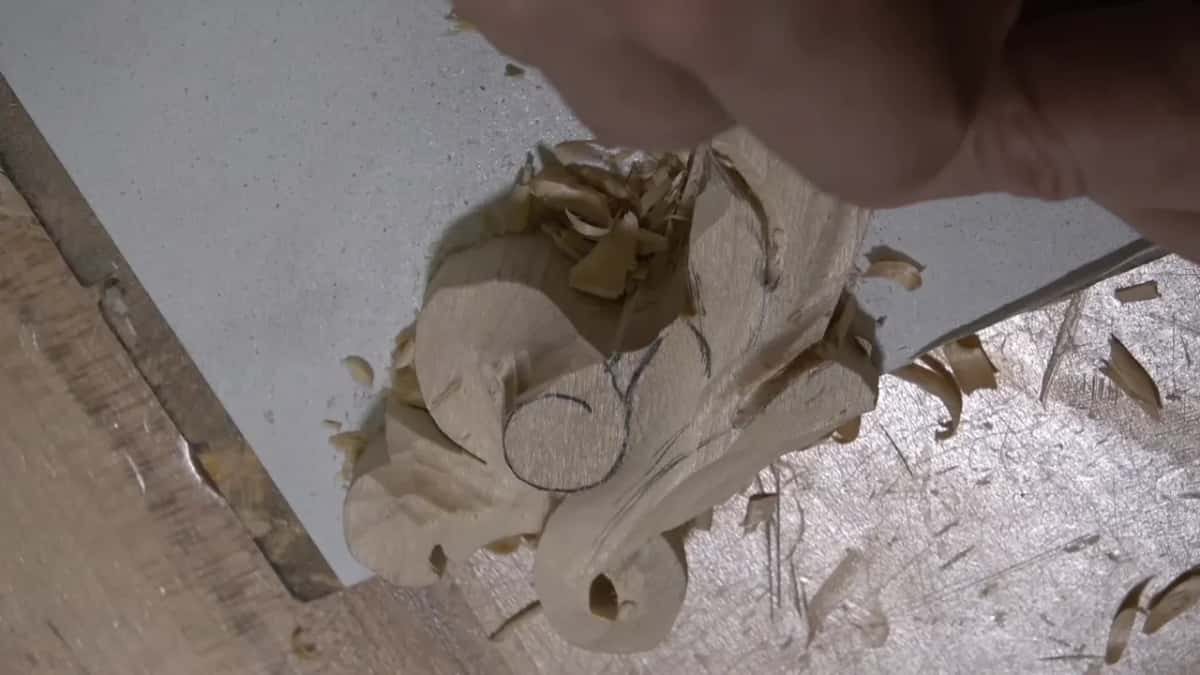
The ground beside that wall was going to be much lower, so the undercut had to wait. I took the same number 17 I used before, a quarter inch or 6 mm, and kept the tool's right side at a right angle over the surface.
A plain straight down cut would probably have done it. But that area is somewhat fragile, and I didn't want to risk it. What I got there was pretty much 90 degrees, equal to that wall, exactly the same 90 degrees over the surface.
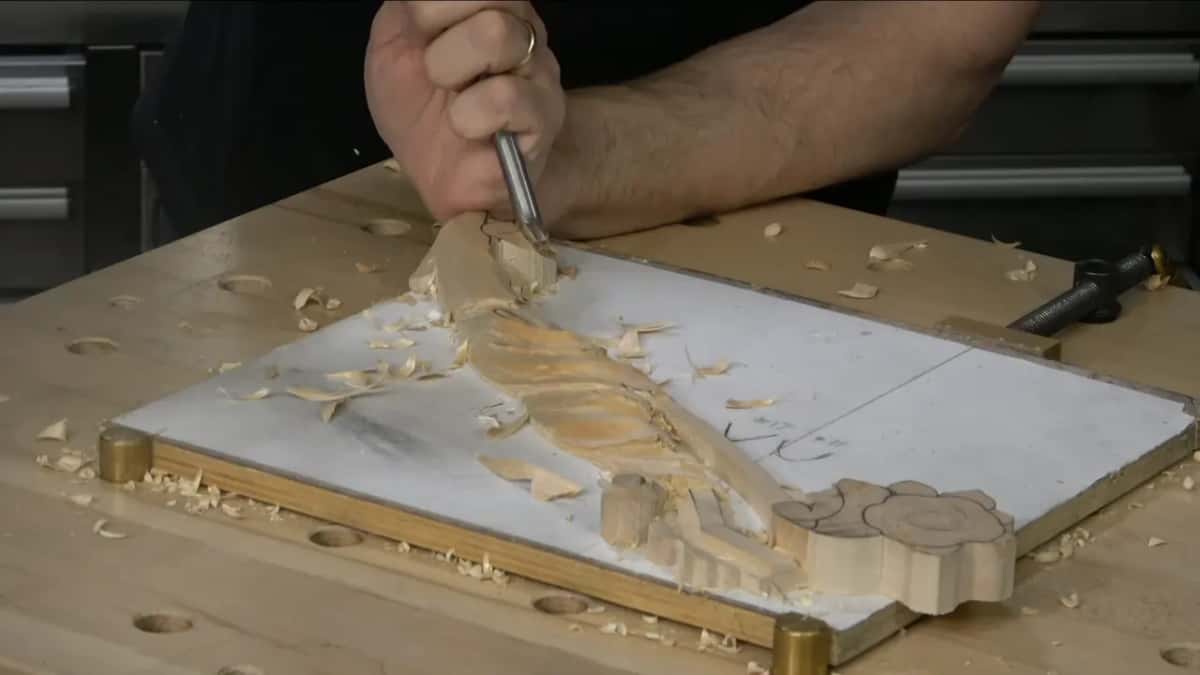
The number 17 came back in the second part for a triangle you didn't see before, again straight down. Later I got my phone and did a fly around of the piece, so you could see it from different points of view, like a drone flying around. You could see 90 degrees on one side and 90 degrees on the other. The deep undercut comes later.
What do you do with a hump in the ground?
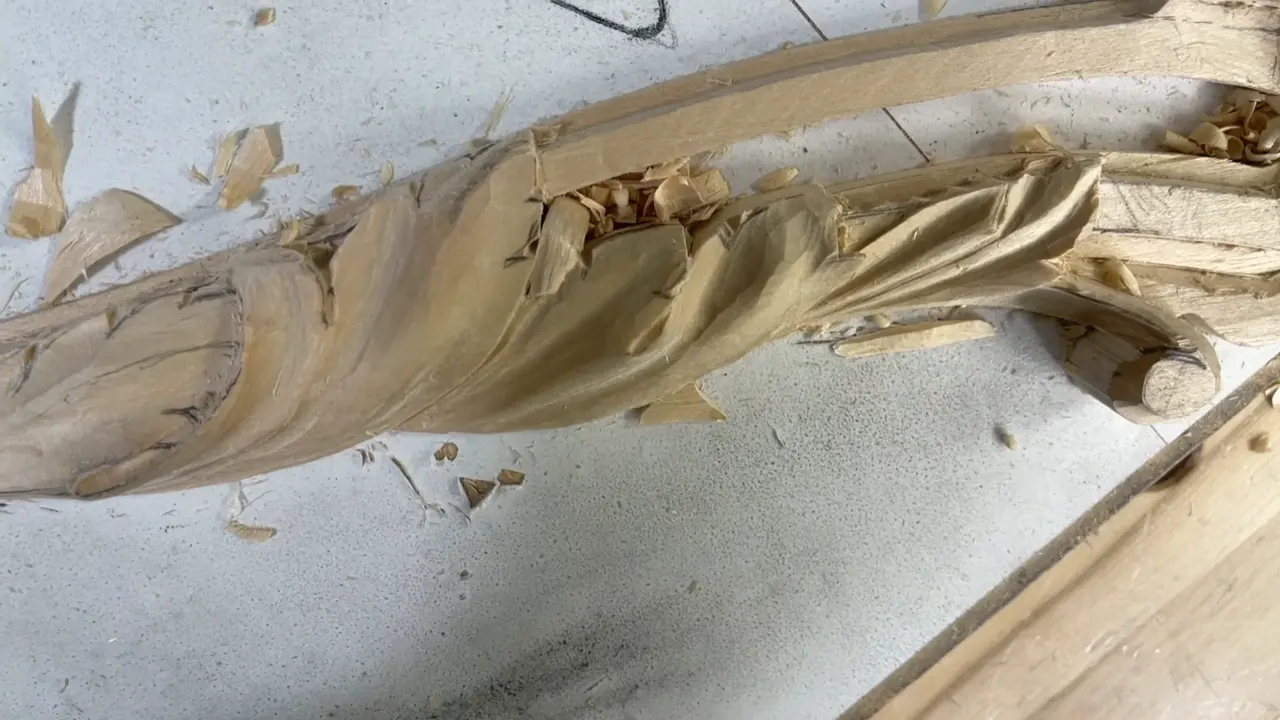
Knock it down. The ground has to run downhill nice and smooth, and here the transition was going downhill with a hump in it. That is no good.
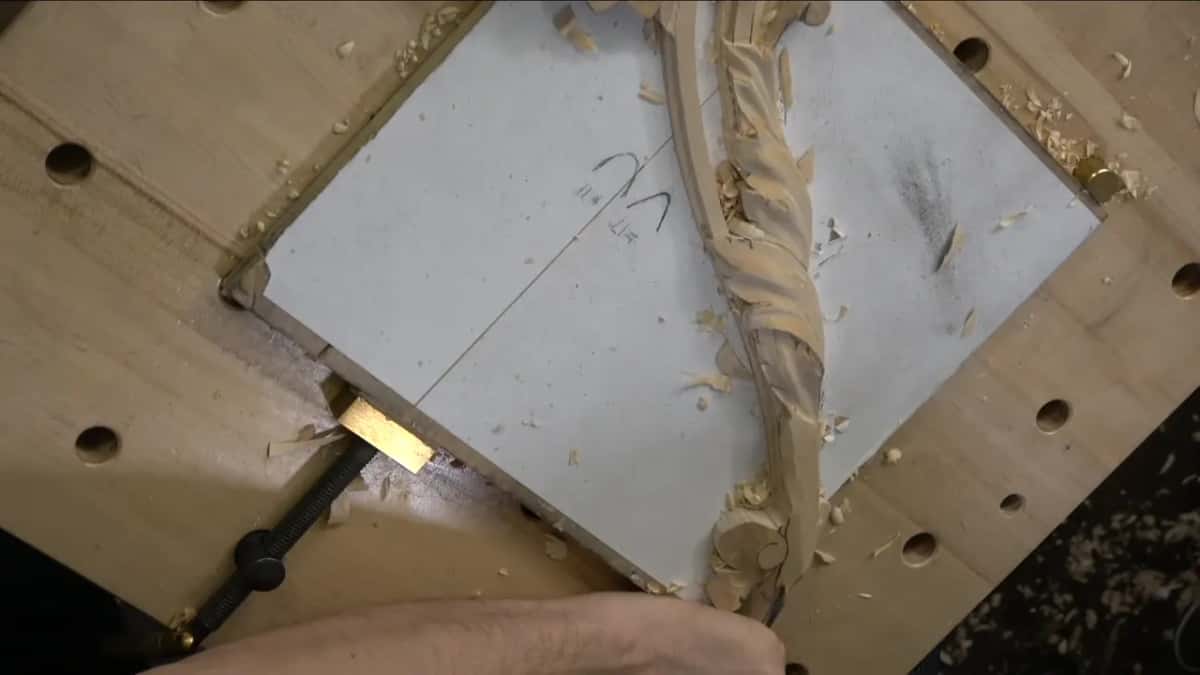
The tool was the one I used before. I needed to take it the other way, which was more logical, and let it go gradually over that loop. And then it looked good.
What do two thin lines behind a gouge mean?
They mean the tool is not sharp. For the middle part anything from 12 to 16 mm would still work, and I took a number 11 at 15 mm, about 5/8 of an inch. That spot was against the grain, so I walked around and came at it the other way.
Then you could probably see a couple of trails. One line, and another line. I needed to buff it, and I spent a couple of minutes on that.

A bit later the same tool still left some trail. It was not 100% sharp, and I said that is all right. How I check an edge before it gets that far is on the lesson four page, and sharpening has its own course.
When does a back bent gouge help?
When something you already carved is on your way. If I pushed my gouge there, I'd destroy my raised part, so I came at it from the opposite side. That's much, much safer. More on gouges sits in All About Tools for Wood Carving.
A back bent would probably be a better idea for me, but you can use normal tools with no problem. Not everyone has back bents. And if I'm careful, I can do it even with the straight tool.
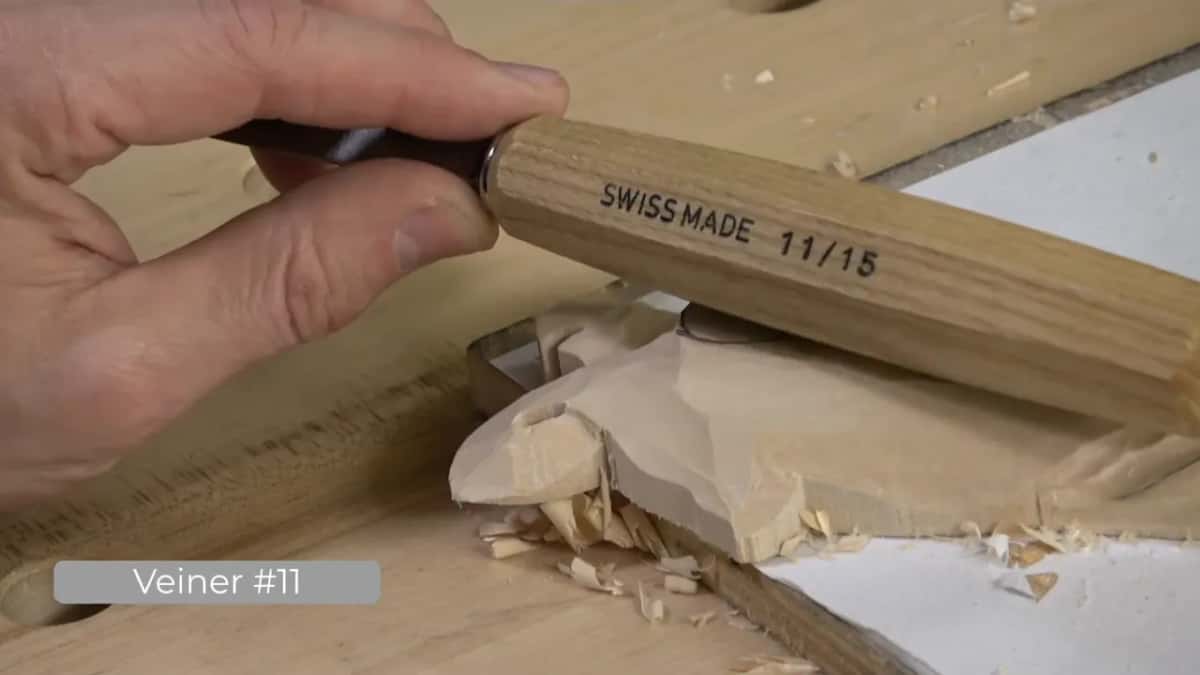
At one point I almost lost my middle part. That was not a big deal, because I did have material.
To get right underneath, I grabbed a front bent, a spoon veiner, the number 11 at 7 mm. Then a back bent to clean it again, because I want to be safe. I carve for a living, as a production carver, so I really have to make sure I use the right tool for each operation. With a circular motion I blended the facets.
I don't need to make it perfect yet. I mentioned that many times, and somewhat clean is enough for now.

Which tools did what on this leaf?
Each one had its own job here, and the size is the one I said on camera.
| The tool and its size | Where it went on this leaf in lesson five | My note |
|---|---|---|
| Spoon veiner, number 11, 7 mm | Right underneath the raised part, where it is supposed to go | Front bent |
| Back bent, the safe pick | Cleaning that same spot again after the spoon had gone underneath | Circular motion |
| A number 9, 3/8 in (10 mm) | Straight down beside the spot I had marked | Right on my mark |
| Number 7, about 1 in (25 mm), a big one | The second side, which sat no more than a quarter inch (6 mm) from the surface | Always slicing |
| My number 17, 6 mm | Along that wall, and later a triangle you had not seen | Its right side at 90 degrees |
| Wider number 11, 15 mm (about 5/8 in) | The middle part, its left side lying at the future volute | Near one o'clock |
| Tiny number 11, 2.5 mm | Both eyes of the leaf, so two overlaps give a triangle right away | One, then 11 o'clock |
What is a merge line?
A merge line is a spot where one direction catches the grain and raises it, so I carve it from both sides. Try to feel what the grain of the wood does. If I force it, I make a mistake, so I go the opposite way.
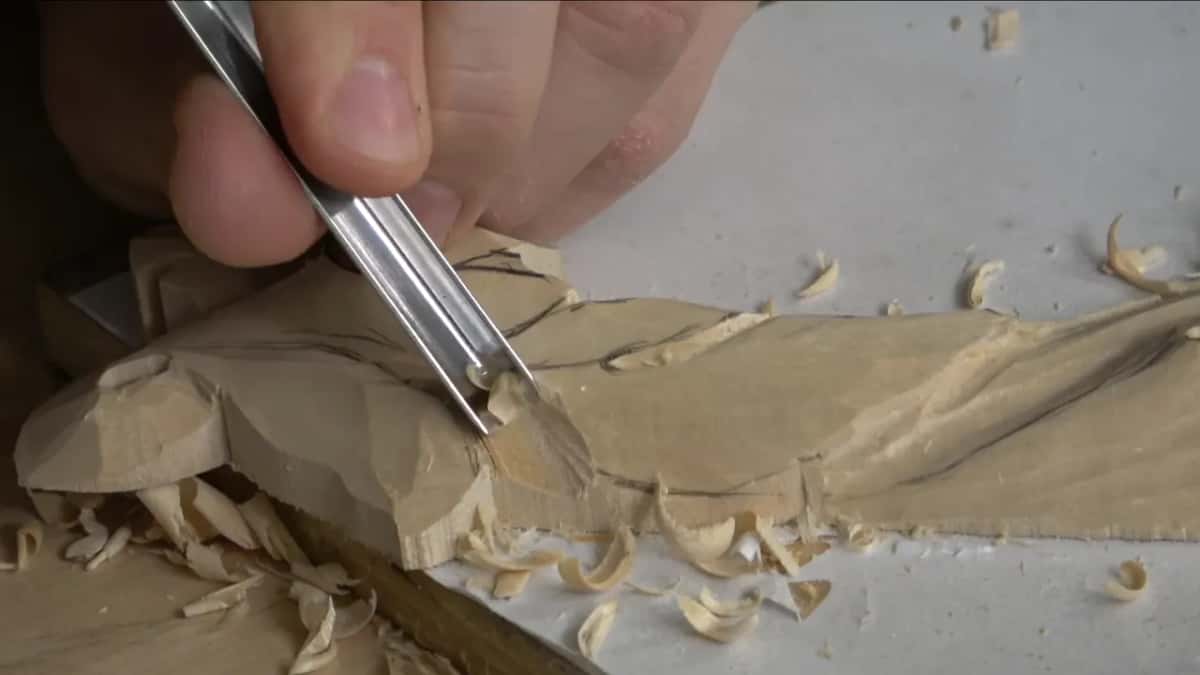
That spot on the leaf was a really interesting area. Which is okay. It's always like that, a normal thing. If you want more about the marriage line, lesson three has it on its page.
Does the ridge have to stand up?
In the Venetian style it does, and this leaf is Venetian. This line has to be my high spot, and the wood slopes from it in opposite directions, so I carve a concave on each side.
I used a number 11, 7 mm, about a quarter inch, with short strokes. I went somewhat deep and carried that across to the other side.
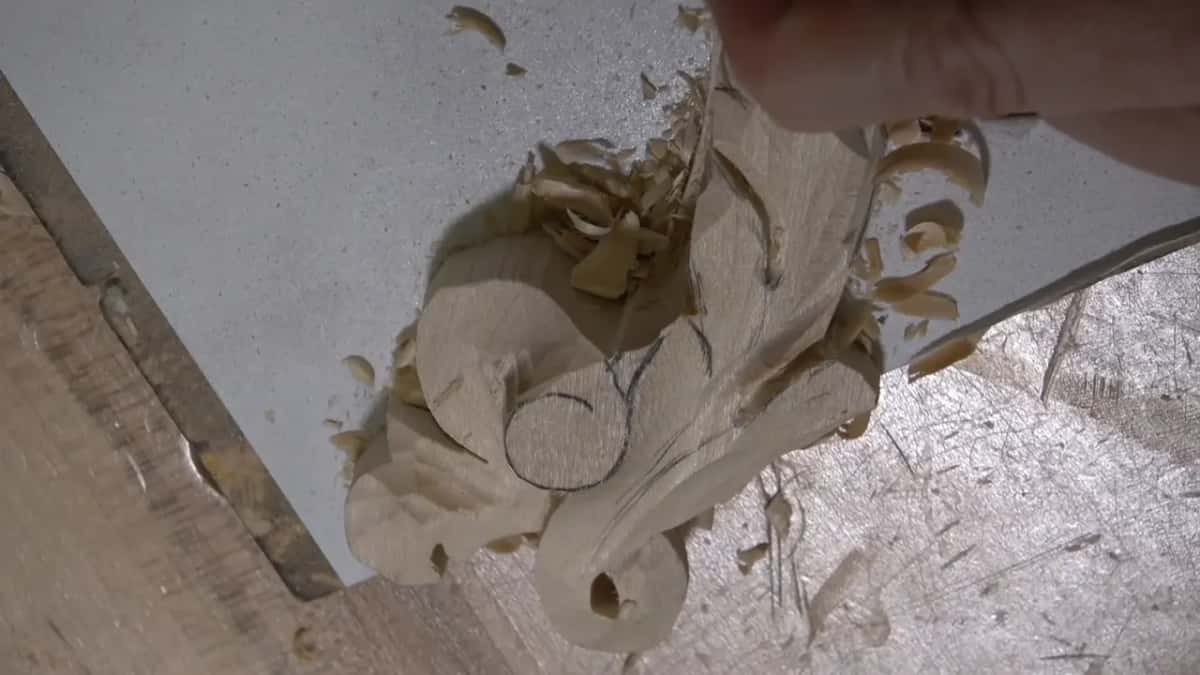
If you're working on another style of acanthus, a ridge that is not raised would be absolutely okay. Once mine was raised, I stopped. I won't force it. Later, on a pipe, I did short strokes again, which I think is wiser in that case, and going a little lower there should give me a much better shadow.
Which way do the eyes point?
The first one at roughly one o'clock and the second at roughly 11, the clock that tells you where the flute points. For both I used a number 11, 2 or 2.5 mm, the same tool I used before. Two overlaps, and you probably have a triangle right away.
My flute in the middle part sat slightly to the right, about one o'clock. On camera it looks like straight down, but it's not.
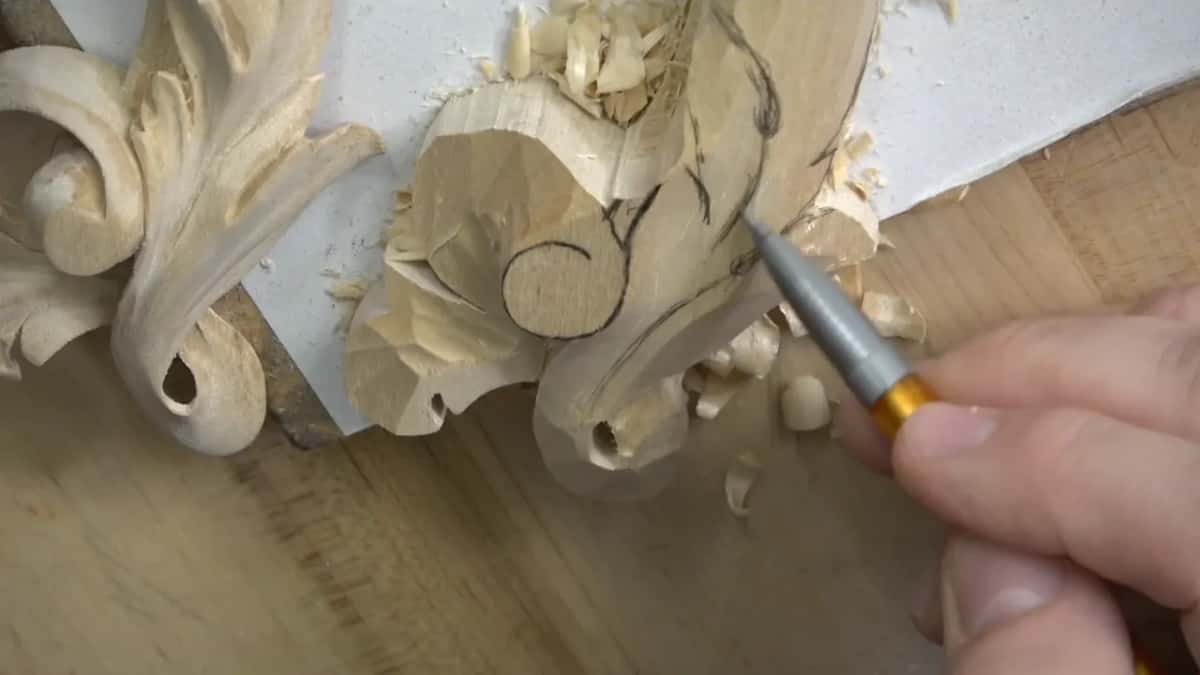
Before the pipes, I blended those ridges into the shape of a water drop. I took the small spoon I used before for that, number 3, 1/8 in (3 mm).
When do you redraw the leaf?
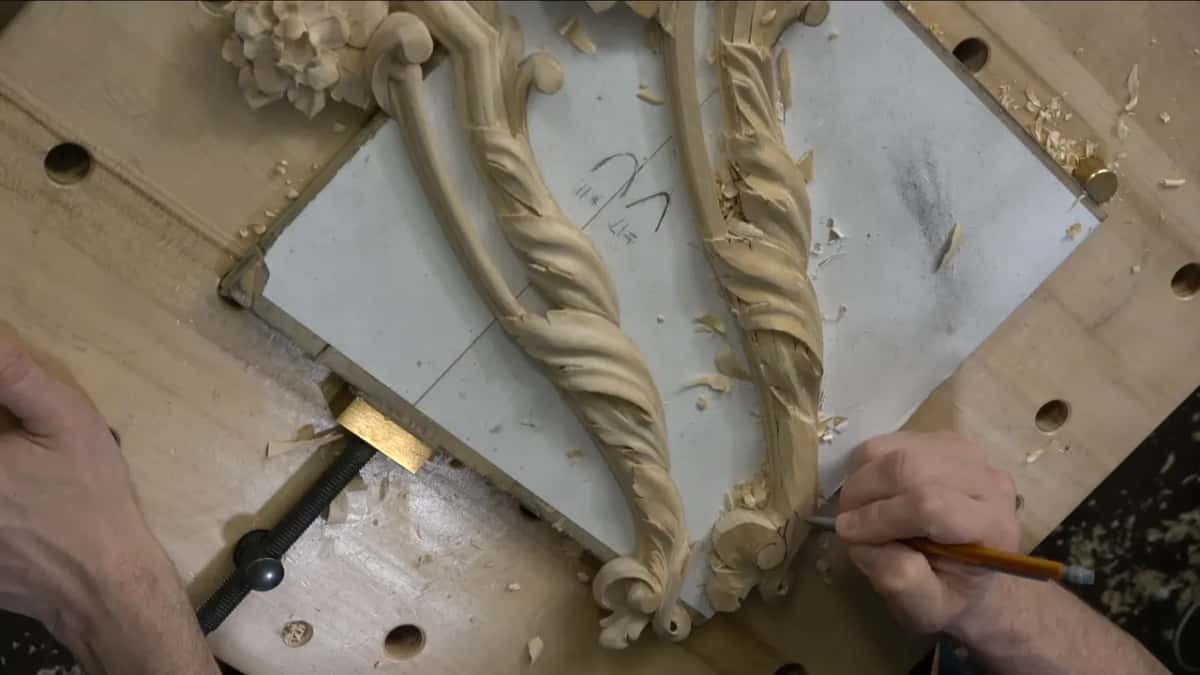
Right after the middle part was carved, I had to redraw everything. This part goes slightly downhill and lies right on top of my molding.
Then came the separations. There is an eye and an overlap, another separation, a small one, and another eye. One pipe goes this way and the other goes that way. Both reach the center. Drawing a leaf from scratch has a whole design course of its own.
Where do the two pipes go?
Toward the center line, carved with the tool I already had in my hand. I can't go too deep, because it won't look good, but I still want to see my pipe, somewhat exaggerated.
Since the grain changes direction there, my right side came out clean and the left side was not clean. Why one side comes out rough is the question lesson two answers.
I almost made a mistake and broke a little piece, but it was okay. I was still safe. Both pipes looked kind of rough, and that's how they are supposed to look at that stage.
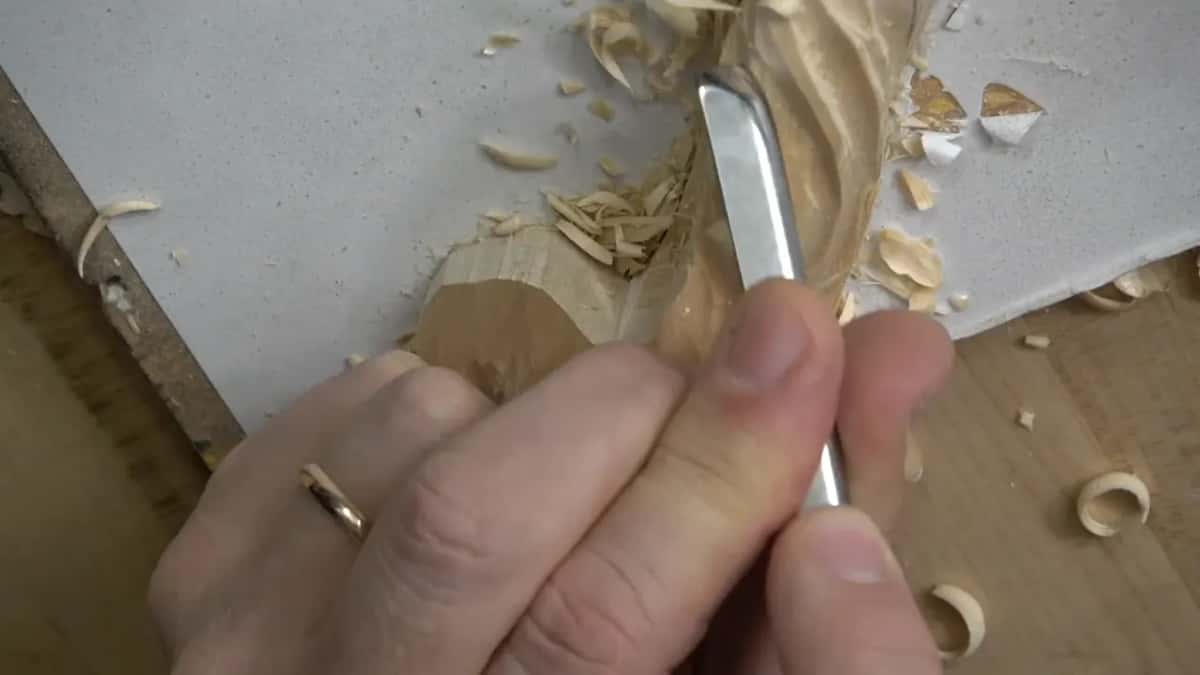
A flatter spoon, number 3 at about 5 mm, made the slope, and later a number 11 about 6 mm took a little more. I held my tool at 45 degrees. I don't want to see straight lines, it has to have some kind of curvature.
Near the end it was really dark outside, dark enough that I asked if you could see my neighbor's garage. Looking at the overall movement, I was somewhat happy. It will look really good once it's clean, and I won't overdo it in this wood carving lesson, which is part of Acanthus over Moldings. Next come lesson six and lesson seven.
If you want this leaf on your own bench, the whole course is open on the Tuition page. It is acanthus carved in relief over a molding.
How it's done
- Find the mark. I find the spot I marked before.
- Come down onto it. Down beside it goes the number 9, right onto the mark.
- Lower the other side. The same tool brings the second side level, and the volute stays high. Where that part sat low, a wide number 7 did the work.
- Watch the far side. I look across at the opposite side while I carve.
- Keep the walls square. The number 17 stays upright, and the undercut waits until the ground is lower.
- Take off the hump. Working the other way, the same tool knocks it down so the ground slopes gradually over the loop.
- Redraw the leaf. Separations, eyes, the overlap and both pipes go back on in pencil, the pipes heading to the center.
Frequently asked questions
Where do you put the height mark on a molding?
I put it on the side, and I had marked it there earlier. The spot I marked is a high spot. The rest of that part goes down almost all the way, and my number 9 came straight down beside it, onto the mark.
Is a small difference between two carved sides okay?
A small variation is okay. I keep an eye on the opposite side because I don't want to mess up. Near the end I took a skew, brought one point exactly to the far one's height, and the two matched.
How long do you wait to undercut a wall by a volute?
Until the ground beside it is down. That part of my leaf was going much lower, so I kept the wall straight with my number 17, 6 mm. A plain straight down cut might have done it, but the area was somewhat fragile and I would not risk it.
What to carve next