

Alexander Grabovetskiy, woodcarver, School of Woodcarving · Published 2023
What are advanced wood carving techniques?
Quick answer: Advanced carving techniques are the choices made once a leaf has its rough form, like which side is higher, where an eye sits and how deep a concave goes beside a pipe. In workshops 62 to 73 of my Venice Room I make those calls out loud, mostly with a number 11 veiner in many sizes.
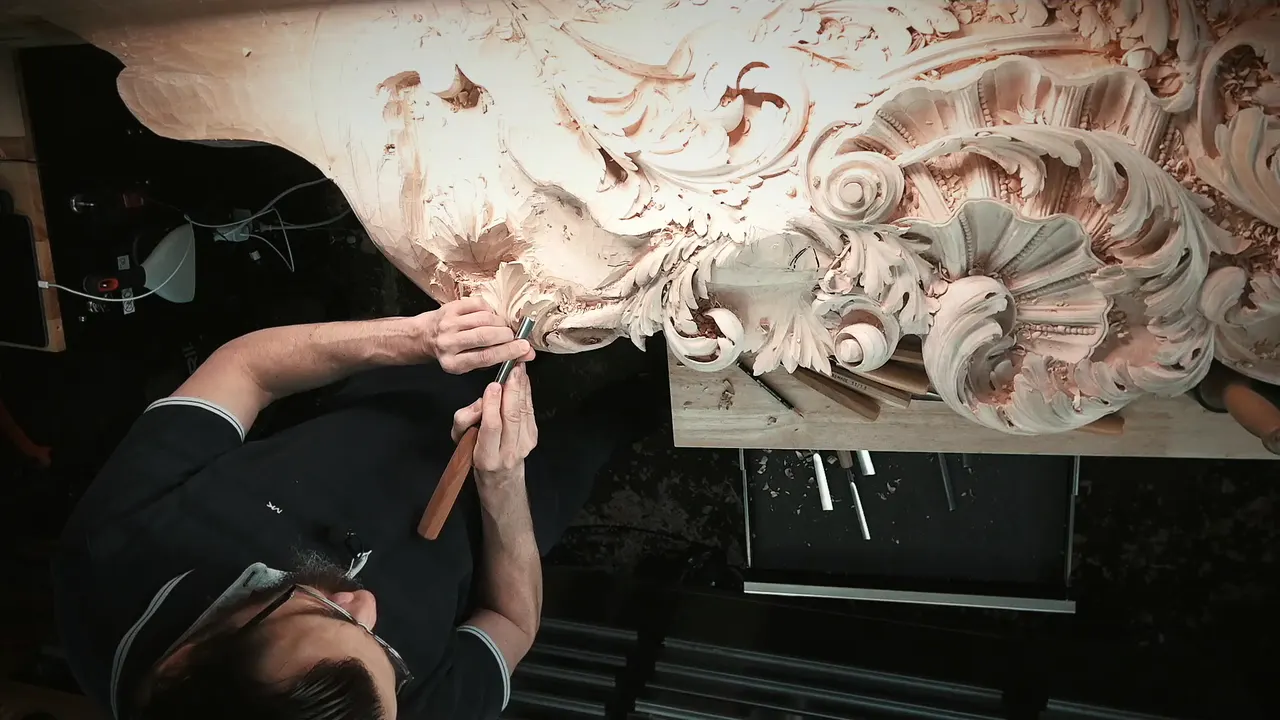
Advanced wood carving techniques are the shaping decisions you make on a leaf that already has its rough form, such as which side stands higher, where an eye sits, how far down a concave goes beside a pipe, and how much wood to keep. Through this stage of my Venice Room, workshops 62 through 73, the number 11 does most of the work, in one size after another. None of it is as easy as it looks, and I say so on camera.
Have you ever roughed out a leaf and then stood over it with a gouge in your hand, not sure which part should go underneath? Did the two halves come out about the same size? I know that place. I admitted in workshop 62 that those sloping movements were confusing for me too when I started, because a slope still has to be seen from every side.
On this Venetian work the acanthus keeps asking the same handful of questions, and I answer them out loud, one leaf at a time. You will see each move here with the reason I gave on camera and the workshop where it happens.
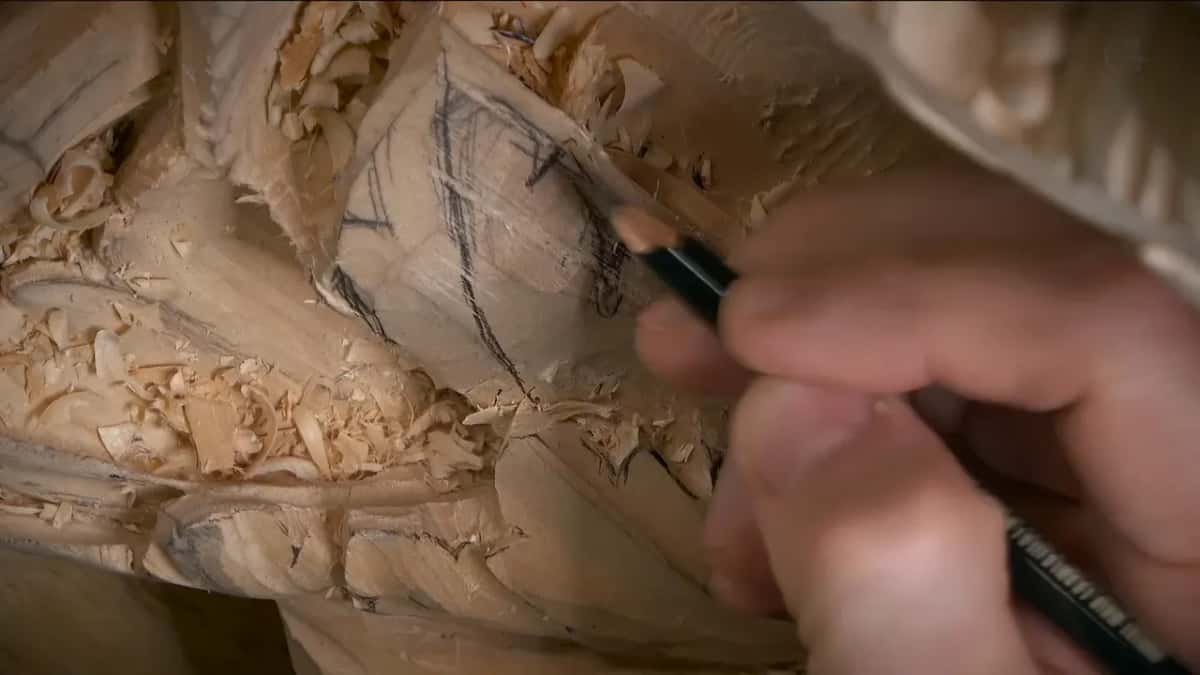
Seven moves this stage of the room keeps coming back to
- Decide which side goes higher, then let the main part go underneath.
- Sink a concave on each side of a pipe, or the pipe cannot be raised.
- Dig the eyes deep, because this style wants the shadow.
- Lay in the main divisions first, then subdivide everywhere.
- Give a matching part a different size, a little bigger or smaller than its partner.
- Work a hollow from both ends, since one wall always comes out rough.
- Check each part from more than one side, because some of it goes on the ceiling.
What makes a carving technique advanced?
Across this stage the hard part is usually a choice, and I say it out loud before the gouge goes in. The first one, in workshop 62, was which side would be higher. I believed it would look much better with this side raised and the main part going underneath, so that is how I outlined it.
By 66 the big question was the location of an eye, and the second one was which part would overlap which. Both of those ways are legit, and I said so. Two workshops later I found an eye by carrying a division line on underneath until it made an intersection, and that spot was a really good position for it.
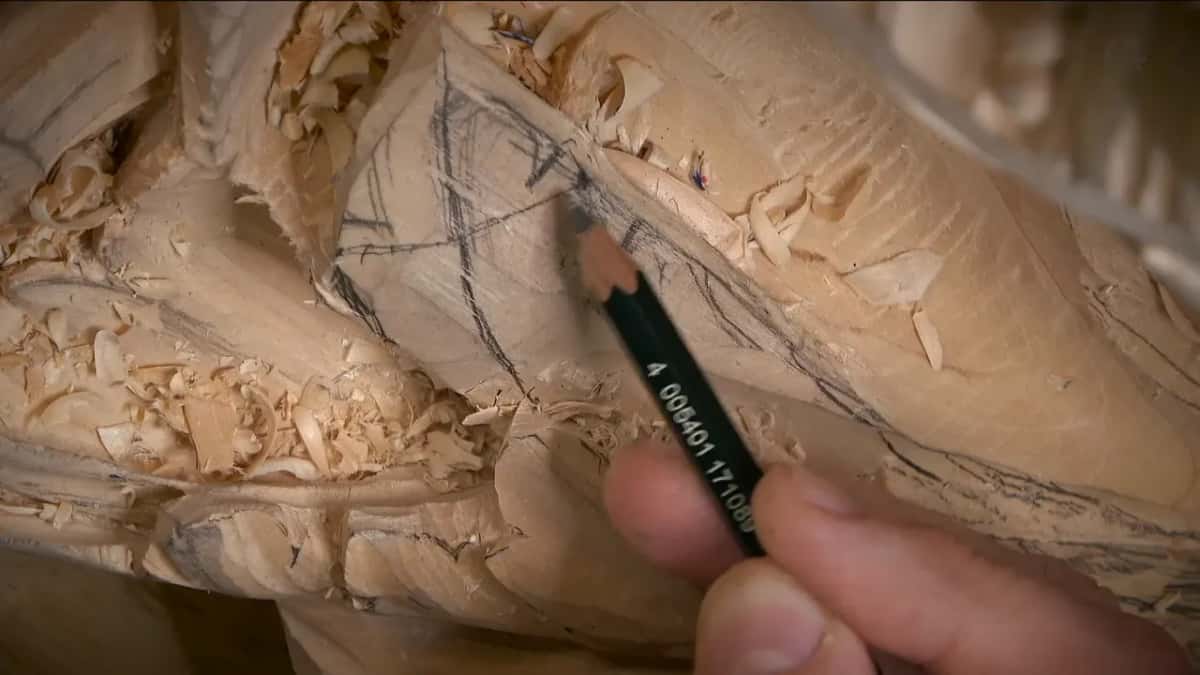
Depth is a choice too. With the plug already loose in 64, it was just a matter of how deep to go, and if the tool is too big I can always switch to a smaller one. The biggest decision in 73 was the movement and where its end point would be, and I said plainly that I did not know the best idea yet. "Let me think first," I said, before making too quick decisions about how much to take out and how much to keep.
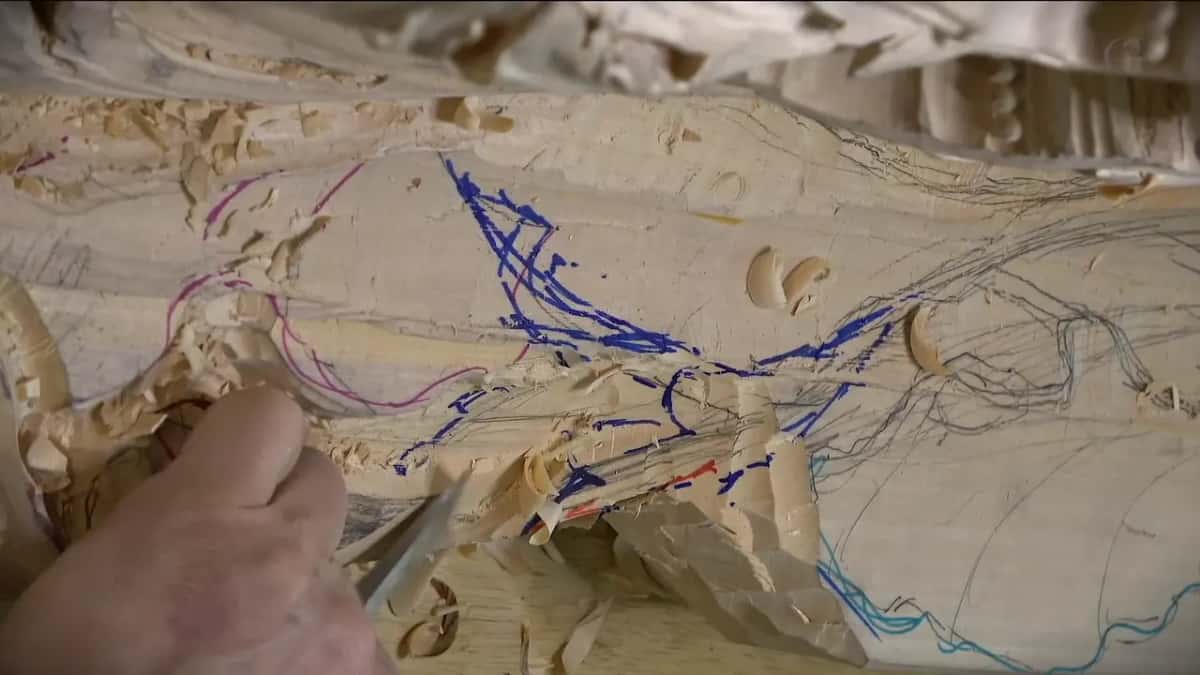
I actually like those challenges. Finding the solution, the right angle, makes this work really interesting. You can watch those choices get made at the bench in these workshops, and they come with access to the school. The techniques course starts with reading the grain and picking the tool, if that is where you are right now.
Six parts in ten, by eye
When I set a middle line, I try to be authentic to the golden ratio. I take a point here and a point there and put an invisible line across. Then I divide it in ten, five parts on one side and five on the other, and move six parts out of ten toward the way the leaf already slopes. I use the same six out of ten when I place a concave.
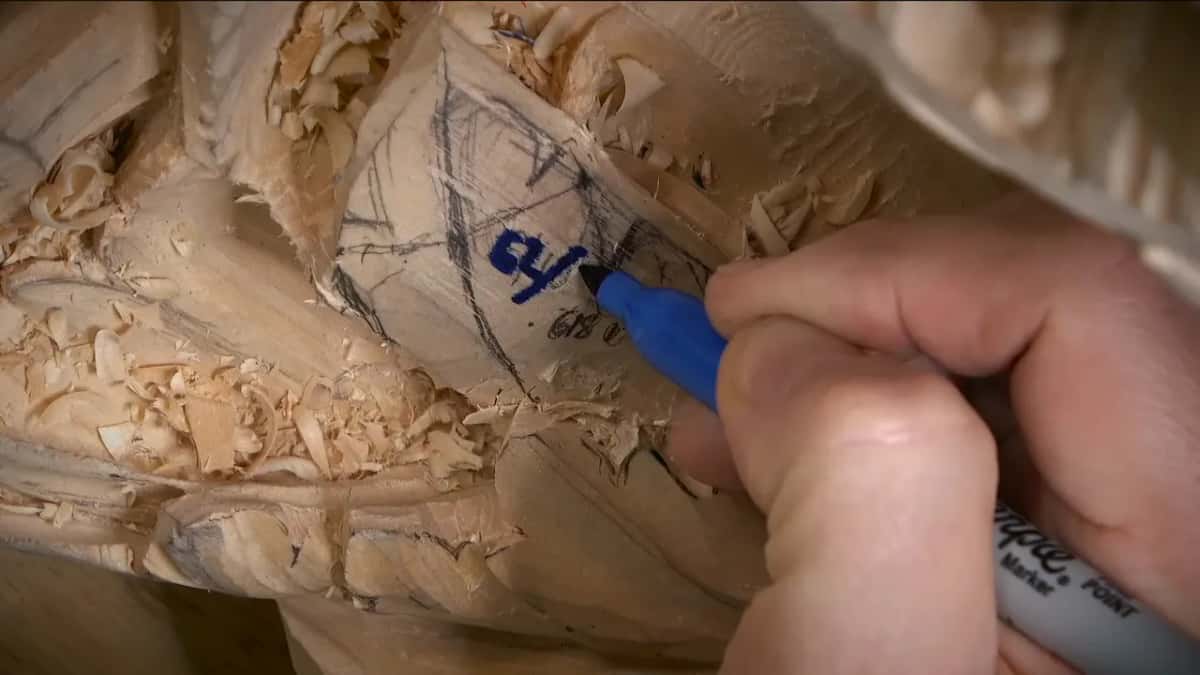
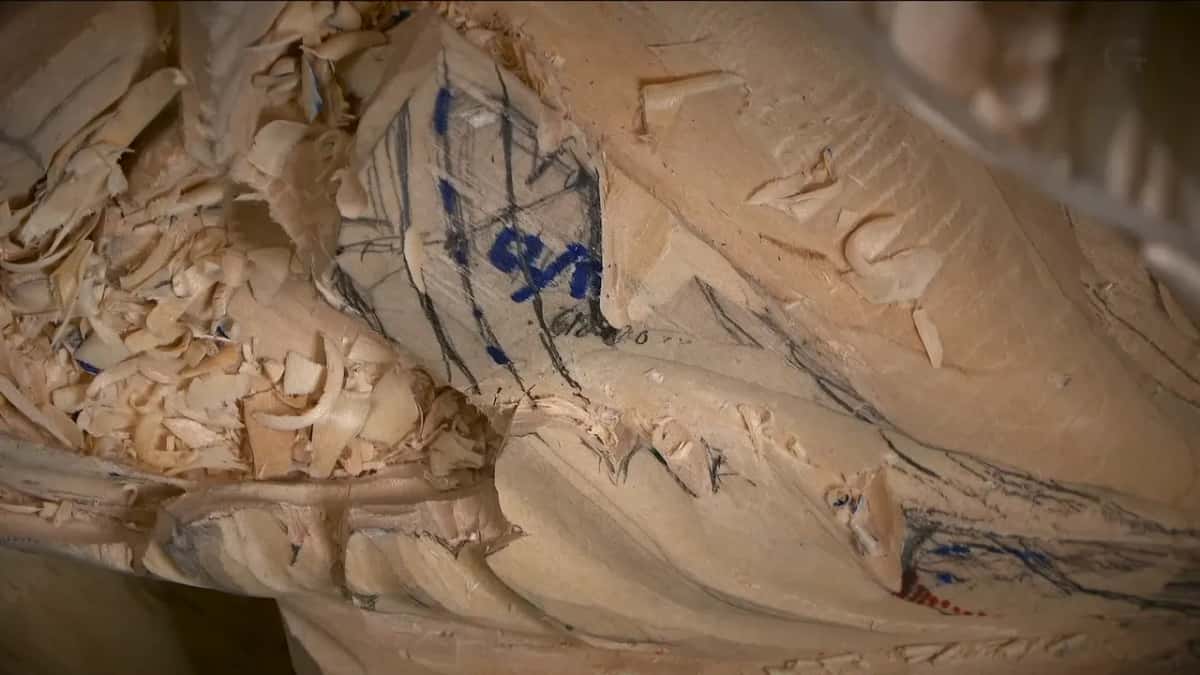
I said 0.68 out loud in workshop 72, caught it, and corrected it to 618, so 62 out of 100, because then the math is easy. After that I just eyeball it. I am not after perfection, and checking it with a ruler would be too much. The method has fuller pages of its own. The Carving Vase course measures it with three leg calipers, and lesson one of the design course puts the main idea of a whole design on that spot.
Dynamic symmetry, and why one side runs bigger
Simple symmetry is equal and equal. Same opening left, same opening right, same eye both sides.
The other kind keeps the idea and changes the size. If the separation on this side is two centimeters (about 3/4 in) wide, the one facing it wants to be three (about 1 3/16 in). If a detail here is small, its partner over there gets made bigger. It is still symmetrical, just a little different. My example in workshop 73 was a big eye across from a much smaller one.
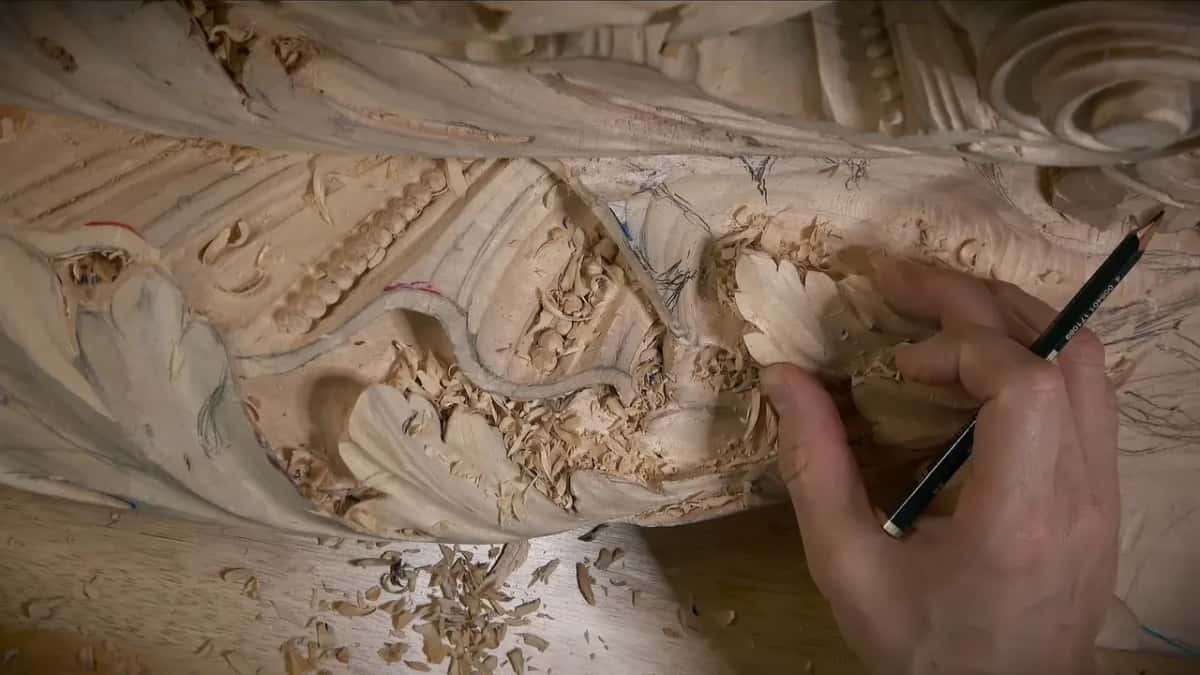
Look at yourself for a second. Your two eyes are a matched pair, so are your ears and your hands, and not one of those pairs is identical. One is always slightly bigger. Somehow that works with the brain. A leaf sized off the Fibonacci sequence looks pleasing even to people who have never heard of those rules.
The middle line on one side also has to read with the one on the other side. Not equal, just readable. I checked mine with calipers in workshop 67, and my eye had it right on the money.
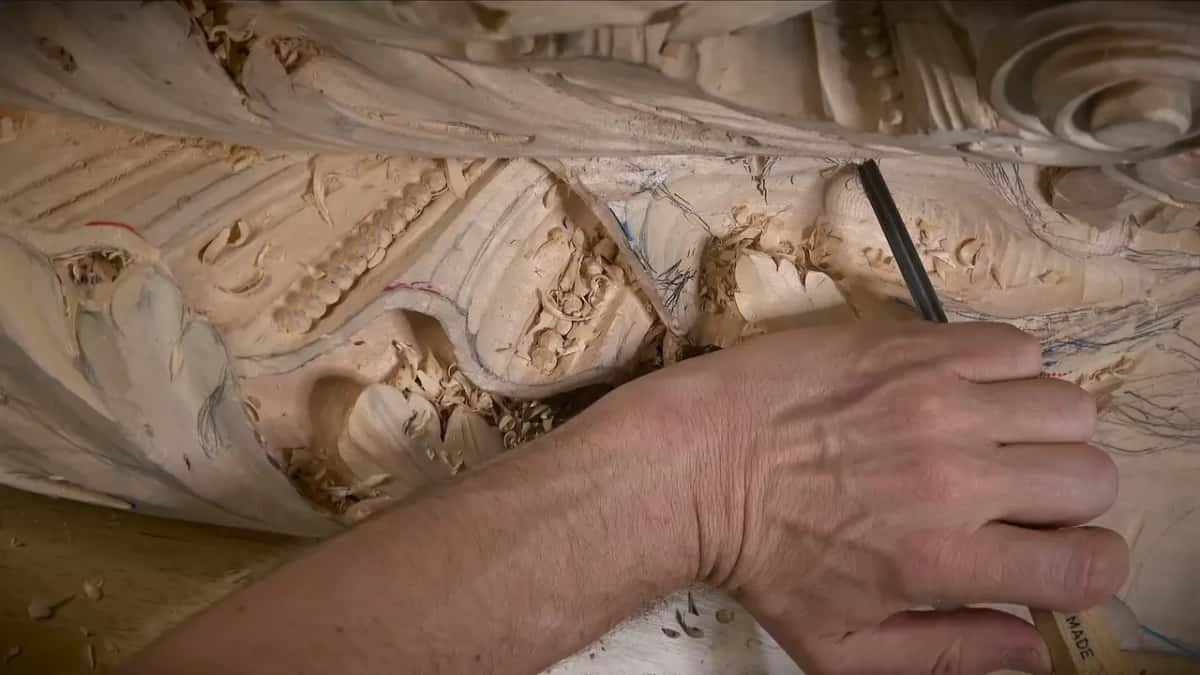
The phrase is older than my use of it. Jay Hambidge put dynamic symmetry into circulation in the 1920s and argued the Greeks had been working that way all along, which not everybody accepted then and not everybody accepts now. The design course gives it a share of lesson four, along with arabesque and rhythm.
Where do the divisions fall on a long leaf?
On a long leaf I have to do several divisions, not one. That makes a lot more sense. I set the main divisions first, then the main subdivisions.
Subdivide everywhere. Workshop 69 opens with exactly that. Each division I put in gets smaller divisions inside it, and some of those get subdivided more.
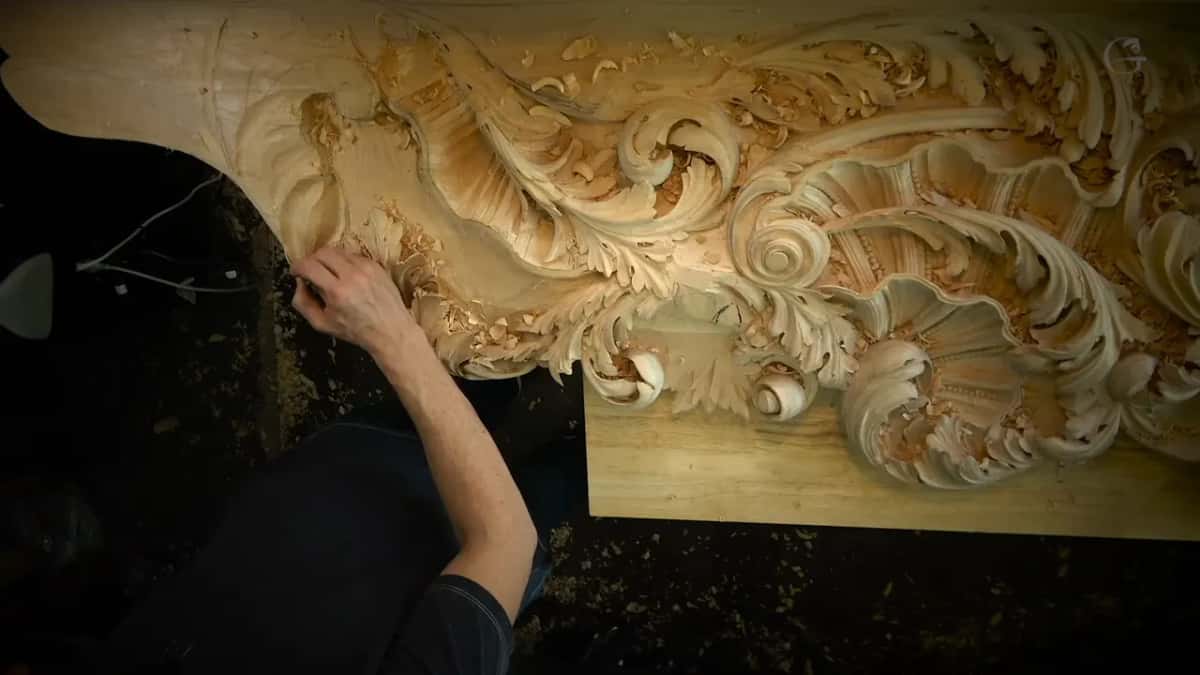
The Roman leaf and the Greek leaf have their own courses, and so does the Byzantine one. The Venetians took their big, exaggerated pipes from the Byzantine style. I explained why in workshop 65, as I see it. The Byzantine carvers developed those really big movements for gold leafing, and since gold is a yellow brownish color, they needed the shades and the shadows.
How deep does an eye go in this style?
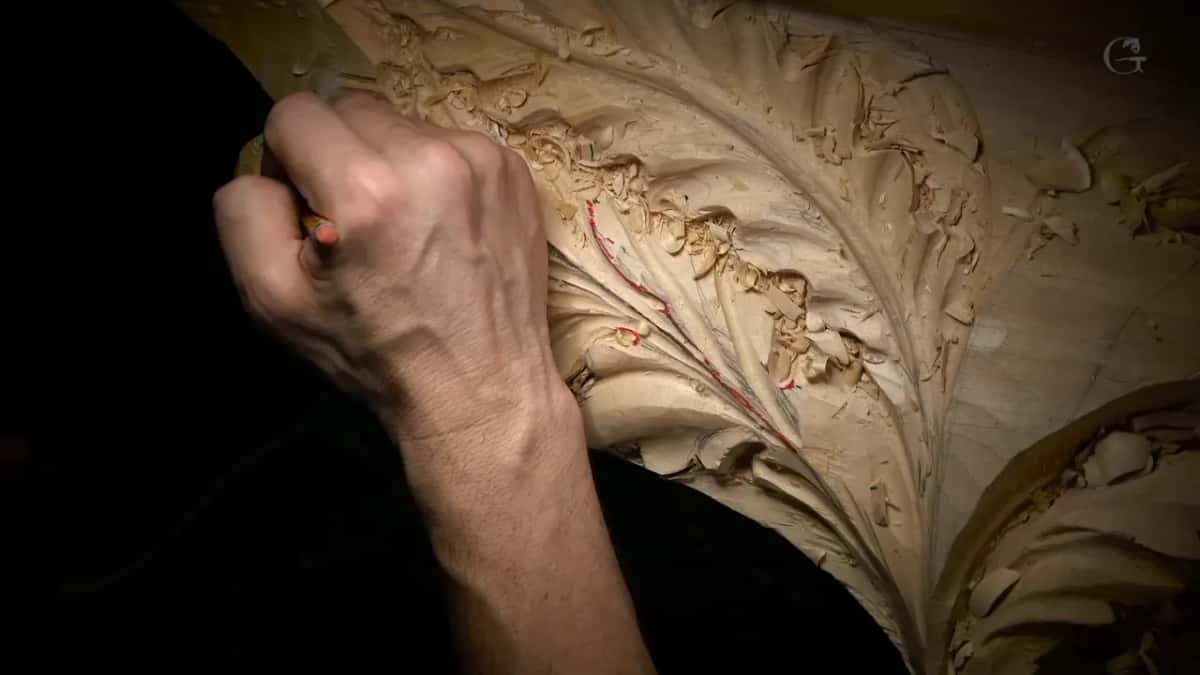
Really deep. In this Venetian style the eyes are exaggerated just like the pipes, for the shadows.
I excavate it really deep. For the hole I take a small number 9, an eighth or a quarter of an inch (3 or 6 mm), and make what I call a plug cut. It gives me the shadow I am after.
The pipe, and why the hollow comes first
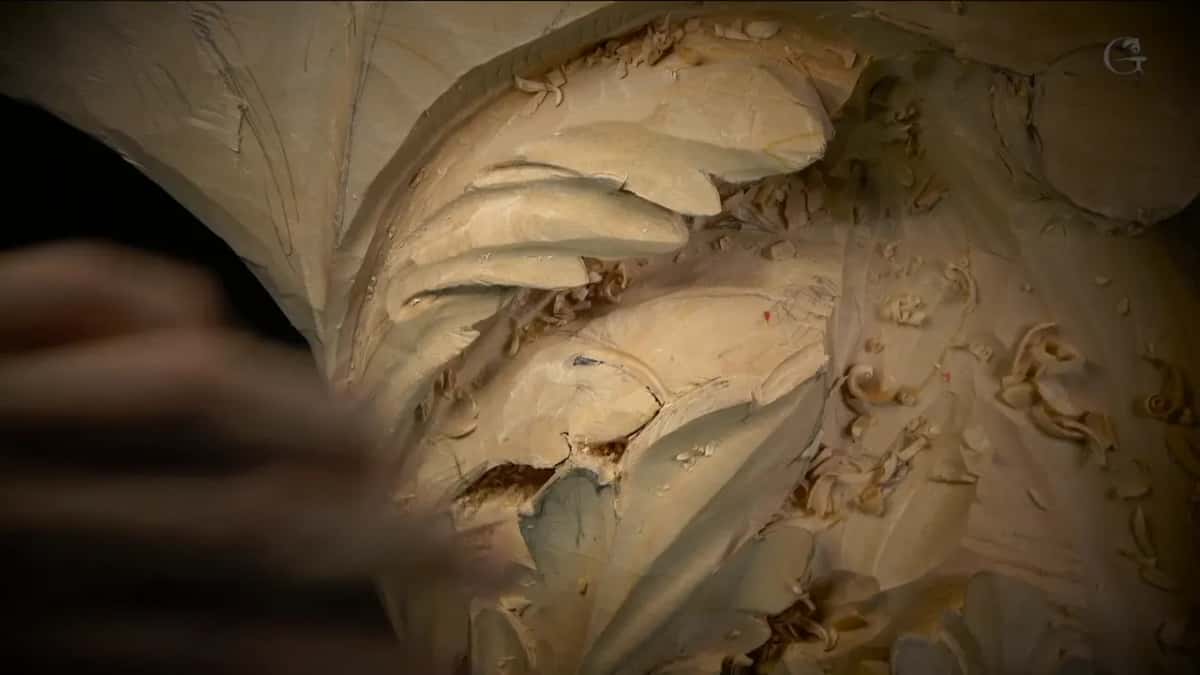
A pipe is a raised, half round ridge along the leaf. A more pronounced half round pipe is a good idea sometimes, as I said in workshop 64, and in 72 I pointed at one pipe after another and said each was going to be convex.
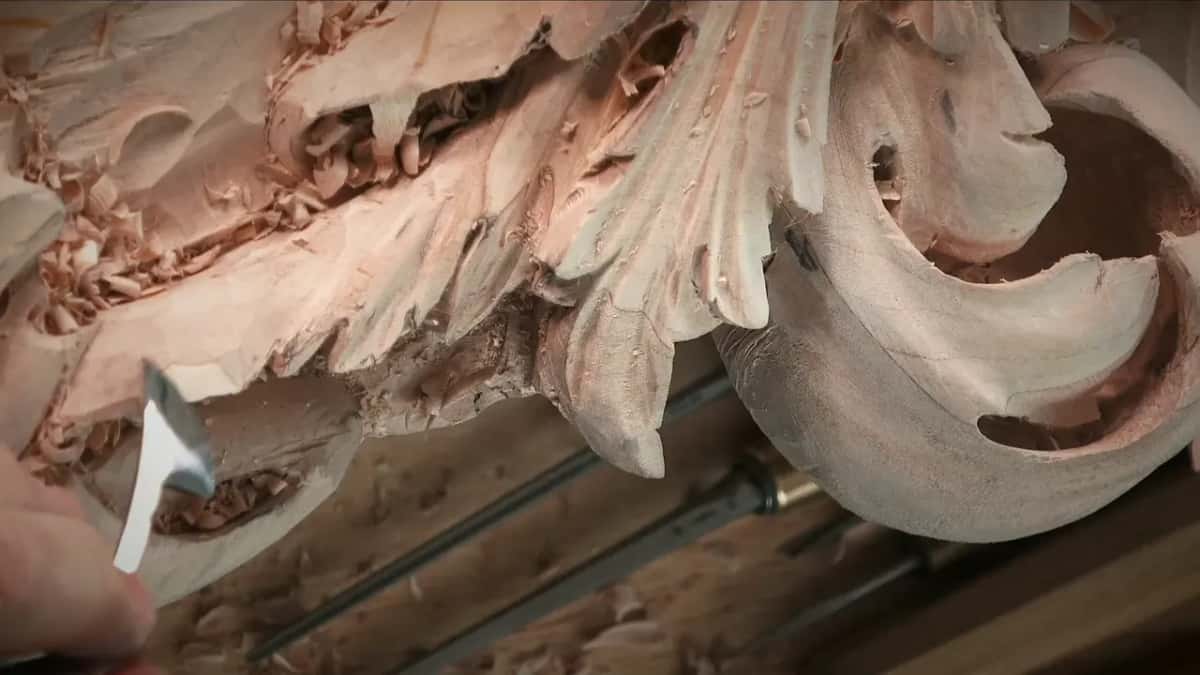
On the sides of a pipe I need concaves, because without a concave I am not able to raise the pipe up. No concave first means no pipe later.
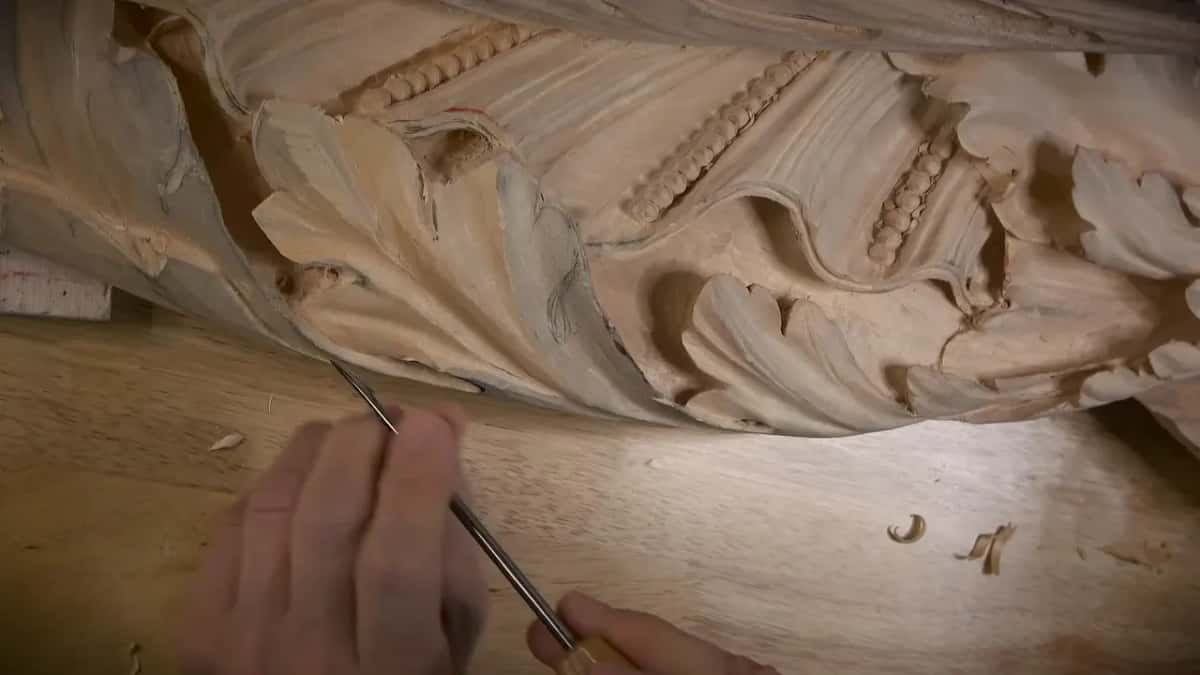
For one concave in workshop 62 I went up to a 30 mm (about 1.2 in) number 11, because I really wanted to exaggerate everything and see some movement, some shadows. Where I do not have a lot of depth to give, I exaggerate the pipes, and they still cast shadows. I talked about shadow a lot in workshops 50 through 61 as well.
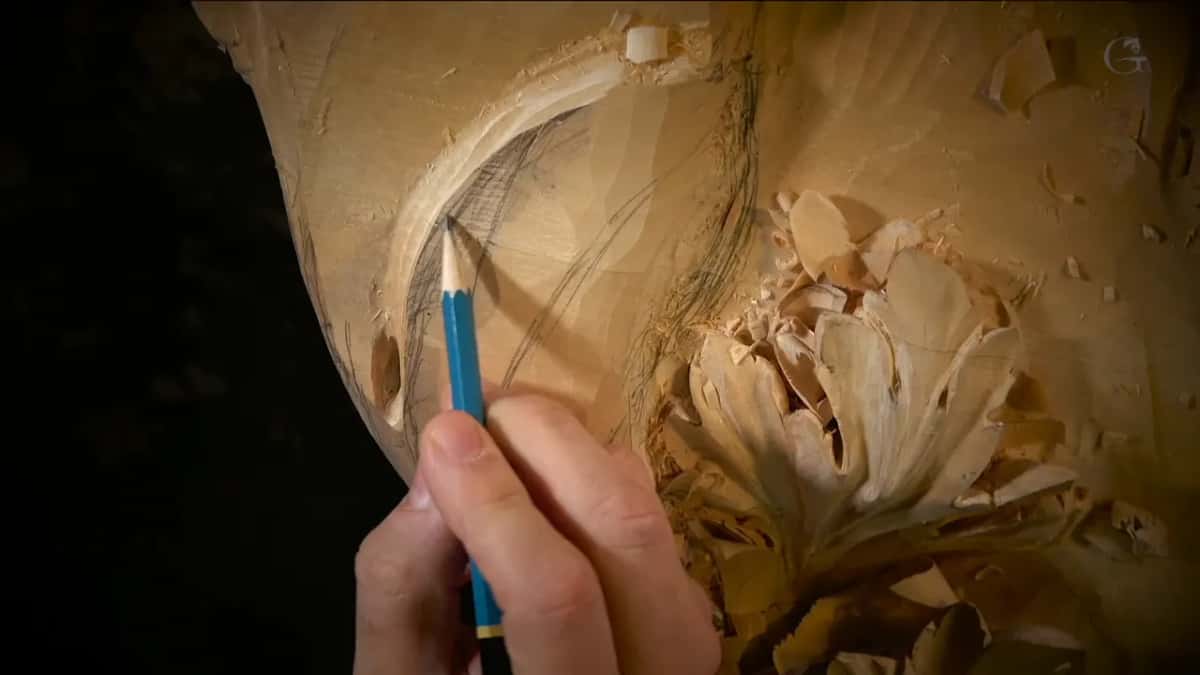
Why work one hollow from two directions?
Every time I run a gouge or a veiner through wood, one wall of the hollow comes out clean and the other comes out rough. It is always like that with veiners and gouges. Then there is the grain. Even the same lime wood changes in softness, and in color, from one spot to the next. Lime is a close cousin of American basswood.
Because of that, I attack it from two sides, in from one end and then round to the other end. Wherever I catch the grain, I change position and come at it from the opposite side.
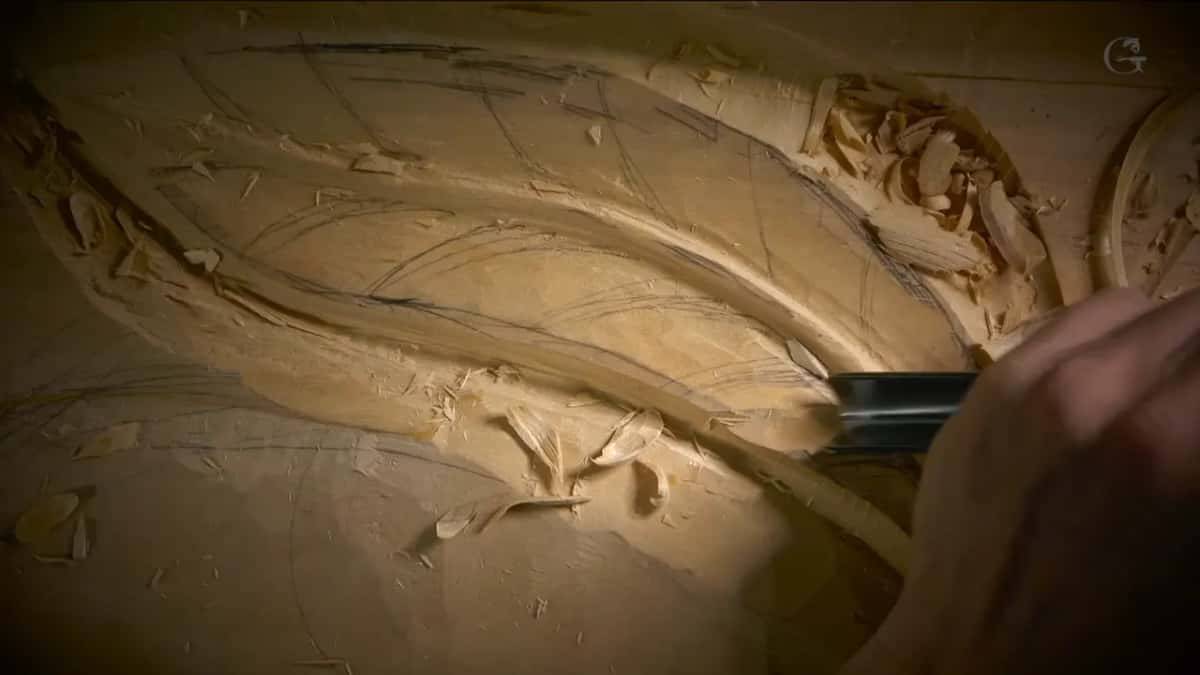
Sometimes the other side is closed to me, as it was in workshop 73. The left side came out much cleaner than the right, and I could not come at it from the other direction, because the main body was in the way. The only solution was to make my tool a lot sharper. Sharpening got its own course.
Why clean the surface before any detail goes in?
I call the cleaned surface a canvas. Back in workshop 62 I used just a number 3, barely touching the high spots, without too much pressure. I need a canvas. And I need to clean up before I can draw.
Every canvas has a shape, and the shape is the front of a fishing boat. I explained that boat in an earlier workshop.
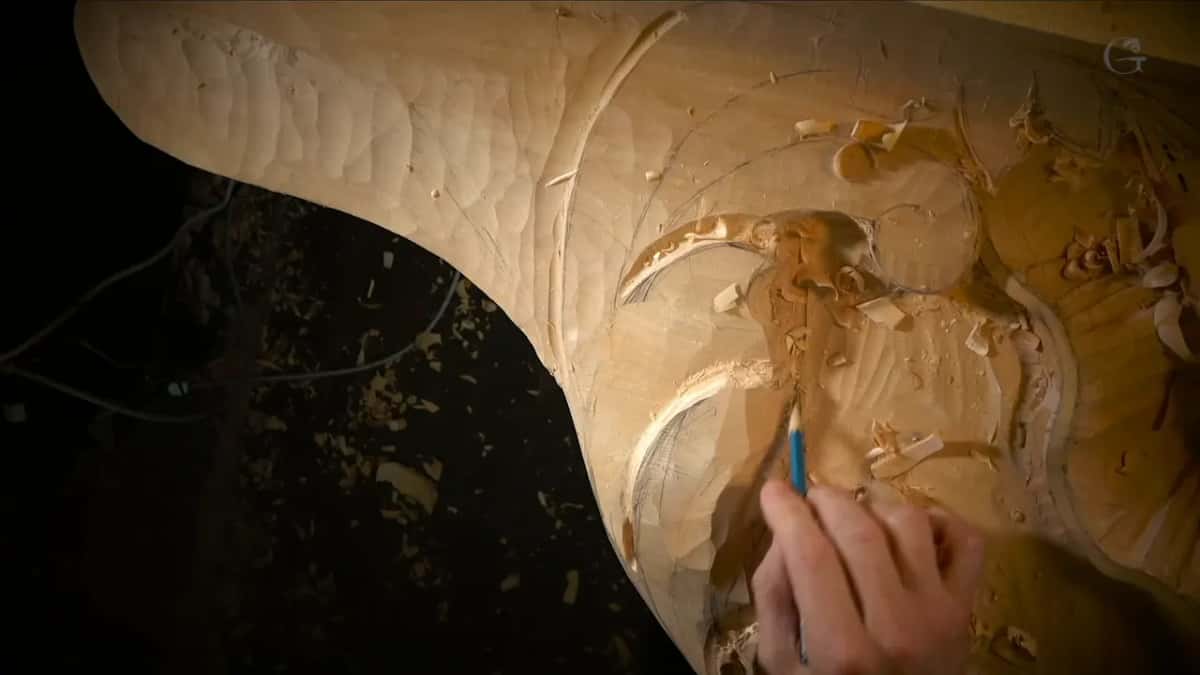
With a different style of canvas I could do crazy stuff, a lot of twists and moves. Here I need to stay really true to the Venetian period, as much as possible.
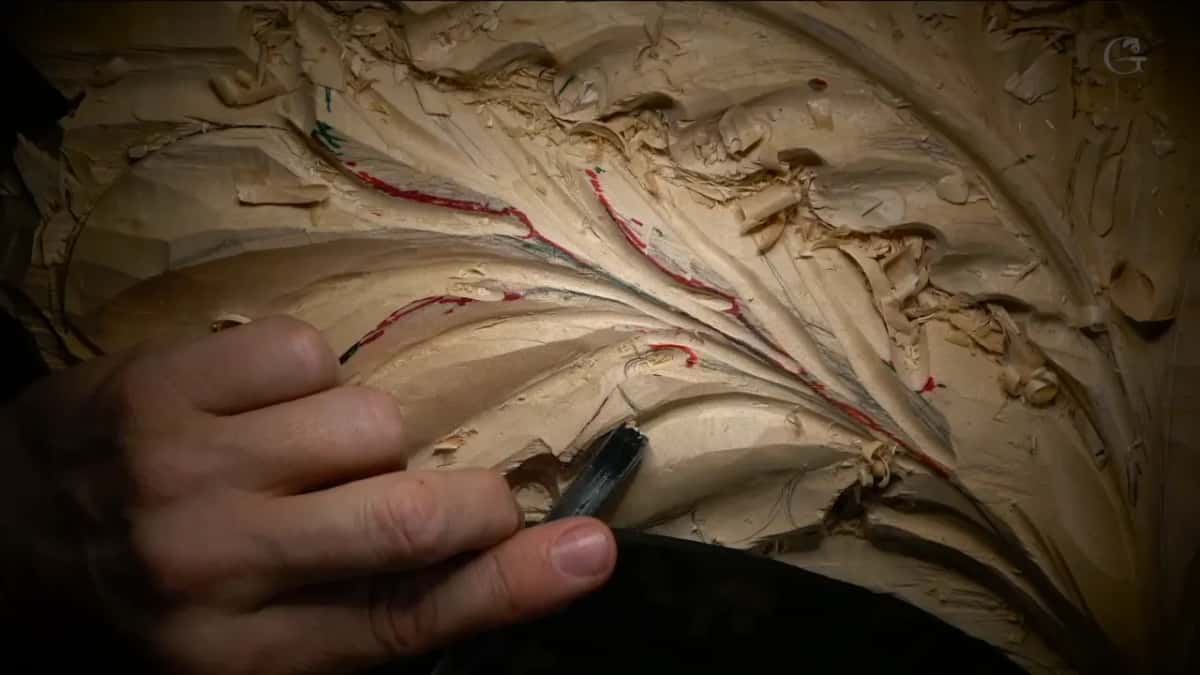
By this stage the board is covered in different colors. I know it looks like a children's book somebody colored in, colors all over, and I live with that. Not every idea was smart, either. The blue marker in workshop 72 went in much deeper than I expected. Here that is okay, because this room is going to be painted, but in other cases it would be a mistake, and it was a lesson for me.
Carving for every point of the room
Parts of this room go on the ceiling. One detail in workshop 67 was already moving onto the ceiling, and in 70 the piece I showed was a part going up there. A sloping section of this relief has to be visible from below and also when you look straight at it, and in 62 I called that a little challenging.
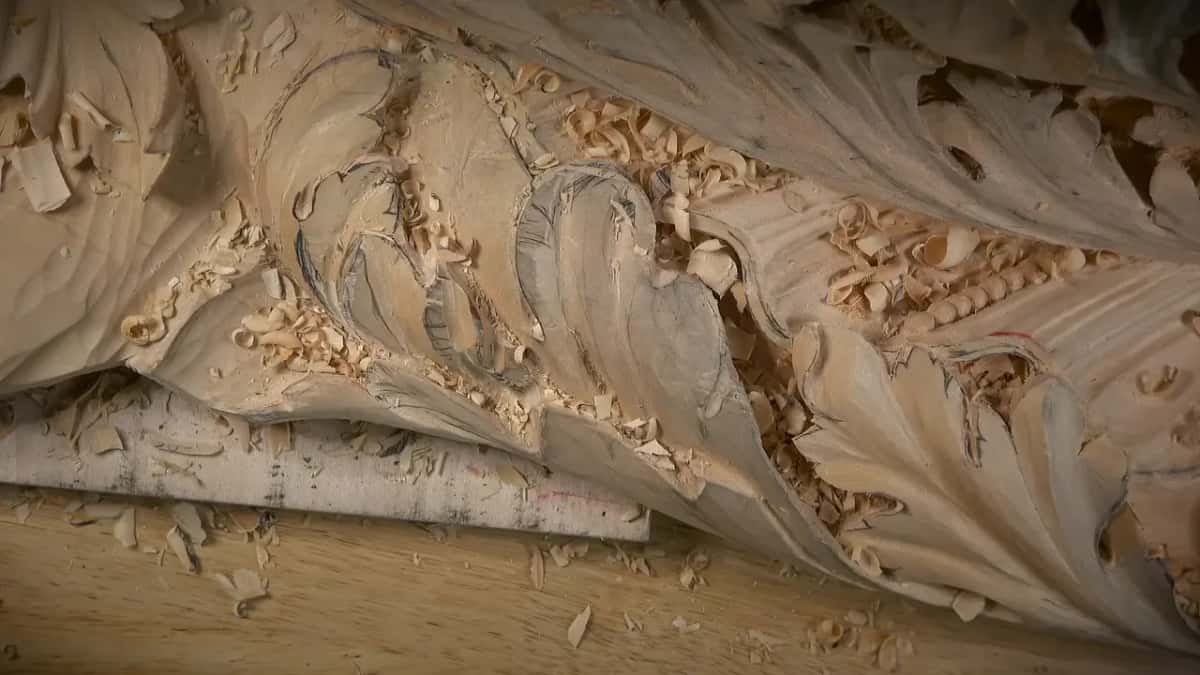
Those movements are not as easy as they look, especially on a slope, so I need to make sure they look good from all of the points of the room. On the last part of workshop 73 I carved one section a little differently from the main body for that reason. It sits right on the ceiling, and it has to look really good from all points of view.
Depth follows the same logic. Where a hole will not show from the bottom, I go just deep enough, not to the extreme. The ceiling panel in workshop 29 has its own page on carving for people looking up.
Which tool does which part of this work?
Most of the work in these twelve workshops is done with a number 11, in a lot of sizes.
| Tool | What it does | Where |
|---|---|---|
| Veiner, number 11, 5 mm (3/16 in) | Sinks the concave on each side of a pipe | Pipe sides |
| Large number 11, 20 mm (about 3/4 in) | Pre-establishes the opening, with a mallet behind it | Acanthus head |
| Spoon gouge, number 9, 10 mm (3/8 in) | Digs a deeper shadow into the section | Shadow sections |
| Small number 9, 3 mm (1/8 in) | Makes the plug cut inside an eye | Deep eyes |
| Number 3 gouge | Cleans the high spots before I draw | The canvas |
| Back bend gouge | Helps where everything else is in my way | Crowded spots |
| Big skew chisel | Gives a slope a little rounding effect | Sloped areas |
| The Gonzalez tool | Establishes the shape where the grain fights back | Blocked spots |
| Ashley Iles micro tool | Thin metal goes right through the fibers | Small undercuts |
The micro tools I love are the Peter Benson collection from Ashley Iles. The metal is really thin, and it goes right through the fibers with no problem. I also just like how they feel to work with. It does not have to be a micro tool, though. Any tool will work, even full size.
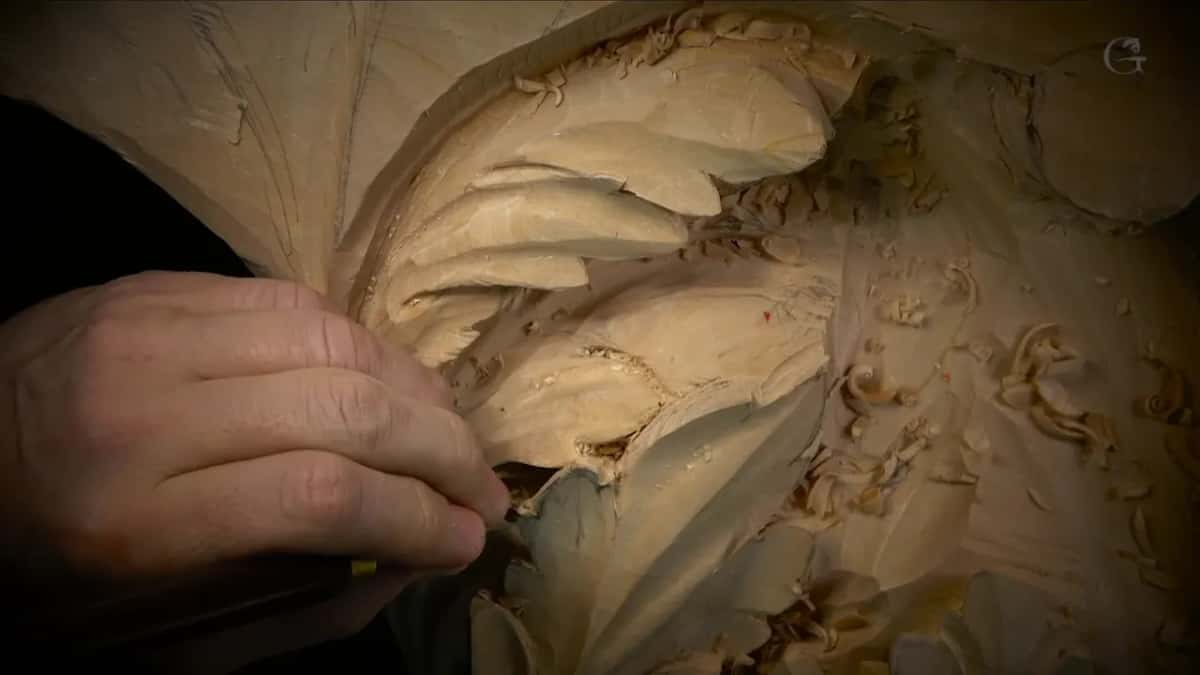
Worth naming as well is the Gonzalez tool. The tool is a chisel with all of the skew chisels in it, a 45 degree and a 22 degree, and I love those tools. When I really cannot go against the grain with a gouge, that is what I take, and I build the shape little by little.
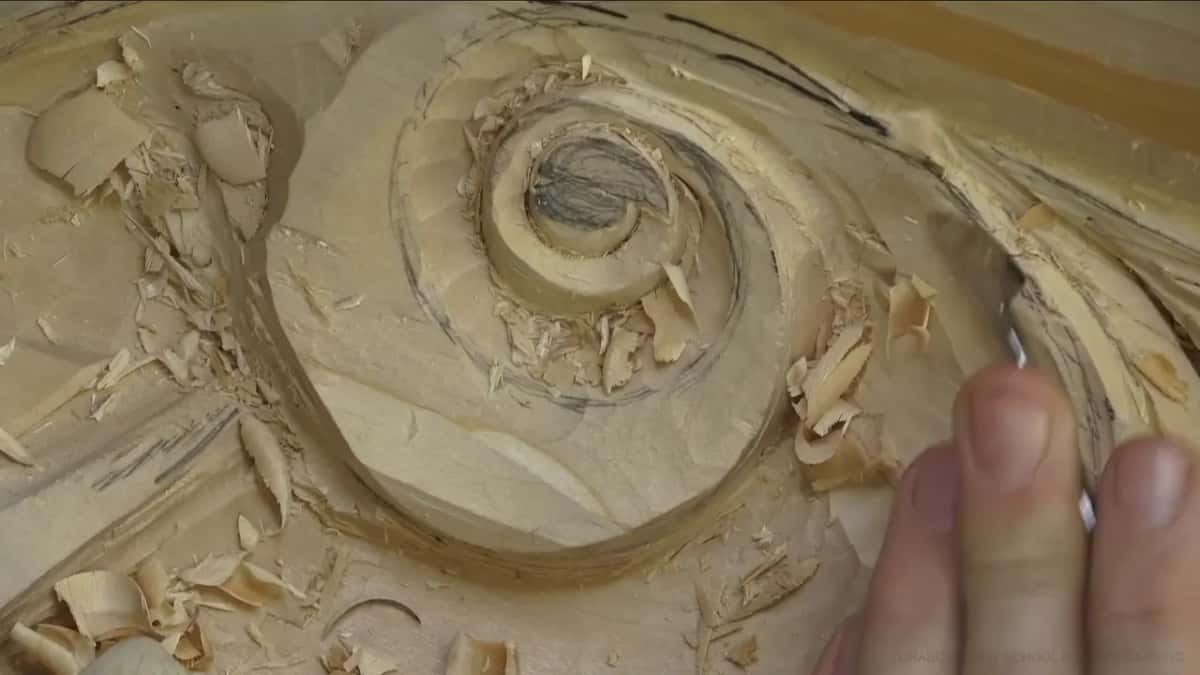
Does a number 2 mean the same thing in England and in Europe?
It does not. A skew chisel is number two in England and number one in Europe. Same tool, same edge, different stamp.
My big skew is marked number two because it is Ashley Iles, which is English marking, London pattern marking to be exact. One gouge, I believe marked number eight, feels like a number seven, and that brand, made in Russia, is my favorite right now.
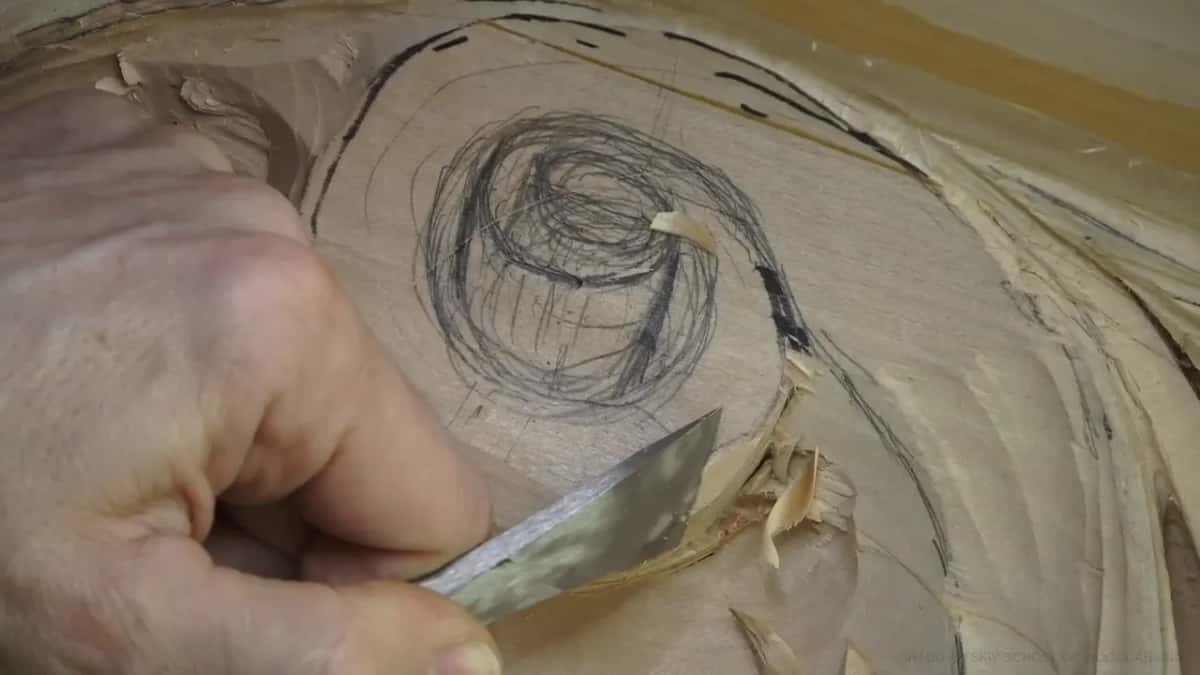
Why did Riemenschneider carve the side nobody would see?
You could ask me about him when I skip finishing an area that flowers will cover. Tilman Riemenschneider worked even on the backside and took it to perfection, and what he would say about it was that people will not be able to see it, but God will.
That is true. And we live in a different century, and I do not have the luxury those men had. In the 15th century a carver moved to the location of the project and could stay there for years, and he was paid well for it. Riemenschneider was paid really well, as far as I know, and nobody can ask him now. People now expect the work finished quickly.
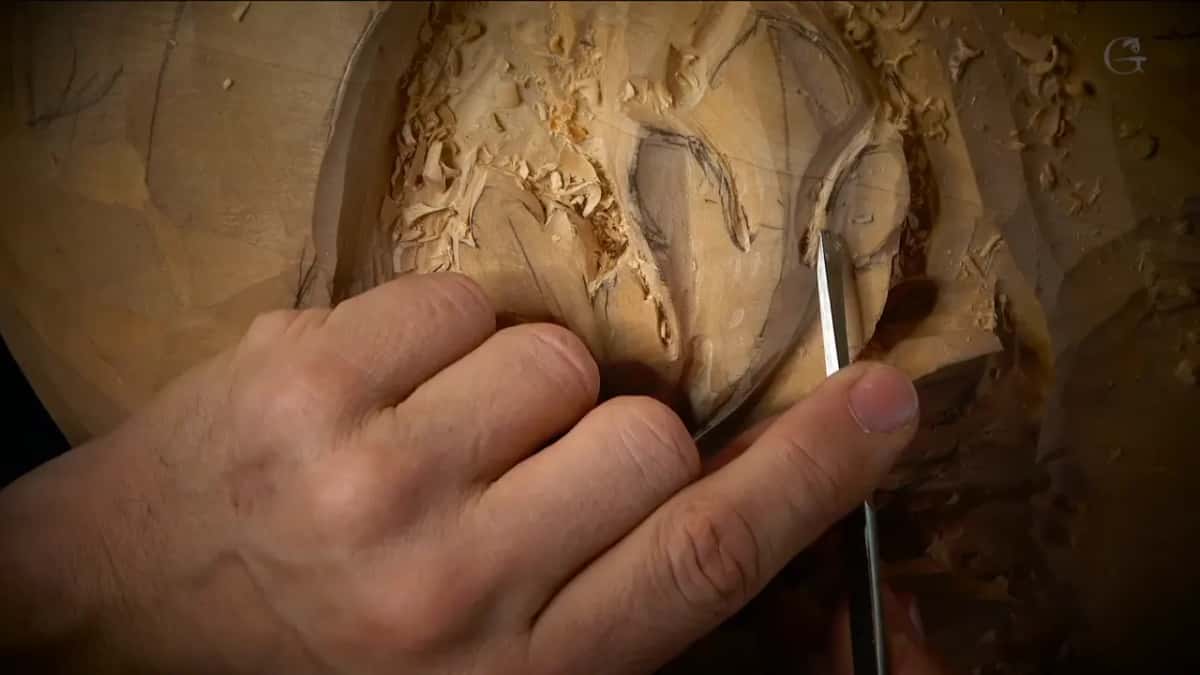
So I have to be wise about where the hours go. I can spend too much time in an area that will end up under a flower. Hopefully you like the result. More to the point, my client will like it, and the client is the one who ordered it and pays for it.
There is a version of this work where none of that applies. Big carving for churches, huge pieces, where some carvers make a relief cut and leave it like that, without a final pass. That is legit too, and at that size it makes sense.
Who is this room actually for?
This is the sixth stretch of one project, and the project is a whole room. It began back in workshops 1 through 12, ran through 13 to 25, 26 to 37 and 38 to 49, and then 50 to 61.
Each of these twelve workshops has its own page. The page for 62 asks what high relief is, 63 why wood goes fuzzy under the gouge, and 64 what a number 9 gouge is for. Number 65 asks whether you need to stain a carving at all, 66 whether to carve a thin leaf free of the wood behind it, and 67 and 68 cover the number 3 and the number 5. Then 69 rounds a sphere in relief, 70 is about not carving too deep, 71 about the bent gouge, 72 about a knife against a gouge, and 73 about curling a leaf edge.
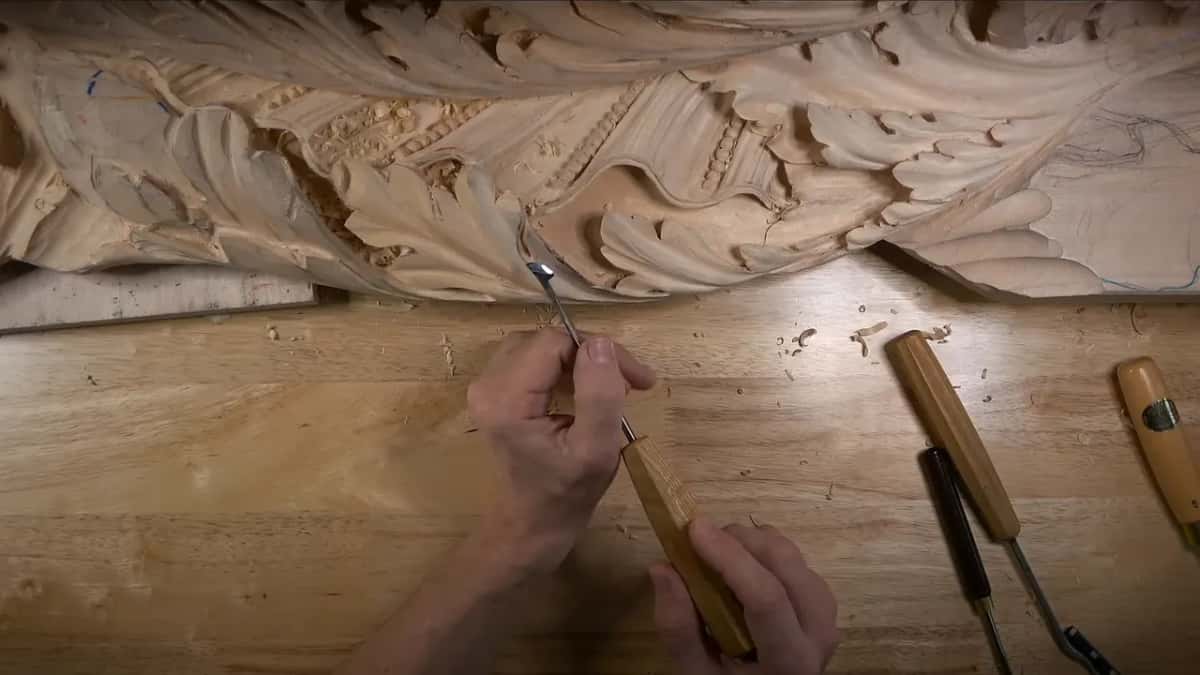
If you can already rough out a leaf and you want to see these decisions made on a real room, the practice is in the twelve workshops.
Do you want to understand why the old work looks the way it does, instead of copying the shape and hoping? Would a leaf that grows off its board interest you more than one more finished ornament? Then the whole school is one door, and this room is one course behind it. Shall we carve?
Want to look around first, that is fine. The map of every lesson is open to anybody, the story of the school sits on one page, and the classes in Maine are there if you would rather stand at a bench next to mine. Start here if you have never held a gouge, and a shorter course on acanthus over moldings waits if a whole room is too much to take on.
One last thing, and it has nothing to do with technique. My hands got dirty in workshop 64 from sharpening a pencil, and I said out loud that it was no bueno.
How it's done
- Clean a canvas first. I ran a number 3 over the high spots in workshop 62, barely touching them, without much pressure. I need that clean canvas before I can draw on it.
- Pick the higher side. I raise the side I believe looks better and let the main part go underneath, then outline it with the same tool.
- Set the main divisions. A long leaf gets several, then its main subdivisions. After that I subdivide everywhere, and some of those get subdivided more.
- Sink a concave beside each pipe. I take a small number 11, 5 mm, which is 3/16 of an inch, and remove wood little by little without pressing too much. With no concave, the pipe cannot be raised.
- Work each hollow from both ends. One wall comes out clean and the other rough. Wherever I catch the grain, I change position and come from the opposite side.
- Dig the eye deep. The eye gets a plug cut from a number 9 of 3 mm (1/8 in). That gives me the shadow I am after.
- Size the facing part differently. If one separation is 2 cm (0.8 in) wide, I make its partner 3 cm. Still symmetrical, just a little different.
- Look from every point of the room. Parts going on the ceiling have to read from below and from straight on, so I keep checking them from all points of view.
Frequently asked questions
What decisions come up most when you shape a leaf?
Where the eye goes, which part overlaps which, how deep the gouge goes and which side runs higher. I say them out loud again and again in this room. Sometimes both ways are legit, and then I go with the one I believe will look much better.
Do you need special tools for this kind of carving?
A number 11 veiner does most of it, in a lot of sizes, from 1.5 mm (1/16 in) up to 30 mm, a bit over an inch. I love my Ashley Iles micro tools because the metal is so thin, but any tool will work for this, even a full size one.
Why should one half of a matched pair be bigger?
Matching both sides exactly is what I call simple symmetry. The other kind keeps the pair and changes the size, so a 2 cm gap on one side gets roughly 3 cm on the other, about 0.8 and 1.2 in. My own eyes and hands work that way, one a bit bigger, and somehow that works with the brain.
What to carve next