

Alexander Grabovetskiy, woodcarver, School of Woodcarving · Published 2024
What is the law of conflict in carving design?
Quick answer: Conflict in design is my rule that two sections share the space unequally, roughly six parts to four, and stand in opposition, while the small elements of one still repeat in the other. On my furniture panel the smaller flower carries the same inner tendrils as the big one, only much smaller, and they separate.
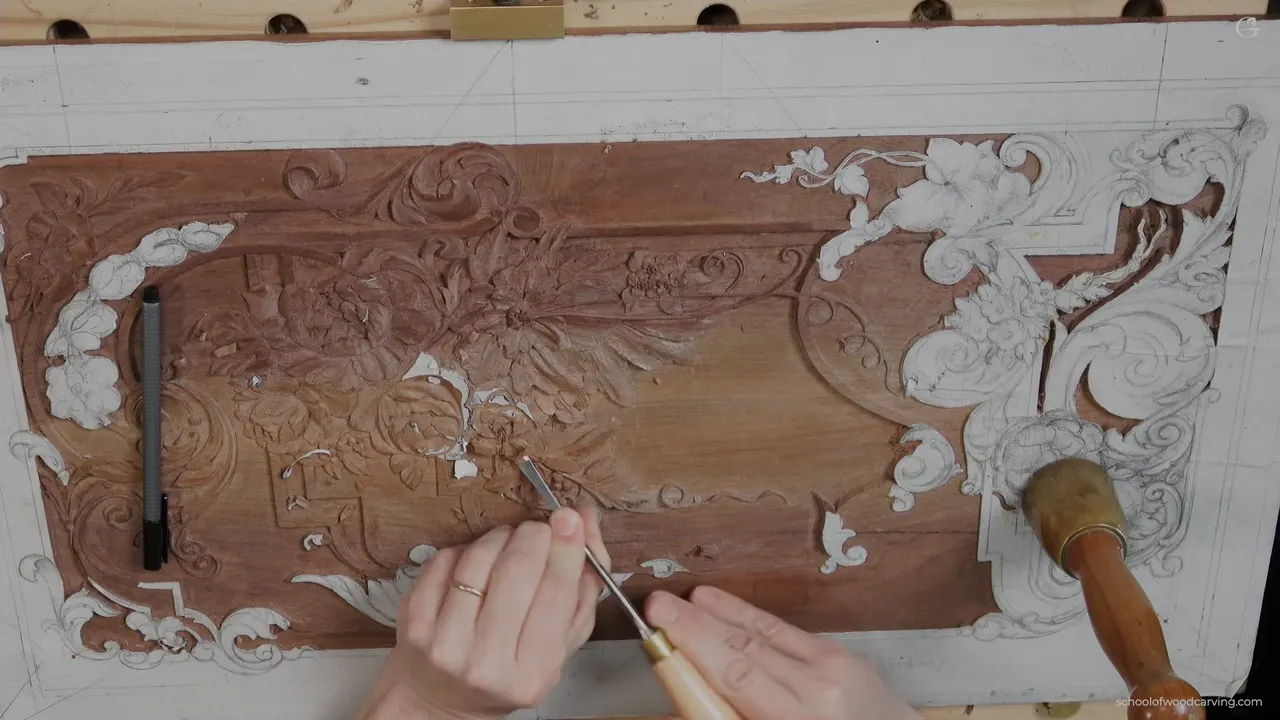
Conflict in design, the way I used it in lesson 34, is two sections at about 62% and 38% that stand in opposition to each other, while the little elements still repeat in both. I explained it before I picked up the first tool.
The flower I carved here sits right beside the one we worked on last time. It is approximately the same, but the smaller version. This lesson is about what is kept on it, what changes, and which way each part goes.
The law of conflict on one small flower, in six lines
- The new flower is a smaller version of the one from last time, and I reminded you of the golden ratio rule before starting.
- One section near 62% and one near 38% must be in opposition, but the elements still repeat.
- The inner tendrils go under the leaves and show up again below.
- Each petal is convex in the middle with a concave on each side.
- I lost one petal and put it back.
- On furniture the undercut stays gentle, because a deep one leaves a fragile part you can break.
What did I mean by 62% against 38% on this cluster?
Two sections of the same cluster, and they share the space unequally. I showed one section and then the other, and I said there is your 62%, and there is your 38%. I took it point to point across the cluster.
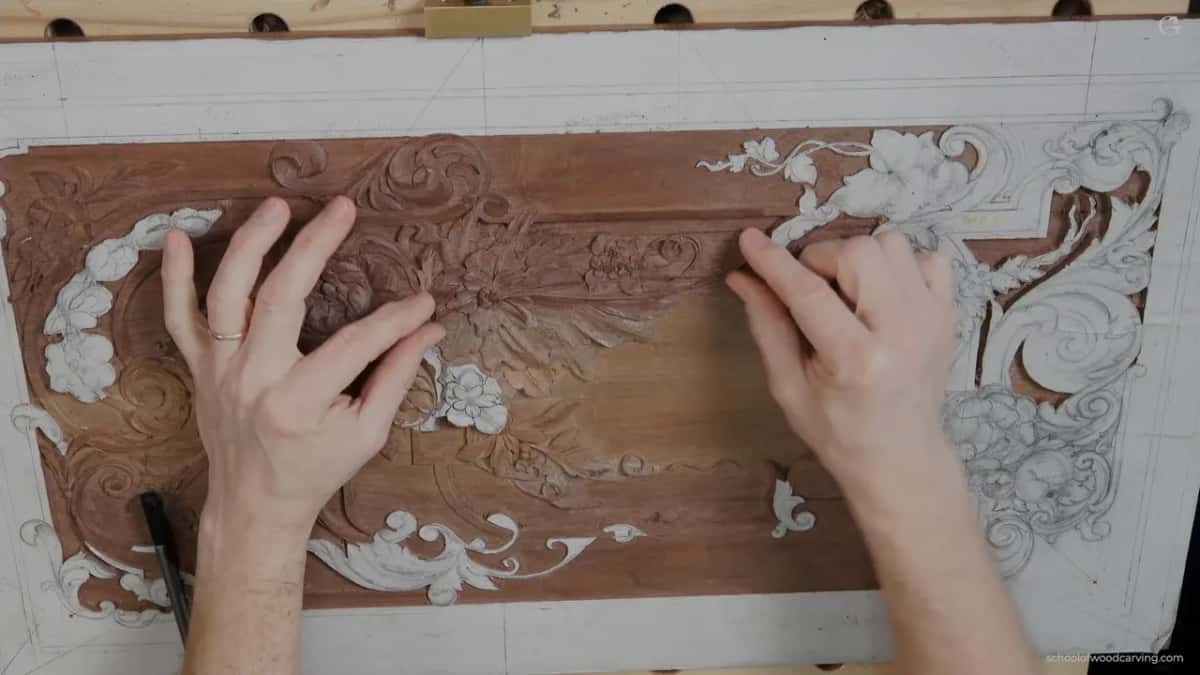
But they have to be in opposition. They need a conflict between themselves, and still the elements repeat. So I have an element coming from inside of the big flower, those little things, and I must repeat them. I do have that element on this side too, but much smaller.
You can call it the 60 40 rule, the golden ratio rule, or 62% versus 38%. Same thing.

This walnut panel has had a hero since design lesson 1, where I set it up like a movie, with a main character and an antagonist. In design lesson 14 I called the spot with the filler flowers the antagonistic area. And when I designed this flower, I believe it was workshop 13.2, in design lesson 13.
Where do the tendrils from the center go?
Out of the middle, just like on the big flower. I bury each tendril right underneath a leaf, and it shows up again from below. I really wanted to make sure I was not messing this up.

Maybe I could just make a change, I said. Same idea, but going in the same direction as that movement. At the center the idea stays as it was, and so does the anatomy, convex, concave and concave on every petal. Pretty much the technique doesn't change either. Except those movements from the inside. On the big flower they go together, and on this one they separate.
The idea is furniture style. If you remember the law of flow, everything has to flow together. It's like an arabesque. I highly encourage you to watch my design course for wood carving, because then you will understand what I'm talking about. That course is Principles of Design in Wood Carving.
Did the same rule come up on my other carvings?
It did, and more than once. In Acanthus over Moldings, lesson 8, I was on a single flower. To simplify the golden ratio, I said, it's 62% versus 38%, and it's a constant war. I call that concept peace and war in design.
On that flower, three petals probably conquer 62% of the space, and two conquer 38%. That puts those two in opposition to the three. If I carved the two exactly the same as the three, I said, I would not see any conflict going on. The idea works for the whole project and inside a flower, and even on one leaf or petal. On a petal there, the center line falls at about 62%. The other side is the 38%.

Three lessons later, in lesson 37 of this course, the same idea came back on this panel. The second element was actually the same as the first, but it was going to go in opposition. One space takes about 60%, so the other has to take about 40%, and that is why one of them is much smaller.
I know some of you don't really pay attention to all of those design rules and golden ratio proportions. For me it is a big deal. Maybe it shouldn't be a big deal for me either, I said there. But anyway. For anyone who knows the rule of conflict, this one is in opposition to that one, and they sit on two different spectrums.
And in lesson 2 of Principles of Design, while I was comparing an empty spot on a picture with a busy one, I put it this way. Who's better? Again, it's a constant conflict. When you look at the flowers, there's a war going on, a war of ideas, even in simple design.
How deep did the first outline go on the small flower?
Shallow. My first tool was a number 11 again, 2.5 mm (about 3/32 in), and I took the mallet too. I didn't go deep at that point, just to get an idea.
Even if I draw it like this, the final shape of every one of them is going to be wavy. I don't have to repeat the same idea all the time, but please understand the structure of those flowers. One spot was just a mistake, I said. I had to outline the element there. The tendrils go from inside, like I said, and right underneath of the leaves.

One part was probably going to be much deeper, so I went about 3 mm (1/8 in) there. On another petal I could go even deeper, because I had plenty of depth, and I used it as my advantage with a bigger number 11, 5 mm wide.

It's easy to lose the picture when you are just outlining everything, I know. Please don't. Keep that mental picture of how it is supposed to look. With the big flower I started from the outside, developing those big petals first. That isn't required, but for me it's important to get the overall idea. Then a flatter tool made the petals a little smoother.

How do you hide a tendril under a leaf?
First the tendrils got outlined better with a 2 mm number 11. I went about a millimeter and a half deep, because I really needed to hide them underneath of whatever we developed already. I left them kind of heavy. Maybe about two millimeters, since I can always make them smaller later. Later on I said I'd keep about a sixteenth of an inch, one and a half millimeters or so.
The second video opens with a number 3, the flat one, slicing right underneath of those leaves. Then a number 11 at half a millimeter, so I could see exactly how each tendril hides and where it goes.
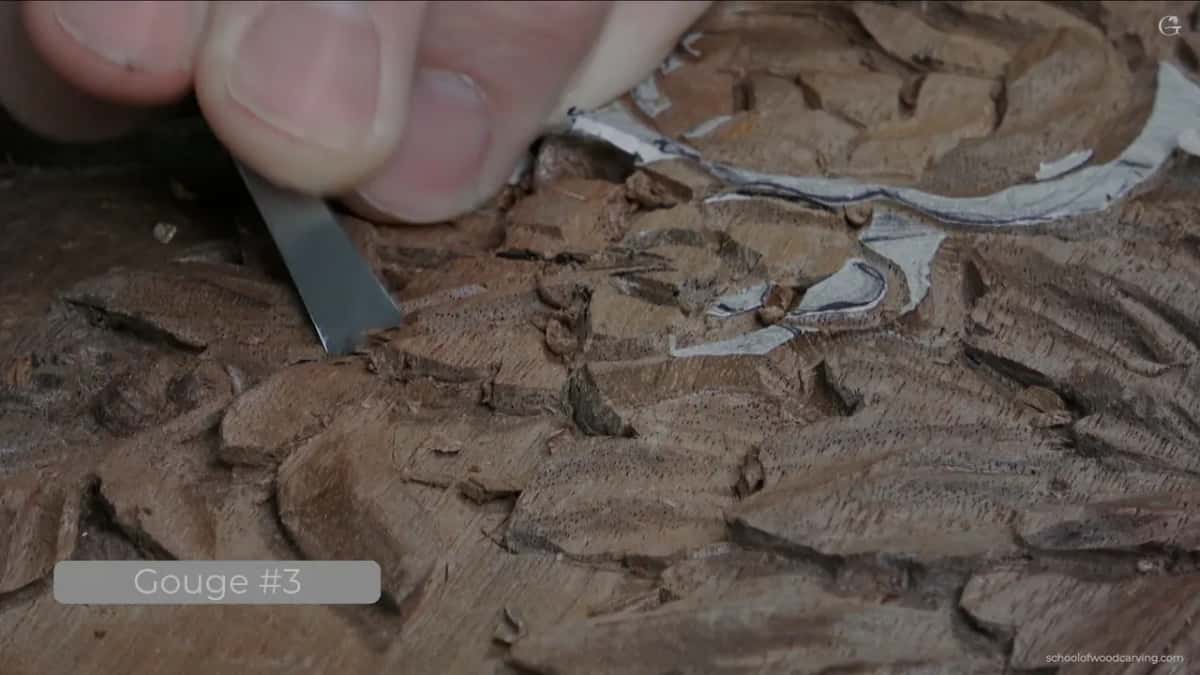
There was a little material left beside the hidden part, so I could outline slightly right beside it, just to give an indication that this element goes underneath and continues all the way. One leaf came down a little more with the number 3, because it stood too high.
I wanted the central part readable. So the same narrow veiner came back, closer to the final width, and I had to attack it from the opposite side.

I kept it somewhat wide because it's just the rough stage, and I want that flow to be really nice. Straight lines are what I don't want to see. I could see a few right then, and at the end I can always fix that, to make it really, really flowing.
Which tools did the small flower take?
| Spot on the flower | What the tool did there, in the order I worked | Tool and size |
|---|---|---|
| Whole outline first | Went around everything, not deep, only for the idea of the shape | Number 11, 2.5 mm |
| One area with room | Taken 3 mm deep, since the depth was there | Bigger veiner, 5 mm wide |
| Inner tendrils | Outlined about 1.5 mm deep and left a little heavy for now | Narrow veiner, 2 mm |
| Under the leaves | Sliced right underneath, then a fine veiner showed where each hides | Flat number 3, then a 0.5 mm veiner |
| Sides of each petal | Lowered into concaves, leaving the middle higher | A seven that is almost seven and a half |
| Too sharp ridges | Blended down into both concaves | Small skew, which is just a Peter Benson tool |
| Spot with no shade | Taken down almost to the background, while I watched the level of the background | A number 10 |
Which way do the concaves go on each petal?
Down both sides of the petal, so the middle stays convex, which means higher. Let me grab a number eight or nine, I said, I don't know. I used a number seven. Like I mentioned before, this number seven is more like seven and a half, almost. It's a fishtail, and I kind of like it.
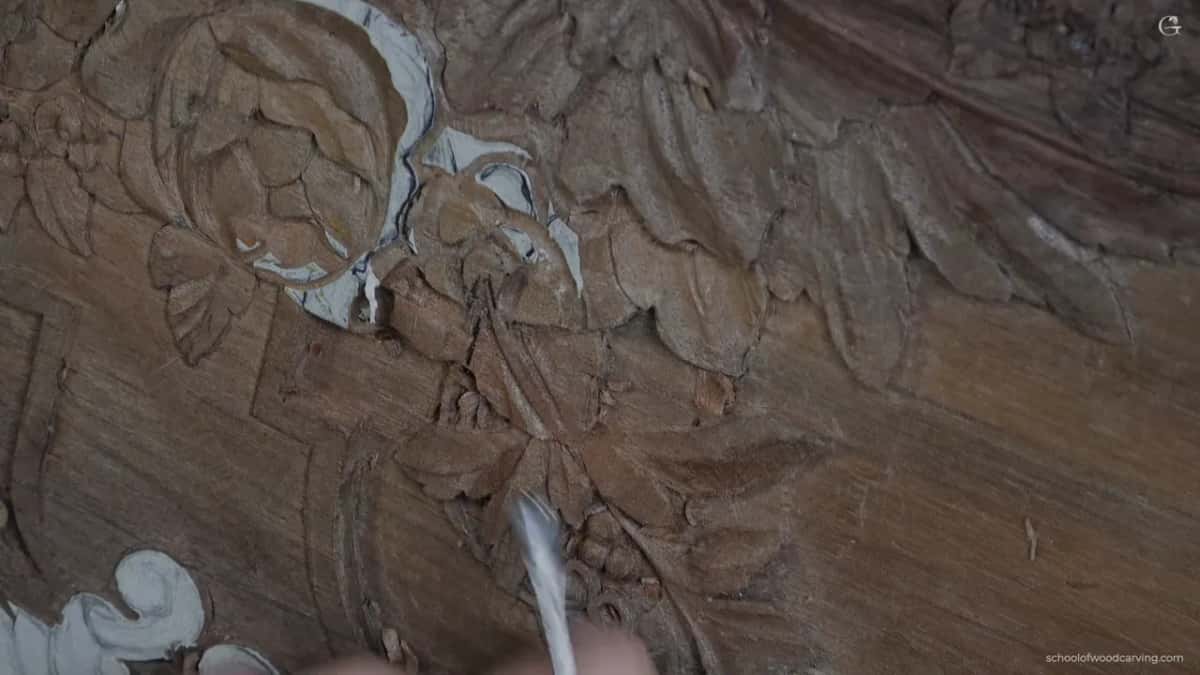
Same thing on both sides, except you've got to be really careful how you attack it. Slicing helps.
Then those sharp ridges. Remember, the middle needs a convex feel. I used a small skew knife, number one, which is just a Peter Benson tool. Why? To prove the point that it's not necessarily up to the tools. There are multiple ways to do it, and I just blended that ridge with the knife into the concave on both sides.

The final shape will be more wavy, like the neighboring flower. To get close to the final movement I set the flow first, the center line, and worked along it with the same tool, carefully, almost stepping. For cleaning I took a number 3, 6 mm that time. Six isn't a must. Three, four or five millimeters, it doesn't matter. Right now I just have to blend that movement together, and any of them will do it.
Later in that video, when the concaves went into a petal, with the same number seven, closer to a number eight, I wanted the ridge on the right-hand side to feel like it goes uphill. It doesn't have to be like this, if you ask me, and it's up to you. I want to be authentic to those times. Not all, but a lot of wood carvers did it concave, convex, concave, with the high part right in the center. Please understand, not everyone did that. I think it looks really nice.
What happens if you lose a petal while carving?
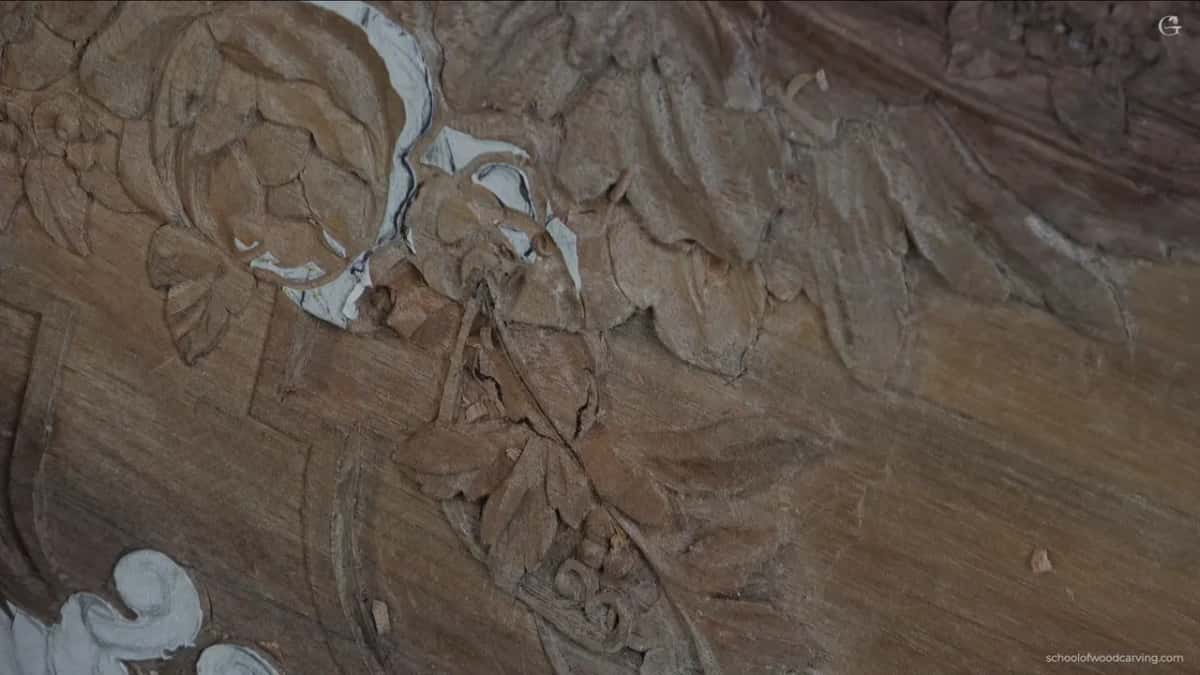
You put it back. In the third video I made a concave right inside the convex using a number nine, and every one of those goes to the center. I'll blend it a little later. Except, I said, I had lost one of the petals of the upper layer.
You have to redraw it. That way we have all five, and in this case it has to be five. Before it's too far, you have to outline it. My number 11 there, 2 mm, was an antique one, same idea. I didn't want to lose it. Now it's five. And sometimes it does happen.
Where does the shadow come from on a low relief flower?
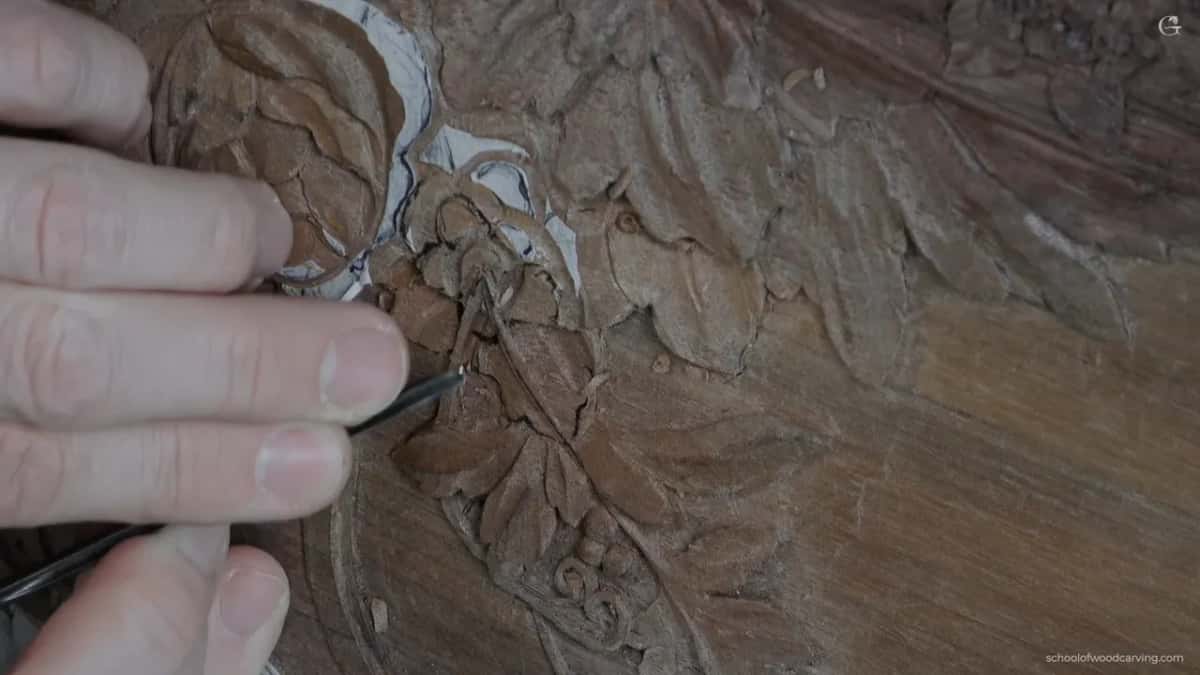
From going deeper where it is missing. One petal stuck up too high, so I lowered it with a number 3, 6 mm, about a quarter inch, because there was not enough shadow yet. On that side I had to go much, much deeper, maybe using a number 11. Then the number 3 again, flute to the left at about 10 o'clock, for an undercut underneath.
After that I redrew the separations. It all has to be wavy, and whatever way the flow goes on one petal, I repeat on the next. Maybe two of them, this one and that one, go in opposite movement, I said, to keep the conflict going.

One part just bugged me, so a number 10 knocked it down completely. It could be a number 11 or a number nine. It just happened that I had the number 10 on my bench. Maybe even really deep, I said, almost all the way to the background, and I still kept an eye on the level of the background, because I don't want to mess it up. But I do want to see a shadow spot there later on.
When the whole thing is carved, we're going to work on a finishing technique, pop certain areas, make some shadows and so on, and it's going to look really nice.
How gentle should an undercut be on furniture?
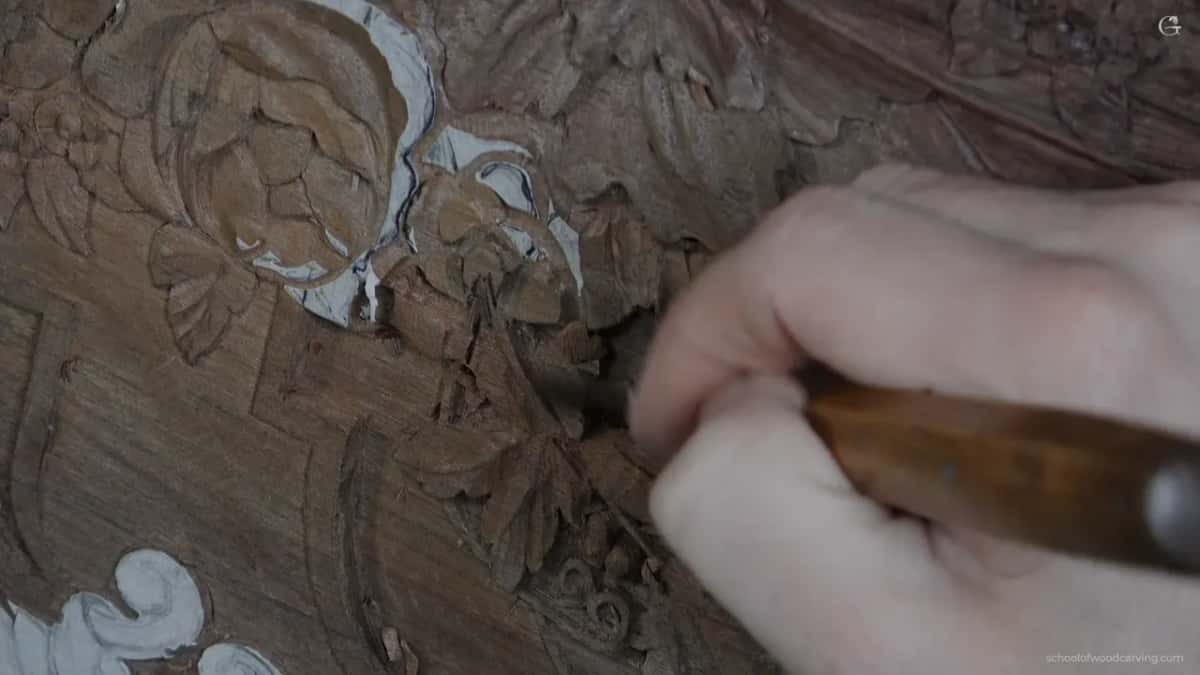
Gentle, and not too deep, because this is furniture. Before that, the small skew set the semi-finalized convex and concaves, and even with just a knife you can do lots of work. For the concaves I grabbed a small Dockyard number nine or eight, and it doesn't really matter which. Keep the overall movement in mind, I mean the direction of the petal. The concaves are the main thing that determines it.
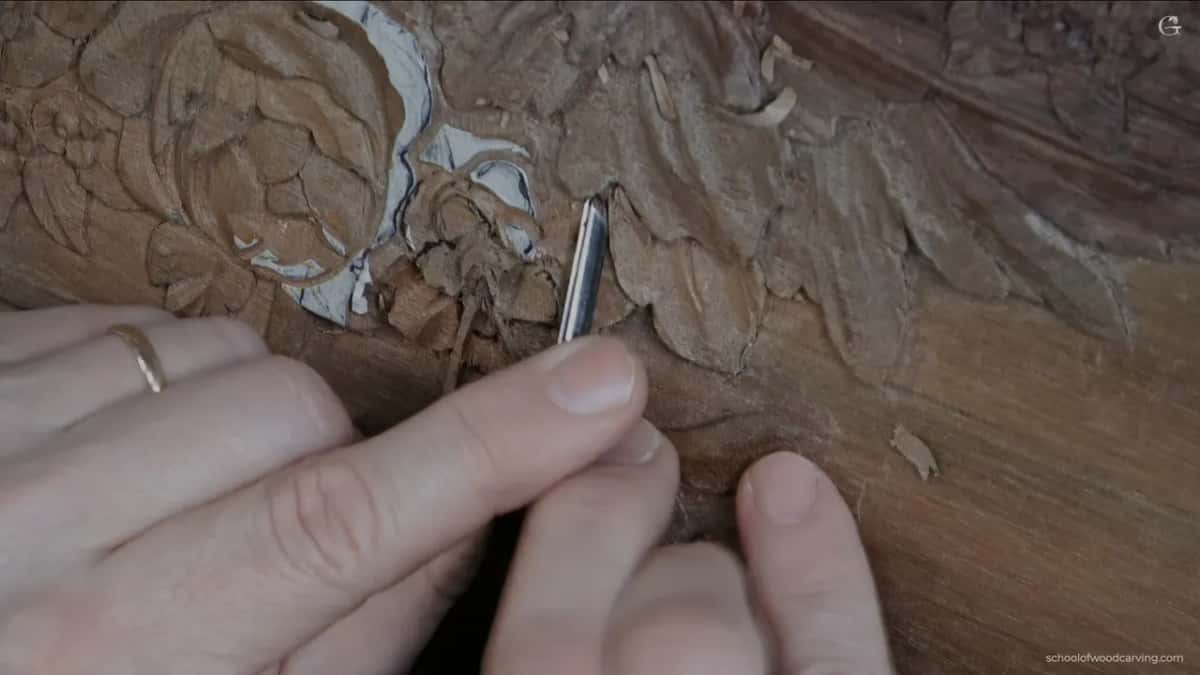
Don't forget one more concave right on the inside, with a small, tiny tool. You don't really see it on camera, but it is going to cast a shadow in real life. And make sure you don't carve it as a straight line. Follow the movement, the overall flow.
If you feel comfortable to undercut right away, you can go ahead, and there are multiple ways to do it. Start with the skew, or grab any small tiny tool, a number nine or a tiny number eight, or a number 11 at half a millimeter, which would be even better. Just don't force it, and don't undercut too deep. Go too deep and you create a part that is too fragile, and you can break it.

What is left to do on this flower?
The center and the other petals are exactly the same as on the big flower from last time. It's just a smaller version of it. To be honest, I never saw that flower in real life. The rest I'll do off camera, because you already understand how it's done, and pretty soon, I said, we're going to jump on another side. The next one is lesson 35.
I know it takes a long time. Please understand, this is not my number one project, and I'm really busy. But I hope it gives you an idea of how furniture should be developed if you are into 18th century work.
Two flowers, one rule, and a relief only a few millimeters deep. The whole course sits in Carving Furniture Panel, Part 3, the drawing behind it in Designing Furniture Panel, and every lesson is open to you through Tuition.
Got two shapes side by side on your next board? Give one shape more room, about 62%, and the other 38%, and turn them against each other. Pick up a gouge.
How it's done
- Outline the whole flower shallow. Go around everything with a narrow number 11 and keep it shallow, only an idea at first. Keep the picture of the finished flower in your head.
- Use the depth you have. Where a petal has room to go deeper, take it. I went 3 mm, an eighth of an inch, with a 5 mm veiner.
- Hide the tendrils. Outline them about 1.5 mm (1/16 in) deep and leave them a little heavy. Slice beneath the leaves with a flat gouge, then check the hiding spot with a half millimeter veiner.
- Give every petal the same anatomy. Lower both sides into concaves so the middle stays convex and higher, be careful how you attack it, and slice. A small skew can blend the ridges.
- Redraw a lost petal right away. If one disappears, draw it back and outline it before it's too far.
- Make the shadow and keep the undercut gentle. Where there is not enough shadow, go much deeper on one side, almost to the background, while you watch its level. Don't force the undercut, and don't go too deep on furniture.
Frequently asked questions
What do the numbers 62 and 38 mean in a carving design?
Unequal shares of the space, about 62% for one section and 38% for the other. I also call it the 60 40 rule. On this walnut panel I showed it point to point across the flower cluster, and the two sections had to oppose each other.
Should a second flower copy the first one?
Mostly, on my panel. Center, petal anatomy and technique stayed as they were, convex in the middle with a concave on each side. One thing changed. The little movements from the middle no longer run together, they separate and each one slips beneath a leaf.
How can a carved tendril look like it runs under a leaf?
Slice under the leaf with a flat number 3. Then check with a half millimeter number 11 to see where it hides. On the far side a light outline gives the hint that it carries on, and a leaf standing too high can come down a little.
What to carve next