

Alexander Grabovetskiy, woodcarver, School of Woodcarving · Published 2025
Why should you not stab the outline when carving?
Quick answer: Stabbing an outline is setting the edge of a design with a straight-down push on the drawn line, while all the wood beside it is still there. On my walnut furniture panel I asked you please not to, because it stresses the fibers. My number 11 goes in beside the line first. The chop comes after.
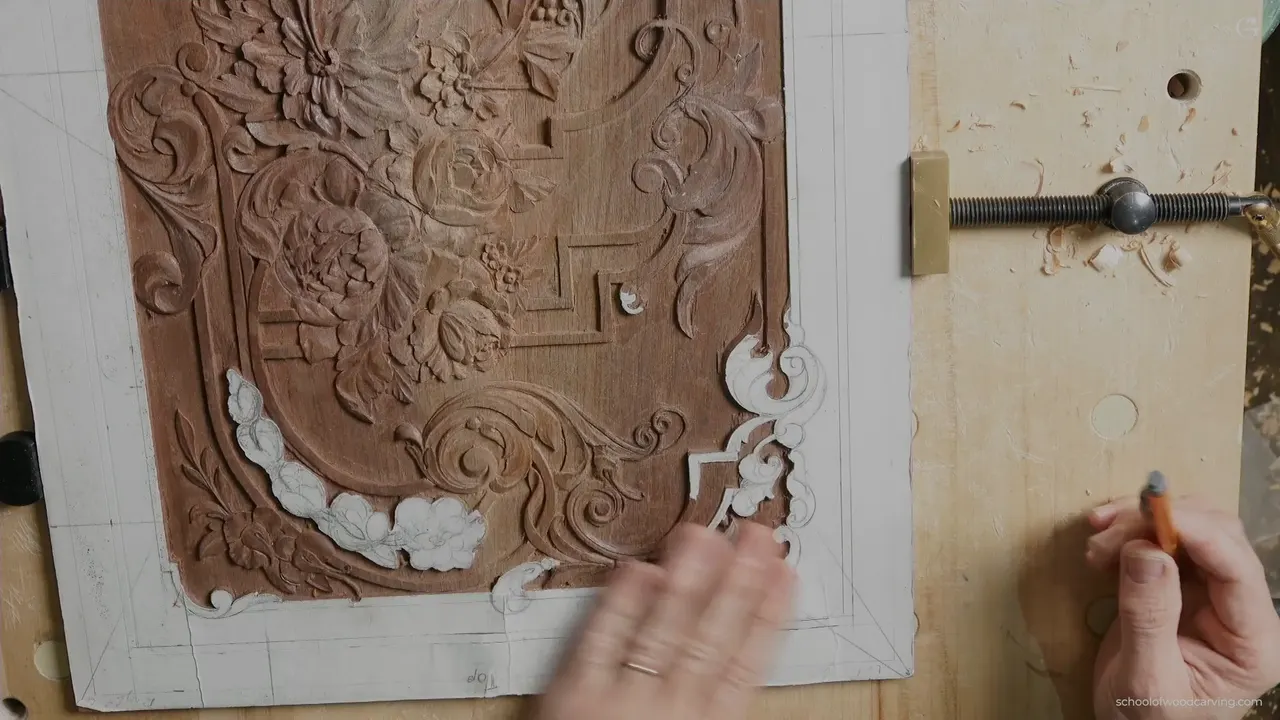
A stabbing cut is a straight-down cut. Used to set an outline, it goes straight down on the drawn line while all the wood next to it is still there. In lesson 39 I was working on a corner of my walnut furniture panel that we had not touched before, and I asked you not to do it. Please don't create any stabbing cut for outlining. You create a lot of stress on the fibers of the wood, and that is not a good idea.
A sharp gouge and a clean line make a straight push look like the fast way. I get it. Below is the order I used on that corner instead, and the point in the video where a straight-down cut finally became safe for me.
The short version for this walnut corner
- No stabbing cut for outlining, because it stresses the wood fibers.
- First a number 11 veiner runs a preliminary cut near the line, not on it.
- Waste goes next, across the grain.
- Once that relief cut is in, a number 8 can chop straight down, and every cut begins near the center of the last.
- Keep the tool from pointing inward, keep hard hits off the wall, and leave some depth for the plane.
- At the very end a number 2 and my big chisel bring the wall to the line.
What does it mean to stab an outline?
It means setting the edge of the design with one straight push of the tool on the line, before the wood around it is gone. On this panel the line was already there. Before this lesson I had made a sharp line around the design, and you could do that with a knife, a number one chisel or a skew chisel. It helps me not to cross that line.
The stab I warned about in part one is the tool itself going straight down to set the outline on a low relief panel like this one.
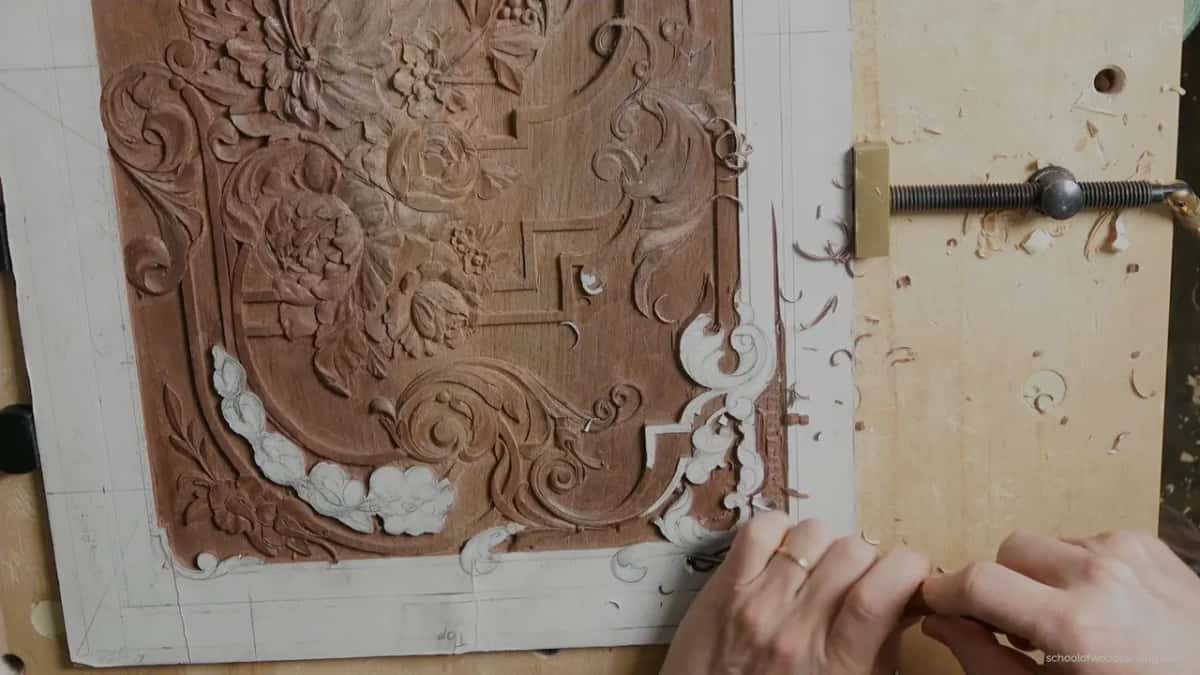
Why does a stabbing cut stress the fibers?
A straight push to set the outline puts the fibers of the wood under a lot of stress. That is the reason I gave in part one. Less than a minute later I said it again. You're still stressing those fibers, and that's why we excavate close to this line, but not right on it.
On the grape onlay I put it another way. I could just do a stabbing cut there with some kind of flat gouge, and it's doable. But I'm not the biggest fan of those cuts. You're just spreading the fibers to the sides, so I prefer a number 11, although sometimes it's all right to use it.
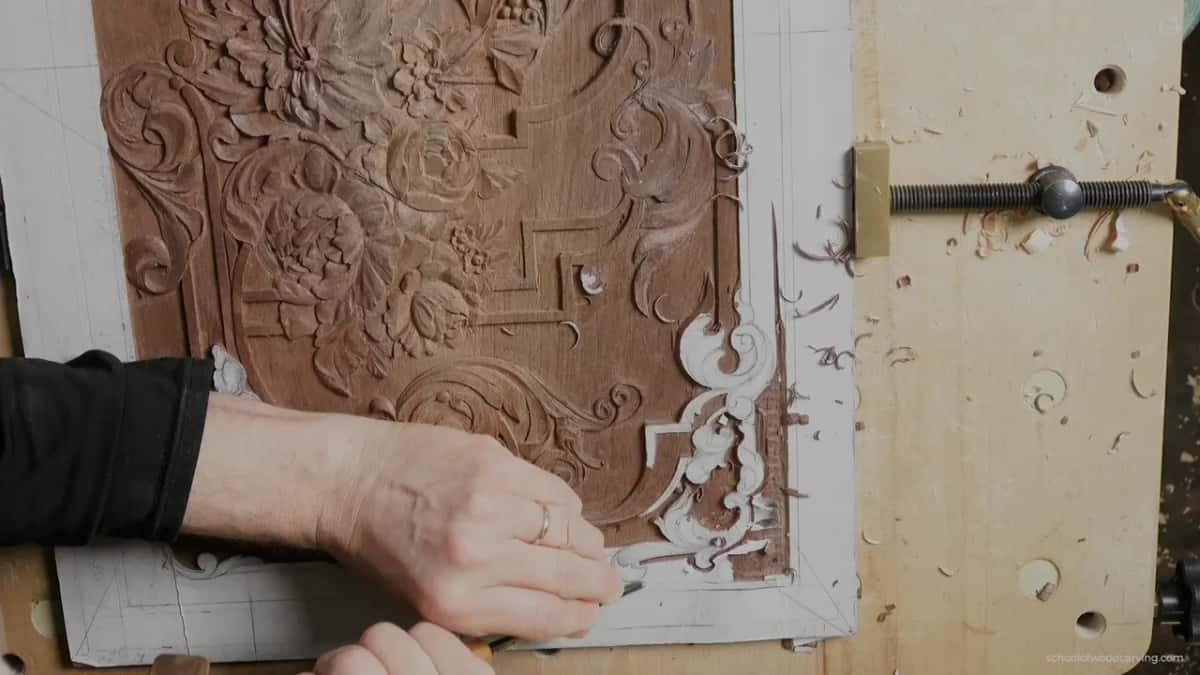
How strict is the no-stab rule?
A strong habit of mine, not a law, and I'm going to be honest with you about where it gives a little. In lesson 24, on a small filler flower of this same panel, I stabbed with a number 5 so you could see it. If you want to go quicker, you can live with it. I just don't choose it, and the reason was the same fibers spreading both ways.
One lesson before this one, in lesson 38, I started a spot under a molding with the knife, not so deep. I said I usually don't like that stabbing cut because of the fibers. In most cases it's a no-no. But there was not much material to remove in that spot.
Some of you asked me back in lesson 28 why I don't just stab at the beginning, and the answer there was that same stress. So the strength I'd give it is this. For outlining, please don't. Most of the time it's a no-no, but now and then, as I said on the grape onlay, it's all right to use.
How do I outline without a stab?
With a veiner, near the line. My first tool in lesson 39 was a number 11 veiner, 2.5 millimeters (about 3/32 in). It does not have to be 2.5. It just happens that I really like it. I make a preliminary cut pretty close to the line, and if you are somewhat afraid, stay away from it slightly.
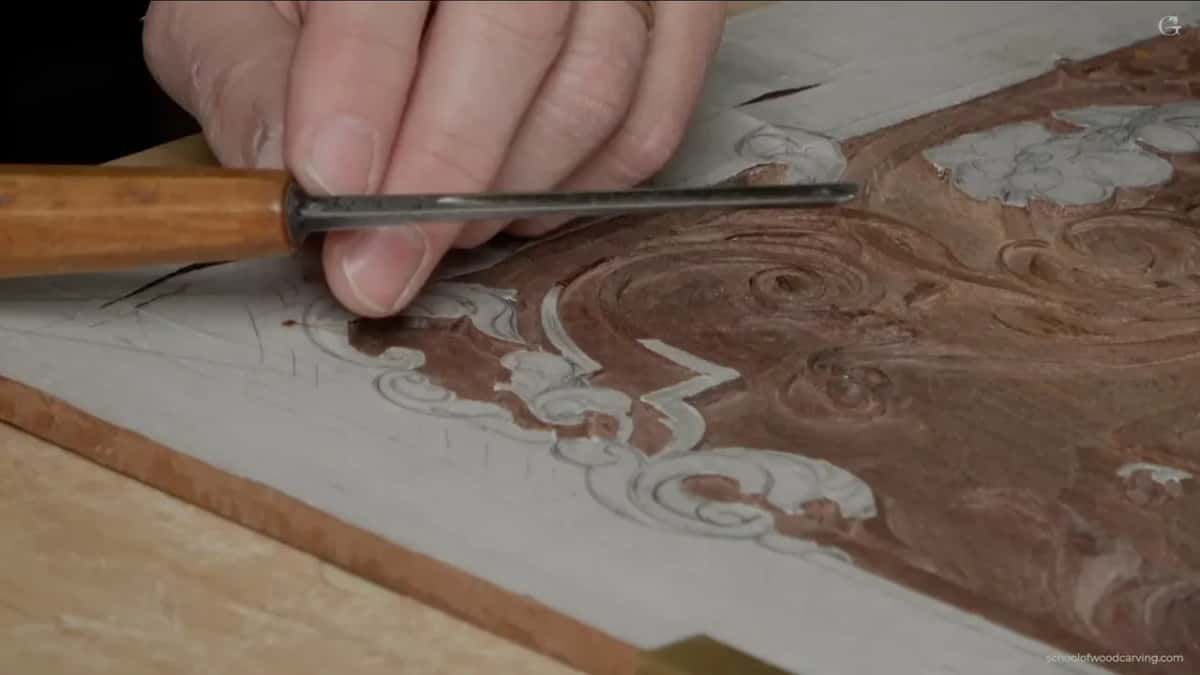
At that moment I was working with the grain, and along the grain it's somewhat dangerous, I should say, but it was okay. No problems so far. The grain looked straight.

After the first waste came out, I took the same number 11 and outlined again, just carefully. You don't want to destroy the design. Then I attacked from another position. Like I said before, it doesn't have to be that size. It could be another number 11.
One line there bent slightly one way, and I didn't remember why I drew it like that. What did I do? Don't remember. So I went straight first. Later on, maybe I'll remember why I've done what I've done.
The paper pattern was just kind of loose in one spot, so I had to be careful how I went around it. Near the end of part one there was a line I didn't want to lose. I made it a little deeper with just a knife.

What takes the waste out before any chop?
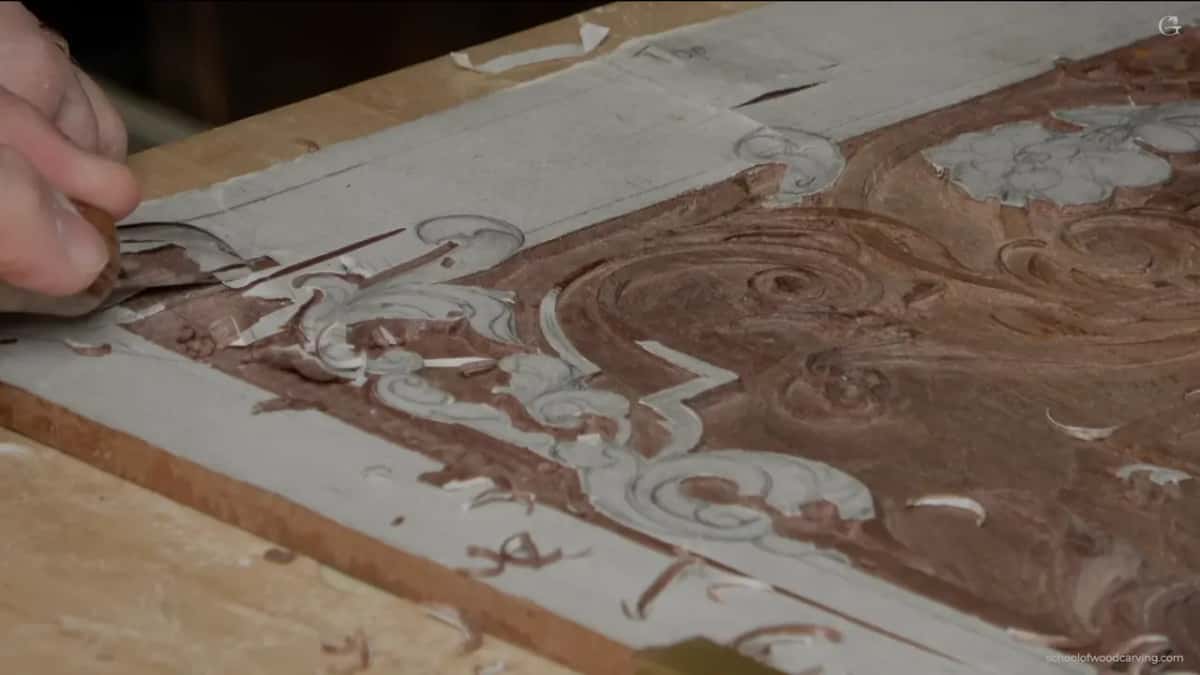
A bigger tool that goes across the grain, and in this case it was an antique number 7, about 10 millimeters, which is 3/8 of an inch. I don't want to lose my picture. I excavate with multiple cuts. Just make sure you don't go all the way to the design. That would be a big mistake.
And do a slicing cut, please. Just slice it. Lesson 37 shows that slicing again. In part two the same number 7 went right in the middle, and then I said I think that is enough for now. Well, actually, I had one more section left to take care of.

How deep should this background go?
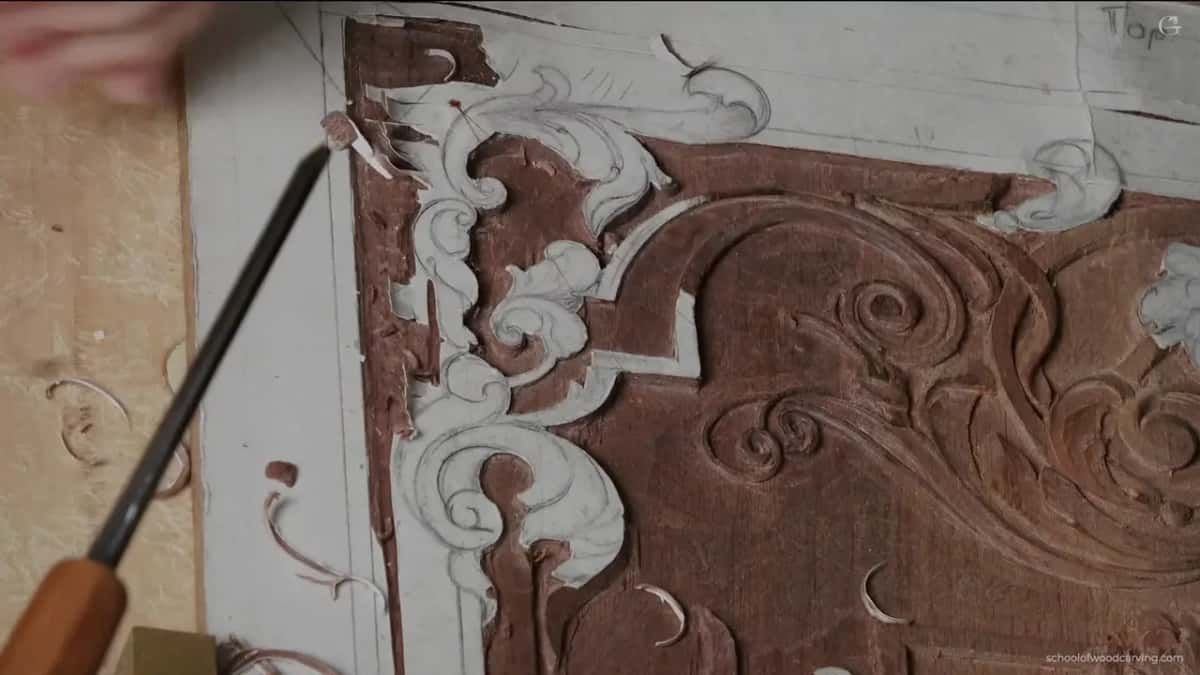
Probably down to the depth of the center, if I want this area to stand out. That was my first decision in lesson 39, before any tool touched the corner. Should I follow the depth of a section I had already carved, or get much deeper, like in the center? It's a big question.
I still had another area to excavate a little later, and I could do this one at the same level as that section, which is not as deep. If I would like to exaggerate this area, probably I should go as deep as the center, and the center is pretty deep.
I guessed about a quarter of an inch, a little less, but I didn't measure it, so I got my calipers. Approximately 0.2 of an inch. About 5 millimeters, so a little less than a quarter, just like my guess.
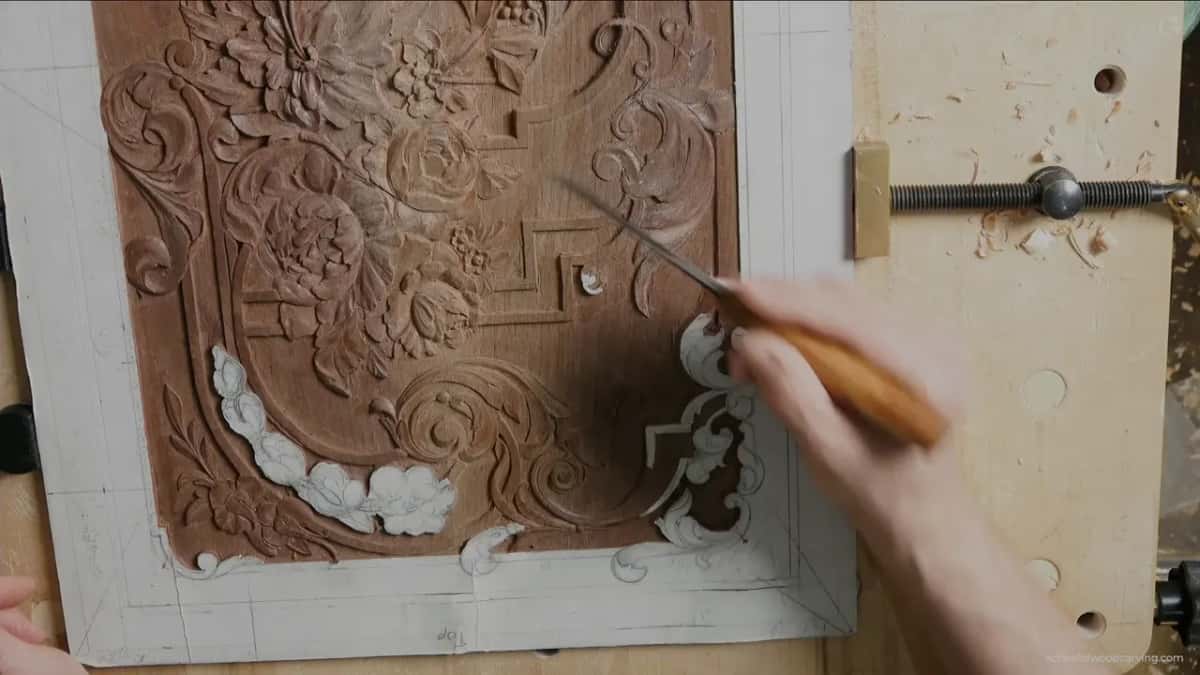
The order of tools on this corner
| Tool | What it did on this corner | When it came |
|---|---|---|
| Veiner, number 11 at 2.5 mm (3/32 in) | Ran a preliminary cut by the line, then again from another position | Early in part one |
| Antique number 7, about 10 mm (3/8 in) | Took the waste out in slicing cuts, crossing the grain, stopping short of the design | Parts one and two |
| Plain knife | Made a line a little deeper, to keep it | End of part one |
| Number 8 gouge | Chopped straight down, barrel facing the design, each cut starting in the middle of the last one | Middle of part two |
| Small number 9, 1/8 in (3 mm), then a bigger 9 | Went inside the curl, not too deep | Late in part two |
| Ashley Iles grounding tool | Lowered the ground, leaving work for the router plane | Part three, after the chopping |
| Flat number 2, 10 mm (3/8 in) | Stepping cut along the line itself, bevel facing the design | Halfway through part three |
| My big, big chisel | Set a perfect line under the mallet, or by just pushing down | Near the end |
When is a straight-down cut safe?
After the relief cut. In part two I said I'm safe now to just stab, because I created my relief cut, and I have absolutely no problem.
Next came a number 8 gouge. The barrel side goes toward my design, and the cut goes straight down. We released some of the area, so that is the weak spot now, and I can safely take most of it out this way. Each cut starts approximately in the center of my previous cut. Some chopping like that is just one of the techniques you could do.

With the same tool I took it from another side and cleaned it, but not to the full depth. I'll have a chance to clean it a little later. Later in part two I said I am right on the line, by the way, just in case you wonder. The line of the design. I'm using a mallet, and a mallet gives me really good control.

On my butterfly plate the idea was the same. A knife took most of the waste out first. Then a number nine went closer to those lines, a straight down cut or stabbing cut, and that way it was a lot easier to make the line really nice.
On a floral panel I took a flatter tool, a number two, after some of the mess came out. A down cut, a stabbing cut, on one side and then the other. And yes, I could use a mallet there also. Sometimes it's a good idea.
Which mistakes should you avoid while chopping?
Four of them, and I named every one in part three. Go close to the line and chop, but don't go on the line itself. Also don't undercut. Make sure the tool is not pointing inward, because that would be a big mistake. The undercut on this panel has its own lessons, like lesson 19.
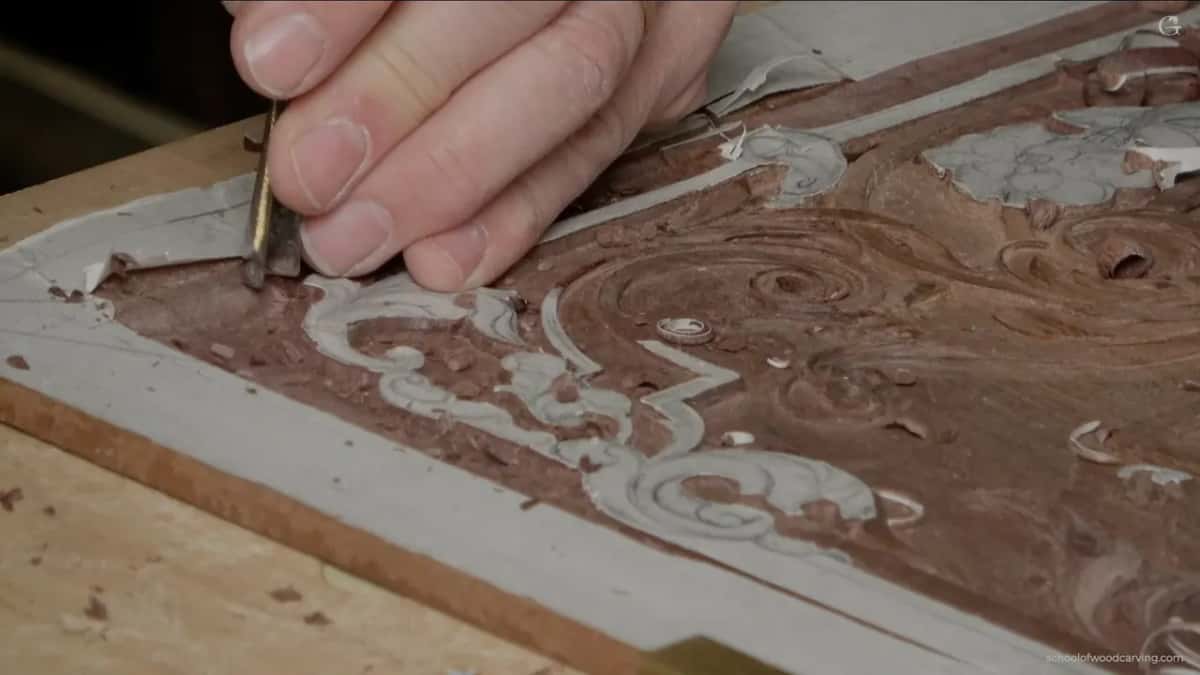
Try not to hit the wall of the element too hard, because it's going to be really hard to get rid of those tool marks. And don't go too deep. Later on we use a router plane, and the plane has to remove some of it.

What is a grounding tool?
A grounding tool is pretty much the same as a number three, as far as the sweep goes. But look at it from above and it shows a slight curvature. It's not straight like a wall. There's a slight bend. And it's a really good tool to have to remove material on the background. That's why it's called a grounding tool. Mine is by Ashley Iles.
I'm not sure if you can get it now or not. When I filmed this, I said to check Tools for Working Wood, and they should probably have it, or you can wait until they get it. Multiple versions are available.

I made the background somewhat flat. It didn't need to be super clean, because I'll use a router plane. With just that tool, on the other hand, you can get really nice results without a router plane. Getting near the design, I didn't get too close. You could still see the lines left.
Later I grabbed a smaller grounding tool, and any number three will do there; it's not necessarily this one. Mine is a quarter inch, about 6 millimeters.
Can the wall meet the line at the end?
At the very end it can, once the waste is out and the background is down. I need the right tool for that line, and in this case I used a number 2, 10 millimeters, three-eighths of an inch. By the way, a number 2 is almost straight, almost like a chisel, but it has a slight, slight sweep.
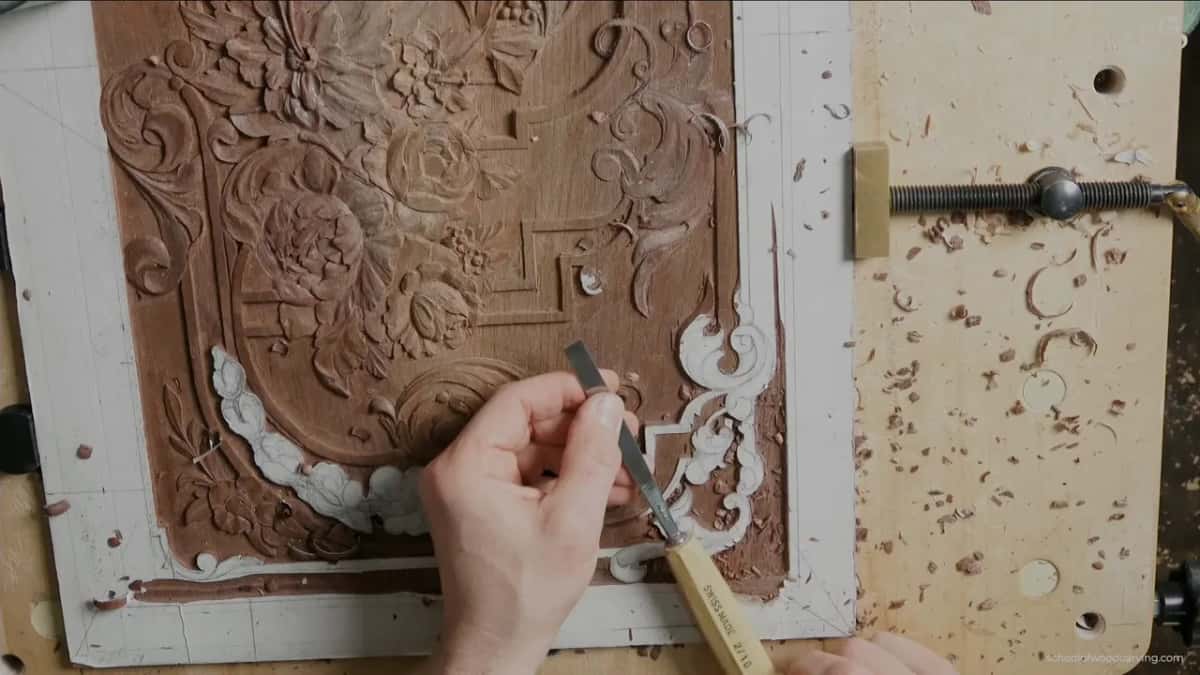
I go right on the line, and it's like a stepping cut. Step, remove, step, remove, straight down. Almost like paring, if you are in woodworking. Where the movement changes, I flip it and use my bevel toward the design. It gives me a really nice wall. Like I said, no undercut here, because I want to stay on the line.

Then I place my big, big chisel on the line and use the mallet. Don't overdo it, though. That spot is somewhat fragile. It gives me a perfect line, and that's what furniture makers love, the perfection. I can do exactly the same the other way too, with the mallet or just pushing down.
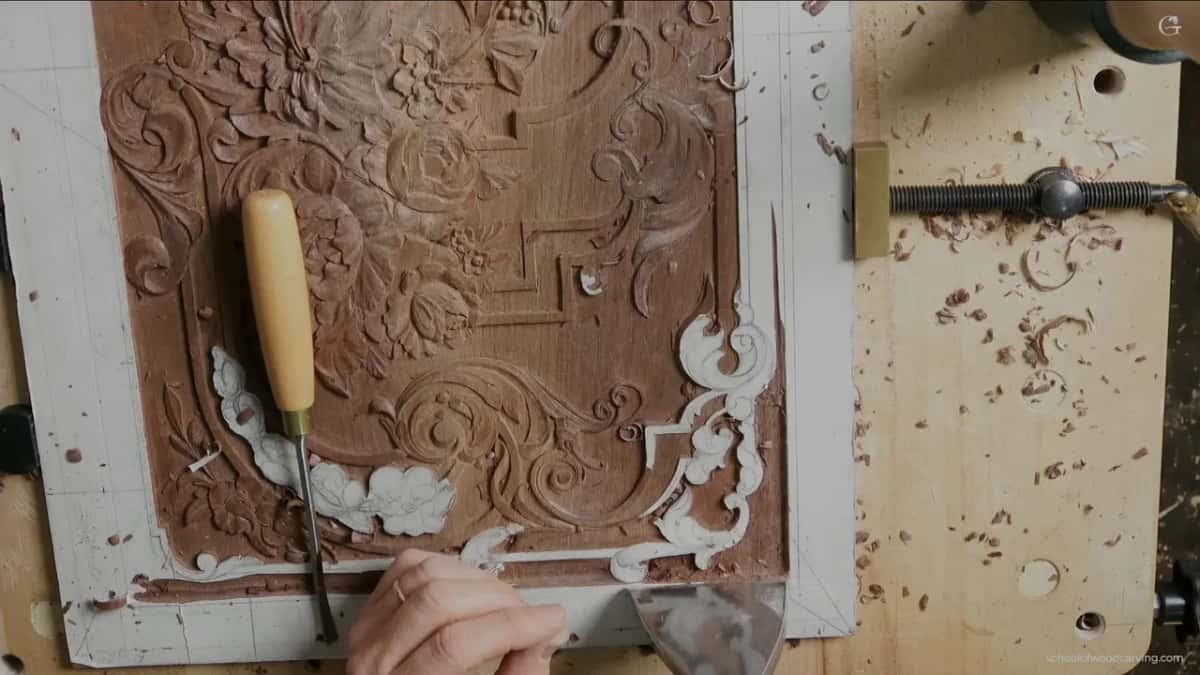
A number nine for the small curls
For the curl I needed a smaller tool, so out came a number nine, 1/8 of an inch, 3 millimeters, right inside that spot, whatever the curl is supposed to be. Not really deep there, because maybe I'll change how it curls a little later.

Then a little bigger number nine did exactly the same idea, to excavate with a little more control of how deep the cut is. Just make sure you don't overdo it.

Can you hold a veiner near a pencil line? Can you wait to chop until the wood beside it is gone? Then you can carve a corner like this one. The whole panel is in Carving Furniture Panel, Part 3, the first carving lessons are in Part 2, the drawing is in the design part, and Access is on the tuition page.
We'll pick up whatever we left next time. Have a wonderful rest of your day, or evening, or morning.
How it's done
- Decide the depth first. I ask how deep this area should go. To make it stand out, I'd probably match the center, about 0.2 inch on my calipers.
- Outline with the veiner. Number 11, 2.5 mm, a preliminary cut beside the line.
- Slice the waste out. The old number 7 at roughly 10 mm goes across the fibers in many small cuts, never all the way to the design.
- Chop only after the relief cut. Now a number 8 can go straight down, barrel to the design, and every new cut begins near the center of the one before.
- Lower the background. The grounding tool makes it somewhat flat, and I leave some wood for the router plane to take.
- Bring the wall to the line. A number 2 steps along the line with the bevel to the design. Then my big chisel and the mallet, gently, because that spot is fragile.
Frequently asked questions
Is a stabbing cut ever okay in relief carving?
On a small filler flower in lesson 24 I showed one and said you can use it when you want to go quicker. I just don't prefer it. I said in lesson 38 that I usually don't like it, but one spot had very little wood to remove.
Which veiner do you outline with on this panel?
The 2.5 millimeter number 11 on this walnut panel, though the size is not a must; I simply like it. I run a preliminary cut pretty close to it, and if you feel somewhat afraid, stay away from the line slightly.
Should the background match the shallow area next to it?
My first decision in lesson 39 was exactly that. I could match a section that is not as deep, but to exaggerate this area I would probably go as deep as the center. My calipers read about 0.2 inch there, around 5 mm.
What to carve next