

Alexander Grabovetskiy, woodcarver, School of Woodcarving · Published 2023
Where should the petals of a carved flower point?
Quick answer: The center of a carved flower is the hidden spot that every petal movement runs to. On my walnut furniture panel it sat inside the bloom, where the center line dies between two petals that meet. I dug a small, deep hole there first, angled toward it, and then outlined each petal around that hole.
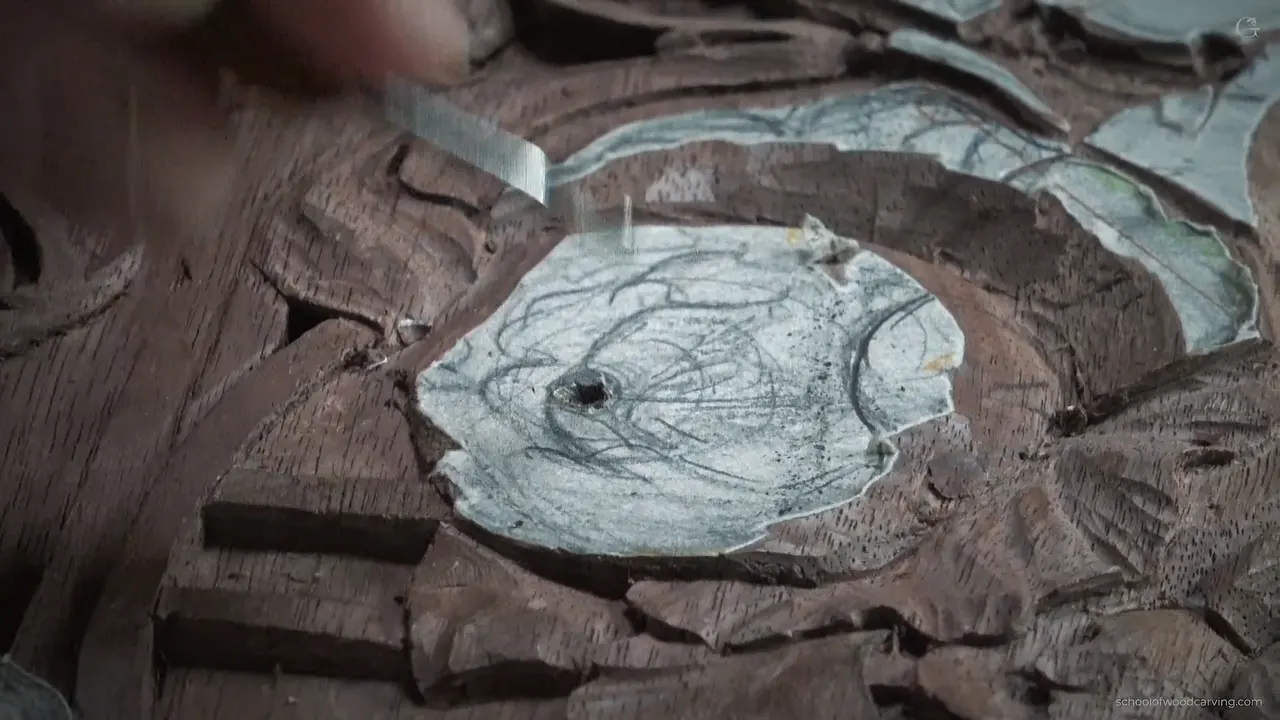
A carved flower's center is the one spot all its petal movements run to. On this walnut panel you never see it, because it sits under the petals. My work on it begins right there, with a hole, and after that every petal outline goes around it.
You have seen a flower bud, wrapped up tight before it opens? And you have watched one open, one petal after another? That unfolding is the logic I follow when I carve petals in wood.
My panel is a really low relief, only 10 mm (3/8 in) thick, and I still try to get as many concaves and convexes into it as I can. More movement and more curliness make it look much, much better, at least in my opinion. Below is the work, video by video.

Six things I did on this flower
- Found the hidden center first and opened it with a Dockyard number 8.
- Outlined each petal with a veiner, turning the flute where one petal slides under its neighbor.
- Set the overlaps with a flat gouge before any hollow.
- Gave every petal a raised middle, with hollows that run past its edge.
- Split one petal that was too long.
- Undercut the raised edges with a half millimeter veiner for a dark shadow.
How do I find the center of a carved flower?
Look where the center line dies. Here it dies right where two petals meet, and that is roughly my point. All of my movements have to go around that center, and the center will be invisible, inside the bloom.
At the start of the second video I said it again. Looking from above, the invisible center line goes somewhere right there, not exactly to that point, but inside somewhere. Still, all the movements have to go to the same spot. I hope it makes sense.

My start is the center point. I dig a small hole there, then go outward and establish my petals, and that way I know exactly what the flower is supposed to look like.
What tool digs the center hole, and at what angle?
Any gouge works, as long as it is close to half round, like a number 9 or a number 8. Mine was a number 8 by Dockyard. It's just a brand. And it's an interesting one, because those tools look cheap and don't look appealing at all, but the steel is absolutely amazing. What kind of steel they use, I have no idea.

My tool doesn't go straight down. I point it at an angle, roughly toward the invisible center, and I eyeball it. You don't have to worry about it too much. Still, get as close as you can to the idea that the hole goes down that way.
Next comes something like what I call a plug cut, and the waste comes out. I want it to look like a really deep hole, because a deep hole gives me really good shadow casting. The plug cut has its own page in lesson 26 of this course.

Which way does the flute turn for the outline?
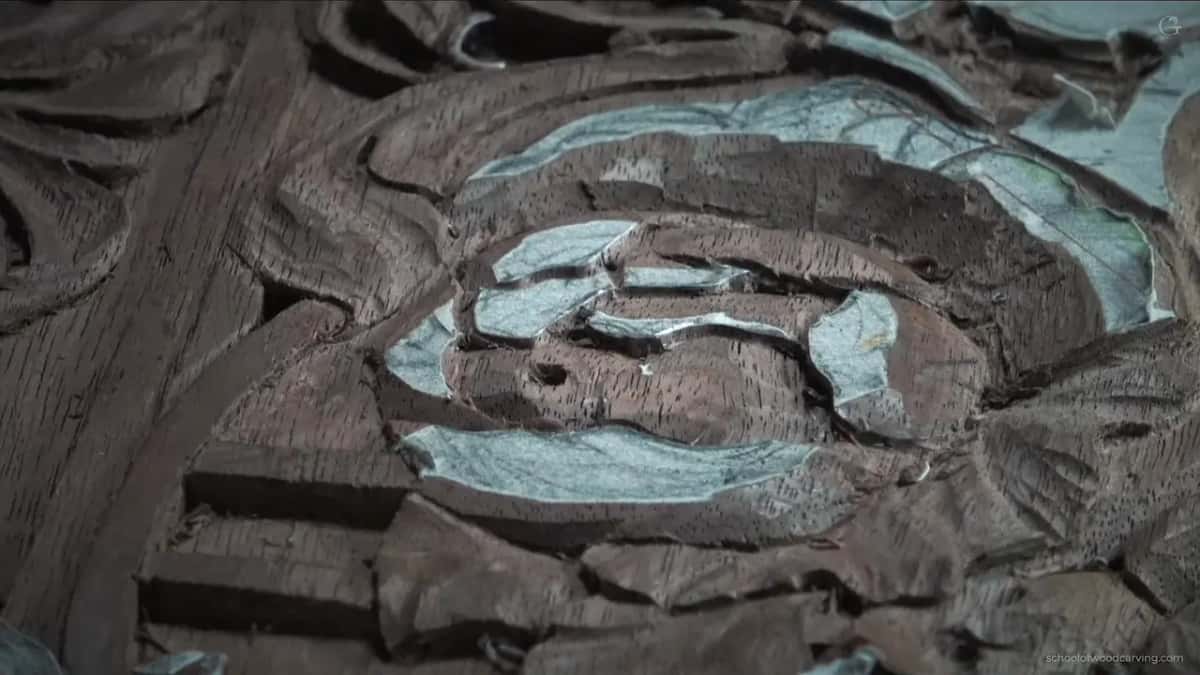
For the outline I grab a number 11 at 2 mm (about 5/64 in), with the flute straight up at 12 o'clock. Getting close to a petal that must slide under its neighbor, I rotate the flute to the right, to about one o'clock. My right-hand side goes right underneath the left-hand side on this flower. It's just approximate.

How deep? About a millimeter and a half, no more than a sixteenth of an inch. Where I had not decided yet which petal overlaps which, the flute stayed straight up, and I left that choice for later.


Why do my petals overlap in one direction?
Before any concave, I want the overlapping motion worked out. For that a flatter gouge is needed, and a number 3 or number 2 will work. Mine was a number 3, a quarter inch (6 mm), by Ashley Iles, although you can't really see that on camera. In those spots I went about 2 mm deep.
Let me explain the logic I follow. When a flower is still in the pod, it is kind of wrapped around, and when it opens, it unfolds in the same direction. Pretty much all the unfolding in a flower happens in one direction. This flower was small once, and now it has unrolled, so it should keep pretty much the same overlapping motion.

Does it really matter? I don't think it really matters. But at least it is more logical, and closer to the edge it could go absolutely differently.
Botanists have a word for how petals sit in a bud before it opens, aestivation. One of its types, contorted or twisted, is the one where each petal is outside its neighbor on one margin and inside it on the other. Wikipedia lists it as one type among many.
The Grinling Gibbons class in Maine had the first cuts toward a flower's center overlapping the same way, like a real flower opening.
To roll an edge I turn the same tool upside down and take small cuts, rolling it right underneath. Creative? Not too much here, because a molding runs below this flower. Don't worry about the facets yet. This is just the shaping stage.
What do I do when my stropping paste dries out?
Here is a little sharpening tip from the middle of the lesson. I like my mirror paste, but it dries out, and some people don't know what to do and just throw it away. All you need is mineral oil, any kind, a few drops.
A pharmacy has it with no smell, or a home center has a smelly one. Mine is food grade. Skip any solvent. One member of the school tried a solvent on his, so please don't do that.

And the strop? Just a scrap, whatever was lying around, with the paste on it. The paste does the job, and it works really, really well. I gave the same tip in Maine class 12, where a nearly full one had gone dry and the oil made it work again.
What shape does each petal get?
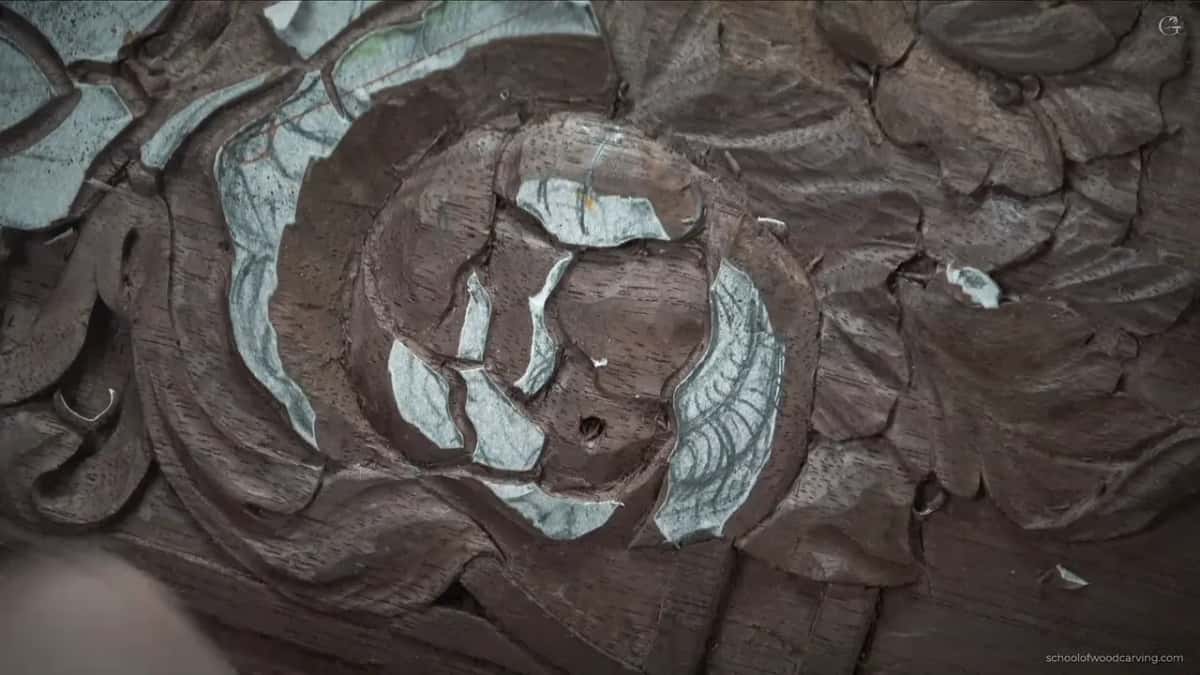
Every petal is supposed to have its middle part raised up, a convex, with two concaves on the sides. So first I figure out where my most important convex goes. Beside it go the hollows.
The edge I probably won't even touch, because that is my high spot. I blend, but the edge stays right there.
And those concave cuts don't stop at the edge. Digging in and out would give a spooning effect, so the cut goes all the way through. That gives me the true curliness. The third video says it in five words. "It's not the spoon carving."
On a petal of the Venetian Flowers Rosette, lesson 3, I said much the same. "I don't want to spoon on inside only. So it has to go to outside." There a number 9, a quarter inch, attacked from the side and escaped.
For these concaves I used small Dockyard gouges, a number 8 of 3 mm (1/8 in) and one about 4 mm (5/32 in). It doesn't have to be 4 mm, and five or six millimeters would do.

Depth was the hard part. Right underneath those petals sits a molding, and I stay above it, so the concave is pretty much an indication. Away from the molding I could go a little deeper and exaggerate it, and overall that cut was about 1.5 mm.
Only one concave fit on one petal, on one side. The convex still went in the middle. After the concaves I blend with the number 3 upside down, and if you can't, just use it in the normal position.
| Spot | What happened there | Tool |
|---|---|---|
| The petal middle | Blended into a convex after the two hollows | Number 3 |
| Both petal sides | Concaves carried past the edge, never stopped short | Dockyard 8 |
| Its outer edge | Barely touched as the high spot, then raised | A number 5 |
| Under that edge | Undercut, flute leaning a little to the right | Half millimeter 11 |
| The hidden center | Opened as a hole, the gouge aimed in | Number 8 or 9 |
| A straight run | Waviness added with a small wiggle of the tool | Two millimeter 11 |

What did I do with a petal that was too long?
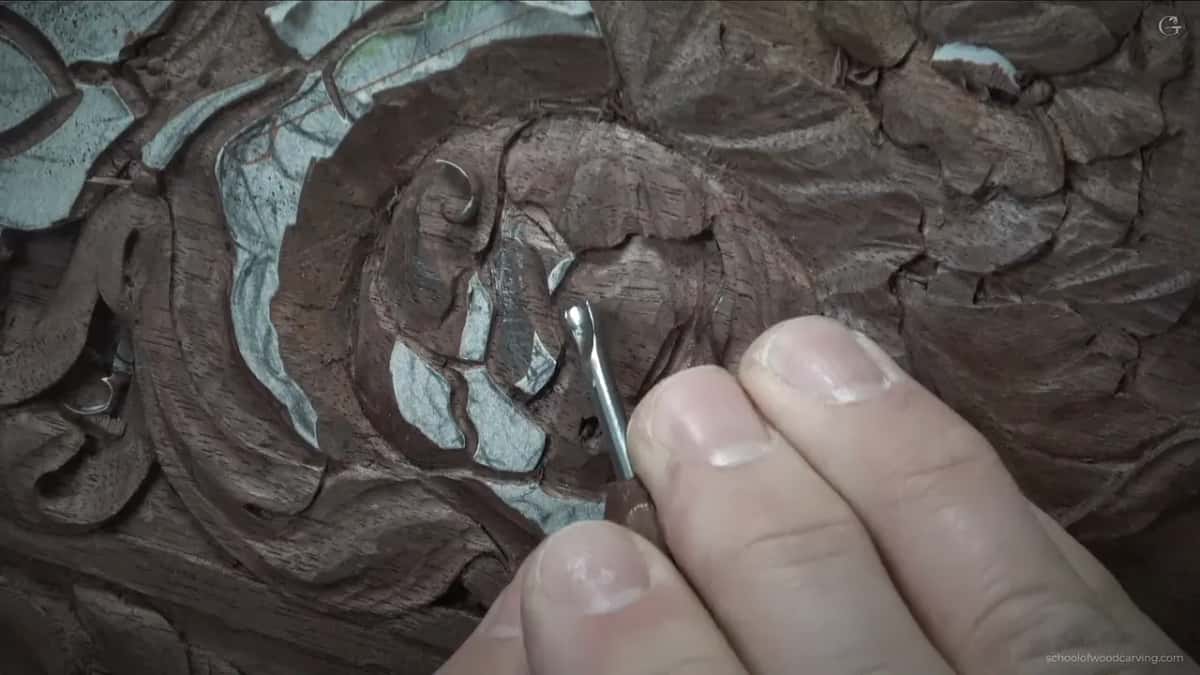
Looking at one petal, I didn't like something about it. Compared with the rest it was a little too long, going all the way and wrapping around. That's no good. I split it in two.
The separation cut was the 2 mm veiner again. It doesn't have to be 2 mm, since three millimeters will do, even four or five. That cut couldn't go too deep, because the molding is still underneath.

And yes, that was much better. One part had to go right underneath, so I carefully excavated a little deeper, my flute near 11 o'clock, to get a really good shadow. A small section was sticking out, and I took advantage of it.
Under that petal I didn't have to undercut at all, but it would look a lot nicer with a deeper undercut. First, though, I laid my tool against an edge and saw a straight line. Not enough waviness. I added some movement, then found another straight line and fixed that one too.


Then came the undercut, with a half millimeter number 11, maybe about 3 mm in, an eighth of an inch. That gave me a really beautiful effect, and now the petal really overlaps.

Why raise both the middle and the edge of a petal?
A petal's center is supposed to be raised, and its edges go up too. That gives me a full 3D effect. Later, in the third video, I took the rule back a little. "So it's supposed to have a convex, well, it's not supposed to, but it's what's going to look better."
On one ridge I first said the edge needed to be curlier. Second, I wanted that ridge raised, so out came a number 5, 1/8 in or 3 mm wide.

I know you don't really see the effect yet, before the undercut. Once I undercut under that line, it will make a huge difference. I hope.
That undercut used my 0.5 mm veiner again, flute turned toward one o'clock. See how dark a shadow it casts? That is what I'm after. Both regions are raised, and that's what I like to see.

Rolling the edge came next, with an eighth inch number 3, little by little, small chops, rolling it right underneath. I want every petal to look organic.
Do handles matter more than steel?
That number 3 is a Peter Benson, and it's Ashley Iles too. I love the quality of the steel. I've had those tools for a long time, and I've had absolutely zero problems with them.
Some people hate how Ashley Iles tools look, the handles and so on. Look is important too, don't get me wrong. But you can change the look and make the handle yourself, and the steel itself is just amazing. And no, I'm not affiliated with them.
Same with the Dockyard gouges from the start of the lesson. Cheap looking, amazing steel.
What if I dig too deep?
One big petal in the third video had some meat, so I went a little deeper for a deeper shadow. Why not?

Then I got carried away. With the tiny number 11, the flute at about two o'clock, I made a really deep excavation. That was a mistake, a huge mistake. But it was all right, because I had meat there and I could fix it. Somewhere else it would be a big mistake. Not here.
Lesson learned. Don't exaggerate where you don't have to.

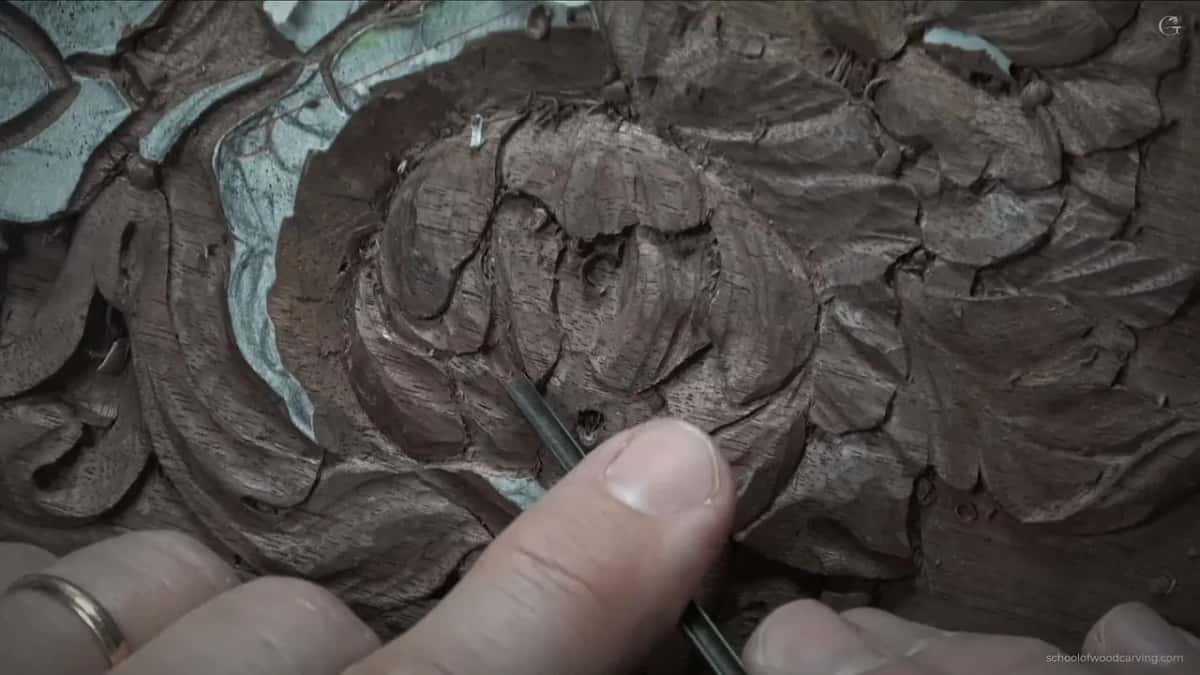
Should a small petal go over or under?
Near the end there was a small section, and I had two ways. I could put it above the next part, or hide it right underneath. Because of how I did the cuts before, the more logical way was to leave the big petal exposed and tuck the small section under it. That just follows the logic of unfolding.
The molding was there again, so I couldn't go deep. A preliminary undercut and then a secondary one, both with the half millimeter tool, separated the two. And I got my small, tiny petal sticking out.
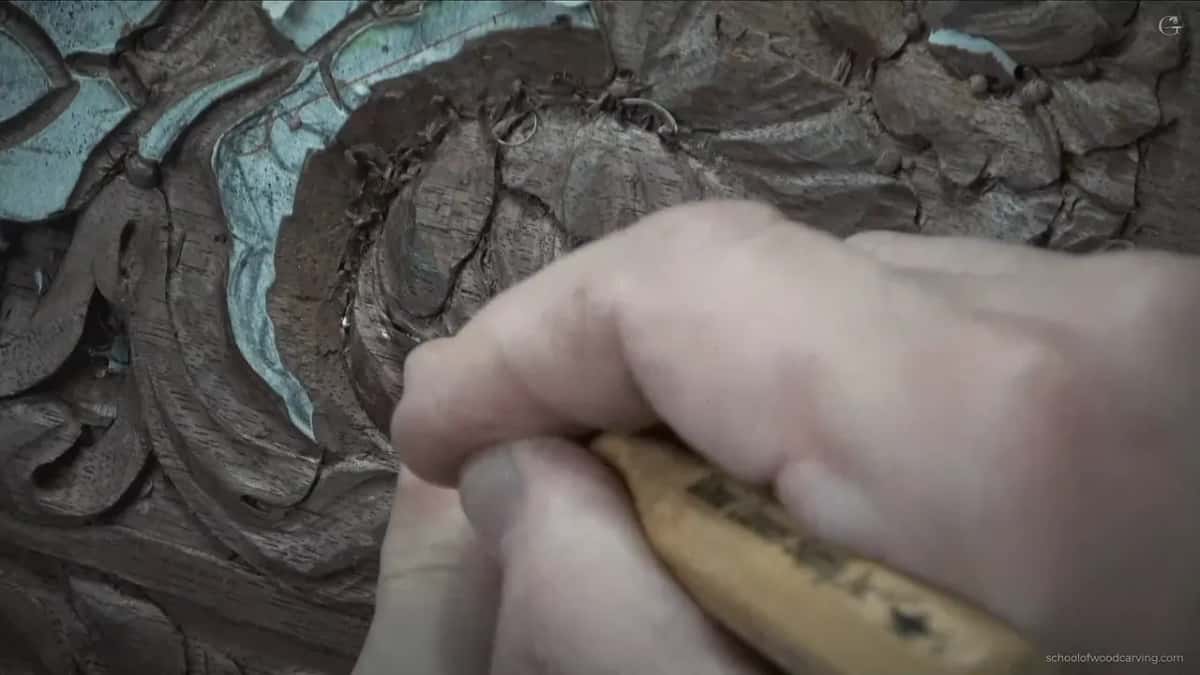
Sharp points I don't want to see either, because they are not logical. That small section is a petal on its own, so its line goes to the center too, even if you don't see it.
On one straight movement I used a wiggle with the 2 mm tool. A piggly wiggly movement, whatever you call it. It's more like a jewelry technique, when you do metal work, and it gives you a lot more control. It works sometimes with small tools. Not always.
How does a low relief flower get a 3D look?
Remember, this is a really low relief. It is not full 3D like the Hashemi Flowers project or the Venetian Flowers. It's different, but I'm still able to create some kind of full 3D motion.
Look at the paper. All my high spots are almost untouched, and wherever you still see paper, it's almost untouched. Still, you get a 3D effect. Later I wanted a lot more shadow in one section and went after it with the number 3 upside down.
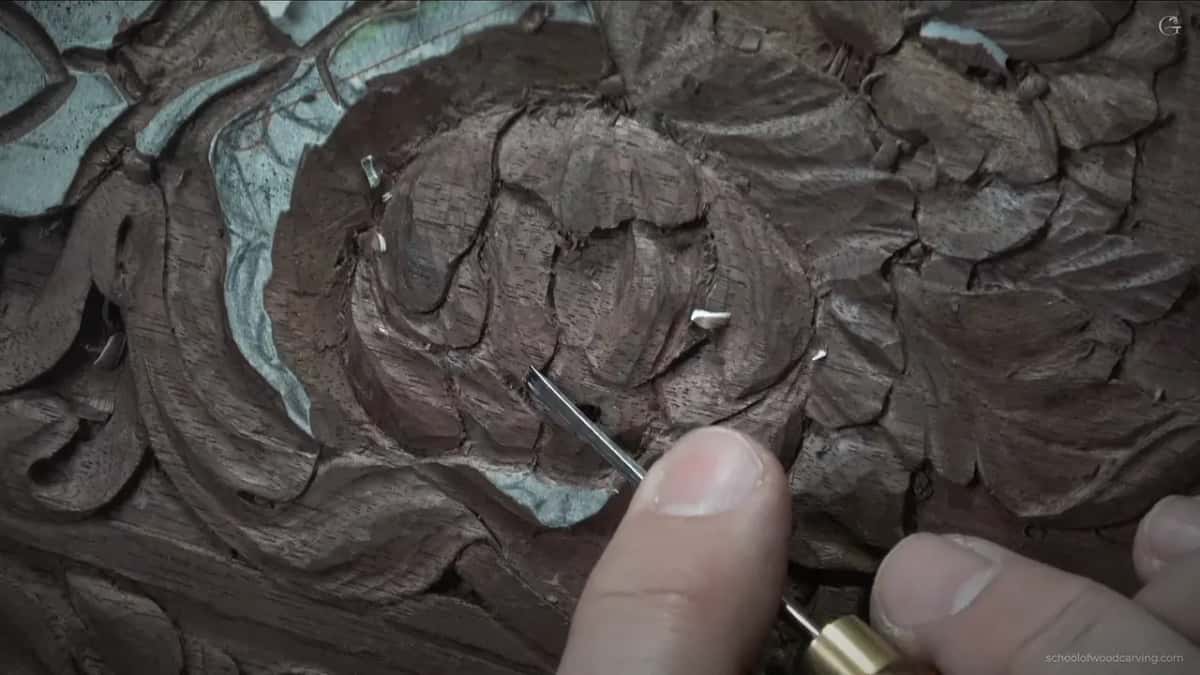
This is the upper part, and the panel will stand upright, so this is the top and that is the bottom. The light will cast from one side. On camera I tried to show that and couldn't.
Once, in the second video, I forgot to switch the camera angle and said I would probably throw some footage away. In that gap I carved two concaves, so a convex sits right in the middle, and then blended it all.
In my opinion it does look really good. It's not the final look yet. I kept the overall movement, and it all goes in the same direction.

Lesson 29 is three videos inside Carving Furniture Panel, Part 3, right after lesson 28 on blending ridges. The panel is the same walnut board I designed in the design course, standing upright like a panel for a door, and the center of its main flower is carved in lesson 25. Sharpening has its own course, Carving Tool Sharpening.
Did you see the paper still sitting on the high spots? And how dark that tiny undercut turned? You can carve this flower with me, one video at a time, and the Tuition page shows the Access plans.
How it's done
- Find the hidden center. Look between two petals that meet, where the middle line of the flower fades out. That point sits inside the flower, hidden, and every movement goes to it.
- Open it with a small hole. Point a number 8 or 9 roughly toward that center, by eye, and lift the waste out with a plug cut.
- Outline each petal. Run a 2 mm number 11 around every petal, flute up. Where the right side slides under the left, turn the flute to about one o'clock. Keep it about 1.5 mm deep, no more than 1/16 in.
- Set the overlaps. With a flat number 3, decide which petal lies over which, keeping them turning pretty much one way.
- Shape each petal. Carry two hollows clean off the edge so a convex stays in the middle, and leave the edge itself as the high spot. Where a molding lies underneath, stay above it.
- Undercut and roll. A half millimeter number 11 under the raised edge gives the dark shadow, and afterward small chops from a number 3 roll that edge under.
Frequently asked questions
Where does the hidden middle of a carved flower sit?
On my walnut panel it sat inside the flower, under the petals, roughly where two of them meet. You never see it once the petals are carved. I opened it first with a gouge and aimed each petal toward it.
Which gouge opens that middle?
Any gouge close to half round, a number 9 or 8. I used a Dockyard, a cheap looking tool with amazing steel. I pointed it roughly at the hidden center by eye, not straight down, and took the waste out with a plug so the hole looks deep and casts shadow.
Do carved petals have to overlap in one direction?
Pretty much, on this flower. A bud is wrapped up, and as it opens it unfolds mostly one way, so I keep my overlaps turning the same way round. Near the end of the lesson I even tucked a small section under a big petal for that reason. My guess is that it hardly matters, but it is more logical.
What to carve next