

Alexander Grabovetskiy, woodcarver, School of Woodcarving · Published 2019
How do you carve around a knot in wood?
Quick answer: Carving near a knot is slow, careful work, because the grain splits a lot easier there. On my walnut panel I took some wood out first, tried the router plane with a smaller blade, and quit when it caught. I cleaned that area by hand, then went back in with the plane for a careful shave.
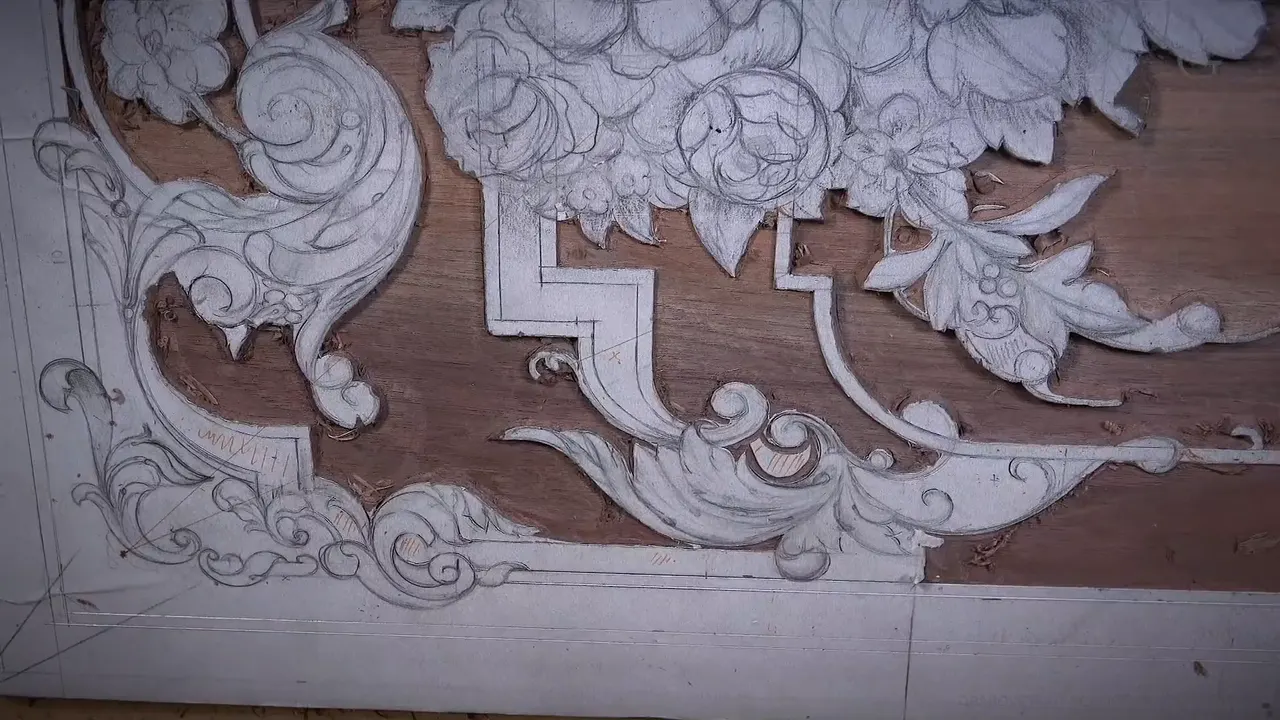
Carving around a knot is mostly about care, because, as I said on this walnut panel, when you see a knot, your grain splits a lot easier. I found a small one in the background during the first video of lesson 18. Here is what I did with it, and what the rest of that background taught me.

Do you want a flat, clean background? Would you like the ornament standing sharp above it? Then a knot is the spot where you slow down and get really careful, the way I did on this panel.
I'll go through that one knot first, the way it went on camera. After that come a few lines from my Lily Box course, where the slab had knots I wanted out of the carving, and the rest of what I said while lowering this relief background.
Six things from one small knot and a walnut background
- The router plane caught near the knot, so I took wood out with hand tools and kept the plane for a light final shave.
- Going across the grain is always safest.
- A really sharp tool lets you break that rule now and then, and I did, because of where my camera stood.
- Push one spot too deep, and everything else has to come down to match.
- A router plane keeps one even depth, though gouges can get you there too.
- On the Lily Box I planned knots out of my lines or hid them under a flower.
What does a knot do to the grain around it?
It turns the grain. Those knots, they're not as friendly, I told you in this lesson, and grain sometimes just changes direction and does crazy stuff. Near this one, my router plane kept catching.
Wikipedia's article on wood explains where a knot comes from. It says a knot is the base of a side branch or a dormant bud, and the grain of the board flows around it, parting and coming back together. The article adds that inside the knot, grain can run up to 90 degrees off from the rest of the wood. A knot from a side branch, it says, is shaped like a cone.
My Roman acanthus leaf had one too. At first I called it a wormhole, and then I said, well, it's actually not a wormhole, that is actually a knot, and it just continues to grow all the way up. In the Lily Box, one tough spot had me barely able to carve anything because of the knot. Lily Box 4 showed some splits inside the wood, I said, because there is a knot.

How did I take this background down past the knot?
Let me tell you a story. I had outlined that side with one of my favorite tools, a number 11, 3 mm (1/8 in), and taken the middle out with a number 7. Where the router plane could not get in, I scooped some of the material out using a number 7, a quarter inch (6 mm). And I have a small knot, I said.
My first thought was the plane. Maybe I'm not even going to go in with it, I said, we'll see. So I removed some wood first, using a small number 23, and came at the area from one side.
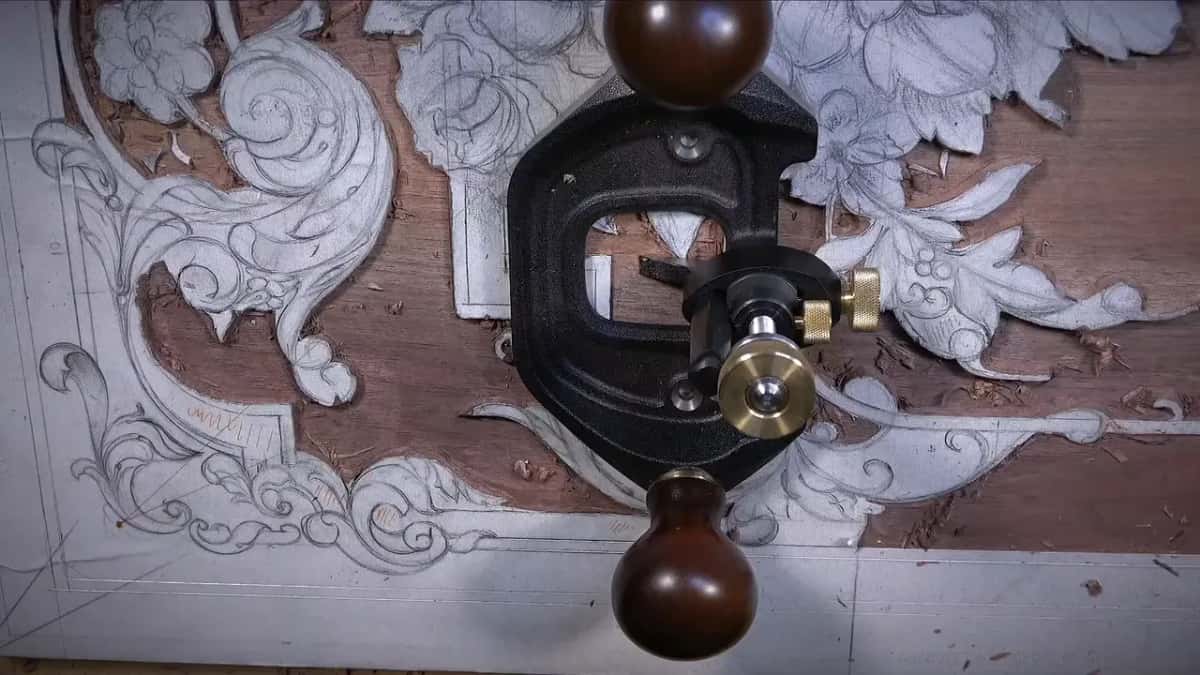
Next I tried the router plane again, and it was much better. I changed to a much smaller blade, 3/32 of an inch (about 2.4 mm), or maybe 1/8 of an inch (3 mm) at first. Interesting, I said. Still catching some stuff.
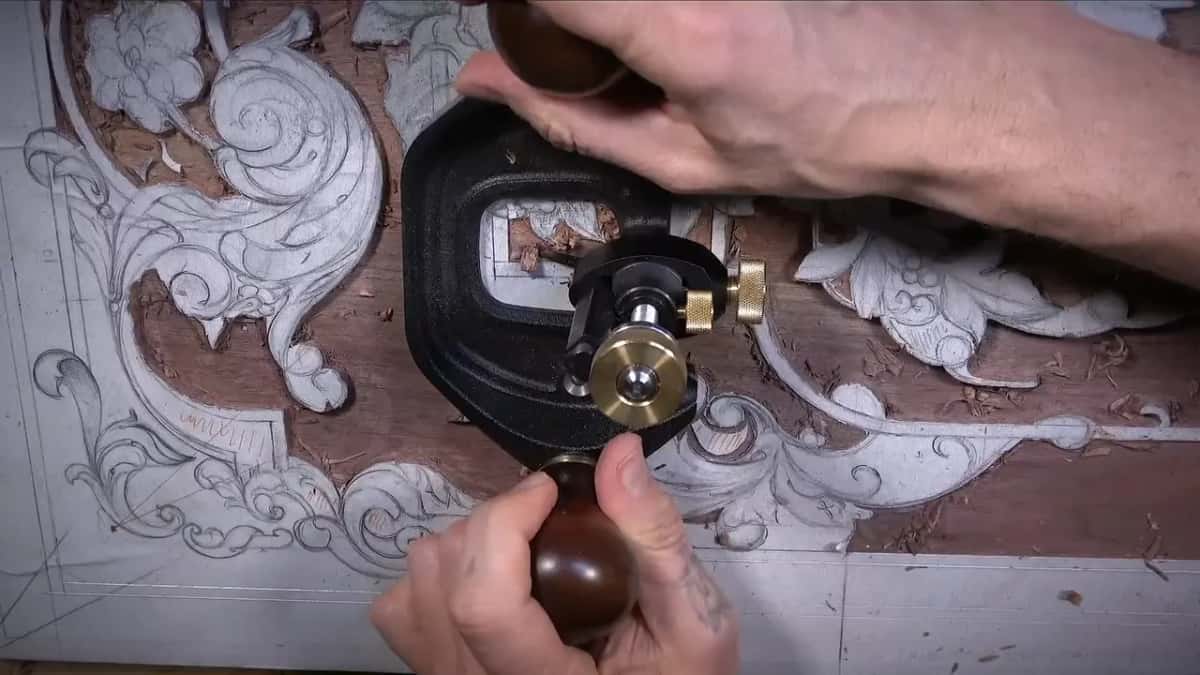
And yes, I am wiggling, I said, because there is a knot. I raised the blade a little. Then I stopped. I'm not going to risk it anymore with this router plane, I said, I'll just clean it across the grain. With a narrow tool I got a little closer to the final depth.

Be really careful if you have a spot like that. I chopped straight down using a number one, hooked the waste out carefully with a number three, and then went in with the router plane just to clean it. That was my final depth. Perfect, I did not make any damage, and that's what I'm after.

Can you keep a knot out of the carving?
You can, if you look before you carve. The biggest slab I had in Lily Box 1 came with knots, and those knots I did not want in any of the carving. Before the scroll saw, I was trying to locate my knots and make sure they missed my lines. Of one I said, I want to miss this knot, that is a nasty knot, it's not a really good area.
Sometimes a knot stays, and a flower covers it. You can see a knot inside the slab in Lily Box 3, and if you think I chose the wrong slab, no, I did not make a mistake, because that knot will be covered with the main flower. A bad knot sat right on the inside in Lily Box 4, and I did not worry, since it was mostly going to be covered with a lily flower. If it ever shows, I said, I can always glue on some different detail.
Covered does not mean easy, though. That wood was crunchy, and I could feel it might break if I pressed too hard, especially with a knot right there, so I went at it with the mallet from the opposite direction. I took time to figure out which way to come at a knot in Lily Box 7, because I wanted to keep my detail even if I had to deal with the knot. And in Lily Box 8, a knot right below the main movement was actually a good thing, I said, because I would be able to hide it. Later I wanted that small knot hidden behind a ridge.
On the walnut panel, the knot sat in the background I was lowering.
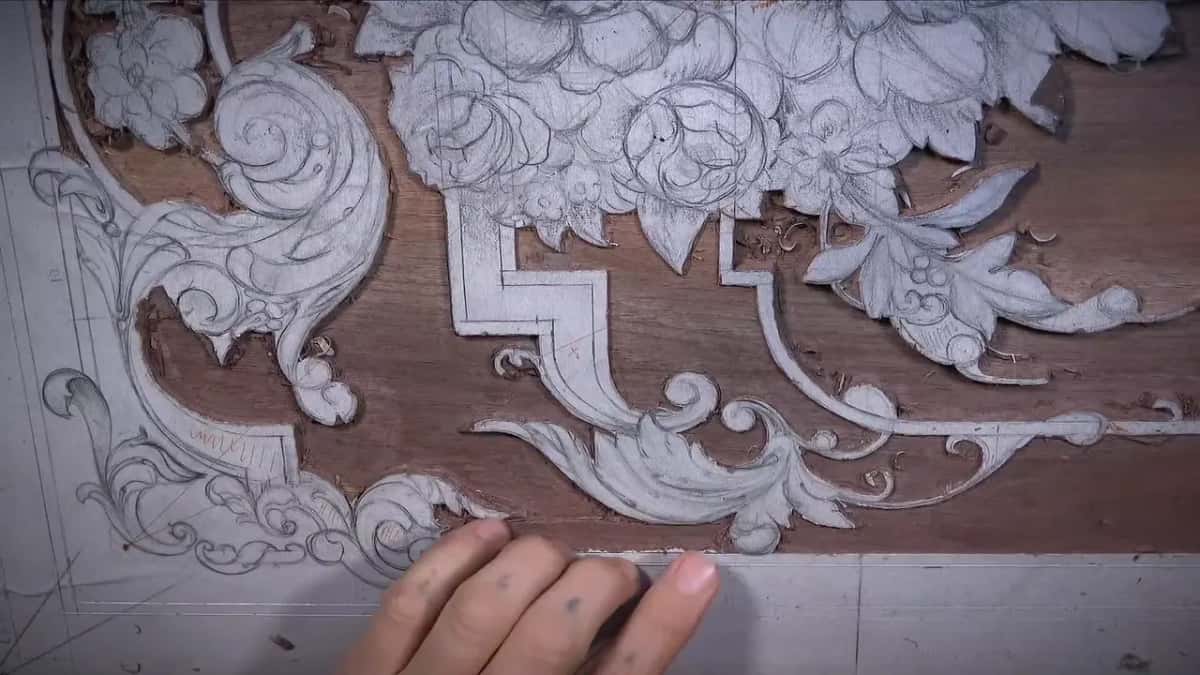
What kind of wood is this furniture panel?
Walnut. In this lesson, with the router plane taking the ground down, I said this wood is a forgiving wood, hard to make a mistake in, and I love it. I love walnut, I should say. Whether a deep pass does damage depends also on the type of wood, of course.
It is not plain walnut either. I called it not normal walnut, like a purple color, in lesson 15, and in Designing Furniture Panel 1 I said it wasn't just black walnut and it wasn't just European walnut. That first lesson tells where the board came from, a walnut house job, and how the leftover had splits inside, so I couldn't use it in a project. The same panel showed a crack in lesson 18, at the bottom. I knew that from the beginning, I said, and that's why I didn't use those pieces on an actual project, I just kept it for myself. I really don't mind those cracks.
Keep the size in mind. The panel is only 10 millimeters, three-eighths of an inch, so not really a deep panel, and the deepest spots in this lesson go about 5 millimeters, 3/16 of an inch.
When is it fine to go against the grain?
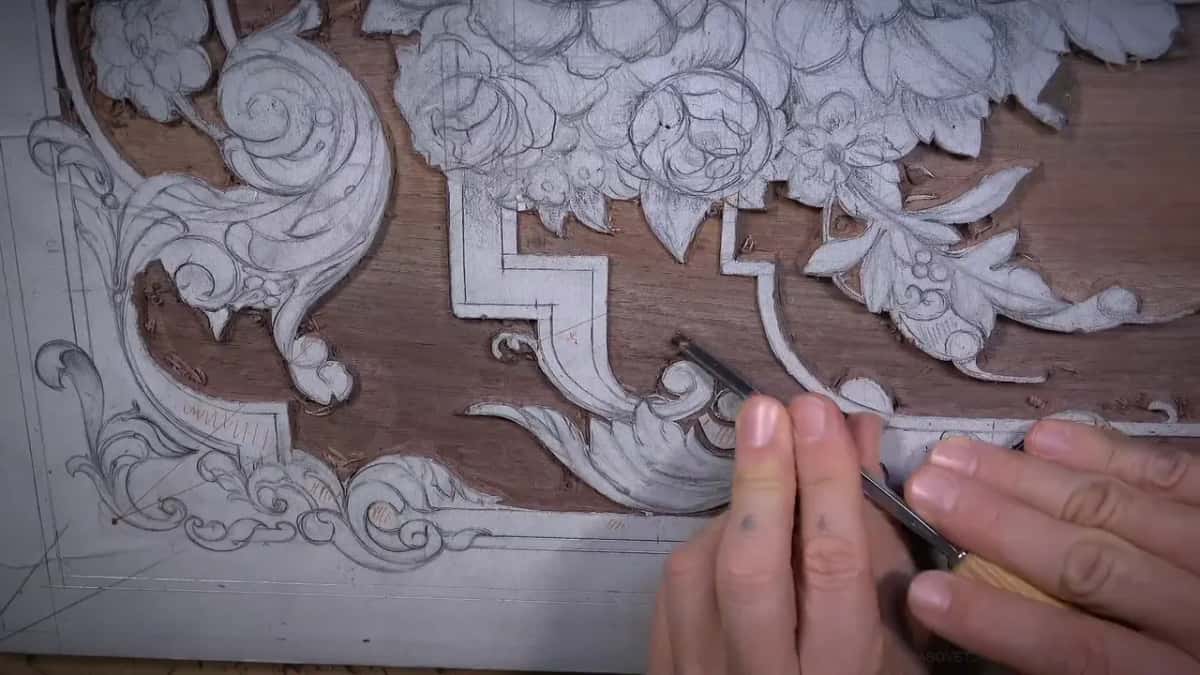
When the tool is really sharp. The safest way is always across, I said near the start, and most of the background came out that way. In the second video I broke the rule one more time and went against the grain. And yes, you can break the rules, it's not a big deal, as long as the tool is really sharp.
I gave the honest reason, too. I was breaking some rules not because I like to, but because of the camera position, and I really didn't want to move things around and waste my time. If you can avoid breaking the rules, that would probably be much better. With the grain you get a nicer finish, that's true, though for rough work like this it doesn't really matter.
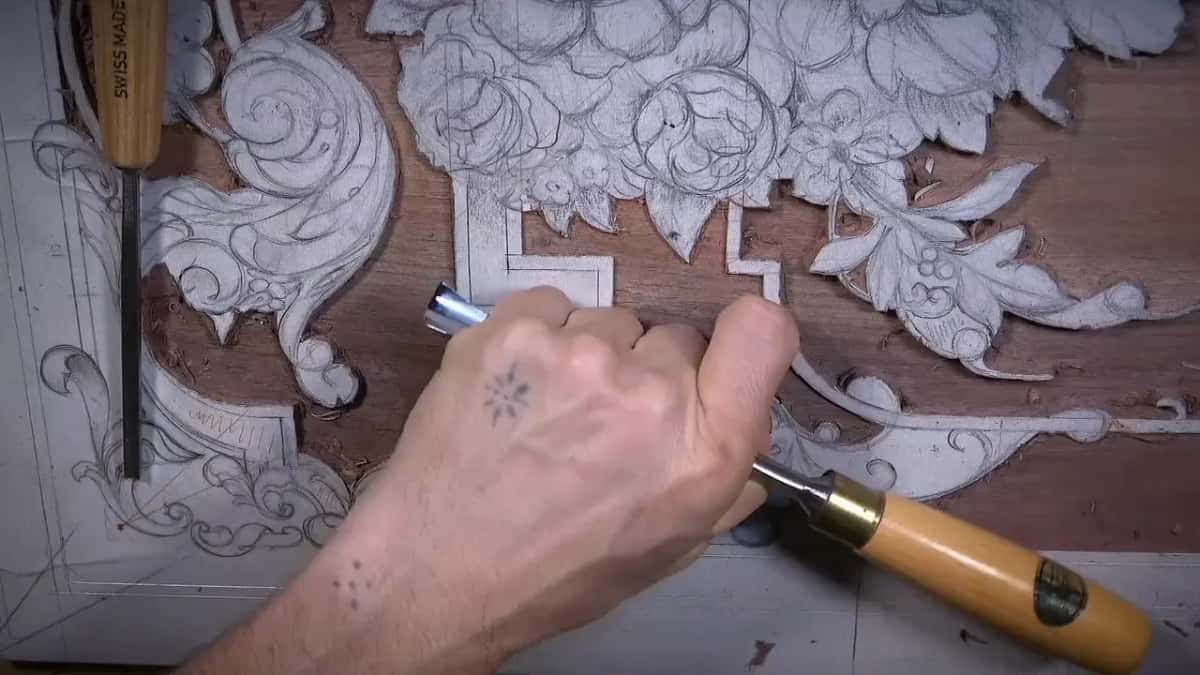
Edges are where the danger is. I advised you not to go toward the edge, since you can catch it and split it, so it's better to come from the edge inward. With really, really sharp tools you should not catch it, I said, but only then. Along the grain I stayed about 1/16 in (about 1.5 mm) away from a molding, because the grain is not always straight, and a split could run into the molding detail.
Here is some of the kit from this lesson.
| Tool and size | What it did on this walnut background, in this lesson | Where used |
|---|---|---|
| Veiner, 3 mm | Outlined each section, going close to the drawn line | Most sections |
| Number 7, 10 mm | Took the middle out of a section, crosswise to the grain | Open ground |
| Number one, 8 mm | Chopped down by a corner to keep it nice and sharp | Sharp corners |
| Small number 23 | Came at the knot from one side and removed wood | Knot area |
| Veiner, half millimeter | Went inside the deepest pass after the 1 mm one | Tiny pocket |

Does this job need a router plane?
It's handy, but you can do without it. What this plane does best, I said, is keep my background really consistent in the same depth. In my words, that tool is absolutely unnecessary for this type of work, since you are still able to do it with the gouges.
I proved it once. After a number 9 cleaned one small area, I said a flatter gouge, like a bigger number 4, would work too, and I got almost to the final depth with just gouges.
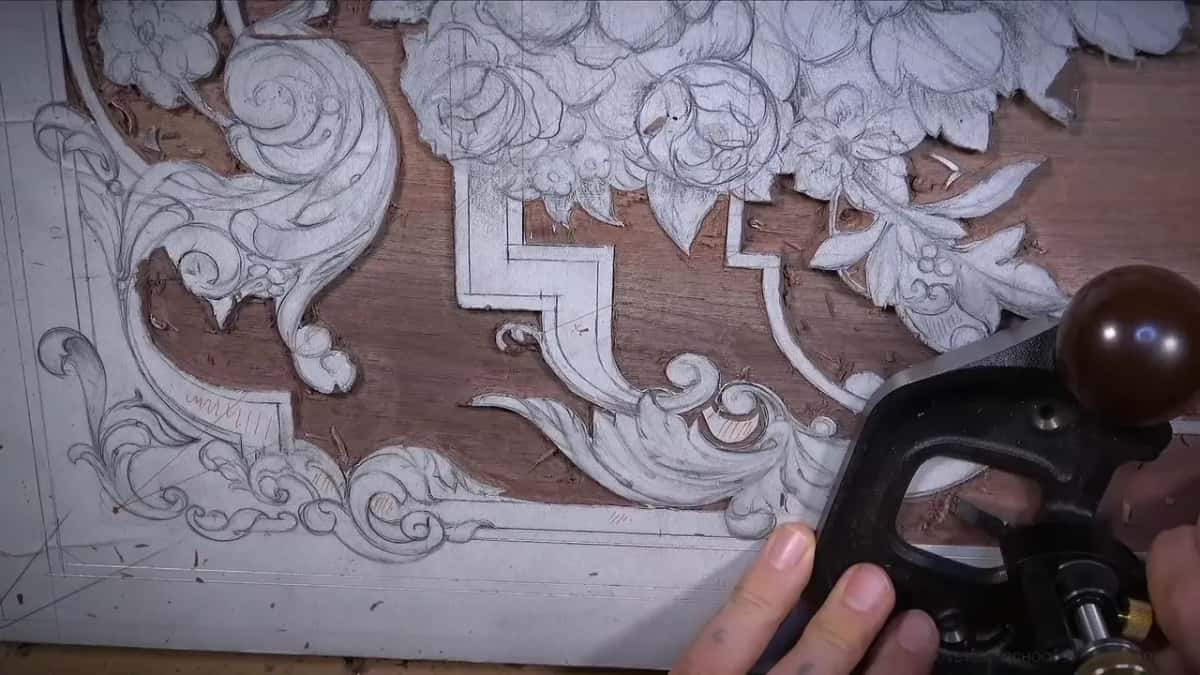
Small blades help. A small blade gives a lot less resistance, so I went deeper bit by bit, starting with a 3/32 inch blade. In tight spots I used a 1/16 inch blade (about 1.6 mm), since it felt safer, and once I said a 3/16 inch blade (about 5 mm) would be safe, I think.
Please don't turn the plane to the right or to the left, because you can dig in with the point and undercut. It also digs only what it can catch. Late in the lesson I found a raised hill in the middle of one area, since the plane never reached it, and a flatter gouge, a number 3 at 6 mm (1/4 in), took it out.

There are lots of ways to check the depth. Sculptors use a pointing machine, and I use mine on full 3D carving in the round. With its base on, it sits flat on a panel, and the needle and stop let me check one area against another. You measure the original, say from clay, and carry it over into limestone or marble. For this panel it's almost overkill, though it is a handy tool to have, and most of the time your eye is really accurate.
Why leave the background a little high for now?
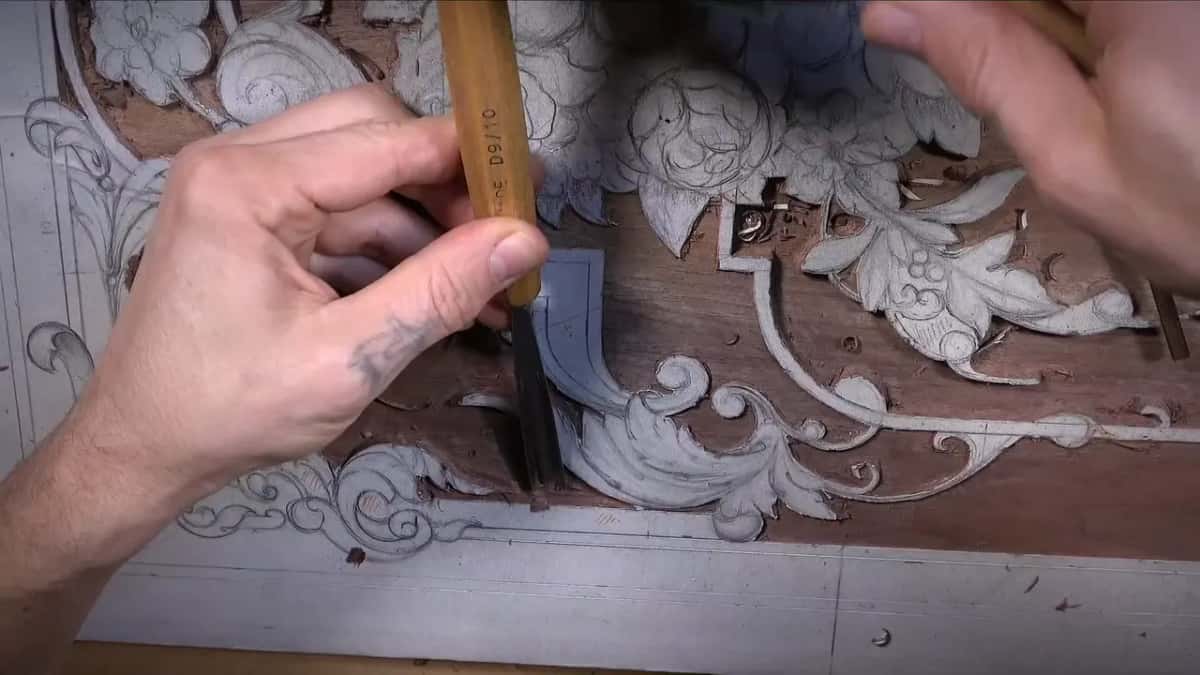
There needs to be room to clean. In one area I left about half a mil (0.02 in), maybe even less, so I could always do a clean pass. Later I kept a little for myself again, just in case I need to clean it, because it is always better to keep it a little bit higher. You don't have to clean all the way now, as long as you know the final depth.
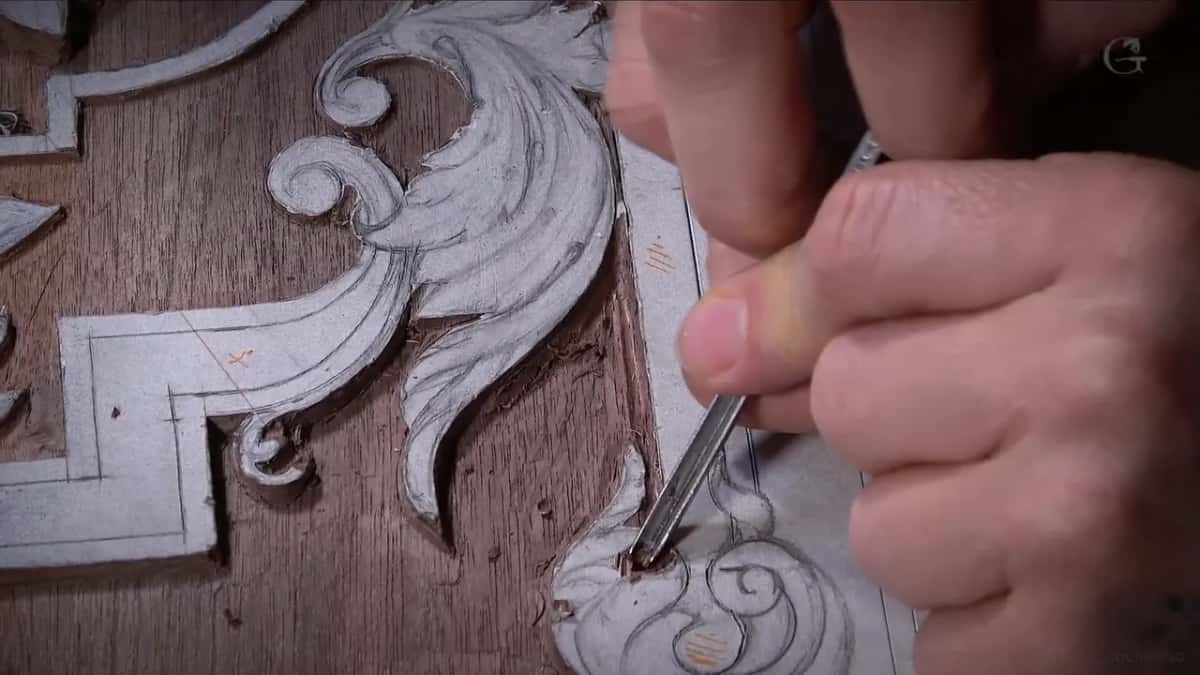
The danger runs the other way. If you push too deep with the tool, you have to lower everywhere to the same depth to keep the background consistent. It's fixable. On one panel I guess it's okay, but on multiple panels, where every panel is supposed to be the same, it is not, so it's better to take time.
The design gets the same respect. Around one curly detail I stayed about a millimeter (0.04 in) away and left a couple of millimeters (under 1/8 in) of thickness, because I can always make it smaller later, but if I take too much, I can't make it bigger. The design is much thicker right now than it will be, so I don't hit too hard, and I don't want marks on the background later when that detail gets smaller. Again, I am barely hitting with the mallet.
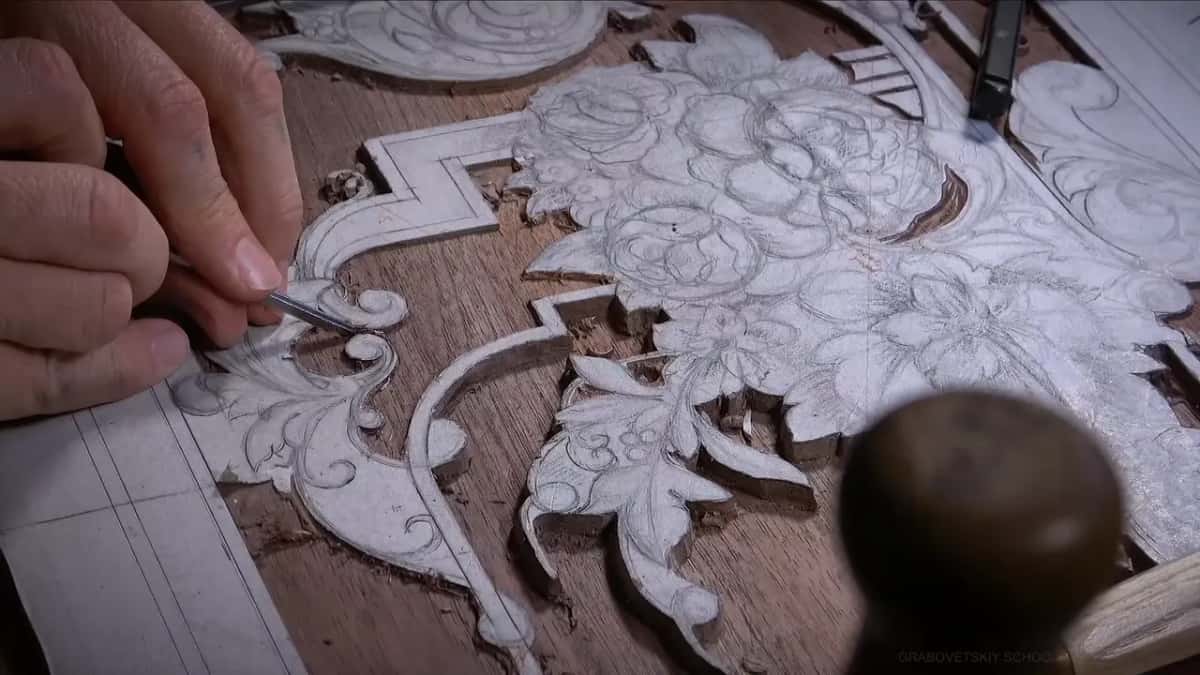
How do you keep a small tool from slipping?
Put your hands on the board. Using a 1 mm veiner, I held the tool on my middle finger, my controlling finger, and pinched it with the other hand, and that way you gain much more control. Do not raise your hands. Raise them in the air and try something like airbrushing, and it doesn't work in wood carving. When my right hand was up, I still put my pinky on the board, and if I can't use my pinky, I'll place two fingers. It's all about controlling your tool, and that keeps it from slipping.
The knife got the same care. Outlining with my favorite knife, a number 12, Swiss made, I held my 90 degrees by pressing from both sides with the handle and my finger. Carefully and slowly. I'm not rushing.

What about the tiny triangles and pockets?
Work the triangles from the inside out. When I'm doing a triangle, I have to attack it from inside out, and I relieve the corners before I chop around. Once I chopped too much and lost about half a millimeter (0.02 in), maybe a millimeter, so it's important to relieve those triangles as much as possible. I make those relief cuts on most of my carvings, and it helps a lot to save material.

One deep pocket took a number 11 and then a 1 mm one. Next I came at it from the opposite side with an even bigger tool, a number 9 at 10 mm (3/8 in), and the last pass inside went in with a half millimeter number 11. I really like the idea of multi level carving, I said there, even in relief furniture style carving. In tight spots a small spoon gouge helps, well, not really spoon, a medium bend, a number 6 or number 5. Mine was a number 6 at 1/16 of an inch (about 1.6 mm), medium bend, by Ashley Iles.
What else happened at the bench?
I lost about five minutes of filming at the start, and a couple more minutes in the last video. At least I didn't lose hours, so with minutes I can live. Too many tools piled up on my workbench, and later I put away the ones I wasn't using and left only the one tool I needed. Near the end my veiner needed sharpening, so I did it off camera on the Work Sharp system, because it's quick, and all it needed was some stropping. Once I got scared by black marks in the ground, and it was just a shadow.
Why carve the background before the details?
For me it's a lot easier to set the depth, and to play with the height of all the moldings, before I start digging inside the flowers. I do have that temptation sometimes. But the best way I found is to work the background first, as nice as possible, and then the details.
The work before this is in lesson 16 and lesson 17. We'll probably get all the moldings done next, I said, and get ready for the details. That background work goes on in lesson 19, inside the same carving stage course. Before all of this came the design course. I know it's not as detailed yet, but I promise you it's going to look awesome.
If a knot turns up in your board, someone who has carved past one can help you, and that is what the school is for.
How it's done
- Look for knots before you draw the lines. I located the knots on the Lily Box slab first and made sure my lines missed them. A nasty one is not a good area to carve.
- Outline a little off the line. Run a number 11 veiner around each section. Staying roughly half a millimeter (about 1/50 in) away makes the line much easier to catch later, when you create the wall.
- Take out the middle. A flatter gouge, such as a number 7, clears the bulk of the ground. Work crosswise to the grain, the safest way.
- Near a knot, go slow with the plane. Remove a little wood by hand first, with small tools, before the plane goes near it. Then try a smaller blade, and if it keeps catching, stop and finish that spot by hand.
- Chop the wall straight down. Find the sweep that matches the curve, set it right on the line, and tap lightly. A deep tap leaves marks on the background, and some of those you really can't take out.
- Shave to depth and check often. Bring the plane in from both directions, raising and lowering the blade a little at a time. Leave a hair above final depth where details still need carving.
Frequently asked questions
Should a router plane go over a knot?
Only with care. On my walnut panel the plane still caught near a small knot after I fitted a smaller blade, so I quit using it there, carved the rest down by hand, and then went back in with it just to shave the floor clean.
Can a knot be hidden inside a carving?
Sometimes, yes. A Lily Box knot sat right where the main flower would go, so the flower was going to cover it. If one might still show, I said I can always glue on a different detail to hide it.
What happens when one spot goes too deep?
You lower everywhere else to that same depth if you want a consistent background. On one panel, I guess that's okay. On a set of panels that must all match, the fix grows much bigger, which is why I keep saying take your time.
What to carve next