

Alexander Grabovetskiy, woodcarver, School of Woodcarving · Published 2024
How do you carve a grape vine tendril that looks natural?
Quick answer: A natural-looking carved tendril is one with no straight lines in it, top view or side view. On my grape onlay I outlined it with a #11 veiner, left roughly a quarter inch of room beside it, made it wavy in depth too, then undercut it from two sides until I saw light.
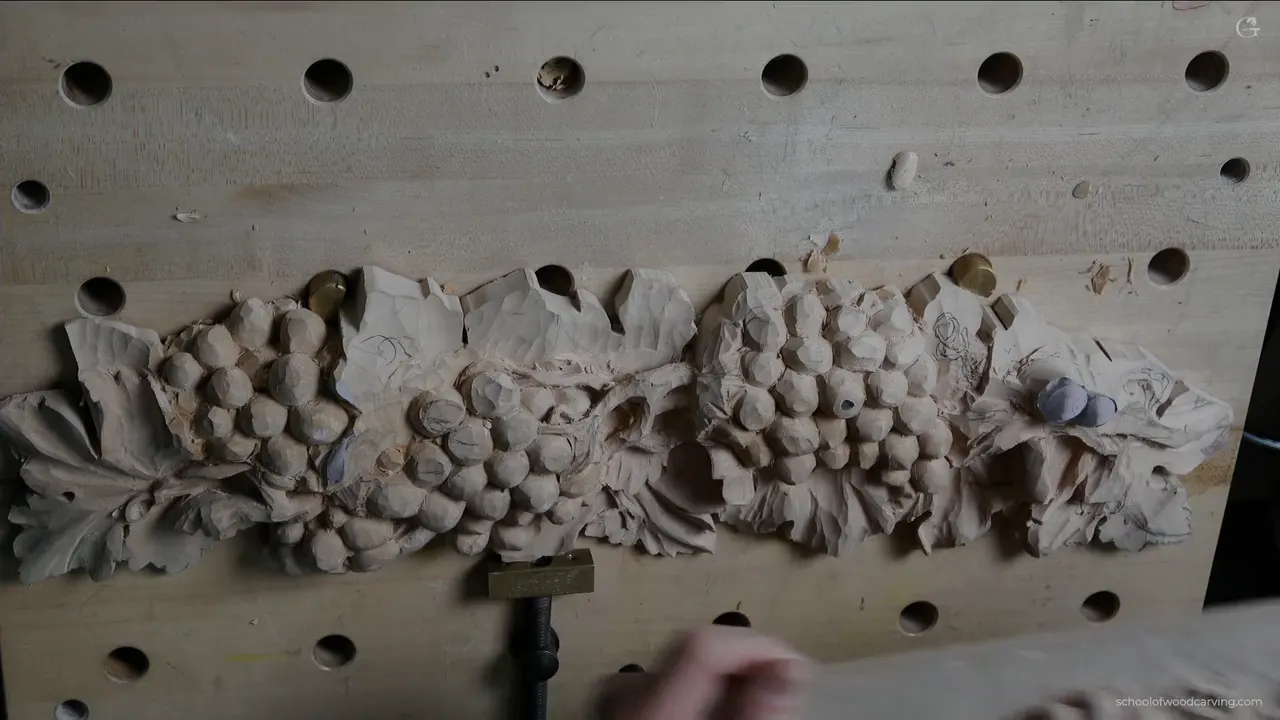
A natural-looking tendril is one with no straight lines in it, seen from above or from the side. That is what I was after on my grape onlay in this lesson. I said it on camera again and again: I really don't want to see any straight lines. One run came out too straight, so it got an arc.
Do you want a vine on your board that moves like a real one? Would you like it to look right from the side, as well as from above? Then do what I did: keep straight runs out of it both ways, and leave the tendril room before you shape it. I worked on my right hand side here, and had an oops moment, too.
This panel did not start from scratch. We did grapes on it in one of the in-person classes I was teaching, and we set some first movements at that class. I decided to keep working on it, as I said in lesson one. Look at that section and you see how complex those tendrils are, and that is what I wanted to work on.

My grape vine tendril in six lines
- Nothing runs straight, from above or in depth.
- About 3/16 to 1/4 inch of room goes beside it first.
- The outline comes first, with a #11 veiner.
- Next, a #9 plug cut.
- Undercutting comes at it from two directions until light shows through.
- Weak spots keep some connecting points.

Why do straight lines make a carved vine look wrong?
A grape vine should not be straight.
I outlined one run and looked at it, and it was a little too straight for me. So I put an arc in it, going right underneath two parts beside it and digging out a curve that gave me more depth too.
The tool was flat, just a skew. In the European pattern it is a number 1; in England it would be a number 2. A chisel with no sweep.
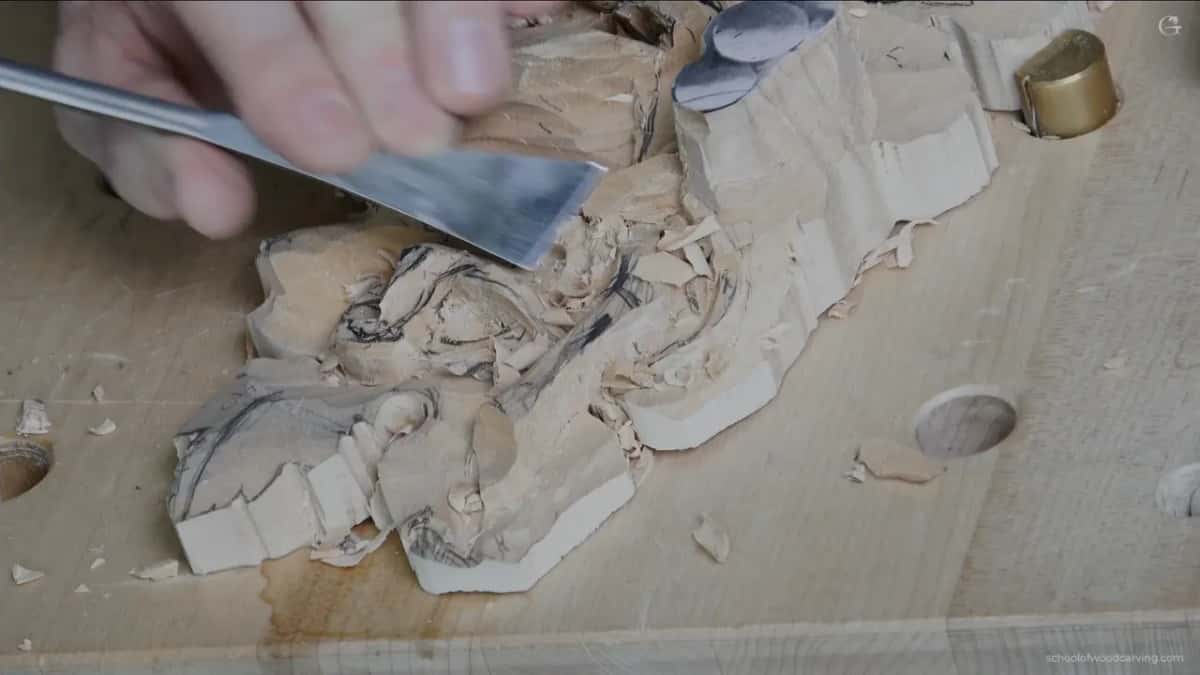
Then I took a bigger skew and chopped more of the waste out.

How much room does a tendril need before you shape it?
About a quarter of an inch. The channel I opened beside it ran about three sixteenths, so maybe a quarter, which is about 5 to 6 mm. Why so much? Getting right underneath later is much easier that way, and I can dig it out so this part can be airborne.
Step number one is always the outline. I used a #11 veiner at 4 mm (5/32 in), though it could be five, six or seven; that one just happened to be close by. The handle says Swiss made.

Be careful when you work along the grain. On this piece I did not have to be too careful, since my wood is kind of dry, and that is good.

Deeper came next. With a number 5 by Ashley Iles I had about 10 mm (3/8 in) from that point all the way down, and I did the same on the other side. In one spot I was at maybe 11 mm (7/16 in). Where a part floats above the tendril, the space has to be a little bigger than a quarter inch, so I dig deeper there, and the motion becomes fully three-dimensional.

Digging that deep means the leaf under it goes a little deeper too. Still, if a leaf has an eye, any leaf, a grape leaf too, you need some wood there, because it is always going to bulge up. Everything has to be 3D.
Which tools went into this tendril?
A #11 gouge in several sizes, down to 1 mm, with flatter tools in between, so I can see what is going on.
| Tool and size | What it did on this tendril | Which spot |
|---|---|---|
| Veiner #11, 4 mm | Outlined the run and opened the channel | Opening outline |
| Flat skew, number one | Put a curve into a line too straight | Straight run |
| Ashley Iles #5 | Took the waste about 10 mm down | Deep channel |
| Smaller #11, two and a half | Set the knot, then undercut it later on | Knot movements |
| Gouge #9, quarter inch | Sank a plug in the section first | Deep section |
| Two #7s, 4 and 14 mm | Pushed straight down and set the waves | Loop waves |
| Tiny #11s, 2 then 1 mm | Freed the strand until light came through | Airborne strand |

For some excess wood I took an antique spoon gouge, about 7 mm (9/32 in) wide, with no sweep written on it. Really nice to have a tool like that.
Where does the waviness go, on top or on the side?
Both, if you want natural motion. On one loop I set waves with a #7 at 4 mm, pushing straight down at about 90 degrees toward the background, but not too deep, since I need wood for my future leaves. And there has got to be some kind of waviness, otherwise it is not going to look natural.

Next came a #7 at 14 mm (9/16 in). I outlined the motion with it the same way and alternated how I came at it, to get some waviness at least when you look from above.
I still had to work my way down, because I'd rather not see a flat surface, so I turned the tool upside down, blended slightly and went right underneath. Look at the side now, and it is all wavy. With tendrils you don't have to do it. But if you really want more natural motion, it looks much better.

The next twist got an extra level of waviness with the same tool. Exact doesn't matter there, but I think waviness is important. A little later, on another part, I said: use your imagination, how it is supposed to look in real life.
The same goal comes back in lesson 5, where I want the vine to look like the real vine. There I want facets on the vine itself but not on the tendrils, which come out a little nicer and only about a sixteenth of an inch (1.5 mm). On the furniture panel I put it this way: I want it to feel like a tendril, not like a leaf.
How deep you can carve is a decision you have to make. Fit a 2 or 2.5 mm tool instead of a 1 mm one and you get a lot more depth, with a really good play of lights and shadows. Painters call that play of light and dark chiaroscuro. On a relief panel like this one, it comes from depth.
What goes over and what goes under?
I decide that part by part, and the logic has to hold. One piece already went underneath, so logically I had to continue it somewhere on the other side. It's multilayered, by the way.
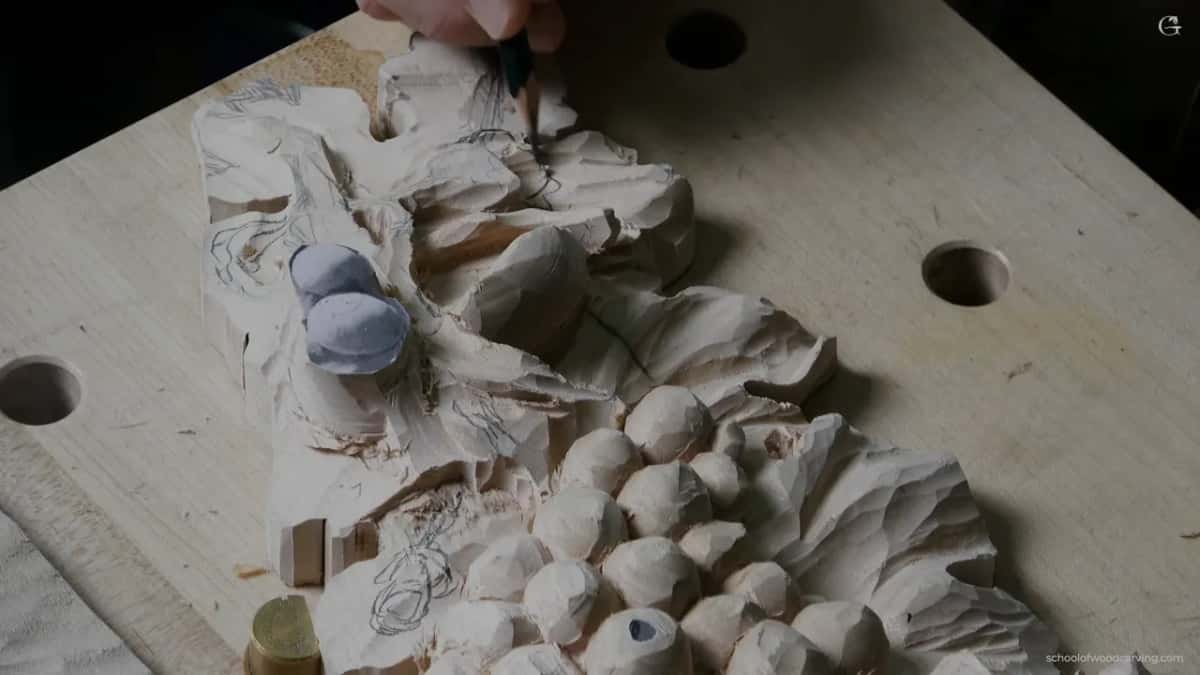
At one spot the tendril could have gone over the top. That would not give me a good knot, because the part there was already bulging up, and going underneath would look better. So underneath it went.
Right away I set those movements with a smaller #11, two and a half millimeters (3/32 in), so you would understand better. I know, I know, don't complain, it'll make sense a little later. I was trying to see that knot, just like knot work.
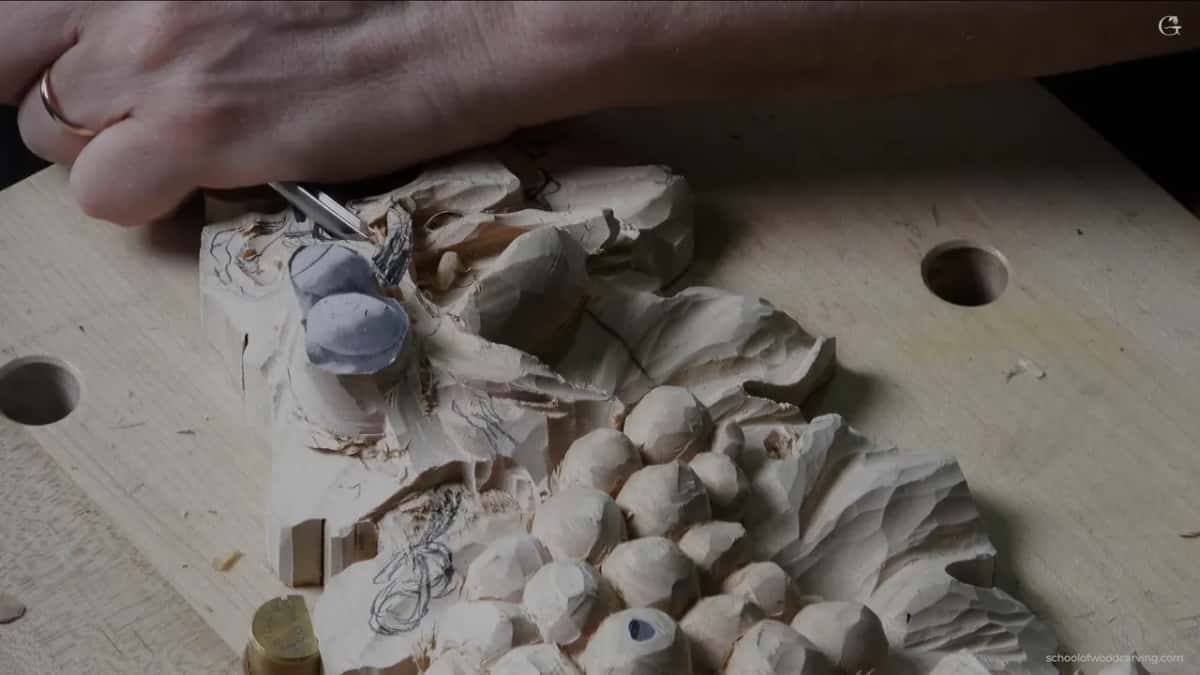
Along the way I grabbed a number 17 by mistake and went back to my 11 so I would not confuse you. Then a solution showed up that saved wood: one part goes right underneath and becomes another part, so I did not have to dig much deeper there.
In the section I had to dig out, I took a #9 at a quarter inch, about 6 mm, and sank a plug cut first. Now I'm not going to get lost, and I know exactly where I'm at.

On the furniture panel I asked myself the same question about its tiny tendrils: should I overlap above or below? I did not want to break them. And if you like knot work, this grape panel is probably a good project for you.
What if you dig too deep on a tendril?
Change the design. With the #9 I went too far in one section, and I said it: oops, I messed up in a big way. I could glue it, but I lowered the whole section instead. Then I saw why it happened. I had already dug too deep there, and it was undercut.

Sometimes it does happen, not a big deal. The change gave me a chance at a little more 3D, and then a really nice twisting motion. Nobody is going to know except you and me. Why a carving breaks on the second side is on the lesson 3 page. Once that oops moment was over I cleared some tools off the bench, because I don't like to see a mess.
Do you need to see the whole form before you carve?
You really don't have to see that form before you carve. Thinking you must see the complete form is one of the mistakes people make.
Patience, friend. Patience is the most important thing in wood carving, I think. Sometimes you can't picture it, and I would highly suggest you just start carving, because that form is going to jump out at you. You'll see it much clearer once you start.
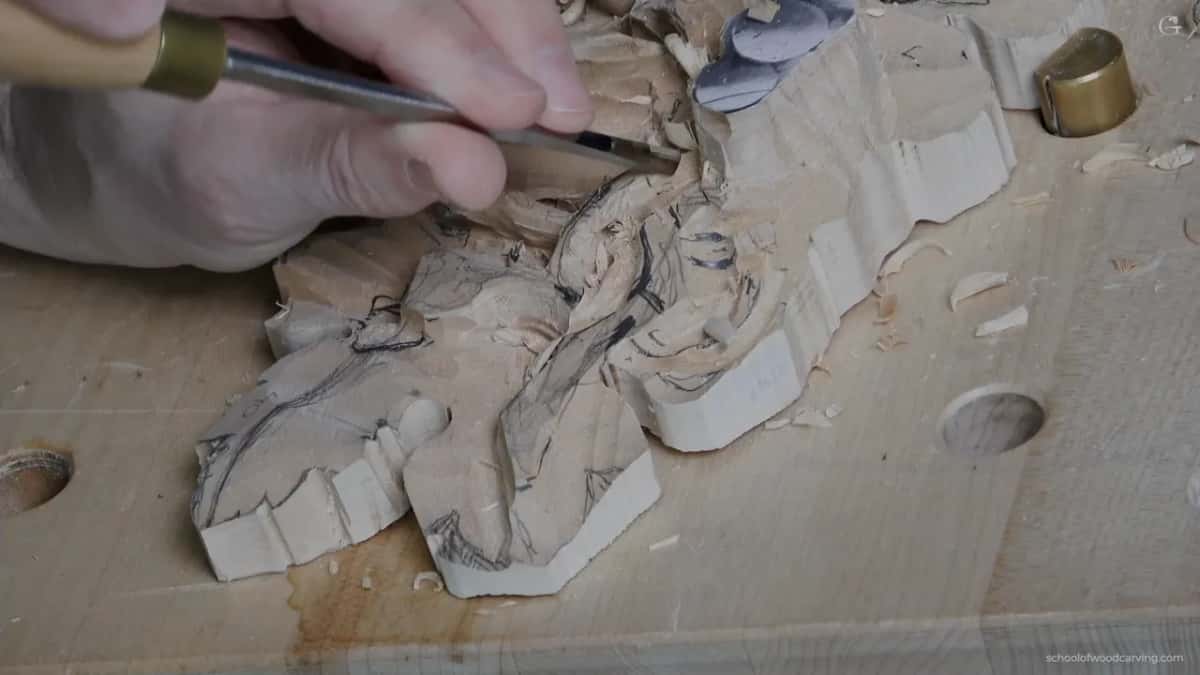
Working that way, the carving can be a little more expressive, as long as it connects logically to everything. That's why I don't like to copy the work of others; I would not have enough freedom to create.
It happened right here. Partway through the knot I could see what I was not able to see before, and another part I still did not understand. I said I would figure that one out a little later.
One thing I did plan. I had not taken all the wood off the leaves yet, because a part goes right underneath there and shows again on the other side. For the Tray of Blessing I said that if I had done that design from the beginning, I would have thought about that tendril. But I did not know how well we would do.
How do you undercut a tendril so it floats?
From both sides. I started under one part first because of the way the grain goes, and for me it is better to make the stronger undercut first. My 2.5 mm #11 lay on one side, turned to about 10 o'clock, and I dug right underneath, a little at a time.
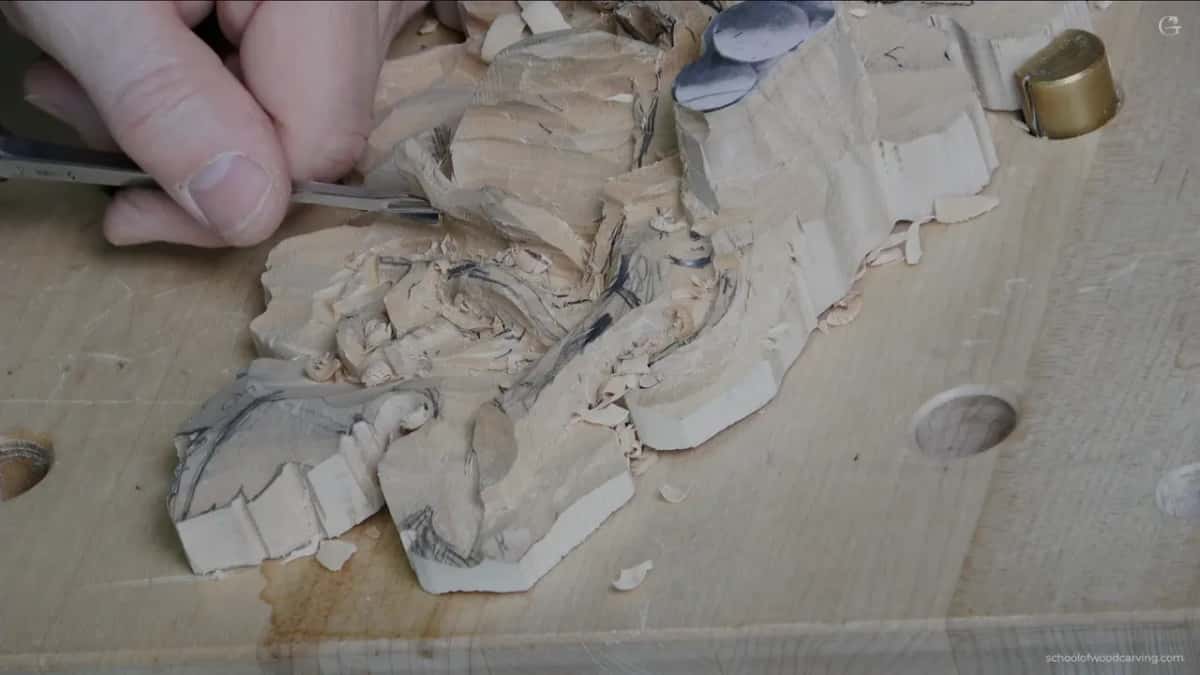
While there was still support around it, before it was airborne, I set the connecting spot with the 11. For me it's safer that way.
Coming from the other side, be careful. That's along the grain, and depending on what you created there, you can blow all the way through and break the whole motion. Better to attack from different points of view and see what the grain does.
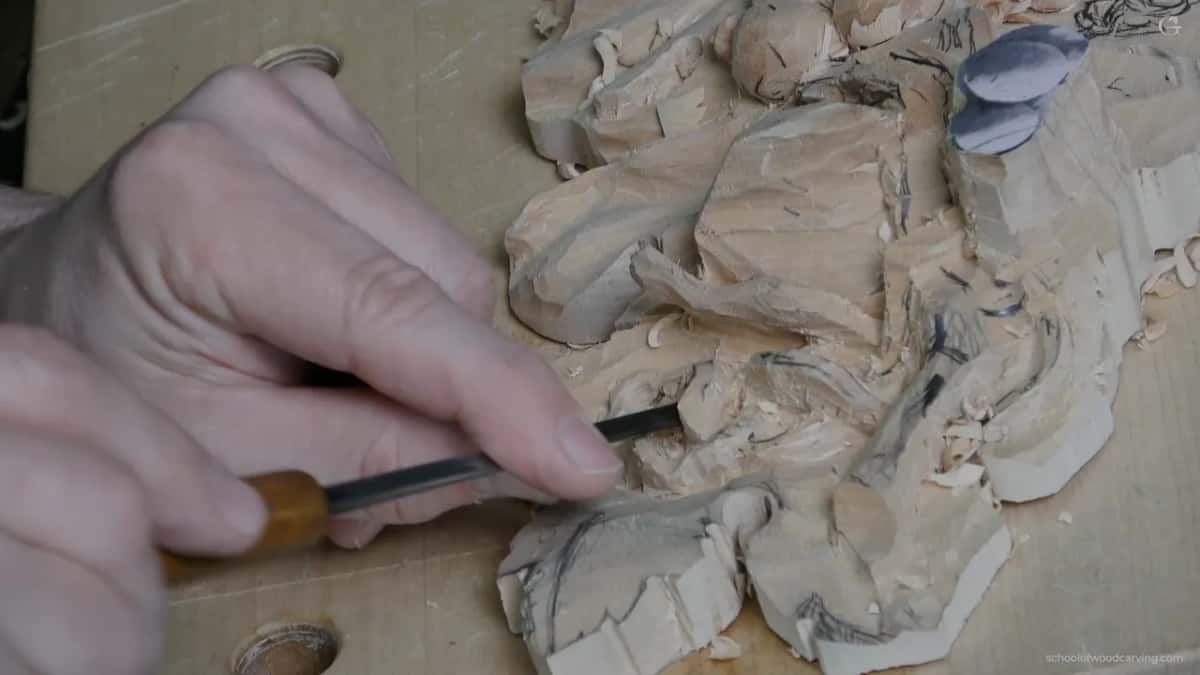
Next came a plug cut with a small #9 or #8, Dockyard, in a drilling motion. Small Dockyard tools, I really love those guys, and I mean the brand. Always better to attack from both sides. And yes, that part went airborne, not me, the part.
I kept some connecting points, too, since one spot was weak and I did not want it completely airborne. Another spot was excellent for it, and that one I did right away.
When is a tendril fully free?
When you see light through it. I went down to a #11 at 2 mm (5/64 in), and I could see the light. With the smaller 11 you should be able to see the tool on the other side, and then it's a hundred percent airborne.
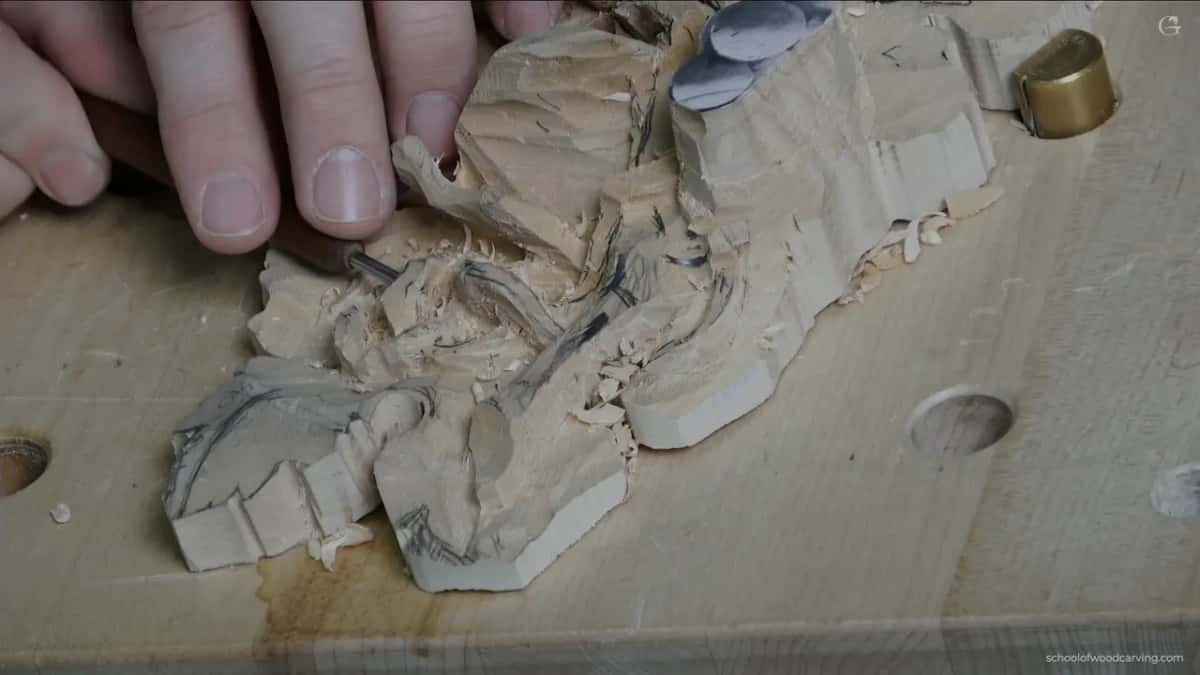
From there I switched to 1 mm (0.04 in) and kept undercutting. With 1 mm I can go deeper, but I can't crank on that part too hard or I'll break it. And if a part feels too weak, grab a smaller tool, which I had to do myself right then.
Earlier I showed how an airborne detail moves. Fragile stuff. Don't dig too deep, because you still need wood for the leaf. But on the other hand, don't be afraid to do something really nice.
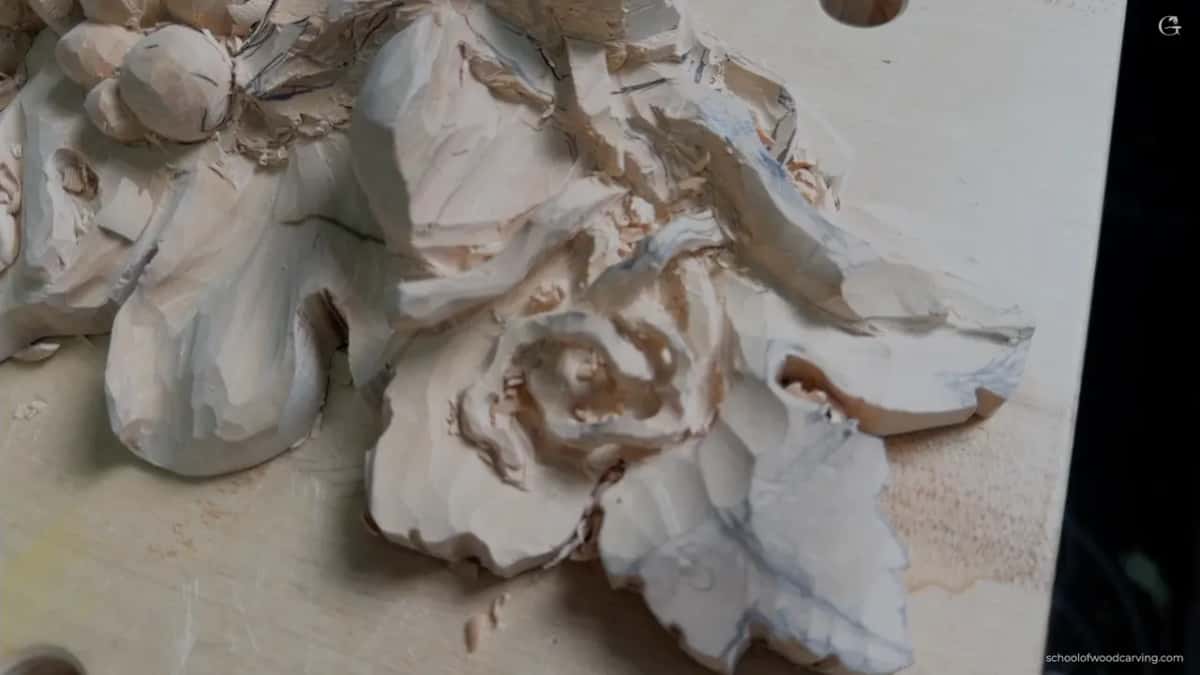
How thin does it get? At the end those tendrils become really thin, about 2 mm at most, maybe a sixteenth of an inch, 1.5 mm or so, but that comes later, once I make them thinner. In lesson 10 another stem goes completely airborne, and people probably won't even notice that opening. Lesson 12 has spots down to about 1/16 inch of wood, where I don't want to take it too thin; I've made that mistake multiple times, going right through.
Should you carve the whole knot or just the leaves?
You choose. I know it's kind of complex, and if you don't feel comfortable doing it, feel free not to copy the whole thing. If you want just the leaves without the complexity of the tendrils, no problem. But I kind of like it.
I enjoy working on stuff like this. Some people think it's easy, and it's not, but it gives you a really good chance to work on your skills. At this stage I don't worry about how it looks; the overall shape matters more to me.
At the end I flew around the piece with my phone, so you could see the pattern from every side. Would you like to watch that knot come together, pass by pass? Then come carve it with me, and the tuition and access are right here.
How it's done
- Put the lines in with a pencil. I added a couple more lines for the movement, kept my pencil close by, and checked that no run was straight.
- Outline the run. Step number one is always the outline. A 4 mm #11 here; a 5, 6 or 7 mm one would work too. Take it slow, perfect isn't needed.
- Open room beside the strand. About 3/16 to 1/4 inch beside the strand and roughly 10 mm deep, a bit more where another part floats above.
- Mark the spot with a plug cut. A #9, quarter inch, in the section I have to dig out, so I know exactly where I am.
- Set the waves. Straight down toward the background with the small #7, then the 14 mm one, changing direction, until it is wavy seen from above and sideways.
- Free the strand. The #11 goes from 2.5 to 2 to 1 mm, working each side in turn until light shows and the tool appears on the far side. Weak spots keep their connecting points.
Frequently asked questions
What do you do when a carved vine looks too straight?
I give it a curve. On my grape panel one run looked too straight to me, so I dug in under two parts beside it with a flat skew, a number 1 in the European pattern. The new curve gave me more depth as well, with the motion going that direction.
How wide should a tendril be before you undercut it?
For now, roughly a quarter inch, maybe five or five and a half millimeters, whichever way I look at it. Later those tendrils get really thin, two millimeters at the most, maybe 1/16 inch, about a millimeter and a half. That thinning comes after this lesson.
What is a plug cut for in a knot?
Knowing where I am. Where a section needs digging out, I sink a #9 plug cut, a quarter inch or roughly six millimeters across. After that I won't get lost in the knot, and for you watching it makes more sense too.
What to carve next