

Alexander Grabovetskiy, woodcarver, School of Woodcarving · Published 2024
How much should you exaggerate a shape in a carving?
Quick answer: Exaggerating a carved shape is pushing a real movement a little past life so it catches light and throws shadow. On this grape leaf I keep it slight: a bulge in the center, a roll to the left, a slightly raised side on the pipe. With plenty of shadow there, I do not overdo it.
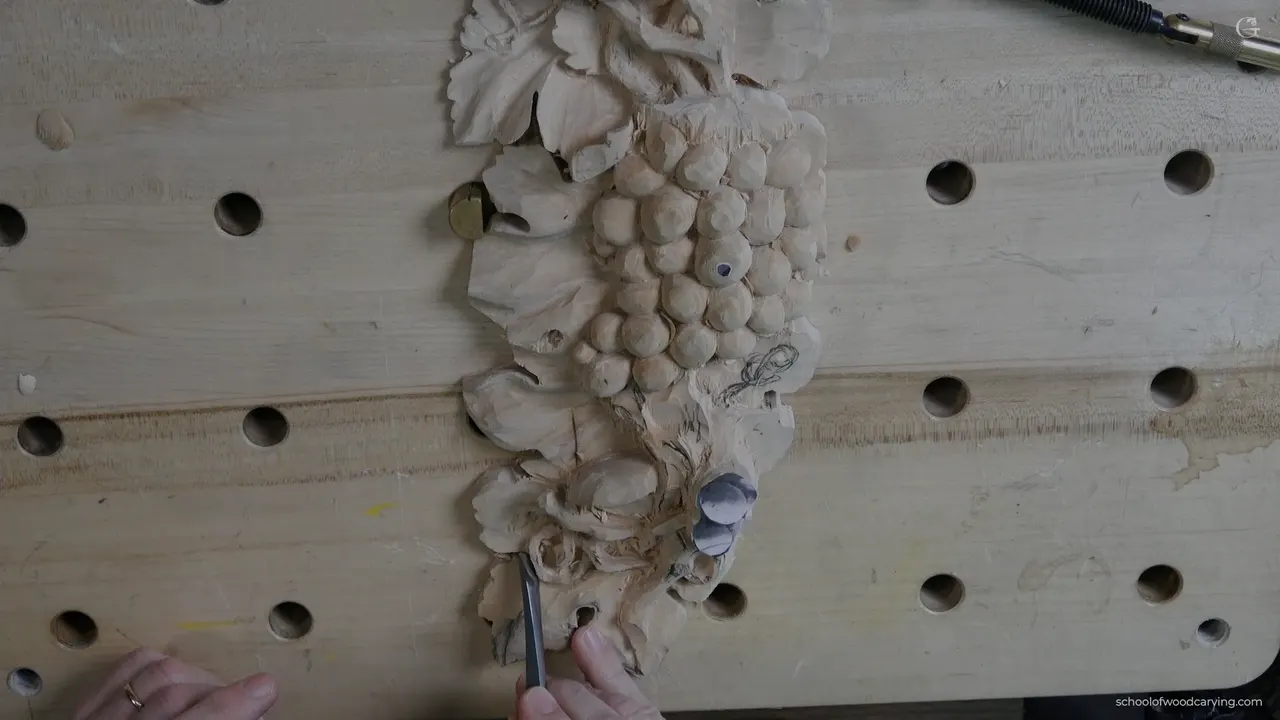
Exaggerating a shape in carving is giving a real movement a small extra push, so it shows up as light and shadow. My push on this leaf stays small. The center bulges and rolls a little to my left, the tip flips back, and the pipe gets raised slightly on one side. Not big. But you can see it.
Have you ever seen a real leaf curl over at the tip? And did you notice that the dark spot under the curl is what makes it easy to see? Then you already know what this lesson chases: a movement, and the shadow spot that comes with it.
This page follows one leaf on my grape onlay. It starts with the first bulge and ends with a crack I found at the very end.
We pick up the cluster of vines we started in the lesson before. Right now the vines look like a bunch of worms, I know, about four millimeters (5/32 in) wide. By the end they will be about two, maybe a millimeter and a half (about 1/16 in). But before any of that refining, I have to concentrate on the leaf itself. The leaf is really important here, and there will be lots of different movements.

What I push on this leaf, and what I leave alone
- The pipe gets a slight push on its side.
- An acanthus leaf asks for more of that than a grape leaf does.
- A grape leaf lets you be freer, except for the pipe from each eye.
- The shaping looks like very little until the undercut goes in.
- Bigger tools mean fewer passes and less cleanup.
- A spot that already casts enough shadow can stay as it is.
- The wood left behind sets the limit.
How much do I exaggerate a grape leaf in this lesson?
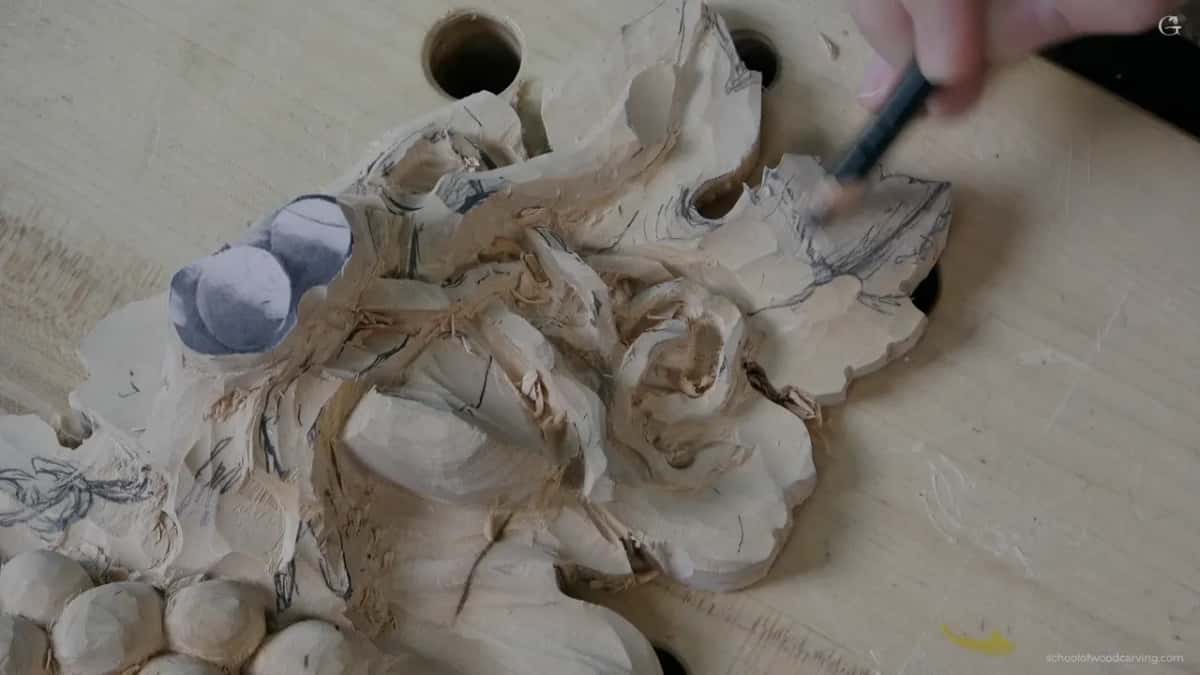
Slightly, and I start with the movement the leaf already has. This one has, supposedly, five lobes, if you can make them out on camera, running off a central line. That central line was already bulging, so I asked myself why not take advantage of it.
It bulges in the middle, the way you saw it from the side, and I let the center part bulge too, then roll it slightly toward my left, and maybe bring in some concave movement with the lifts. You can do a lot of stuff on a leaf like this.
To rough the shape I picked up the same tool I used on the grapes, a number 5 by Ashley Iles, about 12 mm. A little smaller than half an inch.

Then the tip. I planned a small flip backward there. Not big, just a small, small flip, a little detail, but it will look nice.
Next came a number 11, 4 mm (5/32 in), to start the hollow, which gets blended to almost nothing later. I had to be mindful, because on that side there was only about 1/8 inch (3 mm) of wood, so I needed to be really careful how I did it. Then I wanted to fix the end slightly, so the point feels like it rolls and then goes the opposite way.

Why do the eye and the pipe get their own push?
Wherever two lobes come close to each other, you get what I call an eye. Grape leaf or acanthus, it works the same. And where you see an eye, you are supposed to have a raised part.
Supposedly. It all depends. In some kind of Italian Florence style Baroque, they sometimes reverse it, and that spot is concave instead of convex. I followed the logic on this panel and kept it raised, and the two ridges on either side of each eye go up as well.
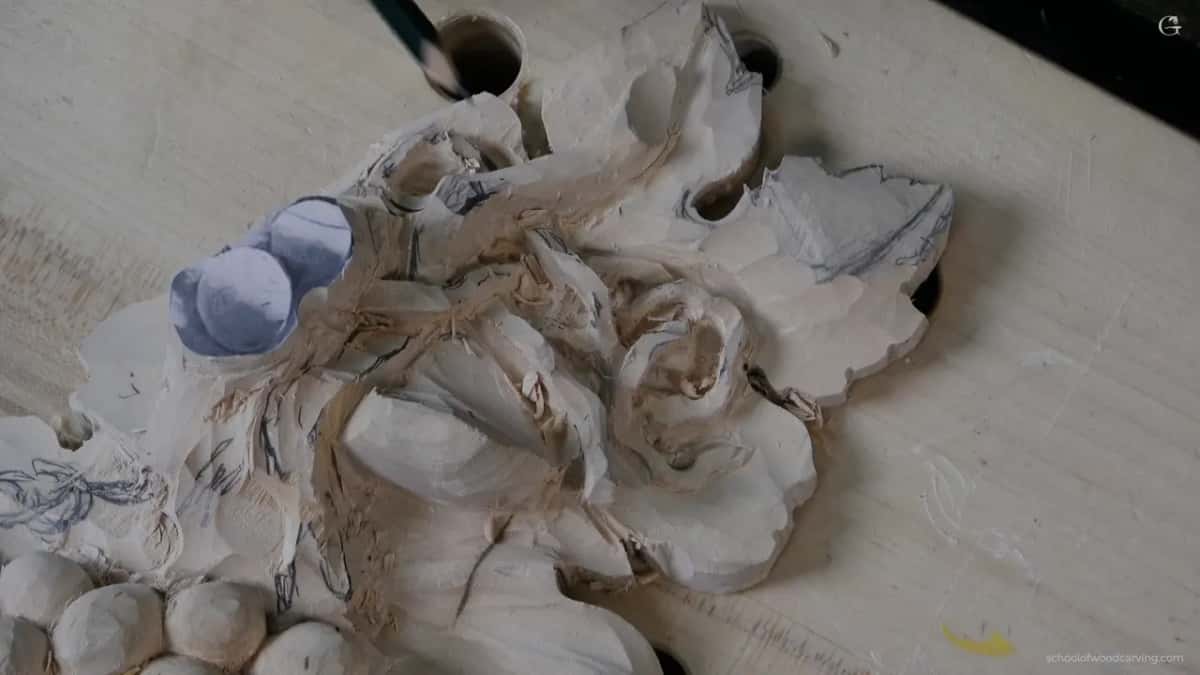
To see those eyes raised up, I made a concave cut right at that point with a number 7, 14 mm (about 9/16 in). Not too big, but I wanted to make sure you can see it from where you sit.
Watch the grain, by the way. Several short passes work better for me there, because going along the grain I can catch it and break it.

The raised part coming out of the eye is called the pipe. It is supposed to go toward the center of the leaf, so I have to keep an eye on its direction.
With a quarter inch (6 mm) number 9 gouge I removed some material there, careful not to lose the overall motion. And yes, I can exaggerate slightly the side of this pipe. Slightly. That is the size of the push.

Does a grape leaf need as much exaggeration as acanthus?
Less. With a grape leaf you have a little more freedom with the concaves and convexes, and how you do them. On an acanthus leaf, raising the center matters more than it does on a grape leaf.
Except the pipe from the eye. Whenever you see an eye, those two ridges should be raised up, grape or acanthus.
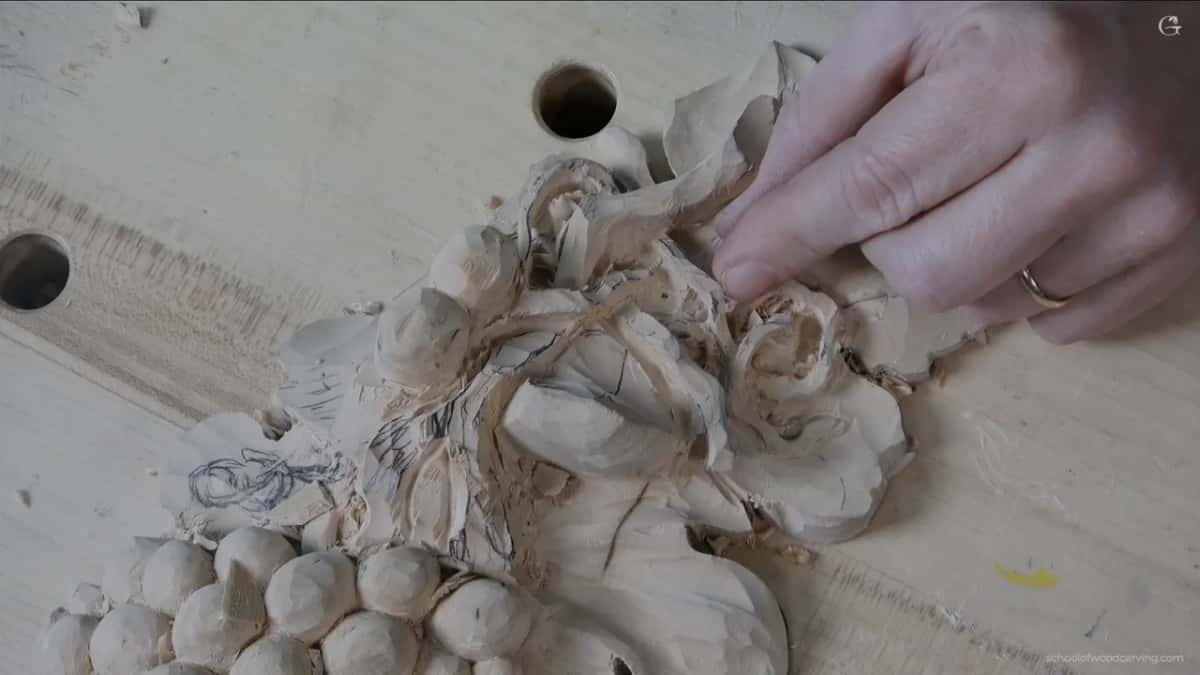
Along the central line of this leaf there was a ridge I did not need, so I took it off. Yes, I knew I was carving along the grain. Kind of scary. You will be all right if you do not push it and your tool is really sharp. After the concave cut, my center part was still kind of raised up.
Lesson 8 shows how the lobes split up. The acanthus side of the story is in the Greek acanthus leaf course.

Why does the shaping look like so little at first?
It has not been undercut yet. After the first round on this leaf I said it straight to the camera: it is not much, it is not big, but once we start undercutting you will see what a huge difference it makes.
More concaves on the inside were coming too, for even more variation, but a little later. None of the cleanup was final yet either, because I wanted plenty of wood left to clean up later on.

The undercut beneath the vine shows it best. My tools there were tiny number 11s, first two and a half millimeters, then two, then one (roughly 3/32 down to 1/32 in), working one side and then jumping to the other side. Please take your time if you do it. Once I was through, it sat only slightly raised, but it cast enough shadow, and you could see it was actually good.

Later, the panel looked messy to me. On camera I said it still does not make too much sense, and that I had gotten a little too complex right there. So I changed it slightly.
The main leaf would go up, and the part next to it would go down, underneath it. I sloped that side a little more, and that would give me a really good shadow spot. Much better sense.
How does the shadow tell you when to stop?
When a spot already throws shadow, you do not really have to push it further. On one undercut I said you could leave it just like that, because looking from above it was already casting shadow on both sides. I went on and made it airborne anyway, slowly.
Later, near a part that was strong but still a kind of dangerous area, I said it a different way: I had plenty of the shadow and the light, so I did not really have to overdo it.

Making another part airborne, I showed you the light getting right inside. That play of light and shadow is what wood carving is all about, I said, how you place those spots of light and those shadows. You cannot fake it with color. I mean, you could, but the light and a shadow are easier. Like painting.
On a weak spot in the last part, once I was through, I said that is enough, twice, and pointed at the shadow it was casting. That is what I am after. Just a slight painting with the light.

More than once in this lesson I said a part could go completely airborne, but there was no reason for me to do it. In one of those spots I kept a connecting point instead.
Where else have I said this?
On the furniture panel I put it in plain words. In lesson 19 I was creating a little more concave with a 3 mm Dockyard micro tool, and I said it has to look natural, but a wood carving is all about exaggeration. We are exaggerating natural movements, and the reason why is that we are really after shadows.
In the Hashemi flowers course I said it to the camera this way, in lesson 6: do not be afraid to exaggerate. Even if you are trying to replicate nature, you still have to exaggerate some movements, some shadow lines and so on, to give it more of a 3D look. Then it will look beautiful.
Later in that same lesson I took a number 9, about a quarter inch, and made a cut inside of the cut, from the middle, in some spots, not everywhere. I call them exaggeration cuts. For some reason they make leaves look more realistic and the veins inside them easier to tell apart. Those are simple cuts. Anybody can do that.
And back here on the grape vine, I said my goal is to make it look like a real-life vine, but not exactly like true real life. What we carve is not really a replica of real life. More like interpretation, I would say.
How does the wood left in the panel limit how far you push?
It decides how far I can go. At the start of this lesson I had only about an eighth of an inch (3 mm) at one spot, much higher at another spot, and about a quarter inch, six millimeters, on another side. So there was not too much material left.
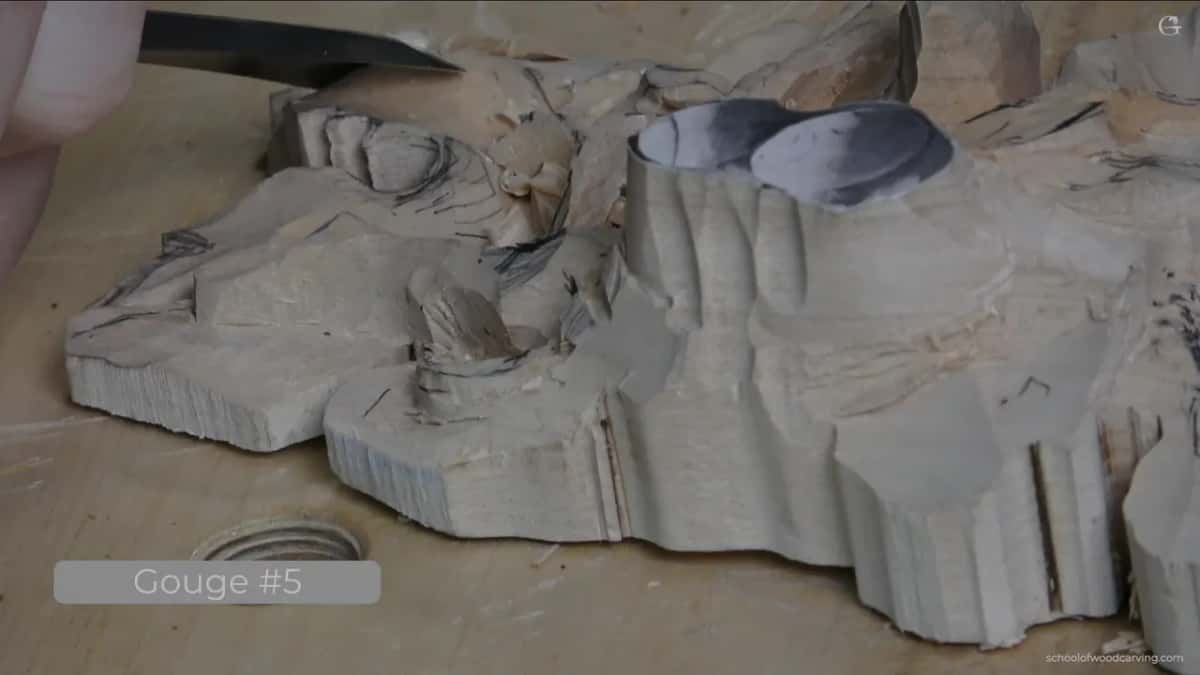
Digging beneath that vine, I watched how deep I went, because there was not that much material. Maybe I will go all the way and make it airborne, I said. Why not, if I have enough material? If I do not have enough, then that is a problem.
I took a little more off with the number 5 to make that airborne part look a little more exaggerated. At the point of the eye I still had about an eighth of an inch, so I should be safe.
One place I held back on purpose. From that side my bulging was in the way, and going deeper would have dug too deep in that area, so I did not do it.
One wall was too big. Not a big deal, given how the piece will be positioned, but I still preferred to drop it slightly, along with two spots that sat a little too high, where the grapes would go. There was plenty of material there.
Which tools give a bigger push with fewer passes?
Bigger ones, wherever they fit. To blend the leaf I swapped the 12 mm number 5 for the big one, a number 5 that is one inch (25 mm) wide. It gives a much better, smoother cut and better blending.
| Tool and size | What it did on my leaf | Spot |
|---|---|---|
| Ashley Iles #5, 12 mm | Roughed the bulge and the roll to my left | Center and roll |
| One inch #5 | Gave a smoother pass and better blending on the leaf | Whole leaf surface |
| Gouge #7, 14 mm | Made the concave beside each eye, small but easy to see | Each eye |
| Quarter inch #9 | Took off some wood without losing the overall motion | Near the pipe |
| Spoon #11, 7 mm | Worked inside out, so it would not catch the grain | Lifted area |
| Tiny #11s, 2.5 to 1 mm | Dug beneath the vine from both sides until it was through | Vine undercut |
| Skew, quarter inch | Shaped the sides of the thin parts, kept very sharp | Thin sides |
For the concave that lifts one area I took a number 11 spoon, 7 mm (a bit over 1/4 in), and went from the inside outward. Carving the other way, I would catch the grain and damage it. Then a bigger number 11, maybe even three quarters of an inch (19 mm), because I want this ridge raised and I do not want to see too many cuts. The bigger the tool you use, the less cleanup you have to do.
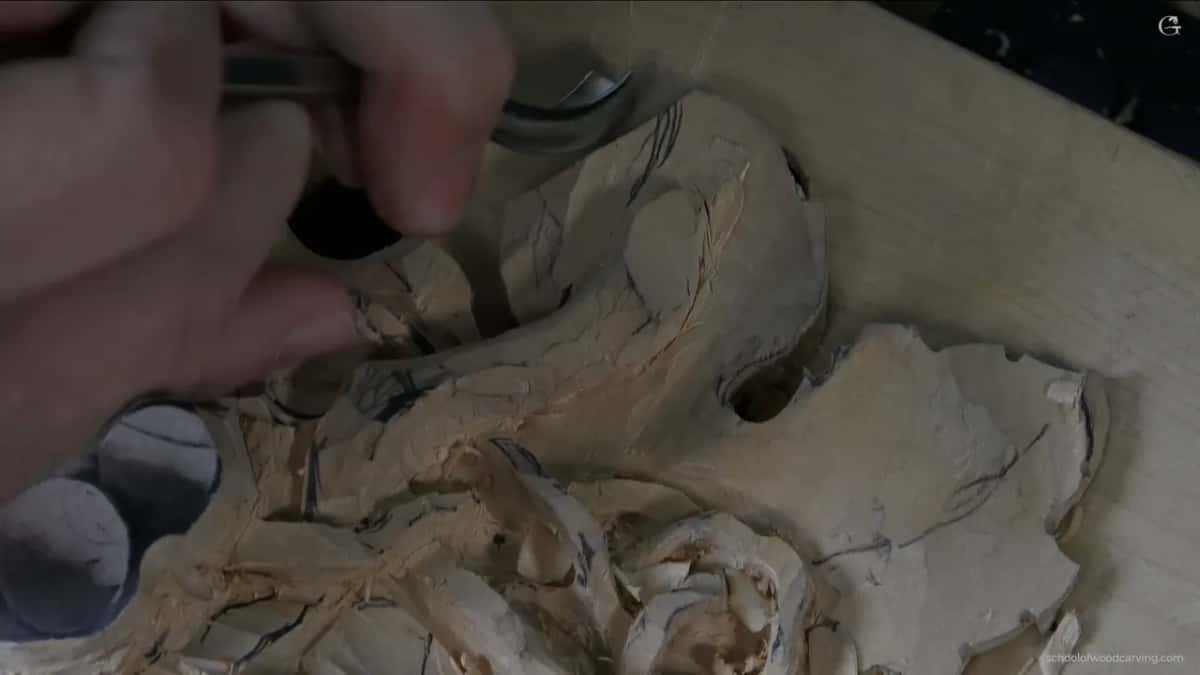
In tight spots the small tools come back. A number 9 comes in sideways, with really tiny cuts and a rotating motion, so I do not damage the raised part. Where a number 11 has no way to fit, I turn a 5 mm (3/16 in) number 2 upside down and undercut with it.

Earlier in that last part I said a plug cut would not be wise, because the leaf itself is rising up. A straight down cut on that rising leaf would be a big mistake, so the number 11 went in little by little instead.
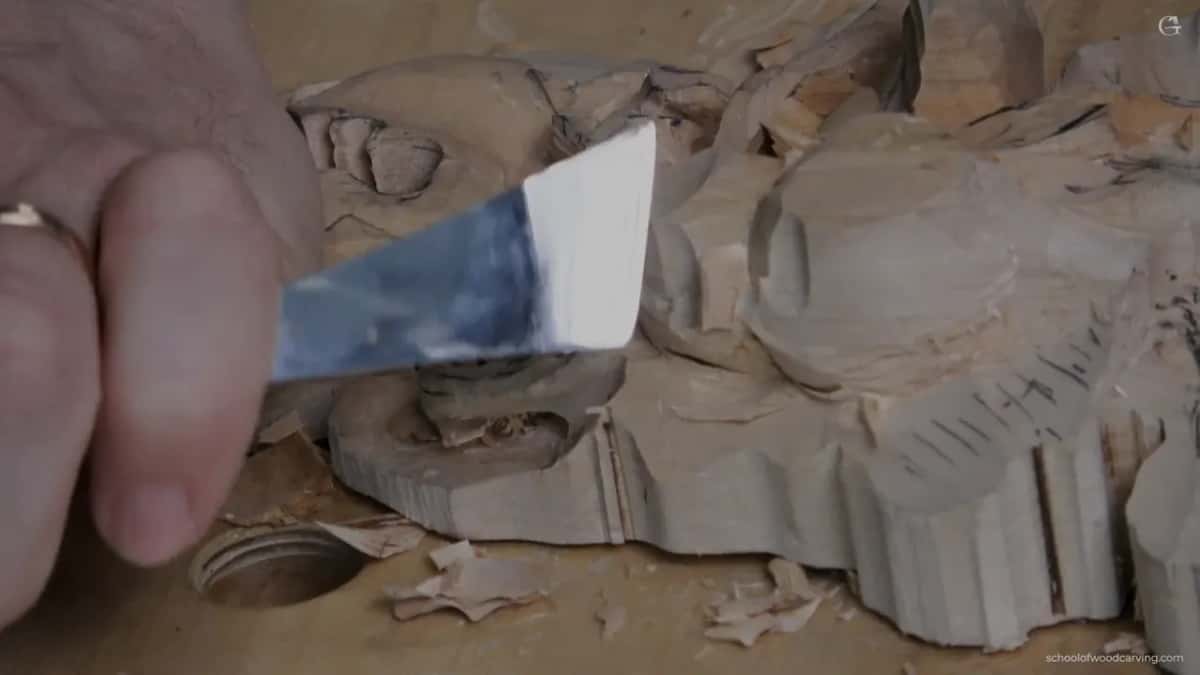
Near the end I said even a small skew would probably work better on the sides of the thin parts. A quarter inch skew, and it has to be sharp, obviously. The skew is your friend.
How thin do the tendrils go, and what about the weak spots?
About a sixteenth of an inch (1.5 mm) wide when you look straight at a tendril. It could be a little thicker at the bottom, so it is more stable. That part is up to you.
The vine itself is wider, about 3/8 of an inch (10 mm) in one spot and a quarter inch in another. I would like to see facets on the vine, but not on the tendrils, and the vine does not have to be round all the way.
Short grain twisting to the left made one part weak. There I took it slowly, and I still liked the look it was going to give me. Every cut after that has to be really careful, especially in the weak spots, and you can see how the thin part moves when you work it.
Then, near the end, I found a crack on the side. Still strong, not broken, and I am going to put some kind of glue in it. Maybe I was not careful somewhere. The junction itself, I think, looks good. If you want to know why carvings break, lesson 3 is about what happens when you carve the second side.
I did not film the whole cleanup. I do it with my magnifier glass, the same motion you saw, just thinner and thinner. Attack from different angles. See what the tool feels like and what the grain does, and try different tools.
Could you carve a leaf like this one yourself?
You can, if you go slowly. Nobody has to take on a junction like this one, and I said so on camera. But I think it is a good challenge. Right now those vines look huge and thick, like a bunch of worms, and once it is done I think it is going to look awesome.
Got a pencil? Can you find a spot where two parts of a leaf meet? Then you can raise an eye, give its pipe a slight push, and wait for the shadow.
The whole relief is in the Carving Grape Onlay course, and Access opens every lesson of it. After this one comes lesson 6. And on that undercut, probably the most important thing in the whole operation was not to rush it.
How it's done
- Find the eyes. I count the lobes off the central line, five on this leaf, and find every spot where two lobes get close. Each of those eyes gets a raised part.
- Use the bulge already there. My central line bulged, so I kept it, let the center rise too and rolled it slightly to my left with a 12 mm number 5.
- Flip the tip back. The tip gets a small backward flip at the end of the leaf.
- Raise the eyes. A concave from a 14 mm number 7 raises the eyes, small, though big enough to see.
- Push the side of the pipe slightly. I take wood off near the pipe with a quarter inch number 9, keep it pointing toward the center of the leaf, and stop at a slight push.
- Blend, undercut, then look for shadow. The big number 5, an inch wide, blends the leaf. Small number 11s free the vine underneath, and once it casts enough shadow from above, I leave it.
Frequently asked questions
Can you exaggerate a carved shape too much?
Too much is possible, and the shadow is how I judge it. Seen from above, one undercut already threw shadow on both sides, and I said you could leave it right there. Near a risky spot later, I had plenty of shadow and light, so there was no need to overdo it.
Does an acanthus leaf need more exaggeration than a grape leaf?
On acanthus, raising the center counts for more. A grape leaf gives me a little more freedom in where the concaves and convexes go. One thing stays the same on both: the ridges running out of each eye, which are supposed to be raised up.
Why does a shaped leaf look flat before the undercut?
Mine looked like very little too, not much and not big. I told the camera to wait for the undercutting to see the huge difference. Once the vine beside the eye went airborne, it sat only slightly raised but cast enough shadow to see it.
What to carve next