

Alexander Grabovetskiy, woodcarver, School of Woodcarving · Published 2024
What is spooning in wood carving?
Quick answer: Spooning is the scoop you get when a gouge goes in at the edge with its handle held up high, and that handle drops as you go. The wood comes out scooped, in the shape of a spoon. On the bulge of my grape leaf I kept it out, but on some acanthus hollows I carve that shape on purpose.
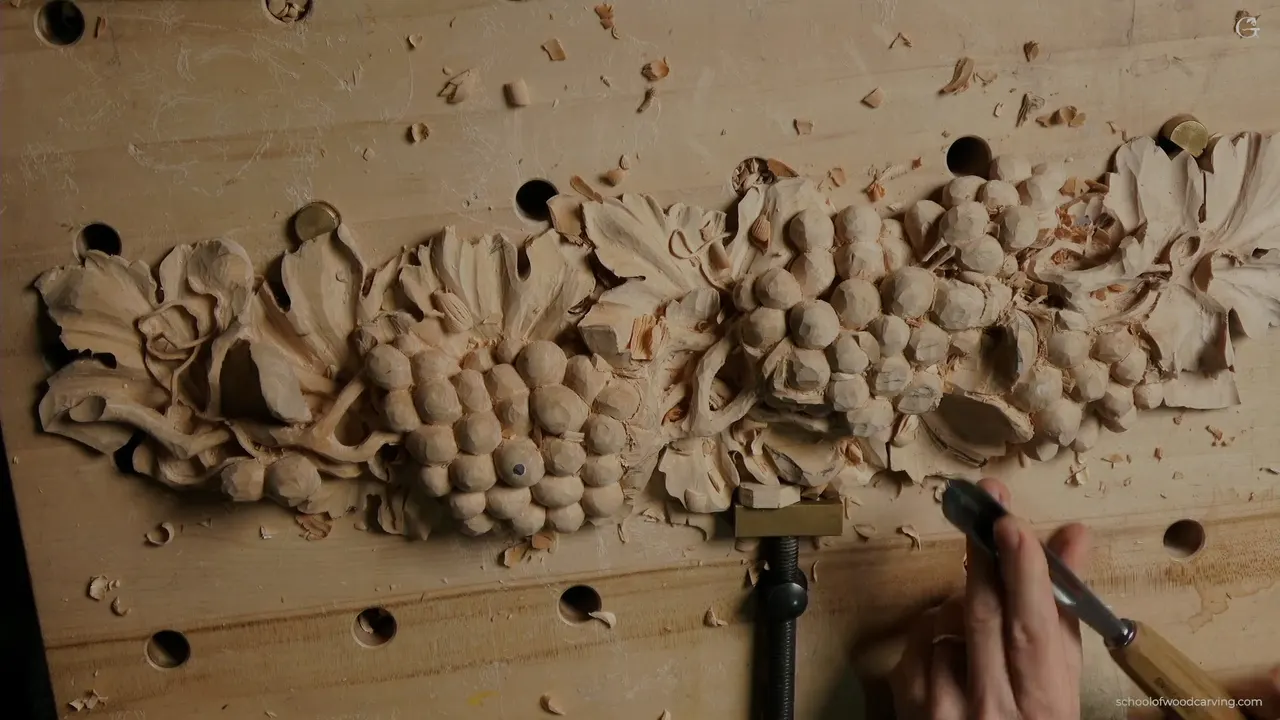
Spooning is what I call it when your tool starts at the edge with the handle raised really high, and then you lower the handle as you go. The wood comes out scooped, like the inside of a spoon. I explained it that way in lesson 9 of my grape onlay, while I was digging out the bulge of a big leaf. And I said I don't like it. It's a matter of my opinion, I guess, but I think it won't look natural.
Have you carved a leaf that should swell up in the middle? Did the gouge go in, dig, and come back out at the far end? Then you have seen this. I will give you my own words on it from seven other courses, the places where I carve a spoon shape on purpose, and the 45 degree angle I showed earlier in that same video.

Spooning in six short lines
- Spooning begins with the handle up high where the tool goes in, and as the handle comes down the tool scoops out.
- I didn't want it on the bulge of the grape leaf, and I called that my opinion.
- My Gibbons class heard the same words, and I told them just to excavate.
- A student in a Byzantine class heard it too.
- Two acanthus leaves got a spoon shape I wanted, and a furniture panel got a spooning cut to clear wood near a line.
- Earlier in the same grape video I held the gouge at 45 instead of 90, and the 45 gave a shiny surface.
What is spooning in wood carving?
A spooned surface is the scoop a high handle leaves when it drops on the way through, and in lesson 9 it came up at the bulge of that big grape leaf. Every leaf, like I said in the previous lesson, has to have a bulge right in the center. So first I had to find the center.
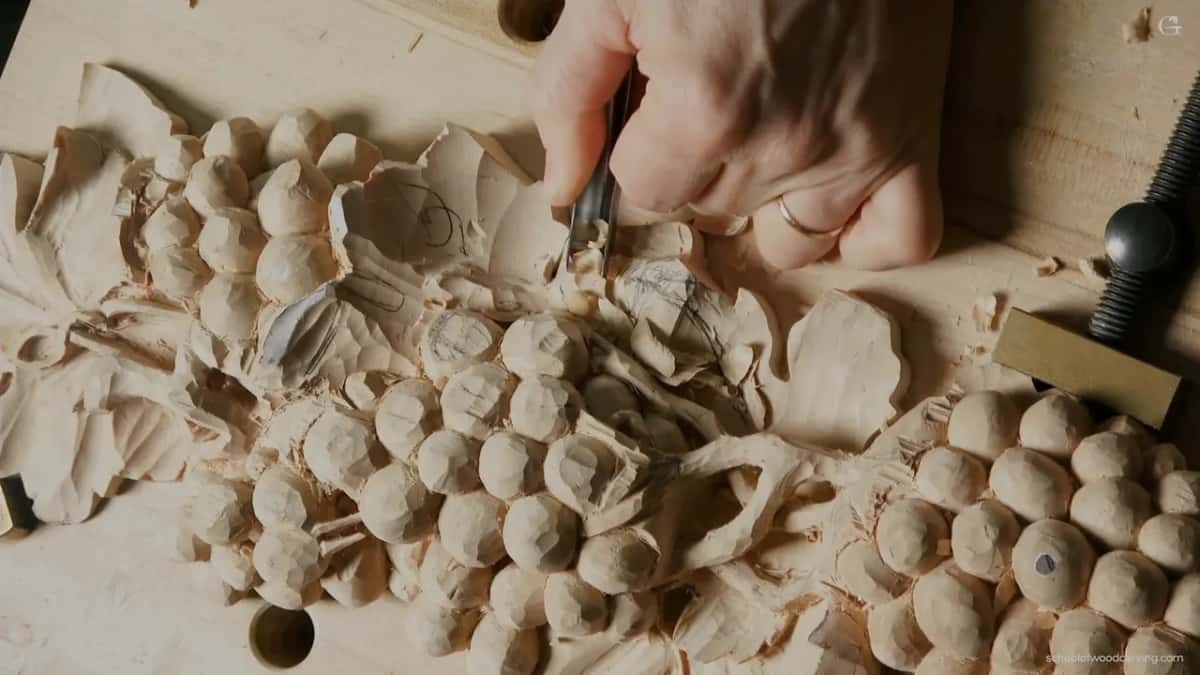
I looked for 60 and 40 between this point and that point. My first spot made one side much bigger, which is not good, so I changed the center. I'm not afraid of losing some of the material, and overall I think it will look much better that way.
What did I do on the bulge instead?
I excavated beside it. For a moment I said I'd use a number 7, then I went back to my number 11, the 18 millimeter one, almost three quarters of an inch, the same tool I used before. I excavated right on the side and hoped you could see how deep I went.
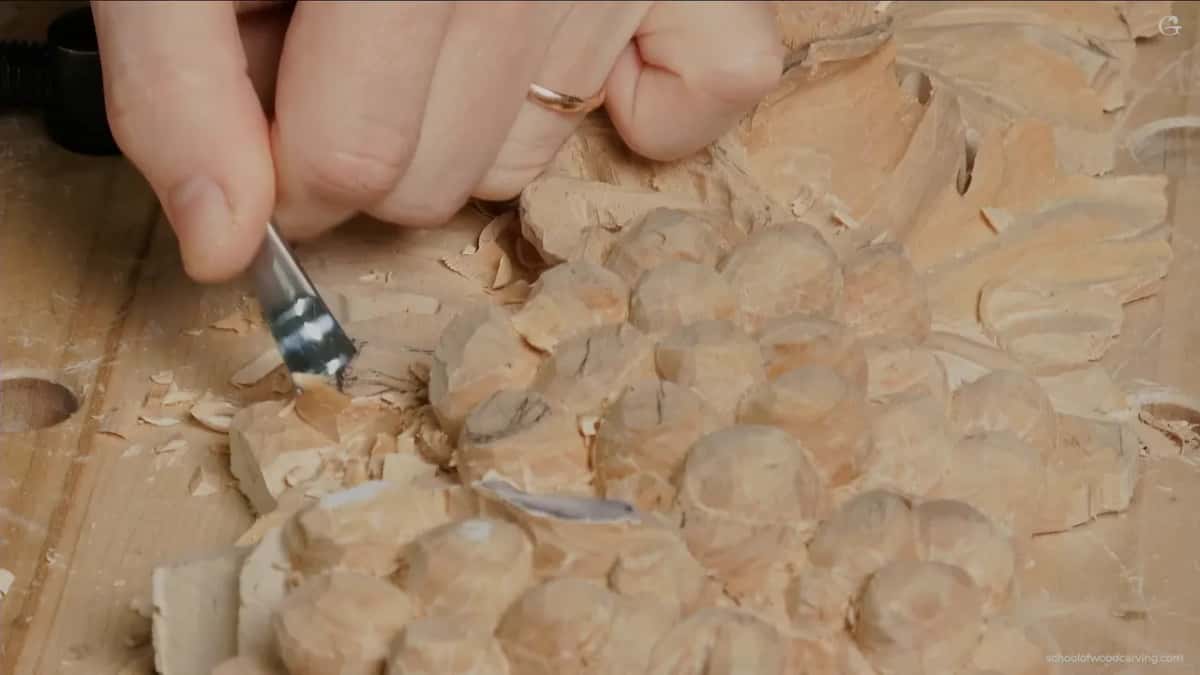
I said I would do the other side also, and the warning came right there. I don't want a spooning effect. When the second side was done, I had my bulge.
I blended it with my number 3, held upside down. Sometimes it just doesn't work upside down, and then you switch it to the normal position and shave it. But again, present your tool at 45 degrees and shave. I did one side, then the other, because I wanted that leaf to look really nice and bulgy.
Did I say the same thing in other courses?
Four other lessons carry the same warning. In my Grinling Gibbons class in Maine, lesson 17, the middle of a petal would be bulged up, with a couple of concaves set aside, and I said it plainly. Don't start with the edge and spoon out. Just excavate. Go in and in on one side, and the second side is exactly the same. After that I said you could grab a number 5 or a number 4 and use the tool upside down to make the bulging smoother.
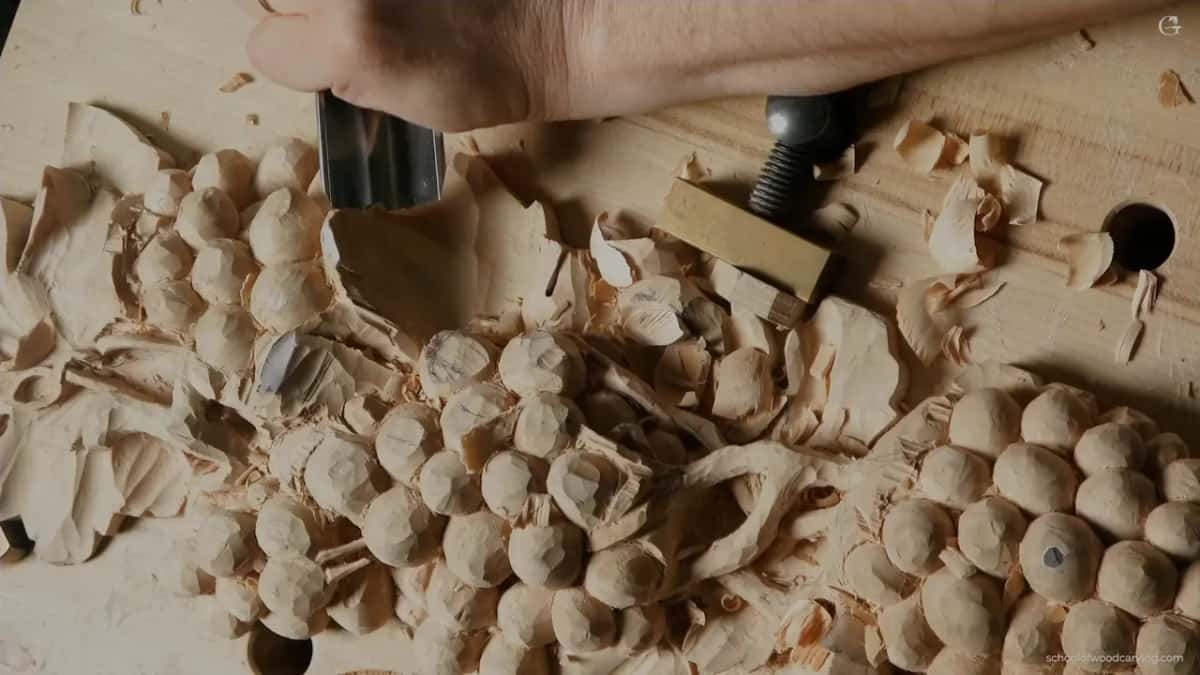
In a live class on the Byzantine acanthus leaf I said it to a student. Go downhill, but without the spooning. Half a minute later I said more. Please keep that sloping, and don't spoon it or dig like a dish in this area, on that side or that side. We need that meat, that material, for the later development, because we are still going to work on the concaves and convexes.
In the hazelnuts course I was staying away from my final design. Each next pass starts about in the center of the previous one. I don't force it. I try to take the same amount of material from above, down, so I'm not scooping it and not doing what I call a spooning effect. All my passes stay consistent, no more than one-eighth of an inch (3 mm) deep, and the tool does the work, not you.

In Venice Room workshop 60 the spoon was already there, and I didn't like it. That was a production project, not just a school project. I had too much of a spooning, I said, the concave was just too much. When you make a groove inside, it doesn't matter if it's Roman or Greek, and in a Greek one you are supposed to have a V cut inside. Too much spooning doesn't look organic, I should say, in my opinion, and I took some of it out. After that I said I should probably leave it alone already, because the more I do, the more damage I create.
| Course and lesson | What I said there about the spoon shape | Kept or used |
|---|---|---|
| Grape Onlay 9 | Spooned, the bulge will not look natural | Kept out |
| Gibbons Maine 17 | Just excavate, I said, and don't spoon out | Left out |
| Byzantine Acanthus 2 | Do not dig like a dish, we need meat | Saved for later |
| Venice Room 60 | Too much of a spooning does not look organic | Taken out |
| Modern Acanthus 2 | I want to see like a spoon effect | Wanted here |
| Roman Acanthus 15 | A really deep spoon casts even more shadow | Wanted, deep |
| Furniture Panel 38 | A spooning cut goes high, lowers, and escapes | Used to clear |
Is a spoon shape ever what I want?
For some acanthus leaves it is exactly what I'm after. In my modern acanthus, from a 1903 design, I said what I want to see is like a spoon effect, the wood going in this direction and also flipping and rolling over in all directions.

In lesson 3 of that course, this part would be raised too, and we would create the spooning effect so everything would take that spoon shape. Go in and escape. It looks easy. But if you place your tool too high, you dig in, you are not able to escape, and you create a problem. Everything is supposed to be gradual, and I was not taking much at once, not even a sixteenth of an inch (about 1.5 mm).
Later in that lesson I gave the dig-in-and-escape-out move its name, the escaping cut. If a straight tool gives you trouble there, use a spoon. We are doing a spooning, pretty much, so with a spoon it is a lot easier to escape, and you don't need to stress yourself. And if it fights you, don't dig deeper, rotate the piece and attack from the other side.

The Roman acanthus in lesson 15 went further. The number 11 made a really deep inside spoon, and it casts even more shadow, which is what I like about the number 11. When I'm moving out, on the escape, I must be really careful not to break my edge, so I barely remove any material and still get that really deep spoon. There is a reason this tool is called a veiner, even if it's a spoon. That tool gets used a lot for the veins inside, and it makes beautiful shadow.
Furniture panel lesson 38 used it as a working move. I came from the opposite side to remove some wood from the line, and I said I'm going to do a spooning cut, where you go in at kind of a high angle, then lower it down and escape out. Be careful not to go too deep. I knew I was about the same level, and I still double checked the other side. In that same lesson I said what I like about wood carving, and especially hand tools. There is no limit to what you can do.

So the same motion shows up both ways in my lessons. On the grape bulge, the Gibbons petal and the Byzantine slope I kept it out. On two acanthus leaves and that panel I did it on purpose.
What angle did I give the gouge on this leaf?
About 45 degrees to the line I carve along, and earlier in the same video I showed why. Most people, what I see when they present the tool, hold it at 90 degrees, perpendicular. That's okay in some cases. But it is always better to make the angle, like 45 degrees, and it gives you much better slicing.
See how much cleaner it is. Really shiny. Of course the sharpness of the tool also makes a huge difference, but in this case it's how you position the tool, how you present it. In one small section I showed both so you could detect the color, and at 90 degrees it came out kind of rough, while at 45 it came out shiny.
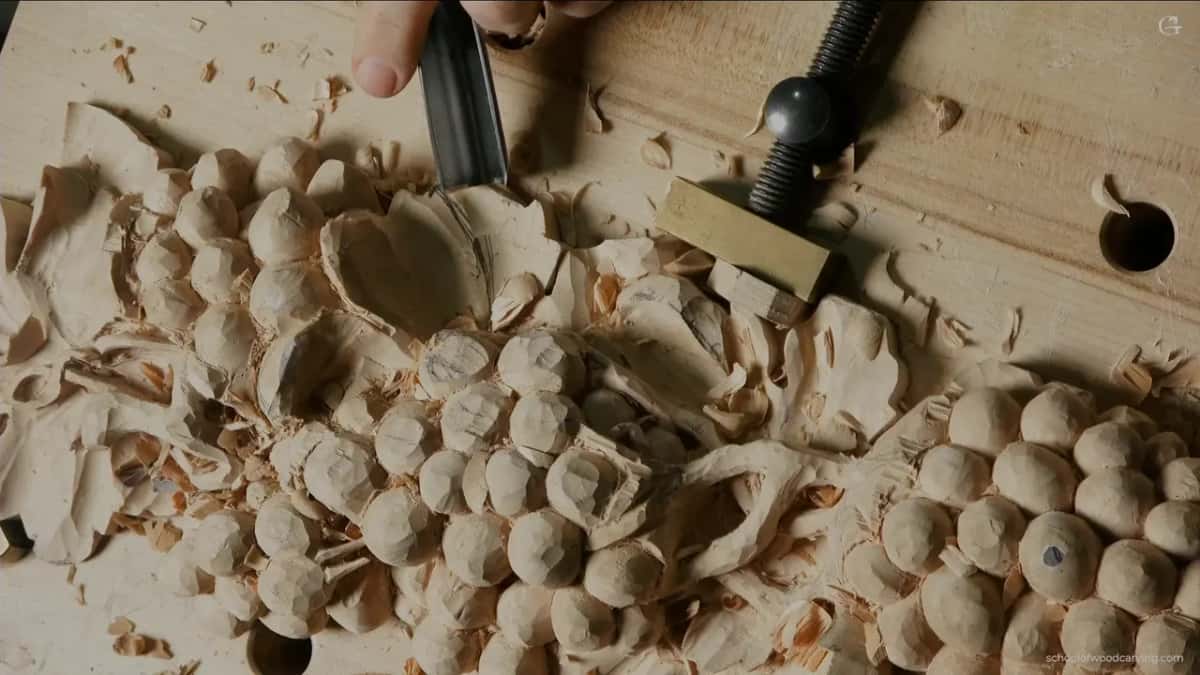
You don't have to do it all the time. I think it's a good technique to learn, though, so always try, as many times as possible, to get the 45 degrees until it just becomes second nature. The full lesson shows the 90 and the 45 side by side.
The gouge in my hand was a number 3 by Ashley Iles, one of my favorites, and the steel is just amazing. If you're watching me from the UK, I said, you are blessed people. You can get the iron out of the dirt, throw it in the stove, and just get beautiful tools.
Which tools did lesson 9 use?
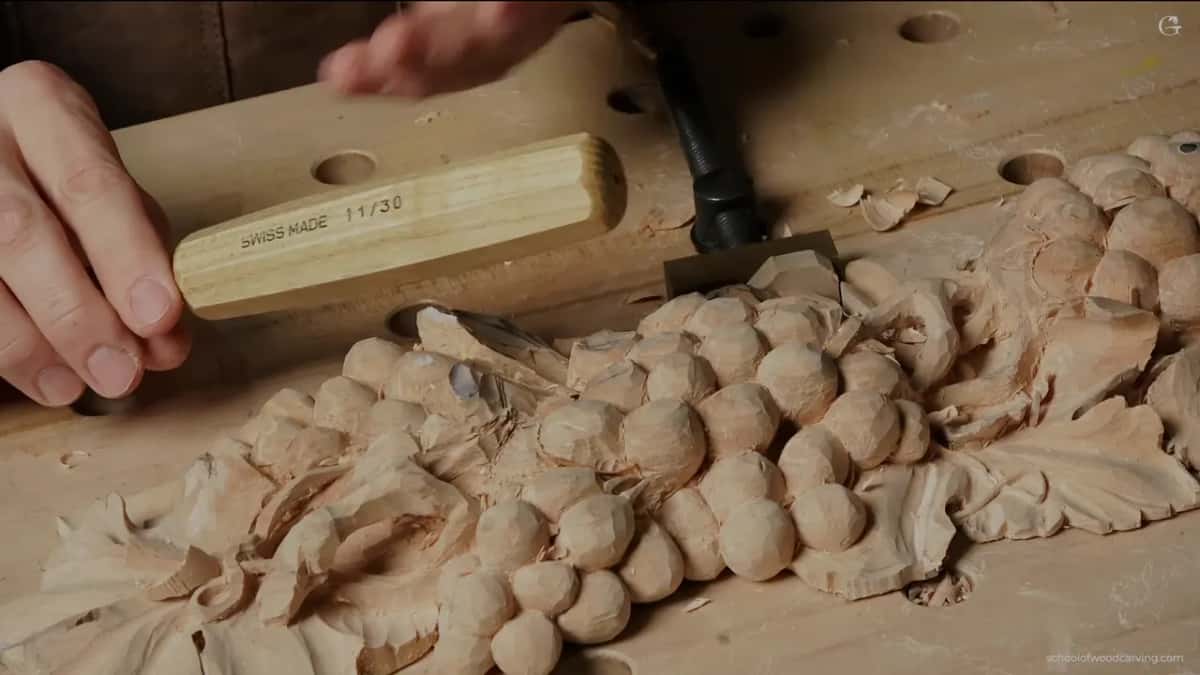
Mostly number 11s, from 30 millimeters down to half a millimeter, with number 3s for blending. I outlined using a 4 millimeter number 11, not too deep yet. A 10 mm number 11, three-eighths of an inch, chopped with the flute at about nine o'clock. The 18 millimeter number 11, Swiss made, excavated. At one point I had to keep an eye on how deep I went, because I was pretty close to my workbench. The board for this onlay, as I said in lesson 1, is basswood.

For one long motion I took a huge one, 30 millimeters, about an inch and three-sixteenths. It isn't required, but because it is big I can make it really smooth, and even with that veiner I was still slicing, with a rotation. Big tools do that well. You could try with the small ones, but it just takes too long.
The only thing is, big tools must be super sharp. All the tools must be sharp, but with the big ones it is even more important, and if it's not sharp it will be really hard. My sharpening course covers that part.
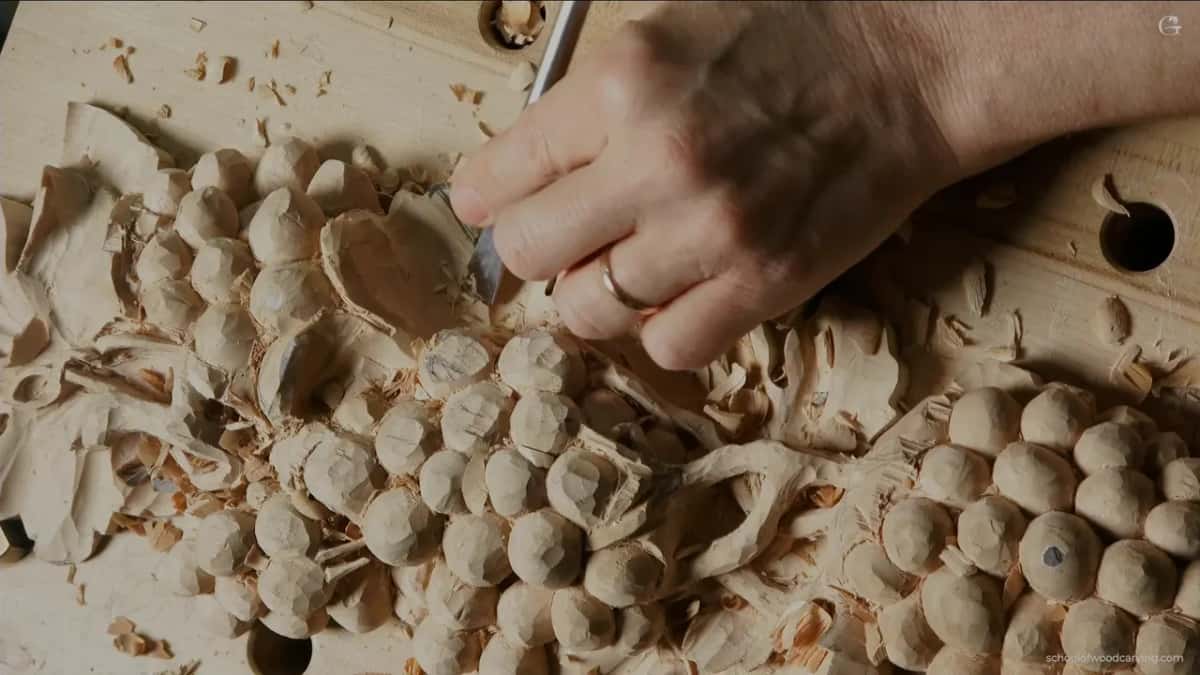
How deep should you go next to a grape?
As deep as the grape is wide when you look from above, and not deeper. I said it in part 1 and again in part 2. Keep that body, because however wide that grape will be, it has got to be that deep, and you also don't want to create too many voids you then have to deal with. In part 2 that little grape decided my depth, and going deeper would have given me trouble a little later.
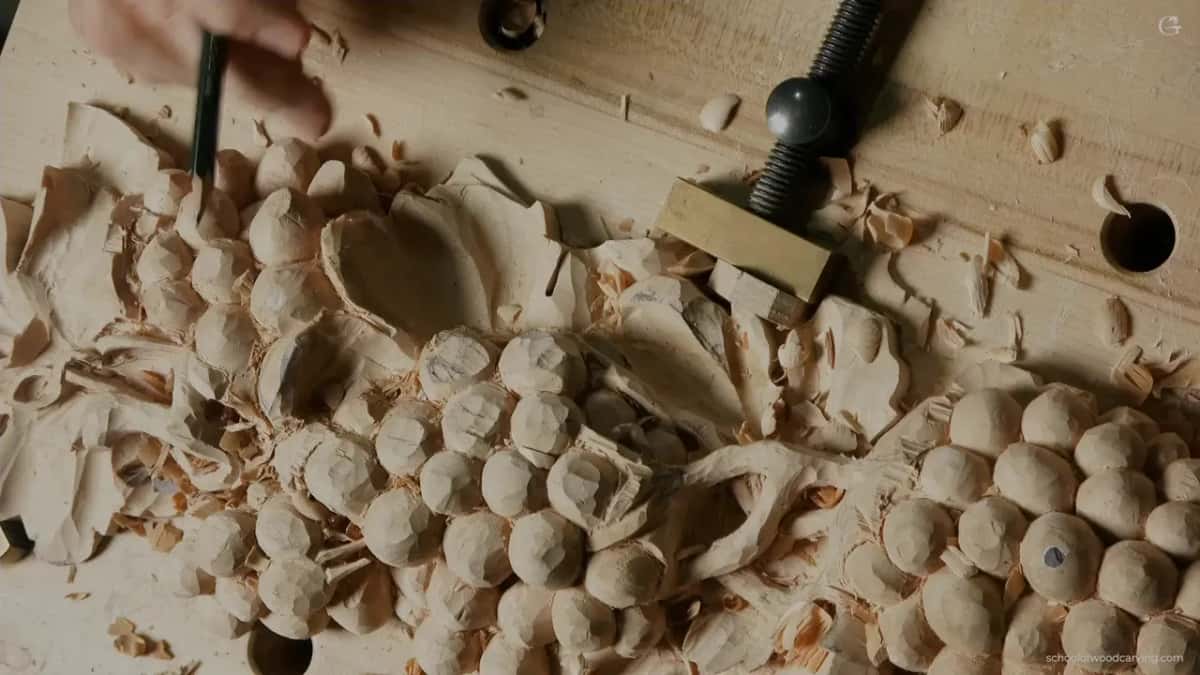
Inside the leaf it was different. There the depth is up to you, and it depends how you are going to use it. But I'll tell you this. The deeper you go, the more dramatic it looks. I got to about five-eighths of an inch, about 16 millimeters, from one point in. It's not a must. But why not?
Which way did the first leaf flip?
Uphill. You could make a flip going downhill there, but there's no need, since the light will most likely hit from above. So I thought it would be better to flip it uphill and get one deeper shadow. I left about half an inch of material on that wall, which is important if you want to do the flip. For the next part I changed my mind and pointed it inward, and made that lift a little deeper for a more dramatic shadow.

That convex was still kind of the same surface. So I dropped my left-hand side just slightly to get a little more shadow. Before any of it I reminded you of one of the laws, the law of arabesque, and one part of it is the movement. It has to flow together, and everything connects to everything. If that is new to you, watch my design course. That is important for me. It doesn't have to be important for you.
When do the separations go in?
After I'm really happy with the movement, not before. Don't look at the edges yet, I said in part 2, because we still have to create the separations. In part 3 I marked out the three main parts, number one, number two and number three, using a number 11 of 10 mm, flute at about nine o'clock, then the opposite direction. I've got pencil marks, yes. You really don't have to put them on. I do it for the lesson, and with fewer pencil marks you do much cleaner work.

With grapes you can do as many separations as you wish. An acanthus leaf is different, and there you must be careful how many you make. Still, I wouldn't fix all of them right now if I were you, because it becomes fragile. How the leaf divides into its lobes and subdivisions is the whole subject of lesson 8, the one before this.
Why go to all this trouble for a shadow?
Pretty much, we are painting with the shadow. You are an artist who uses shadow and light as a media. Painters have a name for that play of light and dark, chiaroscuro. At the very end I took the small, tiny number 3, upside down, cleaned the undercut and went to the edge to make it like a knife edge. Then the tiniest number 11, half a millimeter, went in and hooked out whatever mess the number 3 had made.

And it does look like a leaf of a grape. That is my interpretation of one grape leaf, and there are other styles you can do. Pretty soon after this the grapes get more details inside, and lesson 10 is where the course goes next.
How it's done
- Find the center of the leaf. I look for 60 and 40 between two points of the leaf. When my first spot made one side much bigger, I moved the center.
- Settle the movement first. Before any separations I need to be really happy with the overall movement of the leaf, so the bulge comes before the divisions.
- Excavate along one side. The number 11, 18 mm, almost three quarters of an inch, went in right beside the bulge, and I kept an eye on the depth.
- Keep the second side from spooning. Before the other side I said I didn't want a spooning effect, the tool starting high and then dropping.
- Blend with a number 3 upside down. I blend the bulge with it upside down. When that doesn't work, switch it to the normal position and shave.
- Present the gouge on an angle. Shave with the tool at 45, one side and then the other, until the leaf looks really nice and bulgy.
Frequently asked questions
Is a spoon shape ever carved on purpose?
My modern acanthus got one on purpose, a spoon effect rolling over in all directions. A number 11 on a Roman acanthus made a really deep inside spoon, and I like it for the shadow. And I used a spooning cut on a furniture panel to remove some wood near the line, coming from the opposite side.
Why keep a spoon shape off the bulge of a leaf?
In lesson 9 of the grape onlay I said I don't like it, and I think it won't look natural, though that is a matter of my opinion. In Venice Room workshop 60 I said too much spooning doesn't look organic, and I took some of it out.
How do you carve a bulge without spooning it?
I excavate along both sides, the way I did with the number 11, 18 mm, on the grape leaf. I put it plainly to my Gibbons class: don't spoon out, just excavate. Then a flatter tool, turned over, blends it, a number 3 on the grape and a 5 or 4 in Maine.
What to carve next