

Alexander Grabovetskiy, woodcarver, School of Woodcarving · Published 2024
How do you carve a grape leaf with lobes and subdivisions?
Quick answer: Carving a grape leaf is a job of division. The leaf on my onlay has five lobes, two of them tucked behind the fruit, and each visible lobe is split in three, then split again. I carve a twist into the lobe before any of that, then find where its point goes.
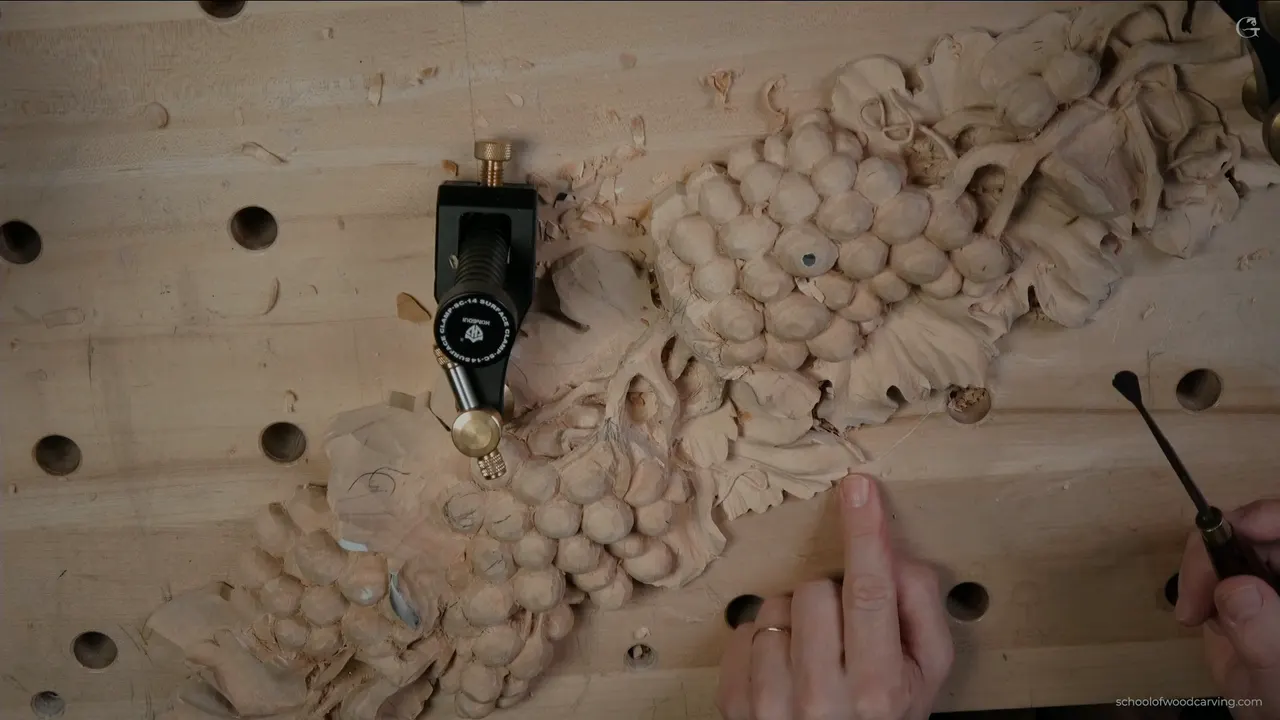
The leaf on my grape onlay is five lobes, and every lobe gets divided again. Two lobes hide under the grapes on this onlay, and three show. Each one takes three main subdivisions, with more inside those, and before any of that I carve a twist into the lobe.
Can you picture a leaf on a grape vine? Can you see the spots where two parts of it meet? Then you already know where the first raised part of a carved leaf goes.
You can carve a leaf the simple way. Mark the subdivisions, remove the triangles between them, and call it a day. I said so myself in lesson 8. But the grape leaf can be developed a little further and made more complex, which is what I did after the complex work of the lessons before. Here is one leaf through all three parts of the lesson, tool by tool.
Lesson 8 in six lines
- Wherever you see an eye, the classic rule wants a raised part beside it.
- Five lobes, two hidden.
- Each lobe splits into three, and each of those into three or more.
- The twist comes before the subdivisions.
- One undercut went 12 or 13 mm deep, and under another leaf the lip stayed near 2 mm thick.
- Shadow first, cleaning later.
What does an eye on a grape leaf ask for?
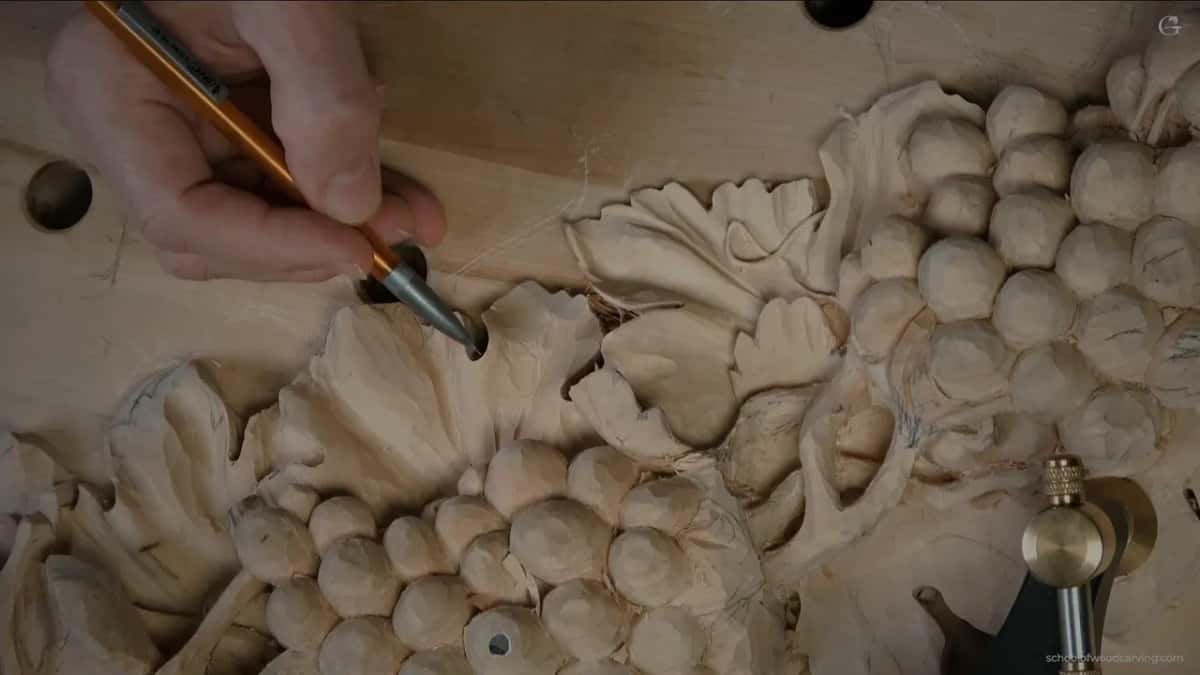
An eye asks for a raised part right beside it, a convex. Early in the lesson I pointed at one and said there is an eye, and here you go, there is going to be a convex. I repeated it one more time for you. If you see an eye, you have to have a raised part.
The same rule works on more than grapes. In the lesson I said it applies to an acanthus leaf, to the grape leaf, and to a few others like the parsley leaf. That much is simple, and you could live like that.

On my vase with grape leaves I explained the word itself. Wherever two leaves come together, that intersection is called an eye, like a human eye. On that vase every eye sends a pipe toward the center, another high spot, and the pipe flows instead of running in a straight line. On the tendril in lesson 4 of this course I said it more bluntly. I really don't want to see any straight lines.
I hold the eye rule firmly, but it is my rule. Lesson 9 is where I called it really important, and in the next breath I said it is important for me and it doesn't have to be important for you.
Where do the five lobes sit on this leaf?
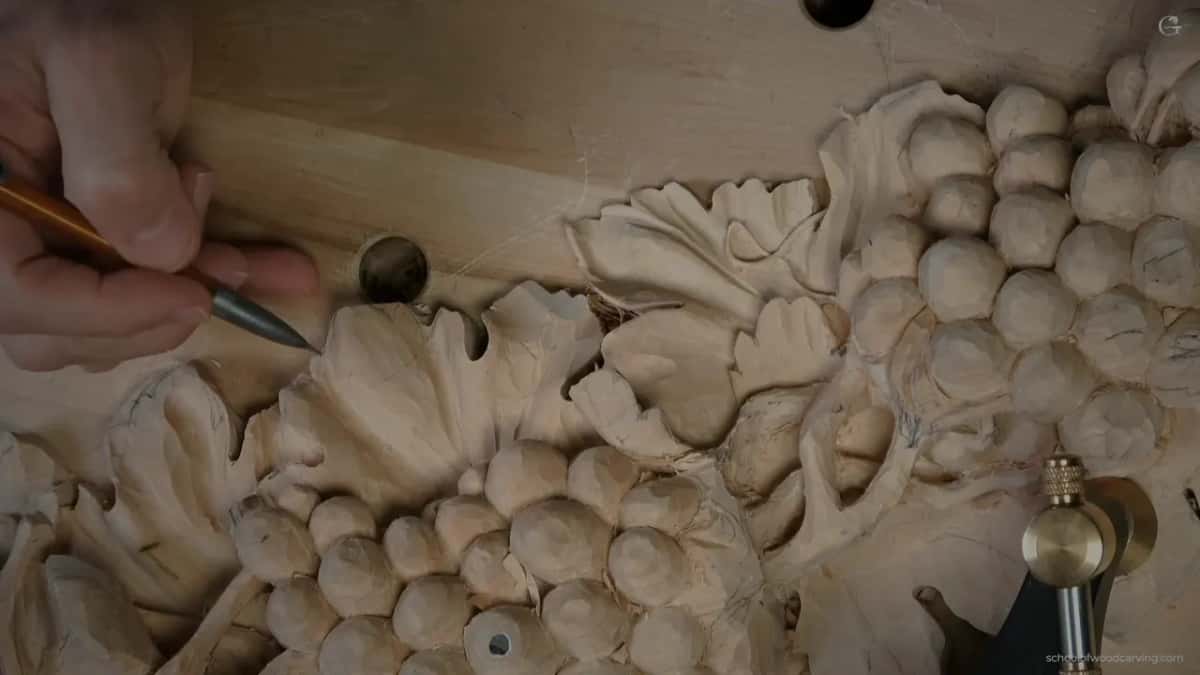
Two of the five lobes sit underneath the grapes, and three are out where you can see them. I call each section of the leaf a lobe. This leaf is partly hidden under the bunch itself, so the work in this lesson is on the three you can see.
If you follow the classic, each lobe also carries some kind of convex inside it, even if you can hardly see it. That is just the classic. But I said on camera that I'm not going to follow only the regular classic. A grape leaf lets you go further.
One more thing about the third lobe. Later on I had to take wood off the neighboring leaf, because that leaf has to stop somewhere too. It needs its own lobe. Using the narrow number 11, I set the overall shape of that third visible lobe, without forcing it, and left the cleaning for later.
Why carve the twist before the subdivisions?
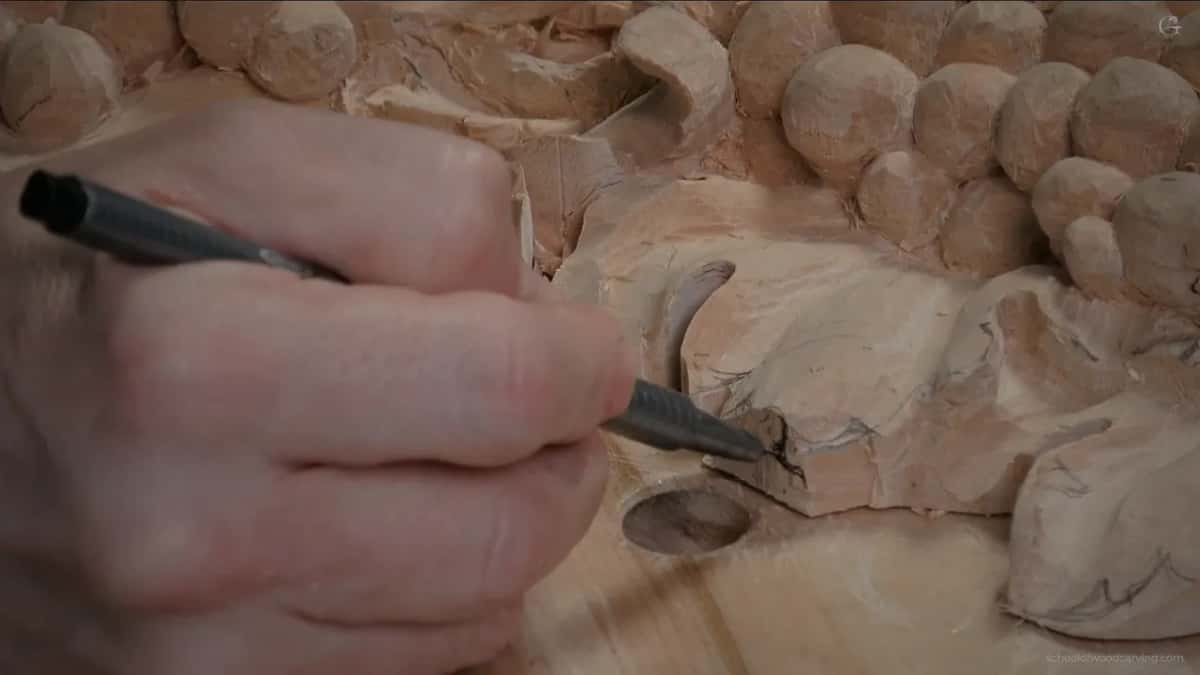
The twist goes first, and only after it is in do I see where the point of the lobe is going to be. Before that I honestly don't know. In nature you don't really see straight leaves just falling down. You see all kinds of twists. This lobe already turned a little, and there was plenty of meat in it, so I took advantage of it.
I made a concave right in the center from nothing, using a number 11 veiner, 4 mm (5/32 in). It blends out, and it stays in one spot instead of running the whole lobe. I was using all the material there. Plenty of it. Then I excavated right in that spot with the same tool.

A bigger number 11 came next, 7 mm (about 9/32 in), for a little wave. Again, it doesn't have to go all the way. I hope you can see the overall motion, because that is what makes those leaves alive.
After that came a number 7 at 4 mm, flute to the side, left or right depending on the spot, and then I turned it over to keep excavating. I gave one warning right there. Be careful, because one pass that is too aggressive in that direction and it breaks.

To keep excavating I switched to a smaller tool, a number 7 gouge, one eighth of an inch (about 3 mm). An 8 or a 9 works as well, as long as it is fairly small. Smaller still was a Dockyard, about 3/32 of an inch (2.4 mm). I stopped short of the extreme, since I still didn't know where the lobe would end.
Which rule places the point of a lobe?
I placed it by the rule of 60 and 40, like the golden ratio, or 62 and 38 percent if you prefer. The center of this leaf sits somewhere under those grapes. From there I followed the rule down the lobe until I found my spot, and that became the point. Everything past it was waste.

That waste came off with a number 11 at 2.5 mm (about 3/32 in), flute at roughly three o'clock. A 3 or 4 mm veiner does the same job, and the small one just happened to be lying on my workbench.
The golden ratio is old news on this board. Back in lesson 1 I put the high spot of a bunch on it, and anyone who doesn't know what I mean I sent to watch the Design course.
With the point set, I followed the logic of how the leaf looks from straight in front, and since a small subdivision sat on one side, I had to make one on the other side too.

How do you carve subdivisions inside a lobe?
Three main subdivisions go into every lobe, one, two and three, and inside each of those I subdivide again into three or more. Call them what you like. When I got to lesson 14 I said notch, or whatever you call it, and then settled on my own words, separation or subdivision.
In part two I went back with the 7 mm veiner, tool upside down and flute at about six o'clock, and took small passes, one millimeter at a time (about 0.04 in). Slicing, slicing. I had to be careful not to break what I had worked on before. Why a carving breaks when you work its second side is what lesson 3 is about.

The small veiner did the same on a smaller scale, attacking the subdivision parts, and that is when I saw a problem. I had shifted my central line, but my bulge, the convex, still sat in the center.
So I needed to drive an eye in that new direction. With a bigger number 11, 10 mm or 3/8 of an inch, I made a small concave. Not big. It had to blend in and still be visible, so it feels like the leaf is moving that way.

Every lobe is supposed to have multiple subdivisions. On one of them I added another small notch, a subdivision of a subdivision, and said that's it. I don't want to overdo it.
Later in the lesson another leaf, one with a flip, was asking me for a separation, and I couldn't resist. I drew my pencil marks for the main separation and chopped it right away. Otherwise it just bugs me.
Tools I picked up for this leaf
Here are the main ones in the order I picked them up, with what each one did.
| Tool and size | What it did on this leaf | Which part |
|---|---|---|
| Veiner #11, 4 mm | Started the concave in the middle from nothing | First twist |
| A 7 mm #11 | Added a little wave that stops early | Same lobe |
| Small Dockyard, 3/32 in | Took the excavation deeper, short of extreme | Inside it |
| Narrow #11, 2.5 mm | Took off the waste past the new point | Lobe point |
| Wide #11, 10 mm | Made a small concave after the line moved | Shifted eye |
| Flatter #7, 14 mm | Rolled the backward twist and set its boundary | Backward twist |
| Ashley Iles #9, 3 mm | Drilled out the plug under the leaf edge | Deep pocket |
| Upside-down #5, 6 mm | Exaggerated the undercut while I chased shadow | Under lip |
What kind of gouge it is doesn't matter much in the undercut. I used a number 7 there that looks more like a number 8 by its profile, and I said a 7, an 8 or a 9 will all work, or the number 11 if it fits. They are all gouges except the 11. That one is a veiner.
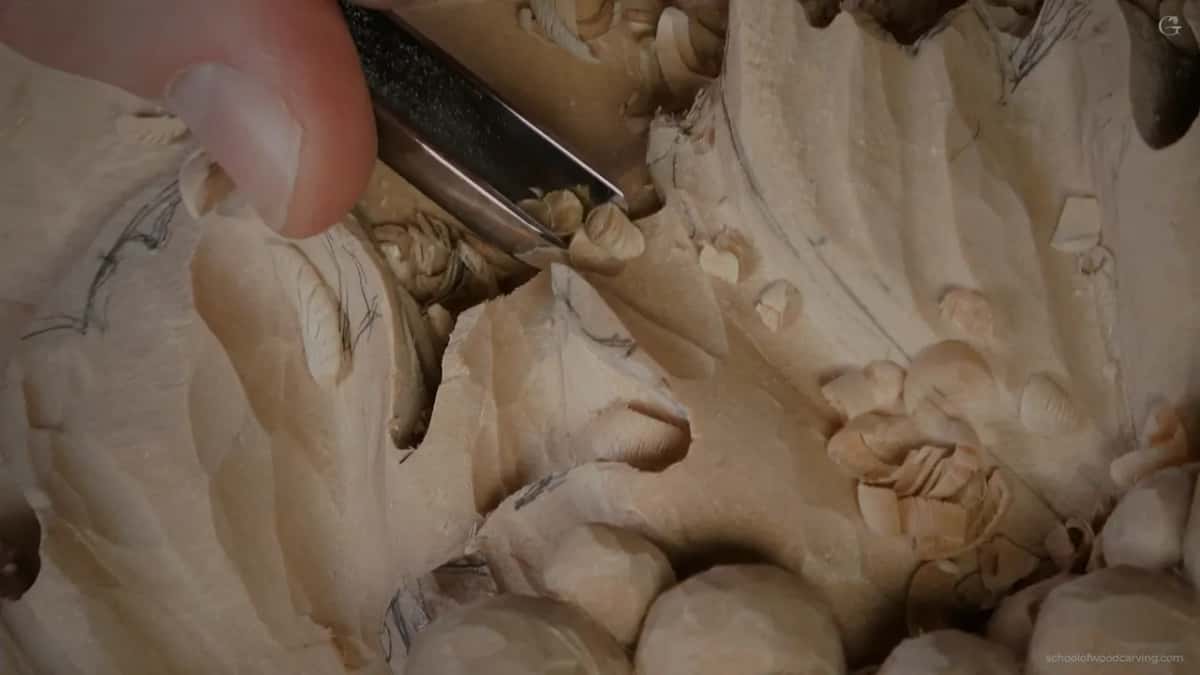
Can a leaf twist backward and still keep its convex?
A backward twist keeps the convex, and I showed one on another part of the leaf. The first twist I made is only one way. There are a lot of different ways to twist the look of a leaf, and you can twist it downhill or you can twist it uphill.
For the backward one I took the 7 mm number 11 again, flute to about nine o'clock. I wanted to keep that chunk and undercut right underneath it. I still had plenty of material, so going down onto a lower leaf didn't worry me at all.
The camera probably missed the shadow with so much light on my bench. It was casting anyway. I blended left and right into the main convex, which I keep, and the flip stops before the eye, because running it to the eye doesn't make any sense.
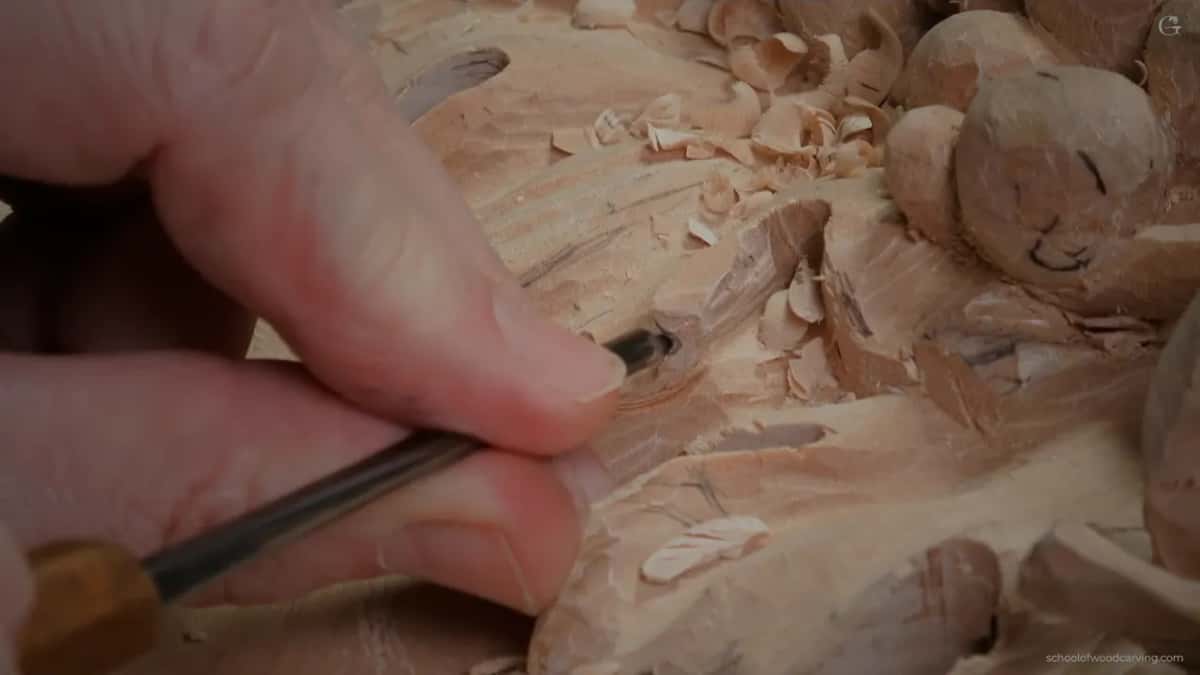
A flatter number 7, 14 mm (about 9/16 in), went in with a rolling motion, and I set the boundary with the same tool. It is not a big movement, but it is really nice.
Direction is a real choice. Over in lesson 9 I weighed a downhill flip against an uphill one. The light most likely hits from above, so I picked uphill to get one deeper shadow, and I left about 1/2 in (13 mm) of material on that wall for the flip.
How deep should the undercut under a grape leaf go?
About half an inch on this leaf, which is 12 or 13 mm, and that is plenty. Before I went that deep I drilled a plug cut under the leaf, using a number 9, 1/8 in, an Ashley Iles at 3 mm. You push it in somewhat like drilling. Don't press hard. Turn it a little at a time, right or left, it doesn't matter which, until the plug comes out.
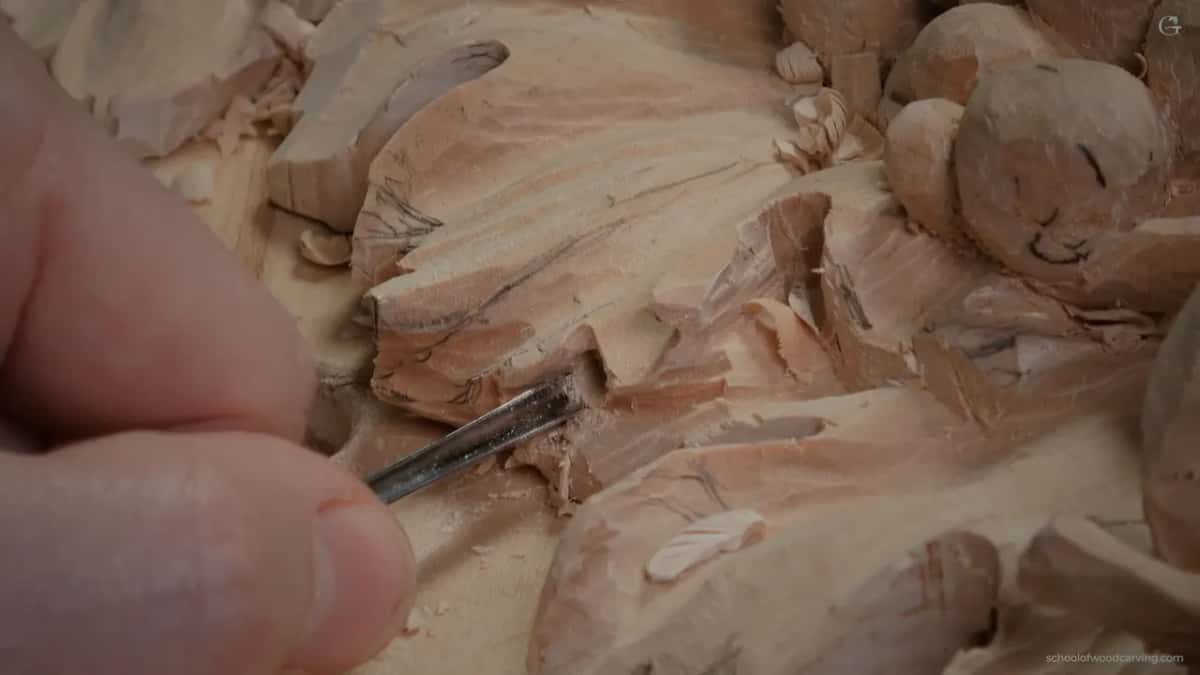
I said this is more advanced carving, that you don't have to go that deep, but I kind of like it, and you should know the approach anyway. My next passes ran right into the plug. A little wiggle helped. I didn't want to lose material, since there wasn't much left for the next leaf, but the deeper I go, the nicer it looks.
For the big shadow I wanted a flatter tool upside down, a number 6 or 7, and the one I had was a number 5 at 6 mm (about 1/4 in). Upside down, it exaggerated the undercut. Don't worry about how it looks yet. In this stage you are after the huge, big shadow. I did clean it a little right after, though, because I didn't like how messy it looked.

Under another leaf stood a big wall, the full inch or so (about 25 mm). The shape there was already set. I didn't need that wood, and it cast no shadow at all. I would not start excavating like this before you set all the movements and made all your decisions about how it should look.
I left the lip at about 2 mm, a little thicker than 1/16 of an inch, and removed what was underneath. When you can reach the spot from the back side, it is probably much safer, and you won't break the tool, which can happen in an undercut. Even in the undercut I keep slicing, with a small rotation of the handle that you only catch if you watch it.

Where two leaves overlap, you undercut too. I went for an undercut as deep as possible with the narrow number 11, and later I'll probably go to 1 mm or even half a millimeter (0.02 in), until it looks glued together. It is still one solid piece of basswood.
Notches are another matter. In lesson 12 I said that even a leaf with no notches yet can be undercut to a knife edge, and the subdivisions can come later, at any point.
When is a leaf divided enough?
I stopped on this leaf when it looked good to me, and lesson 9 adds a second limit, the point where it gets fragile. Grape leaves give you more room than acanthus. During lesson 9 I made separations inside the separations and said that with grapes you can do as many as you wish, while an acanthus leaf asks you to be careful with how many.
That same lesson had me working a number 3, 3 mm, and saying I wouldn't fix all of them right away if I were you, because it becomes fragile. Here in lesson 8 I said every leaf is supposed to have multiple notches and separations. Even in one small spot we could add some extra ones with the small veiner and maybe exaggerate some existing ones. Why not? A minute later came the other half of it. You don't want too many per leaf.
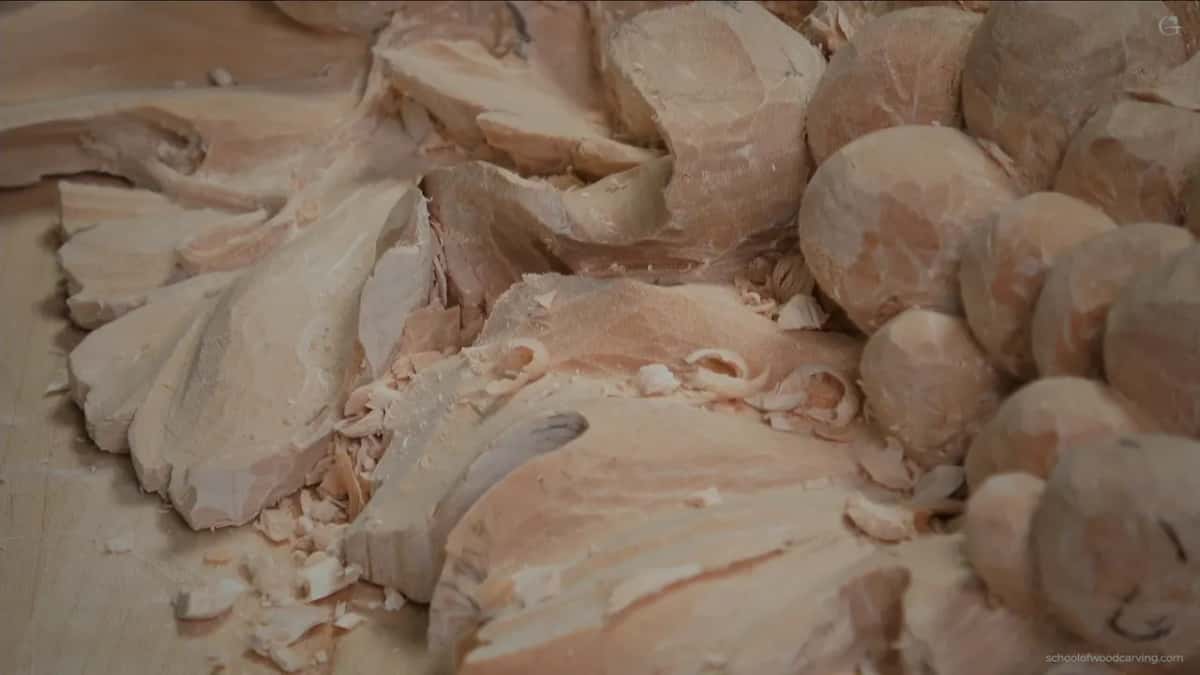
Some ridges stay. I'm absolutely fine with them, and I actually look for those facets. When I want them softer I take a carving knife, any carving knife, and scrape them slightly without damaging the finish. And lesson 12 adds one more option. If the facets bug you, a flatter gouge or a number one skew chisel takes almost no material and gives really great results.
Your own leaves, your own flips
Go ahead and create something on your own leaves. Don't exactly repeat what I've done. Send me a picture of what you come up with, and be crazy about it. Express yourself.
Want a leaf that turns and throws a shadow? Want to watch every pass of it, all three parts? The whole lesson is in the course, and the plans are on the Access page.
How it's done
- Find the eyes. Where two parts of the leaf meet there is an eye. Beside every eye I leave a raised part.
- Twist the lobe first. With a 4 mm number 11 I start a concave in the middle of the lobe from nothing and blend it out, then a 7 mm one adds a small wave that stops before the end.
- Set the point. From the leaf center, hidden below the bunch, I follow 60 and 40 to find where the lobe ends. The waste past that spot comes off with a narrow veiner.
- Divide the lobe. Three big parts first, then smaller ones inside each. I stop before I overdo it.
- Drill a plug cut. A 3 mm number 9 goes in like a drill with small turns and light pressure until the plug falls out, and the undercut runs into that pocket.
- Undercut for shadow. Under one leaf I went about half an inch deep. Elsewhere I kept the lip near 2 mm, and I work from behind when the spot allows it, which is probably safer.
- Soften the facets. Any carving knife, scraped lightly over the ridges, makes them look softer without hurting the finish.
Frequently asked questions
Does every lobe of a grape leaf need a convex?
The classic rule says every lobe carries a convex, even one you barely notice. I wanted more than the regular classic on my grape leaf, but the convex stays where it is, and the twist and the subdivisions go in around it.
What tool do you use for a plug cut?
I reached for a number 9 at an eighth of an inch, an Ashley Iles, 3 mm across. Light pressure and small turns either way lift the plug out, a bit like a drill. My deep passes underneath then ran right into that hole.
How thin can the lip of a leaf be?
On this leaf I left the lip at about 2 mm, a bit thicker than a sixteenth of an inch. Everything under it that I did not need came out. Where the back side gives a way in, coming from there is probably safer, since an undercut can break a tool.
What to carve next