
Alexander Grabovetskiy, woodcarver, School of Woodcarving · Published 2017
Part of Carving Antique Style Rosette

The full video lesson is inside the school.
Alexander Grabovetskiy, woodcarver, School of Woodcarving · Published 2017
Quick answer: Carving the small shapes on a rosette leaf is work for really small tools that fit each shape. On my antique style rosette a tiny Dockyard gouge set the eyes, a number seven, eight and six fit the outside lines, and a small number nine and a number 11 veiner went around the pipes.
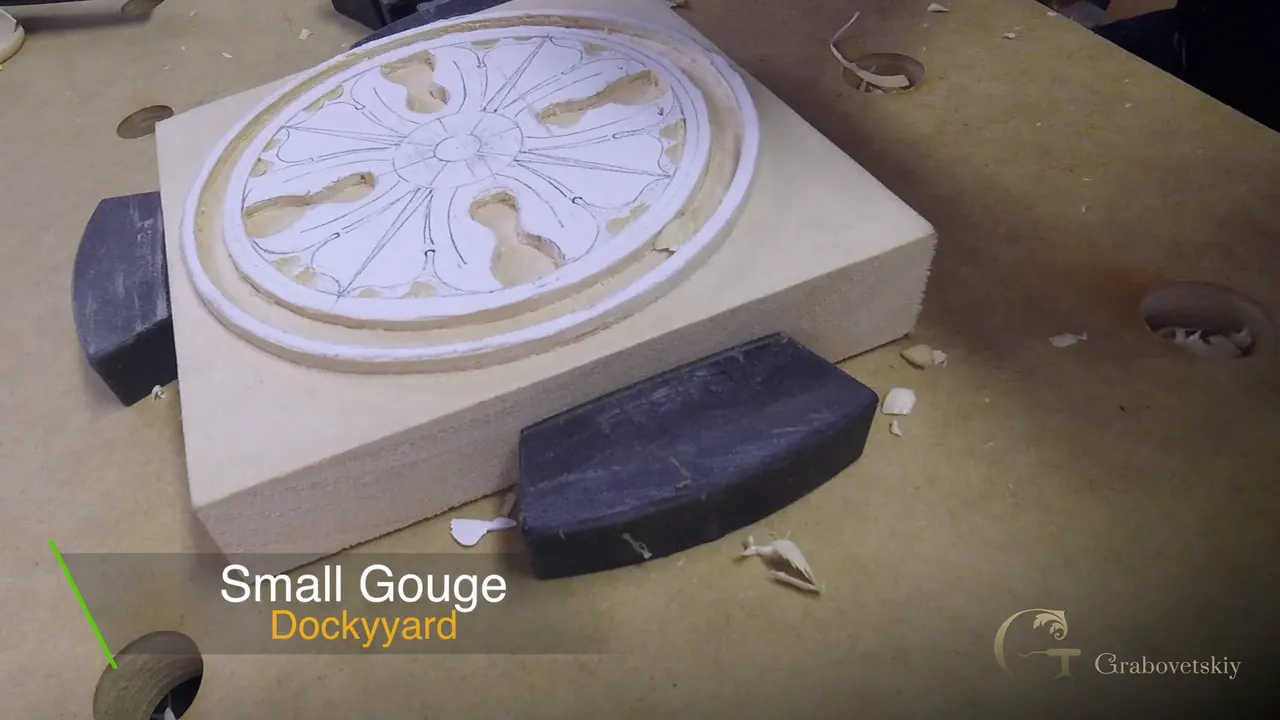
Carving the little shapes inside a rosette leaf is a matter of finding a small tool that fits each shape, one shape at a time, and driving it in. On this rosette the eyes got a Dockyard gouge, a really tiny one. Then a number seven, an eight and a six matched the lines that came next, and a veiner, number 11, worked each pipe on both sides.
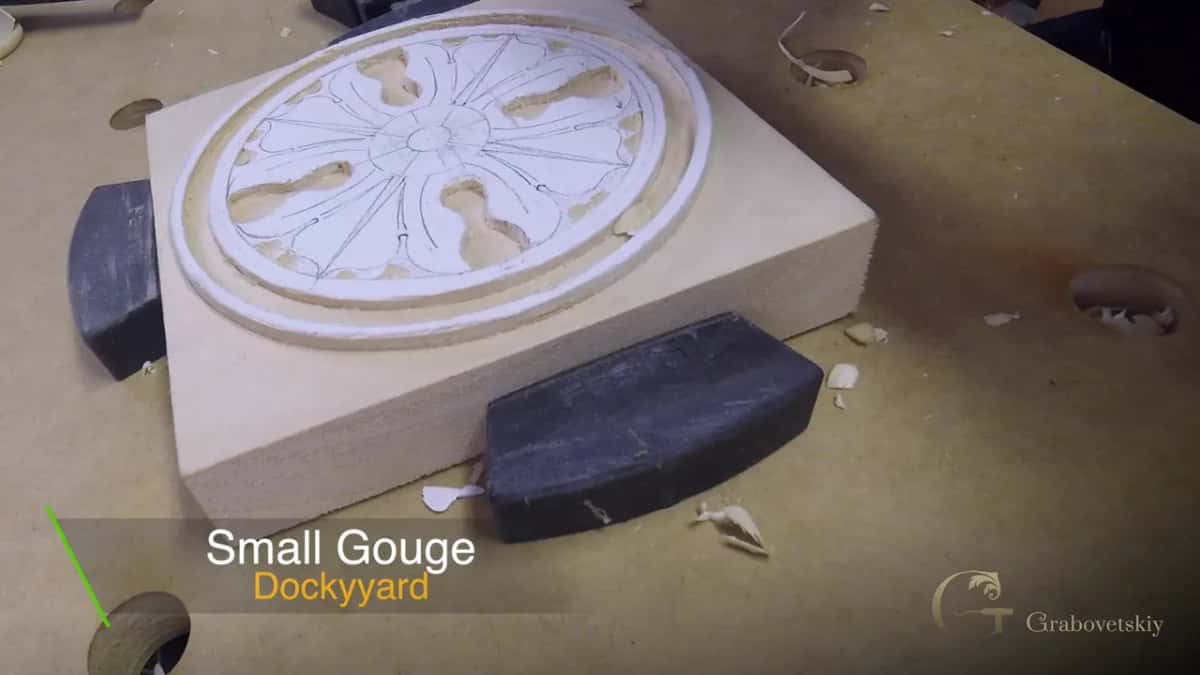
See that little round on the outside leaf, right where the pipe starts? Does your smallest gouge look too big for it? Then find the small tool whose sweep fits, and work around the shape with it. That is what workshop 4 of Carving Antique Style Rosette is about, most of the way.
The eye is the small round, or half round, right where the pipe starts. That section of the leaf is called a pipe, and it will sit a little raised above the two sides of it. I establish those eyes with a small Dockyard, a really tiny tool, and that one fits perfectly. I take it in, and again.

If the words eye and pipe are new to you, in lesson 4 of Carving Greek Acanthus Leaf I establish the eyes on an acanthus leaf. Here the eyes are small, and the tool is really tiny.
I do the same thing on other pieces. In lesson 11 of the Hashemi flowers I put an eye in a spot that had to have a pipe, and I took a small Dockyard tool about 1/8 in (3 mm) wide. It isn't marked, but most likely it's a number eight. While I dug around that eye I was supporting the piece from the bottom, because it was fragile and I could easily break it.
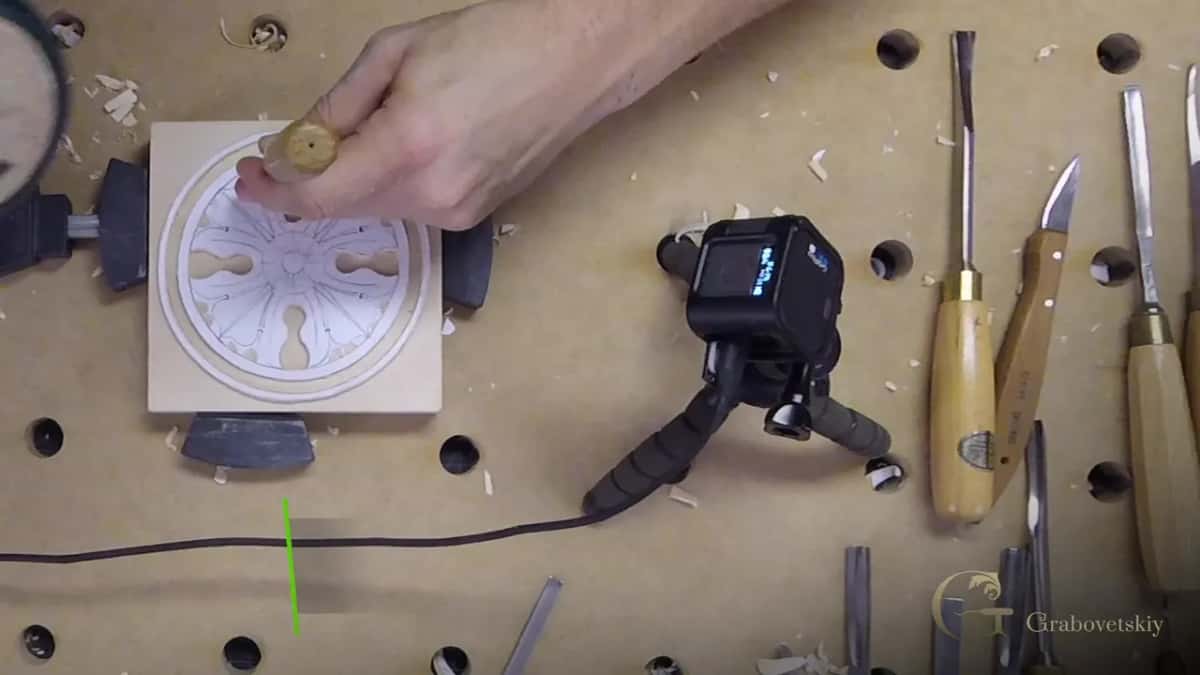
Does it have to be a Dockyard? No. On that same flower I said any small tools will do, and I showed an Ashley Iles number nine, also an eighth of an inch. As long as you have sharp tools, you can do the same idea. Tools are tools, just different brands. Still, I really like the small, tiny handles of those Dockyard tools. It feels like I get more control. But it's just me.
A bit later in that lesson I picked up the small Dockyard gouge again and tried to be more patient, so I wouldn't break the fibers. I could have taken an even smaller one, maybe about 1/16 of an inch, and dug even deeper.
A Dockyard can stand in for another tiny tool, too. In lesson 2 of the Chamomile and Bow rosette I said if you don't have a half a millimeter, small tools like a Dockyard do exactly the same. Just excavate as deep as you can. Attack that from all the sides you can, and work your way in. But I really like to use a half a millimeter number 11 there.
You try the tools on the drawing until one fits. Next I had to find my outside, and number seven fit really good. It was actually perfect. You could see it was really, really perfect, so I just drove my gouge in.
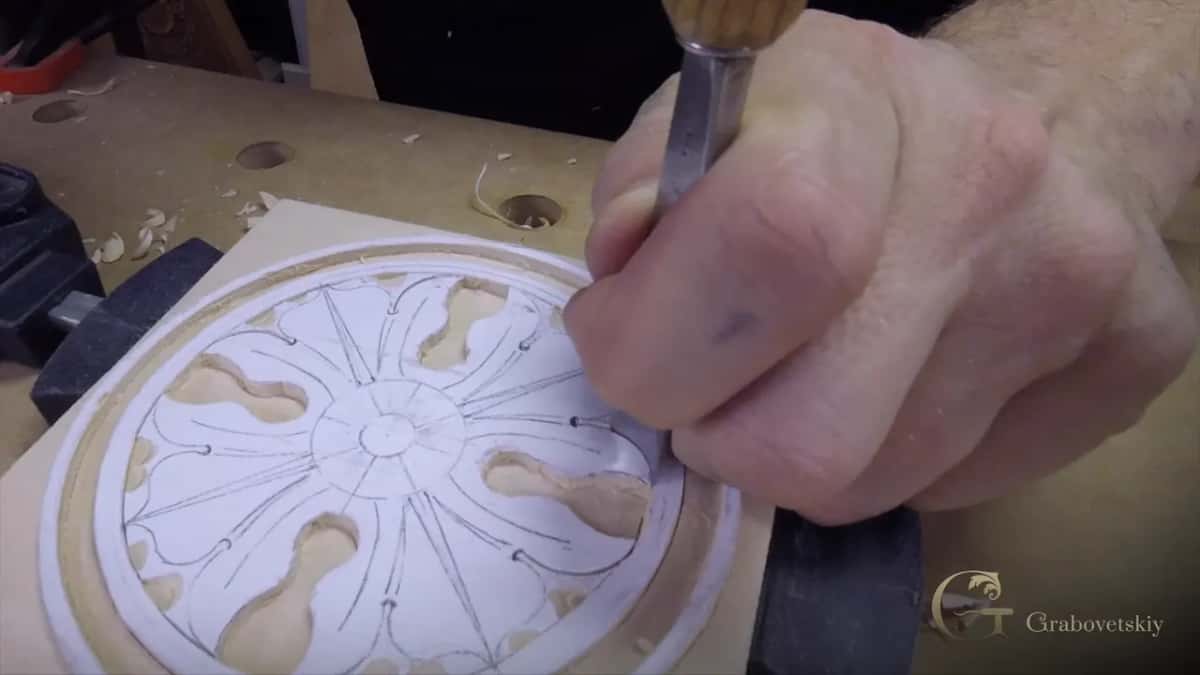
The next section needed its own sweep too. My number eight, 10 mm, which is 3/8 of an inch, did a good job there, and it fit perfectly. And as long as I'm using the same tools, it should look really good. Of course, I could just push it. You can use a mallet, or you don't have to.
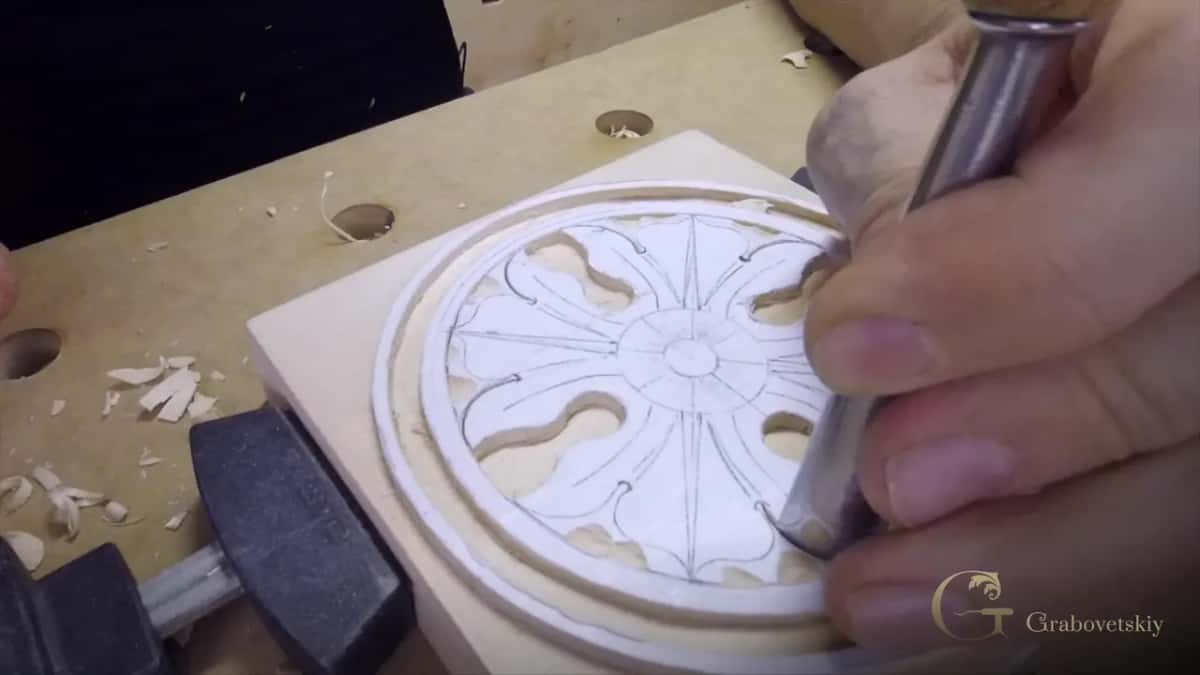
Then one more section. There the seven was good, but a little too big, so I went a little smaller and checked number six. Number six was perfect, and it's also 10 mm. That fit absolutely perfectly. And I double check.
| Spot | The tool I reached for each time on this rosette | Result |
|---|---|---|
| The eyes on the outside leaf | Small Dockyard, really tiny | It fits perfectly, and it went in twice. |
| Outside line | Gouge number seven, driven straight in | Really perfect. |
| The section after that one | Number eight at 10 mm | It did a good job, and it fit perfectly. |
| One more section | First a seven, then a six at 10 mm | Six was perfect. |
| Every corner | Number 47 grounding tool, a sixteenth wide | Corners get it first. |
| The pipes | Nine first, then the veiner, number 11, on both sides | Both sides of each one. |
Fitting one sweep to a curve gets a whole lesson in workshop 3, where tool after tool goes to the petals until one fits.
It keeps my tool steady, right where I placed it. Pay attention when I place my tool. This finger I always place really close to the edge of the blade, and sometimes you actually can't even see, because my finger is in the way.
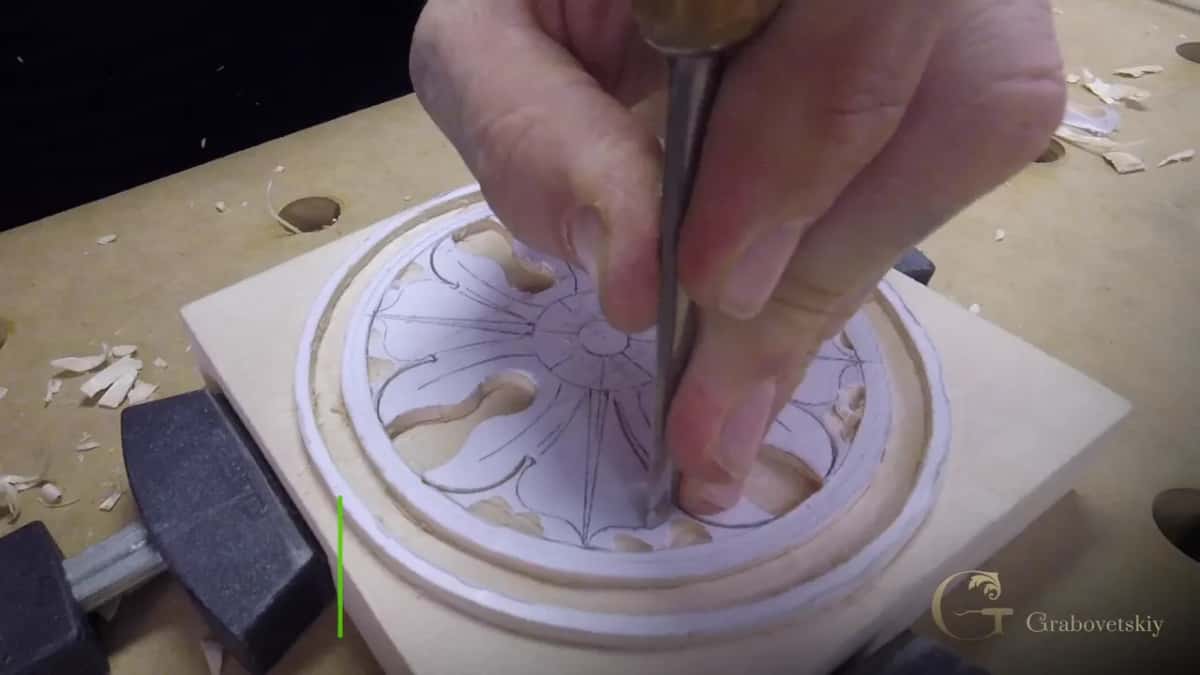
That way I'm stabilizing the position of my tool. That's a really good practice.
Working the Chamomile and Bow rosette, lesson 4, I held a small tool almost like a pencil, without pressing. I also said it's sometimes a good idea to use even smaller tools, if you have a Dockyard, really tiny tools. Dockyard is a brand, of course, and that one was a number eight. Those small tools are safer if you're working from the back side, where one mistake can break it after hours of work. Don't press it, and don't place your hand on it, just really hold it pretty much on your fingers.

Three millimeters at most, which is one-eighth of an inch. To remove the background I use the same number six I used before, and I'm really careful not to dig too deep. Work from outside, inside. Once I've done the inside, I work on the outside.

Then the same way again, and in places I go a little deeper. Again, I have to keep an eye on it so I don't go past that eighth. Later on I'm going to clean that. Can't rush it. At the end of that section I said I think I'm going to leave it like that for now.
Depth on the middle section is a guess from the picture. Although I can't see in the picture that it's 1/8 inch, I assume it's no deeper, otherwise it wouldn't look right. Workshop 2 and workshop 3 hold the same 1/8 on the rest of this rosette.
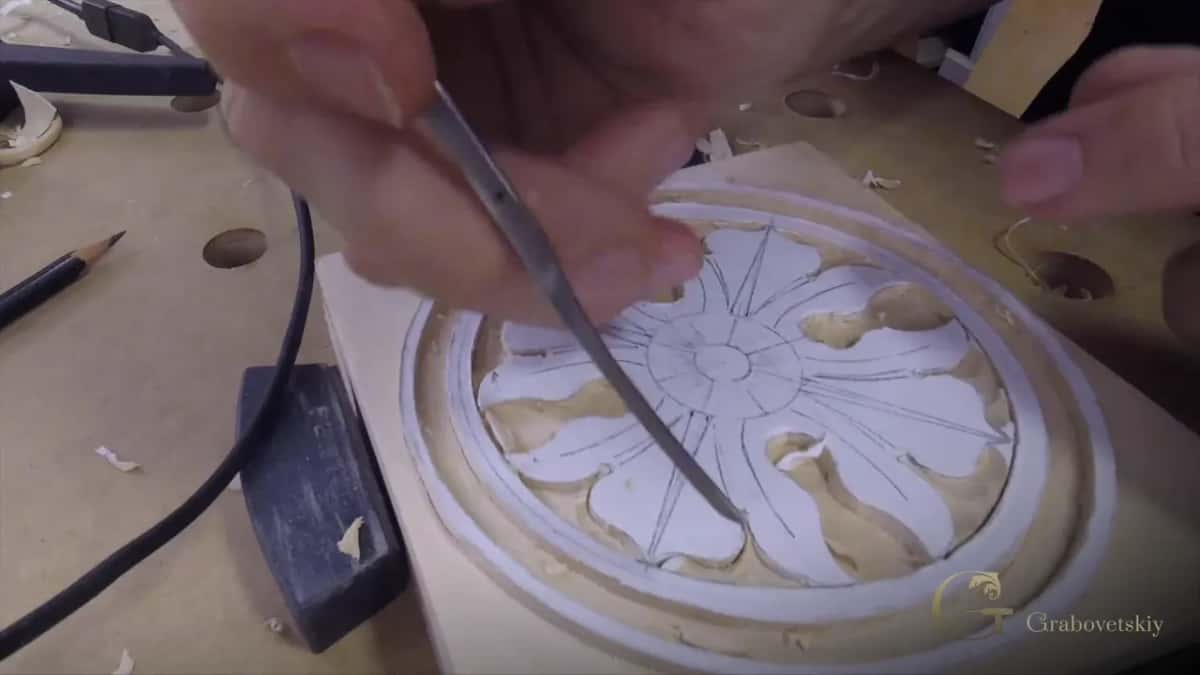
A smaller grounding tool. It's also a number 47, but it's only 1/16 of an inch, to get in the corners. This tool goes around first, just to get in the corners.

They're really good tools to have, those grounding tools. I'm using them all the time. Inside one spot even that one was a bit too big, and I had to go even smaller. This one is made by Lamp in Germany, and this tool is number 0015. A really handy tool to get in areas like this.

I use Lamp micro tools on other pieces too. The Flower Rosette, lesson 2, had sections that needed even smaller than a small grounding tool, so I took a Lamp micro front bent gouge. It's less than a sixteenth of an inch, and it helped me get to really tiny spots like that. Hook it and remove it.

My furniture panel, lesson 16, needed a long bent number one by Lamp, Germany. It's 1.5 mm, but it feels almost like 1 mm, because I reshaped it and made it smaller, just to get in.
I'll be honest with you about this brand. In Tools Selection for Wood Carving I said Lamp is German steel, and I have only micro tools by them. It's a good tool, just not my choice for the bigger tools. I saw some rust on mine, and on the same shelf they got moisture in the metal quicker than the tools of another maker lying side by side with them. I don't know how to explain why. Micro carving is what I use them for.

And for the Roman acanthus, lesson 16, I took a half millimeter number 11 by Lamp to separate the volutes, or swirls, and that gave me an extra shadow line. Again, it's an extra step. You really don't have to do that, but I think those little tiny extra steps make a big difference.
Find a small tool with the right sweep and just go around with the smaller one. The middle section of this rosette is raised above the main flower, so I have to go around it first. I looked for the right gouge. One was not going to work. The next one was absolutely perfect, and it stayed right on the line.

I rotate and follow the line. Right now I'm using a number seven, but that's a really massive number seven. A huge tool. It fits perfectly to the picture. If you don't have a big seven like I do, in a case like this I've got a number five, 12 mm (about 1/2 in), and that also works perfectly.
I used the same number seven on the inside of the middle section, again keeping it to 1/8 inch at most. Then I needed some kind of slight relief there, and I used just a knife. It does look good. I'm not too happy about it, though.

With a small number nine around it, and a number 11 veiner on both sides. That section is called a pipe because it looks like a pipe. It will be raised. Call it a vein, if you wish.

Middle sections of the leaves are raised too. Same idea as a pipe. And in this lesson I name three of them that are going to be raised.
So what makes it a veiner? In Flower Rosette, lesson 3, I said a true gouge can be placed and rotated to give you a true circle. Usually gouges go up to number nine. Number 10 and number 11 are already a veiner, and with those I would not be able to make that perfect circle. But I still call them gouges, just because it's easy to remember.

For the Venetian Flowers rosette, lesson 4, I used a number 17, 6 mm (1/4 in), that looks nearly like a V tool. The bottom part of it is just wider. It has about 1/16 in of roundness at the bottom, so it's almost like a veiner, and it has wings going to the sides like a V tool. I could use a 1 mm or 2 mm veiner for my concave and then work both ways. With that one tool I do it much quicker.
What I got there was a raised part, and I called it a vein, or so. I wasn't sure I was happy with it, so I left it for now, and if I'm not happy, I'll take it out. It had to be smoother, just the indication of a raised part, not sharp lines. Then I took a number seven, 6 mm, for a concave on the side of that separation. Every time you create a concave, you create extra shadow. There I got an extra pipe going that direction.
You can use those rosettes in the house, like corner blocks for your casing around the doors and the windows. Or you can use them as corner blocks on your furniture. Or just for fun, carve a rosette and keep it as a decorative piece.
It's actually considered easy carving to do, and it is easy. Want to see each tool go in? Tuition opens the whole course, and workshop 5 comes next. Never held a grounding tool? Start with All about tools for Wood Carving.
Dockyard is just a brand, and the gouges I mean are really tiny tools with small handles. One of the small ones established the eyes here. I like those tiny handles, because it feels like I get more control, but it's just me. Any small tool works if it's sharp.
A true gouge can be placed and rotated to give you a true circle, and gouges usually go up to number nine. Number 10 and number 11 are already veiners, and with them I can't make that perfect circle. I still call them gouges, because it's easy to remember.
On mine, no more than 3 millimeters, one-eighth of an inch. I keep an eye on it the whole time, and I can't rush it. For the middle section I can't see that depth in the picture, so I assume it's no deeper, otherwise it wouldn't look right.
Find the small tool with the right sweep and go around with it. Mine is a really massive seven that fit the picture perfectly. In a case like this I've also got a number five, 12 millimeters, and that works perfectly too.
A number 47 only a sixteenth of an inch wide goes around the corners first. Where even that was a bit big, I used one made by Lamp in Germany, number 0015. I use those grounding tools all the time.
In a house they can be corner blocks for the casing around doors and windows. On furniture they work the same way, or you can carve one just for fun and keep it as a decorative piece. It's considered easy carving, and it is easy.