

Alexander Grabovetskiy, woodcarver, School of Woodcarving · Published 2017
How do you carve the hollows inside an acanthus lobe?
Quick answer: Hollowing a lobe of an acanthus leaf is a concave cut made with a narrower number 9 gouge, running between the edge of each section and its center line. I start near half an inch, go down to about 10 millimeters, and keep a raised ridge inside every section, since that ridge gives the leaf movement.
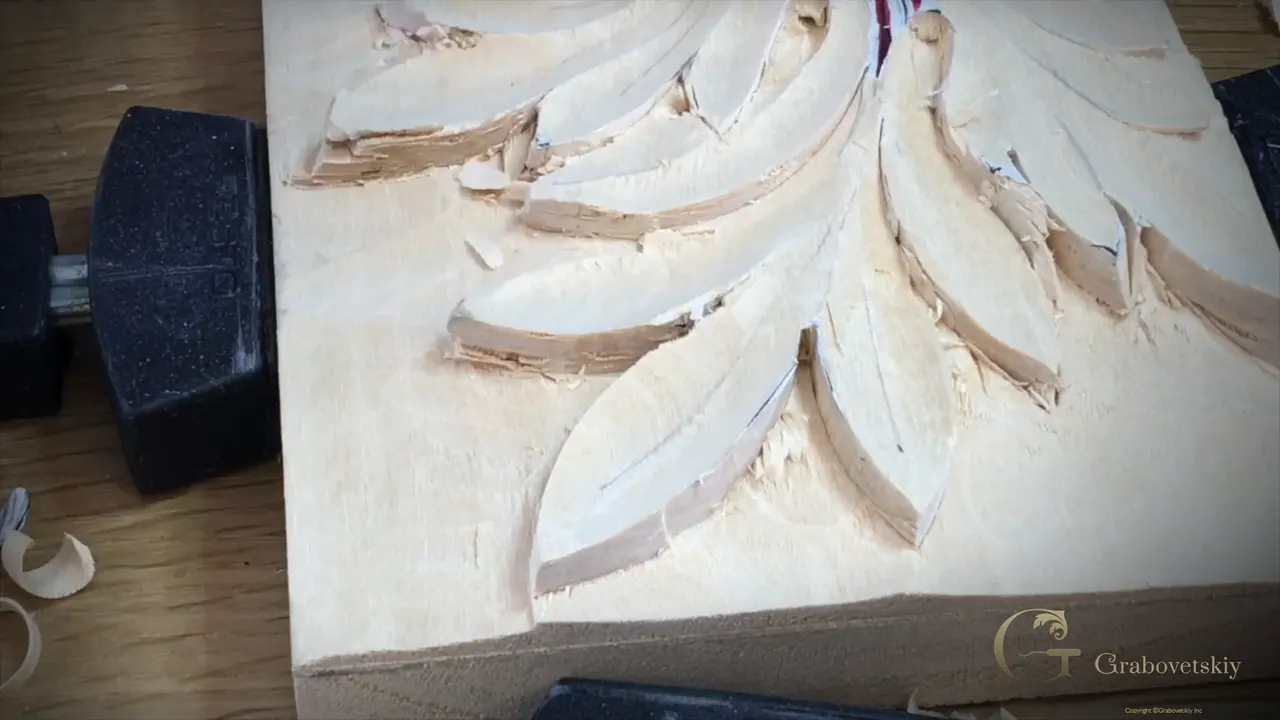
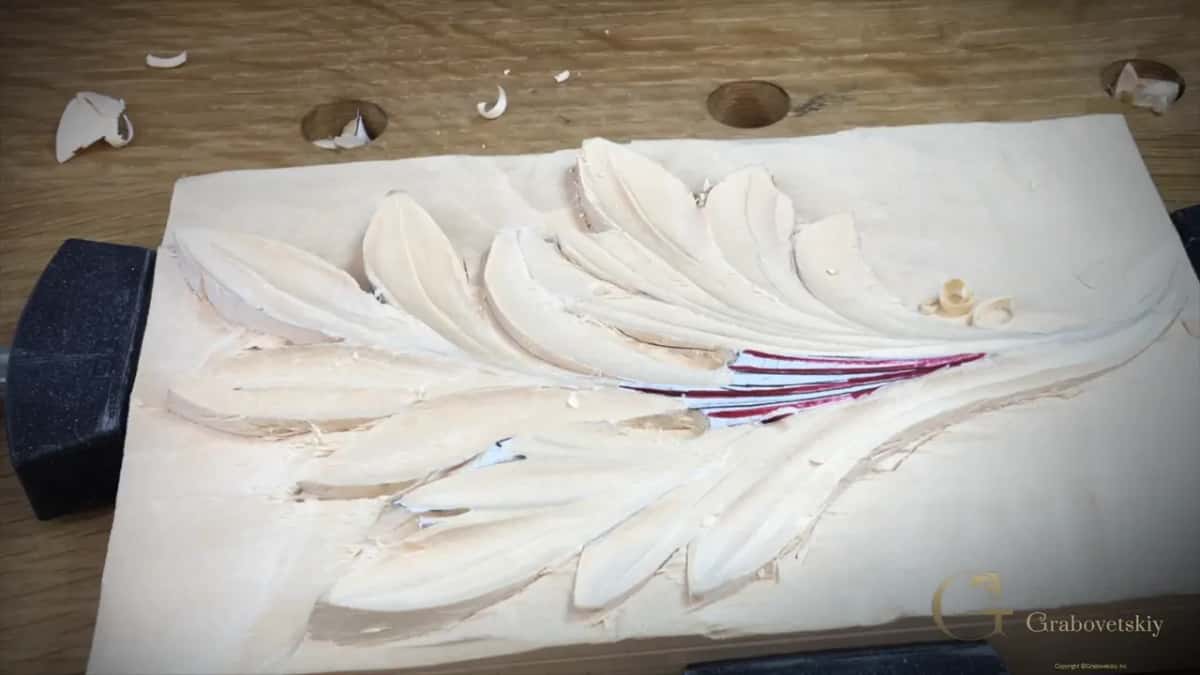
Carving the hollows of a Corinthian acanthus lobe is concave work with a smaller number 9 gouge, done between the edge of each section and its center line. In this lesson I take a number 9 around half an inch (about 13 mm), and later one of 10 millimeters (3/8 in). Inside each section a higher ridge stays standing. This is lesson 4 of my Corinthian acanthus course.
Your leaf has its main form now, like at the end of lesson 3. You want every lobe of your acanthus to hold a shadow, right? And you'd like the cut to come off so clean that sandpaper never crosses your mind? Then the hollows go in next. I'll show you the gouges, the place two directions of grain meet, and why a long cut is worth trying when you can control it.

What I do in lesson 4
- Two number 9 gouges, narrower ones.
- A concave cut on each section, running between its outer edge and the center line of the leaf.
- A raised ridge left standing inside.
- At the marriage line, I move my tool and come at the wood the other way round.
- Long single cuts, when I can.
- A short stop halfway through part 1 to buff the gouge on felt.

How do you carve the hollows inside an acanthus lobe?
With a smaller gouge and one concave cut. After the main form, the next step is to take a gouge that is smaller in how wide it is. I first said smaller diameter, and corrected myself on camera. It's still a number 9, and I would probably use a half inch one.
Then I remove the section. My concave goes in between edge and center line, and in some points I could probably use an even smaller gouge. I move around. Short and plain.
When one side is done I flip the block and do exactly the same from the opposite side, until that cut is really clean. On it goes, section by section, on both sides of the center line.
Why leave a higher ridge inside each section?
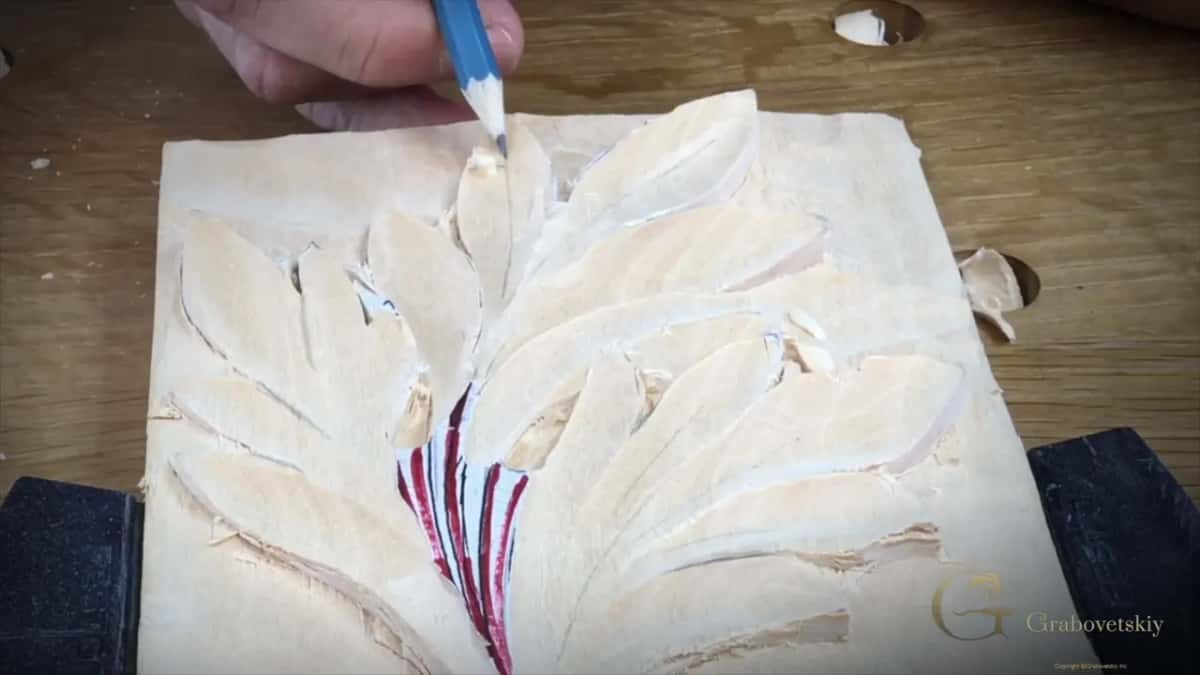
It gives the leaf movement. Inside each of those sections there's also a somewhat higher ridge. So on the outside I have my high ridge, and inside of that there is a high ridge too.
That inner ridge is what makes this leaf beautiful to me, and it gives movement. On camera I tried to put the shadow on it, and you can see there is a higher ridge on the inside once the concave is cut on both sides of it.
Leaving that ridge is a choice for this leaf. While I carved lesson 5 of the Greek acanthus course, I said that on the Corinthian leaf we left some higher ridge on the inside of the leaves. A lot of times on the Greek acanthus leaf there is absolutely no ridge, just a pure V cut. But you could leave one, and it still would be authentic.
What is the marriage line of the grain?
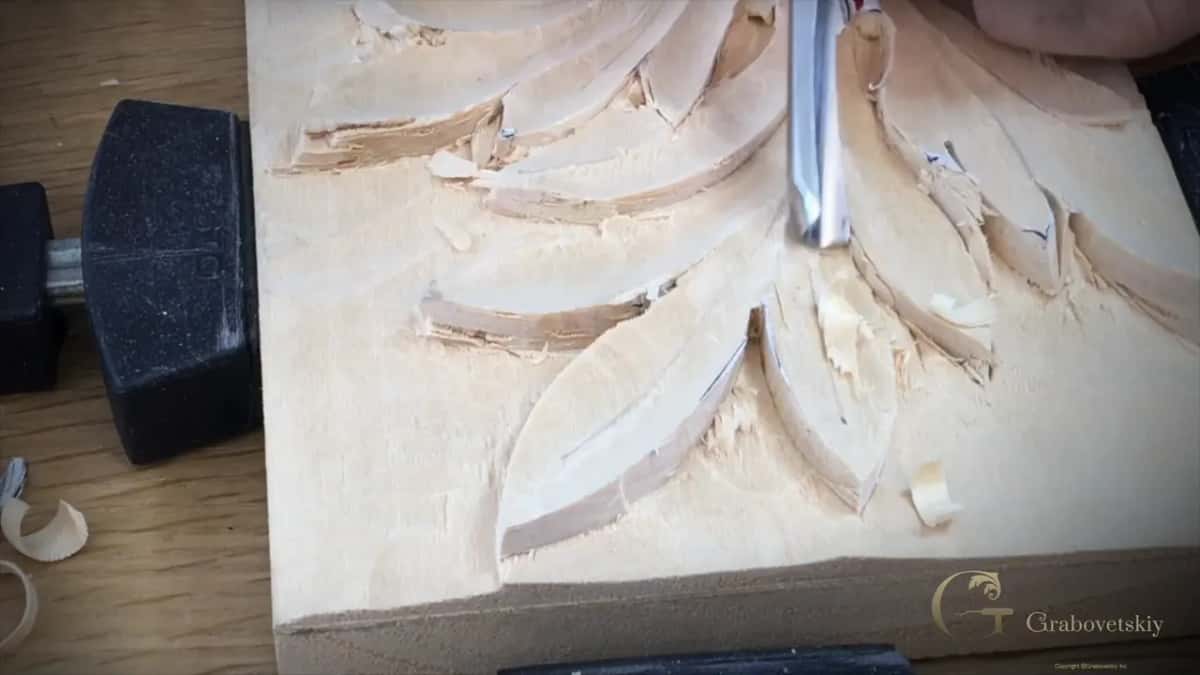
A name of mine for the place where the grain meets. I use just the edge of my tool until I meet that line, I call it the marriage line, and keep going until the section is removed completely.
You can see it right on the leaf. Right there you really have to change the position of your tool, and that way the cut comes out clean.
The same name comes up on other pieces. On a flower in the Hashemi flowers course, lesson 8, I attacked from one side because of my grain. I called it marriage line at the highest points, a ridge barely noticeable, but still. The grain goes this direction and that direction from there, so I worked from both directions.
In Hashemi lesson 12 I was making sweeping cuts, rotating the tool. I wasn't forcing it, because I did have a marriage line there, and I still had to attack from both sides. Same rule as on this acanthus leaf, only a different shape.

Which gouges go into the lobes?
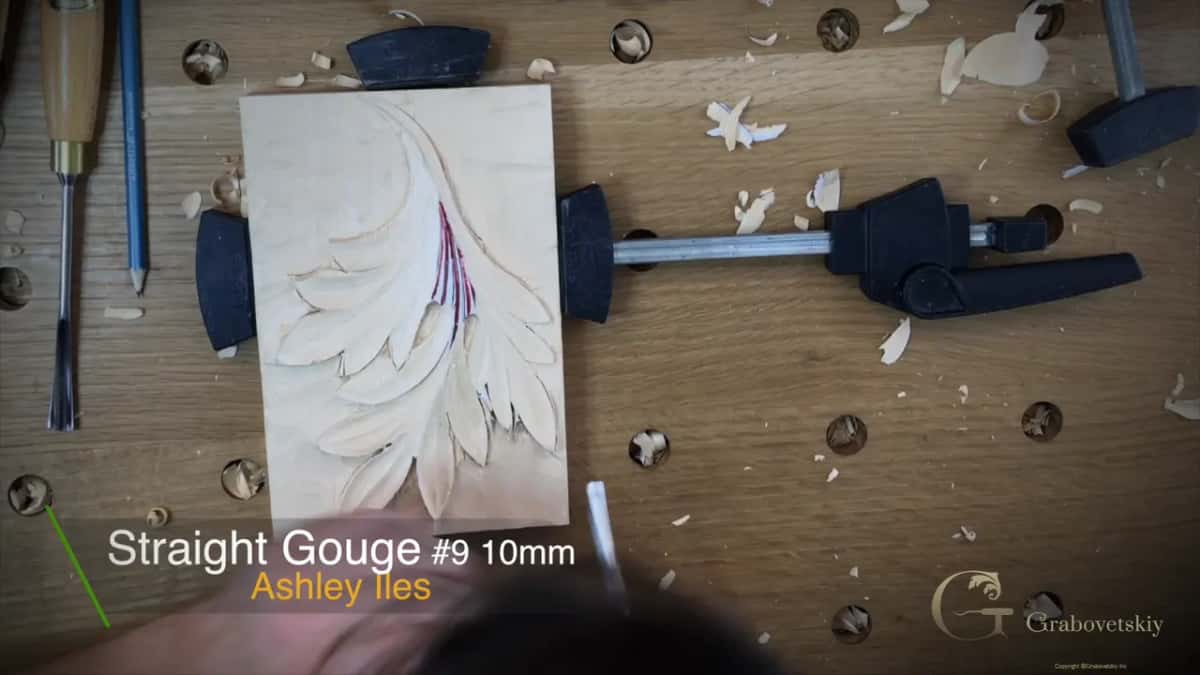
Only number 9 gouges in this lesson, in two widths. Here is what I took and when.
| Tool | When | Job |
|---|---|---|
| The wider 9 | At the start of part 1, right after the main form | Concave between edge and center |
| The 10 mm 9 | In part 2, for the smaller sections of this same leaf | Center lines stay untouched |
| Wider 9 again | Later in part 2, where one lobe is a little bigger than the rest | A wider hollow there |
| Felt wheel | Part 1, when my gouge needed a little buff before going on | Buffing only |
| Festool clamps | End of part 1, holding my block on an angle | Tight from any direction |

Why is one side of a gouge cut cleaner than the other?
The grain. With a gouge cut you really have only one clean side, and the opposite side will be somewhat rough, not so clean as you would expect. On one section in this lesson the outer side was clean, and inside the grain ran the opposite direction.
So I attacked that side from the other direction and cleaned it, carefully. When a cut comes out right I say so, and I told the camera I really liked one I did just then. Later the clean side sat on the outside edge, and I had to turn my gouge and work the other side, because that cut is a somewhat final cut.
I said the same thing on the Roman acanthus leaf, lesson 5. When you're working with the gouge, one side is always going to be a clean cut and the other one rougher, because the grain direction changes. That's why sometimes you have to attack from two sides. Keep an eye on which side is the clean side, concentrate on that side first, then go back the opposite way and clean the other. And don't forget to rotate, or sweep, while you carve.
In Greek acanthus lesson 4 I asked people to watch which side cuts cleaner, even at a stage where it isn't that important yet. That helps later on, when you have to work on details. You don't have to do that work twice.
Should you take a whole lobe in one stroke?
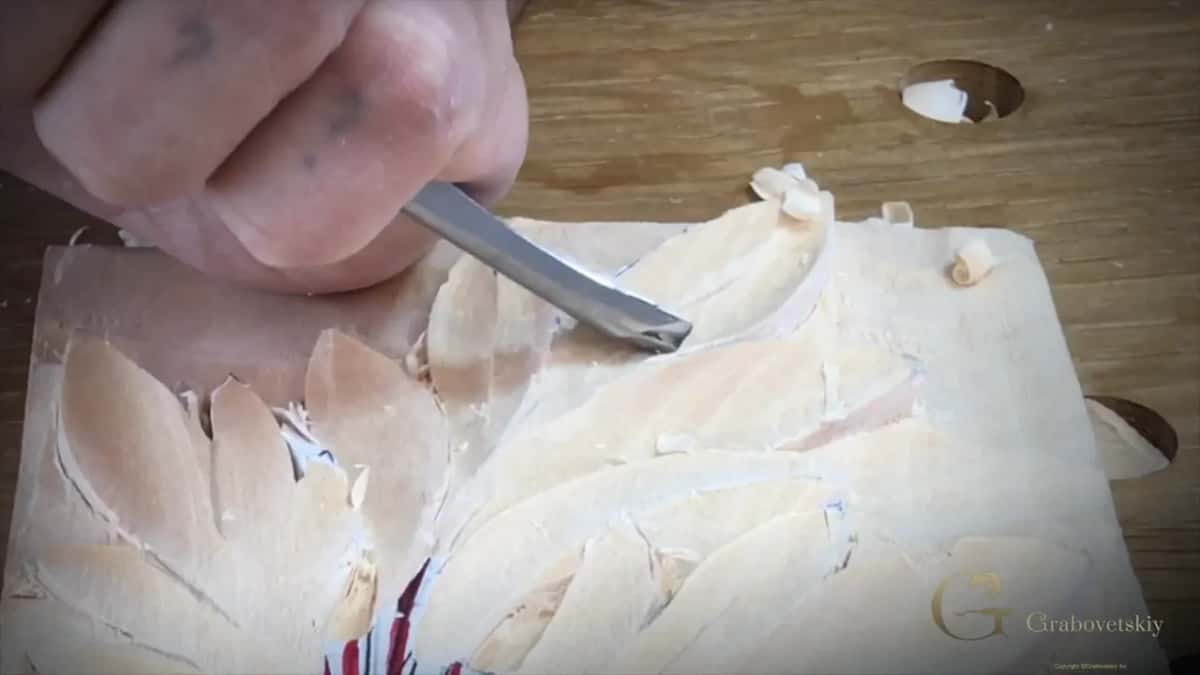
Depends on the moment. If you have the temptation to do everything in one stroke, it's a good temptation, but it's not always a good idea, since a gouge leaves a clean wall and a rough wall. Better to make a few cuts until you reach the main idea.
That sounds like the opposite of my next advice, but both are true at different moments. In the second part I said that if it's possible, if you can handle it, make as long as possible just a single cut, because it gives a really nice movement to your piece. The condition is the center line. If you are able to control it, do your cut as long as possible.
One more thing from part 2. On one of those long cuts I just slipped. I went all the way anyway.
Most of that part sounds the same on camera. I need to attack that from this side, I say, and just carefully, without rushing anything, remove it. Then let's do everywhere we can. At one point I wasn't sure if I could turn the light off so you'd see the cuts better.

Why do long cuts look better on an acanthus leaf?
The tool lines. Those lines a gouge leaves behind make the movement beautiful. That's the difference between really short cuts and really long ones. And especially on this type of acanthus leaf, long cuts create a really nice movement. That long grain gives a really nice detail.
On long cuts I use my body too. On the floral and molding panel, lesson 4, I could do long cuts, and with them I was trying to use my body very much. I pushed not with the hands but with my whole body. My hands stayed almost at the same position toward my body, held really tight to it, just the same idea as if you would use a plane.
Buffing or stropping, which one does the gouge need?
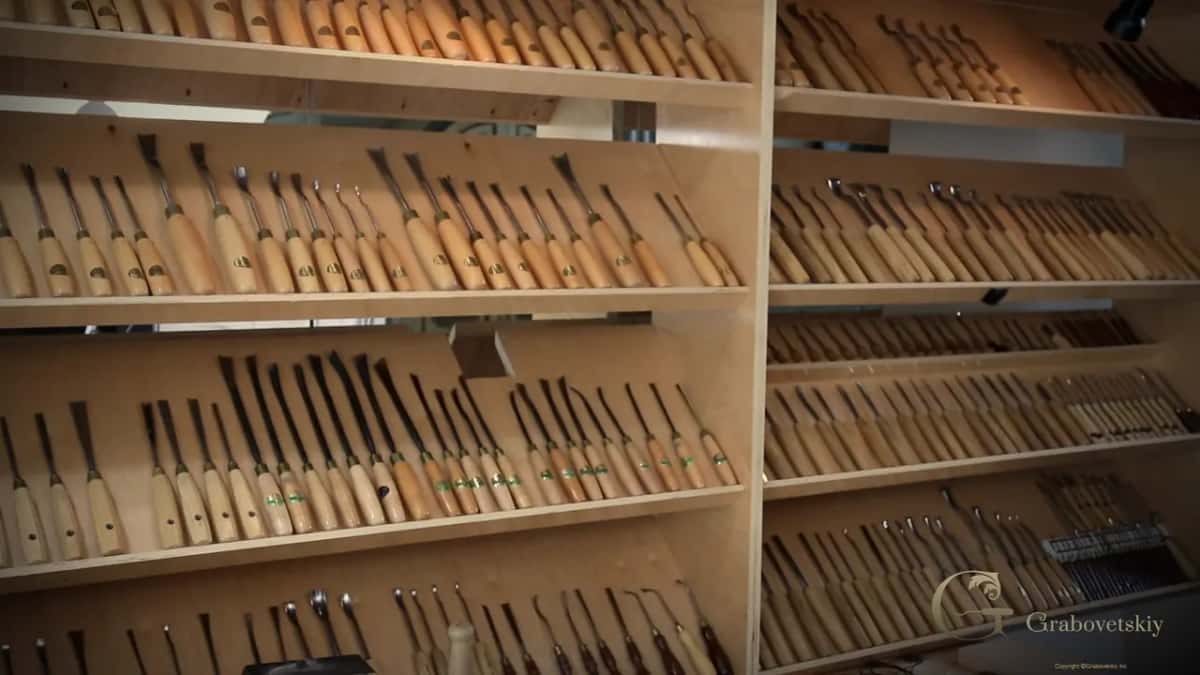
Halfway through part 1 I needed to buff my gouge a little. I could say strop, but buffing and stropping are a little different. For buffing I use just a felt wheel, and a leather wheel is what I strop on.
In my stropping, honing and buffing lessons I showed that felt up close, a really soft one. I usually charge it with blue paste, a really, really hard paste, and I'm not pressing too hard, because the green paste already took most of what had to come off. With felt you can work the inside of the gouge, and I almost called that stropping. I corrected myself right there and called it buffing. I hardly create any pressure, but the edge becomes black, and that black is metal taken out.
Why bother in the middle of a leaf? In that same lesson I said that with a tool that sharp I can actually break the rules of the grain and go against it, because the edge is so polished. One quick buff, and back to the lobes.
Can a hollow come off the gouge clean enough to skip sandpaper?
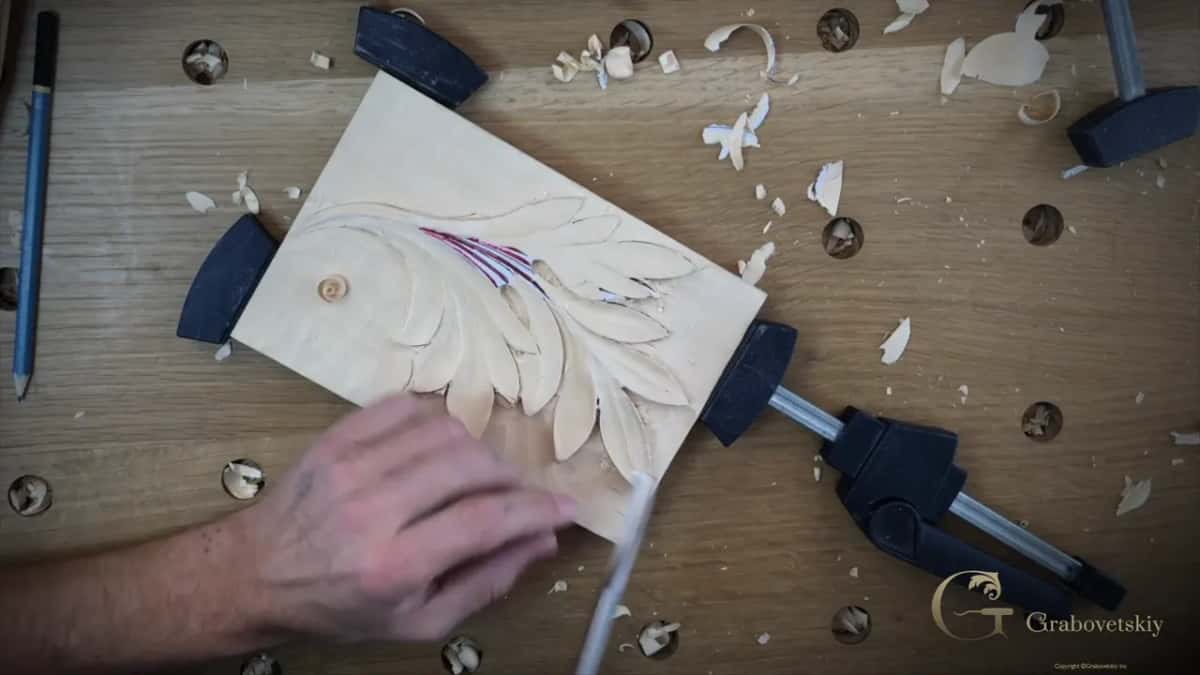
Clean enough is the aim. I keep going over a section until the cut is really clean. Then you wouldn't have any temptation to use any sandpaper. And since a gouge cuts one side clean and the other side rough, you can always come back and clean your cut.
Close to the end I established the center line on one section. Then the 10 millimeter number 9 made my cut. Of course, I can rotate it and kind of clean it, and after that I refined the spot a little, to exaggerate it.
Don't worry if your edge is not clean yet. That's a future step. Your edges will be nice and clean and crisp. Just believe me.
What do the clamps do for the hollows?
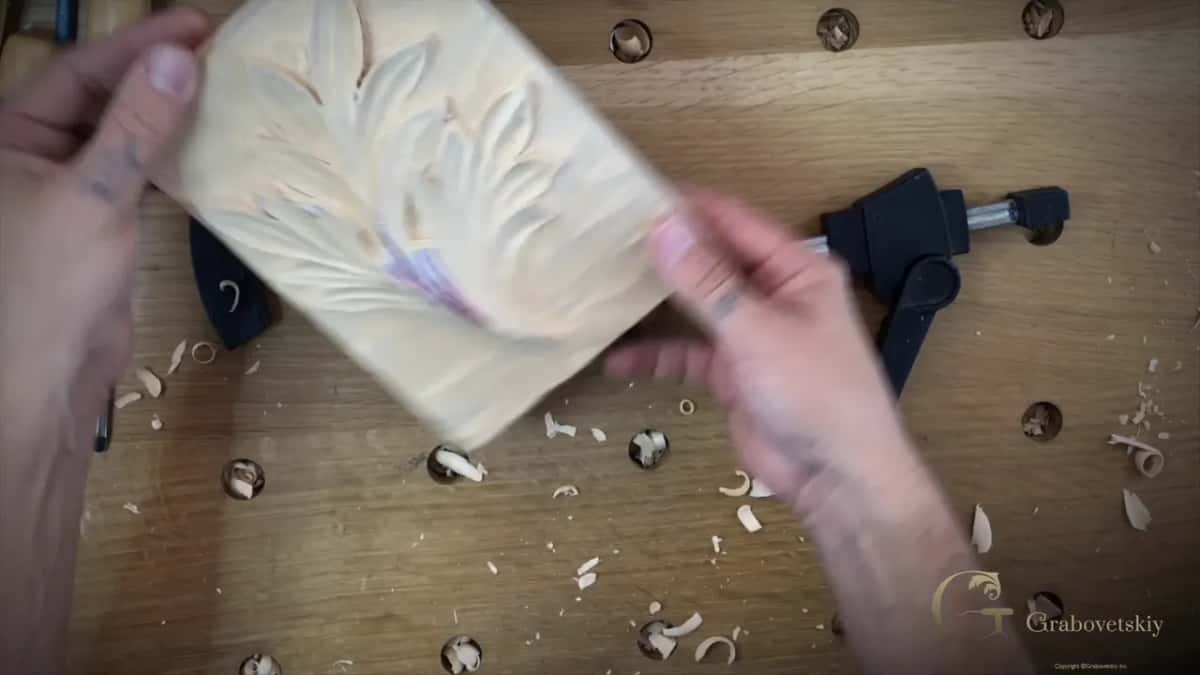
They let me turn the work. I'll mention again what I like about the system I'm using, just the Festool clamps. The block can be clamped from any direction, and it will still hold really tight.
I used to be in one position. Later I moved the block somewhat on an angle, because I needed to attack one part from there, and that gave me a really good angle. It was still holding.

Is an acanthus leaf one leaf or many leaves?
One leaf. At one point I said I'd do all of those leaves. Well, I should not say leaves. It is still a single leaf, just with those parts.
Each part still gets its own size of tool. Later in that same part I took the previous, a little bigger number 9 again, because that lobe is a little bigger. And slicing is really important here, controlling your tool while you are actually rotating it in your hands.

Why practice on a simple acanthus leaf first?
We're going to carve a more complicated acanthus leaf later, but I would suggest not to wait until that point. Practice on what we're doing right now. That way you will understand the foliage.
Let's say you're planning to do a really complicated carving with me, with all types of leafage, or foliage, I call it. Then it's a good idea to practice different types. And believe me, you can put lots of different acanthus leaves in just one design, and it's going to look gorgeous.
I'll admit something. Probably from all the types of leafage I carve, I really love the acanthus leaf the most. The ornament is named after a real plant, Acanthus mollis, and the Corinthian order put it on its capitals, so this one shape turns up in stone and in wood carving.

What should the leaf look like after lesson 4?
Like the last frames of my video. I would call it enough for this lesson, for this workshop, and your piece should look somewhat like that. Every section is hollowed, a ridge stands inside each one, and the edges are still waiting for their own step. The block is a deep relief carving, so there's still plenty to do in lesson 5.

If your main form is done, this is your next step. Both parts of this lesson, and every other lesson of the course, come with Access to the school. Pick up a number 9, look for the marriage line, and keep that ridge standing.

How it's done
- Take a narrower number 9. I pick a 9 of roughly 13 mm, narrower than the gouge I used for the main form.
- Carve the concave. Each section loses its wood in one concave, edge toward center line, with a higher ridge kept inside it.
- Turn at the marriage line. My tool edge runs up to the line where the grain meets, and there I change how I hold the tool.
- Flip the block. Over it goes, and I repeat exactly the same on that side until the surface is clean.
- Go down to 10 mm. Small sections get a 10 mm 9, center lines left alone, each pass the longest I can control.
- Clean the rough wall. A gouge leaves one wall rough, so I come back the opposite way and rotate the tool to clean it.
Frequently asked questions
What size gouge do you use for the hollows in an acanthus lobe?
A number 9 for every hollow in this lesson, only narrower than before. My first one is roughly 13 mm wide, and for small sections I switch to one of 10 mm. Where a lobe runs a little bigger, I go back to the previous, bigger 9.
What is a marriage line in wood carving?
Marriage line is my name for the spot inside one cut where two directions of grain come together. My tool edge goes up to it. There I change how I hold the tool and work it from the other direction, so the cut stays clean.
Why does one side of my gouge cut come out rough?
Every gouge cut has only one clean side. Its opposite wall comes out somewhat rough, since the grain runs the other way there. I turn and attack that wall the other way, and later I can always come back to it.
What to carve next