

Alexander Grabovetskiy, woodcarver, School of Woodcarving · Published 2017
Why do you carve the eyes first on an acanthus leaf?
Quick answer: Opening the eyes first is step number one when I start the main form of an acanthus leaf. My number 9, then a smaller one, takes them in before my big number 7 brings the slopes down, so their location isn't lost once that main form goes in.
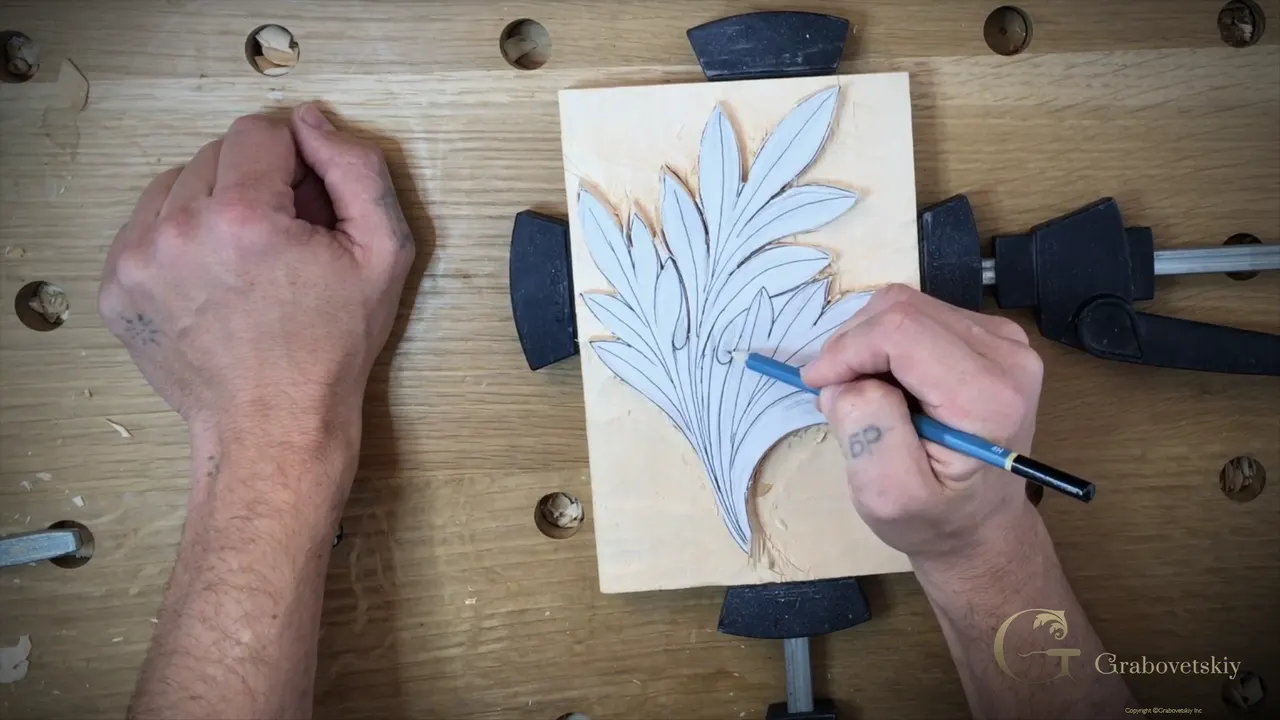
Carving the eyes first is how I keep my place on an acanthus leaf before the big slopes come down. The setting stage is done. Now the main movement goes in, the main form, and step number one in this stage is the eyes. I do them first so the overall picture, and the location of those eyes, stay put once the main form starts. This is lesson 3 of my Corinthian acanthus course.
You've got the leaf drawn and set in, like in lesson 2. You'd like it to rise and fall like a real acanthus, right? And you'd like your drawing to still mean something after the big gouge has been through? Then the eyes go in first. I'll show you the gouges I took for them, two ways to carve the lines beside an eye, and how one huge number 7 brings the whole form down after that.
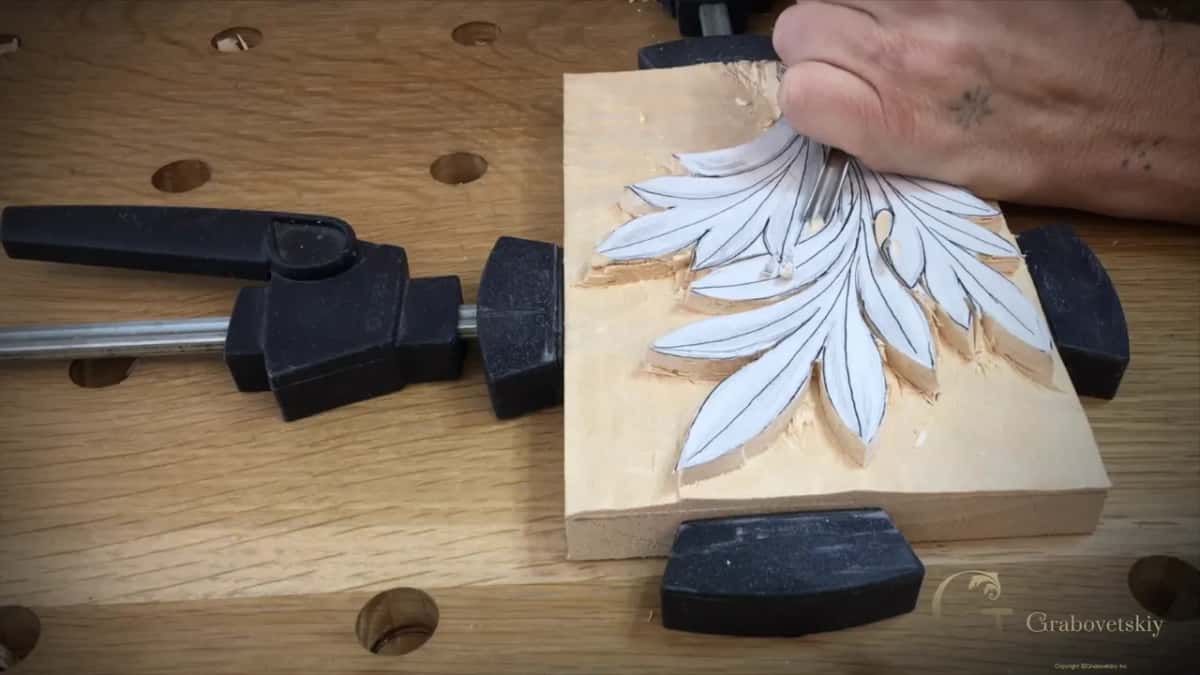
Six things I do in this lesson
- The eyes come out first, number 9 and then a smaller 9.
- My knife, a number 12, follows the lines quickly.
- A relief cut leaves the waste side weak, so the side I keep stays clean.
- One huge gouge, a number 7, takes the main form down.
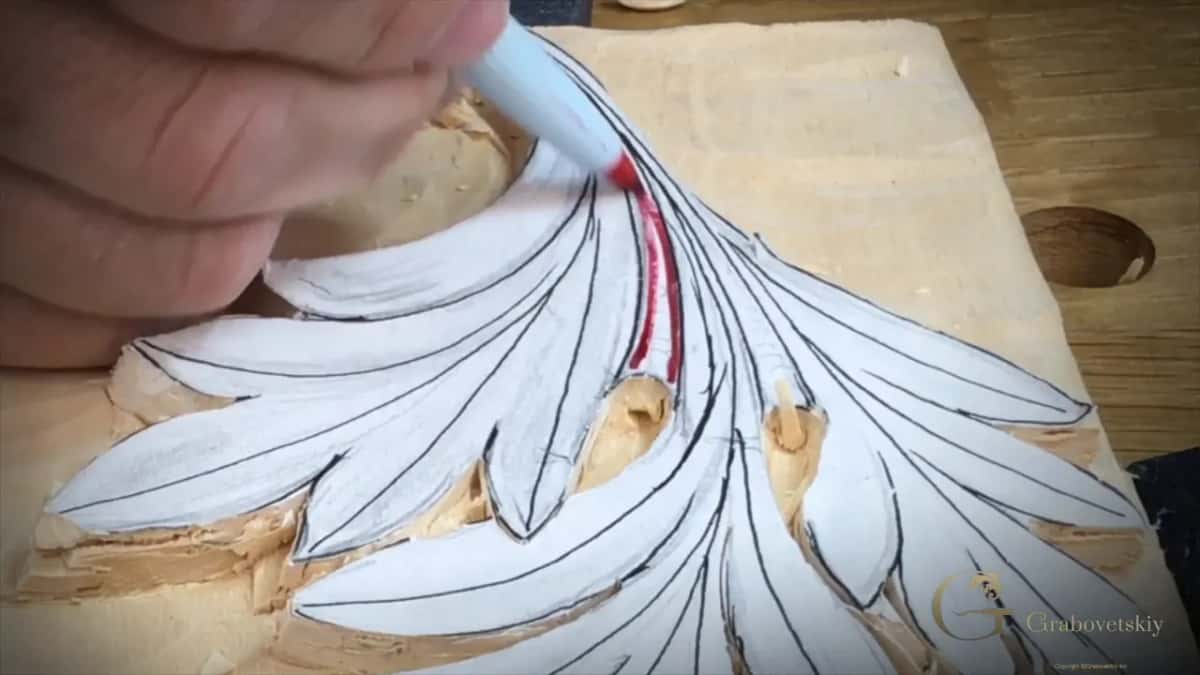
- The pipes stay high, and I mark them in red.
- Every line goes to the center line, so I redraw them on the wood.
Why do you carve the eyes first on an acanthus leaf?
To keep them. That's the reason I give on camera. The reason why I'm doing those eyes at first, I said, is I don't want to lose the overall picture. Once we establish the main form, I don't want to lose the location of those eyes.
Think about what happens next on this block. A huge gouge goes over the leaf and takes whole sections down really quickly. By then my eyes are already dug in.
An eye on this Corinthian leaf is a section I have to remove, and I point at one on the drawing before I begin. What an eye and a pipe are, and why the eye sits between the main movements, is in lesson 1.

Which gouges open the eyes?
Number 9s. I use a couple of different gouges. I take probably just a number 9 at first, and preliminary, I remove some of the material.
That one is really good, but I need a smaller one. So I take a smaller number 9 and just kind of dig in. Little by little. I'm attacking the eye from the sides somewhat.

Next I check if my number 9 is going to fit, and it does. Mallet in hand, I drive that 9 all the way down.
The middle section of the eye comes out with a number 3, 16 mm (5/8 in). After that the number 9 goes back inside to clean it, and we're ready for the main form.

Knife or gouge for the lines beside the eye?
Either way works, and I show you both. There's this line and that line to carve down next to it, and the same on the other side.
One way is my carving knife, number 12, and I just follow the line, the outline of those leaves. That works if the material you're using is lime wood or basswood. I actually like this approach because it's much quicker. The knife line gets deep, and I can remove the waste from both sides.

For that waste I use the same number 9 I have on my workbench. It goes almost to the bottom, half an inch (13 mm), same as the background right there. So the knife is a really quick way.
The second way is a gouge. Find a close sweep gouge and place it wherever you need to make the line. On my leaf one looks like it fits perfectly, and it goes straight down, just like that.

What does the relief cut do on this leaf?
It keeps the side you want from getting crushed. I call it a relief cut. We removed some material from inside first, so once I place my gouge, the fibers on one side are weaker than on the other side.
That means the side I keep stays really nice, without smooshing those fibers together. The fibers on the waste side don't really matter. They're moving, you can see, and we'll remove them anyway. Keep that in mind.
So wherever it's possible, do a relief cut, especially if you have time. Time matters too. Sometimes when you don't have time, you can work directly without relief cuts. But I try to do as many relief cuts as possible. For a whole lesson on that one cut, Carving Grape Onlay 14 asks what a relief cut is.
What did each tool do on this leaf?
| Tool | What it did | Where |
|---|---|---|
| First, a number 9 | Removes some material from the eye before the smaller one. | Early in part 3.1 |
| A smaller number 9 | Digs into the eye sideways, then down with the mallet. | Later in that video |
| Knife, my number 12 | Follows the lines around the eye in lime or basswood. | Halfway through that video |
| Number 3, 16 mm | Takes out the middle section of the eye before cleaning. | Close to its end |
| Big gouge, number 7 | Takes each section downhill off the high point, toward pipes. | Most of part 3.2 |
| 20 mm number 9 | Goes into the leaves after I redraw all the lines. | Part 3.3, after drawing |
How does the main form go in after the eyes?
With a big gouge. I'll say it again. If you can get a bigger gouge, it would help you to make your work a lot quicker, and I'm using exactly that, a really huge number 7.
First I find the main movement. I see the center line, and somewhere at this point is my high point. From there it goes downhill this way and downhill that way. This section moves downhill, that one somewhat also, and a couple of leaves go downhill too.
Some parts don't go down. Right beside the eye is a pipe. Eye and a pipe. I want to keep that pipe as a high point, so I take my red marker and mark it, and one more section stays high as well. When I say a high point, I mean somewhat the same height this piece has right now.
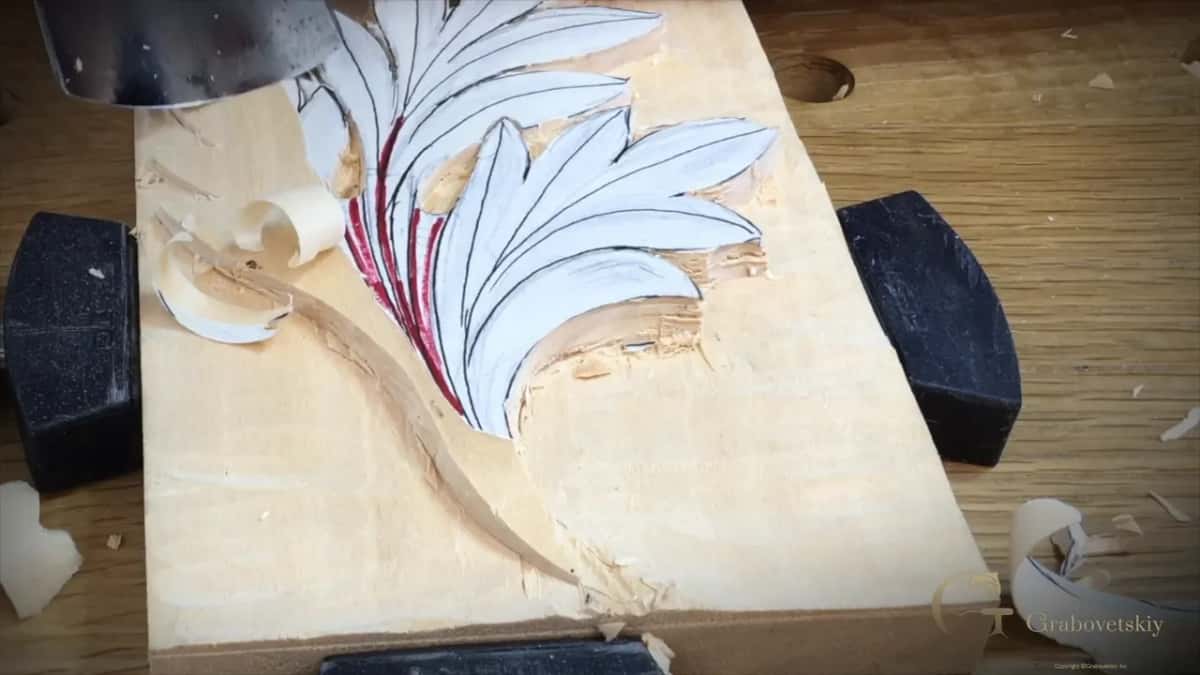
At this stage it's really important to work with the grain and understand the grain. When I work in the right direction, my cuts are really clean. If the grain says so, I change direction.
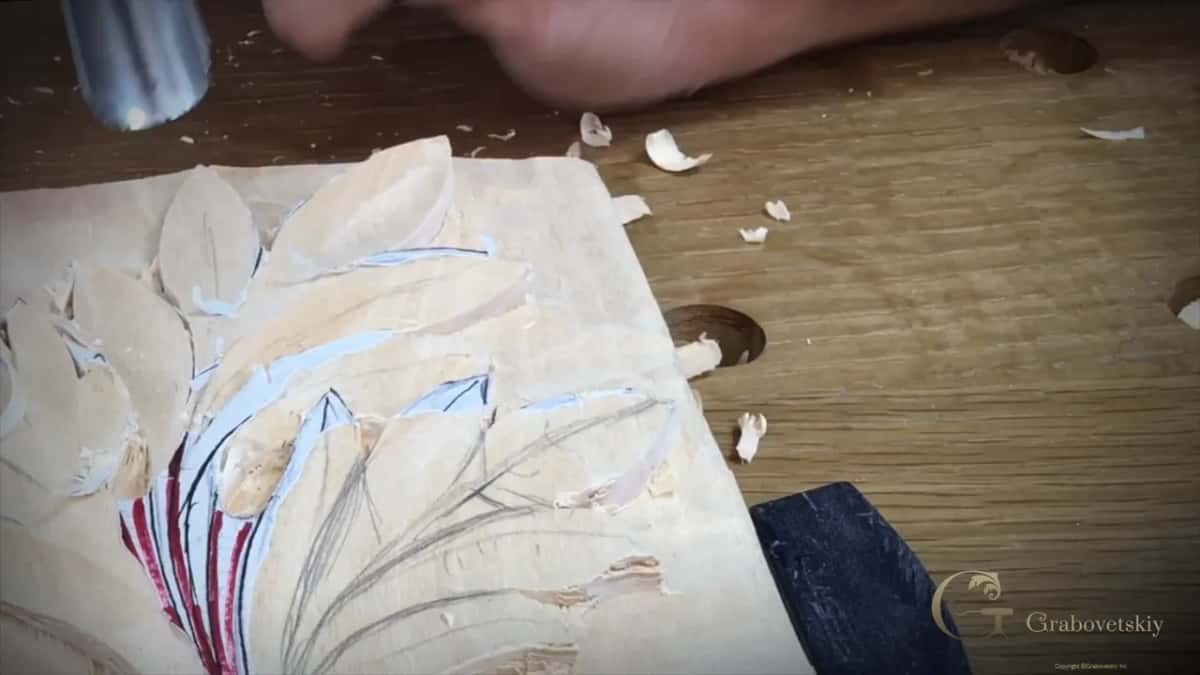
Then the whole section comes down really quickly. I go right to my pipe, lower it down right there, and do exactly the same on the other side. One element needs care, though. The way I drew it, it overlaps right on the top, so there I have to be really careful.

Why is the number 7 my workhorse?
My word for it, on camera. I do have a number 8 also, and a number 5, but number 7 is just my workhorse on the gouges. This one is huge. I believe it's 60 millimeters, about 2 3/8 inch. It needed a little touch up from yesterday.
It's a beautiful thing when you have a big gouge like that. With it I establish a really nice main form, and look how much material I remove at once.
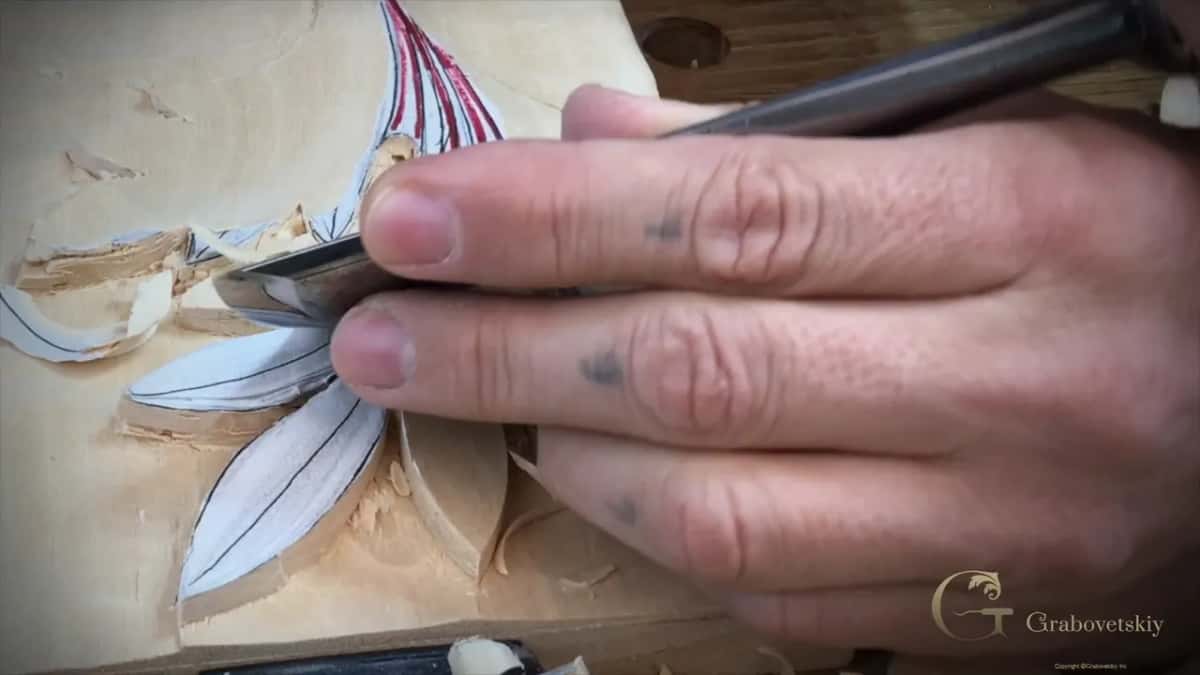
And it still does small work. Because I have that big gouge, I can work even with the smallest details, just using the very edge, the smallest part of my tool. And you can hear how sharp my tools are. They are really, really sharp.
Where do the lines go once the slopes are down?
Back on the wood. After the big gouge I put it back and reestablish my main movements, the main divisions of this leaf. So I redraw them.

It's a good idea if you can print a second copy of the drawing and reference it. I won't do it here. I explain the way I do it instead.
I call the center the main flow line. From every one of those points, the line has to go to that center flow line. That's really important to understand, and I call it a law. It applies to the acanthus and to most foliage carving. You would never see a T-stop. Why a line must never stop dead against another is the whole subject of Byzantine acanthus lesson 3.

Each ridge goes all the way to the center line. That's why it's important to have those lines drawn on your piece of wood, so you can see what's going on.
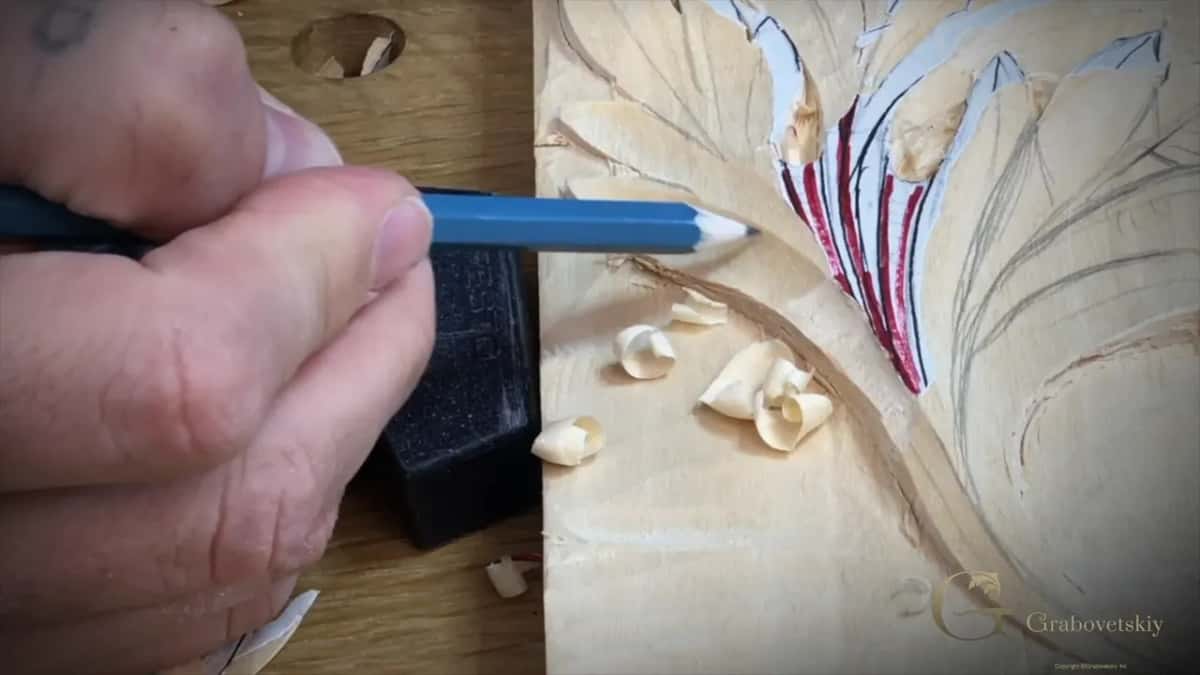
Next comes a number 9, 20 mm (about 3/4 in), the same gouge I had before, and I buff it a little first. It takes the concave inside the leaves. What I say about that concave, and the sections between that stay high, is quoted on the lesson 1 page, so I won't repeat it here. For another style of acanthus shaped in relief, see Floral and Molding 6.
Do I always start with the eyes?
I'm going to be honest with you. On paper, not always. In Roman acanthus 1 I said that sometimes I start with the flow line, and sometimes I start with drawing eyes.
At the bench, I keep saying eyes first. In the Venice Room, workshop 81, I said that for me, the logical point is just to create those eyes first. I took a number 11, 7 millimeters (about 1/4 in), and preliminary excavated the position of the eyes.
That day I worked in a Veritas vise, and it was a little wobbly. It's really convenient for me, because I can rotate it any direction with no problem. For me, the result matters a lot more.
Veritas is a brand of Lee Valley Tools, the Canadian tool company.
In Venice Room 155 I said nearly the same thing. We're going to start with eyes first, same like we do always, okay? After that I got my middle line.
On the furniture panel, lesson 22, I said let me establish the eye first, with a number 11, one millimeter (0.04 in). I followed with a half millimeter (0.02 in) to exaggerate that eye even deeper. Don't worry about losing the detail, I told you there. We can reestablish it.
And on the vase with grape leaves, before the flatter gouge started blending, I said let me excavate the eye first. That was a 3 mm (1/8 in) number 11 veiner, straight down and escape.
What else does this stage ask of you?
Patience. Really important also in wood carving, I would say, is patience. There is always temptation to get it done as quickly as possible, and it's not always helping. You can make mistakes. You can mess up. So patience is a really important skill in wood carving.
I also have to feel the behavior of the wood. Even if it's the same basswood or the same limewood, the history of those trees was different. Sometimes you expect it to act exactly like the piece you carved last week, and it's an absolutely different piece of basswood. Take in new lumber, start carving, and it feels absolutely different. It also depends where the tree was growing, closer to the water or not. Lime and basswood are both Tilia.

I could just place this block without any clamps and work that way. Where my grain meets at a point, I flip the piece around and attack it again, opposite side, so those grains meet.
There's a rule in wood carving, you never carve toward yourself. That is a danger. Rotating the piece again would probably be the best idea. But on a huge piece sometimes there's absolutely no way, and you still have to work toward yourself.
One of the students at Marc Adams' school, who is also a student of this school, works as a dentist. I saw how he did it, and it makes sense. You lock your elbows on the work table, so you can stop, and the tool won't fly toward you. Your movement is limited, of course. You're not going to do a really long cut, but small cuts like this work. I tried it, and it works really fine. I would say it's safe. Acanthus over Moldings 6 asks the same question about carving toward yourself.

Then I keep going with the same gouge. I'm slicing, keeping those ridges high, and making sure my main movement reaches the center. Don't worry about the edges yet. We're going to clean them for sure. We're still establishing the main form of the acanthus leaf.
If you noticed, I'm still using the same gouge, just carefully using certain parts of it. When a line should sit a little elsewhere, I come back with my gouge and carefully reestablish my line, my ridge, I should say. At the very end I take my big gouge to check, and I use a different one there to reestablish my edge for a cleaner look. Lesson 4 is next.

If your leaf is set in, this is the next step. Every lesson of the course, all four parts of this one included, comes with Access to the school.
How it's done
- Open the eyes. I take a number 9 to remove some material, a smaller one digs in, and the mallet drives it down.
- Carve the lines beside each eye. The number 12 knife traces the line, or a close sweep gouge goes straight down where it fits.
- Clean the eye. The number 3 takes the middle section, and then the 9 goes back in to clean it.
- Bring the main form down. With the big 7 and with the grain, each section goes downhill from the high point while I keep the pipes high, marked in red.
- Redraw the flow lines. I put the main flow line and the divisions back on the wood, every one running to the center line.
- Slice and keep the ridges high. Same gouge, slicing, ridges left high, and the edges get cleaned later.
Frequently asked questions
What gouge opens an acanthus eye?
On my Corinthian leaf, a number 9. I start with one to remove some of the material, then switch to a smaller 9 and dig in little by little, working at it sideways. When the 9 fits, the mallet drives it down, and a number 3 takes out the middle.
Can a carving knife follow the lines of an acanthus leaf?
In lime wood or basswood, it can. I like my number 12 carving knife there, following the outline of the leaves, because it's much quicker. Once the knife line is deep, the 9 lifts the waste from both sides, down about half an inch, same as the background.
What do you mark in red before the big gouge goes in?
The pipes. Next to the eye there's a pipe, and I want to keep that pipe as a high point, so I mark it with my red marker. Another section stays high too, at somewhat the same height the piece has now, while the rest of the leaf goes downhill.
What to carve next