

Alexander Grabovetskiy, woodcarver, School of Woodcarving · Published 2017
Why leave a sixteenth of an inch on the background until the end?
Quick answer: The spare layer on the background is about 1.6 mm of wood that I keep above the final ground while the details get carved. Sometimes a tool digs into the background during that work, and it does not look good. At the final stage I take the layer off, and the nasty tool marks go with it.
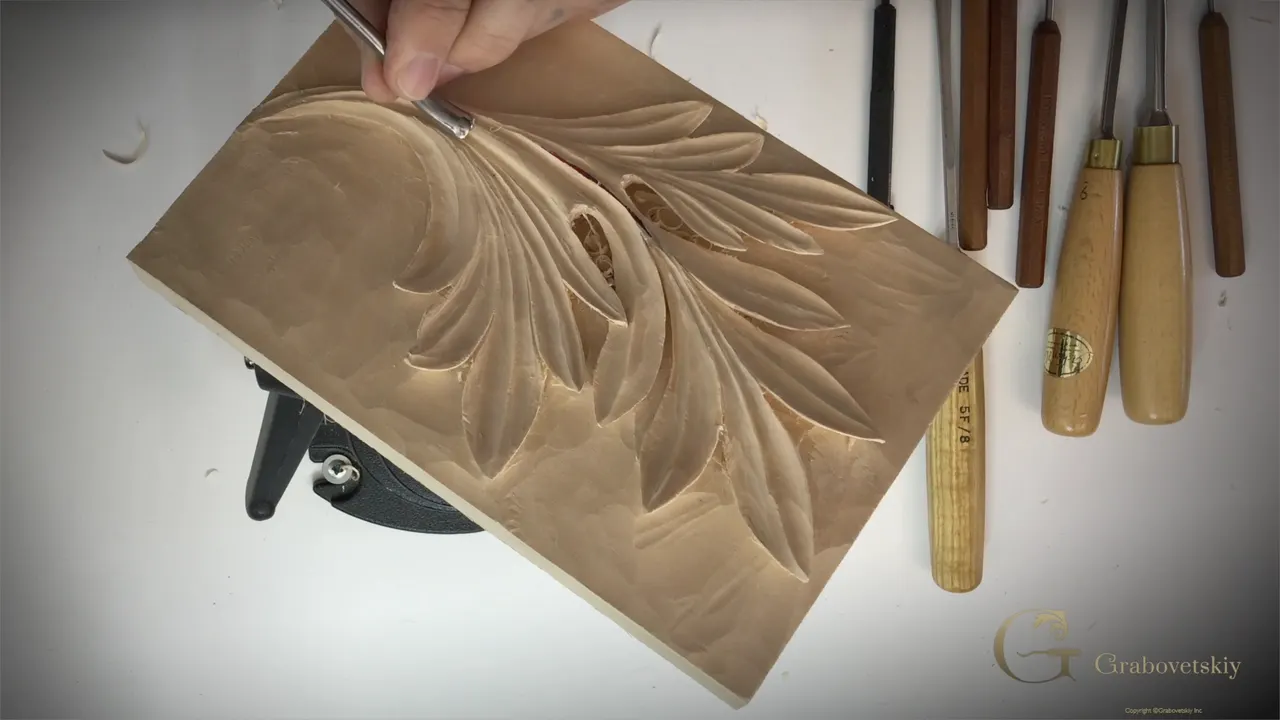
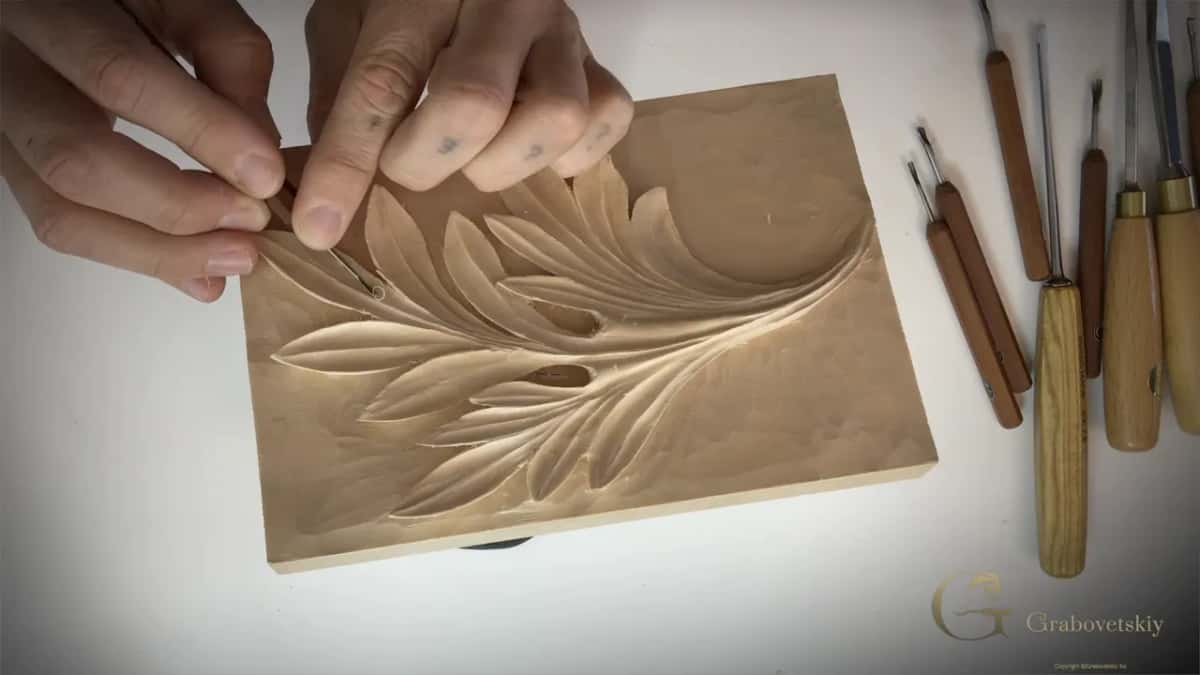
A sixteenth of an inch left on the background is spare wood, about 1.6 mm, that sits over the final ground while the details get carved. On this Corinthian acanthus leaf it stayed there through the undercutting and the pipes. It came off in the last part of lesson 6, and the marks my tools had dug into it went with it.
Your leaf is undercut by now, and the ground around it still sits a little high, right? Maybe you can see a dent where a gouge slipped in? And you want a ground with no ridges before you call the leaf finished? Then leave those dents alone a while longer. In this lesson I carved the pipes, lifted the paper, added a few small accents, and only then took the ground down to its line.

What lesson 6 does to the leaf
- The two pipes get their hollows, first with a 10 mm number 9, then with smaller gouges.
- The paper comes off, and the line under it is not even.
- A tiny gouge, a little more than one millimeter, adds a few accents along the ridge.
- Last, a number 5 takes the spare 1/16 inch off the ground.
- Then a number 3 slices away the ridges after that, and a V tool cleans along the leaf.
Where does the extra sixteenth come from?
It goes back to lesson 2. I took the ground down first with a big gouge there, and I left about a sixteenth before I hit the line. Stay about that far from the background line and you'll be safe, I said there. And if you went a bit below the line by mistake, no big deal: your carving is just slightly deeper. I also said you should have at least one big gouge, because you can remove a lot of material at once.
That same layer helped again in lesson 5. I was laying the V tool flat for the undercut, and because we left about one sixteenth above the final background line, I could turn it slightly, maybe 15 degrees, and still be safe.
In lesson 6 I put it this way. Work on the details as much as you feel comfortable. But as you remember, we do have about 1/16 of an inch before the final background line, and now it's the time to remove that.
In lesson 5 of the Greek acanthus course I said nearly the same thing. Later on we're still going to remove the background even more, another 16th or eighth of an inch. It depends what you left for the background.

Why leave the ground high while you carve the details?
Your tool digs in, here and there. When we carve the outside and make the details, sometimes your tool digs inside the wood, inside of the background, and it doesn't look too good.
The spare layer takes those hits. We left about a sixteenth, and right now, at the final stage, we can remove all those nasty tool marks. That is the job of the spare wood on a relief like this one.
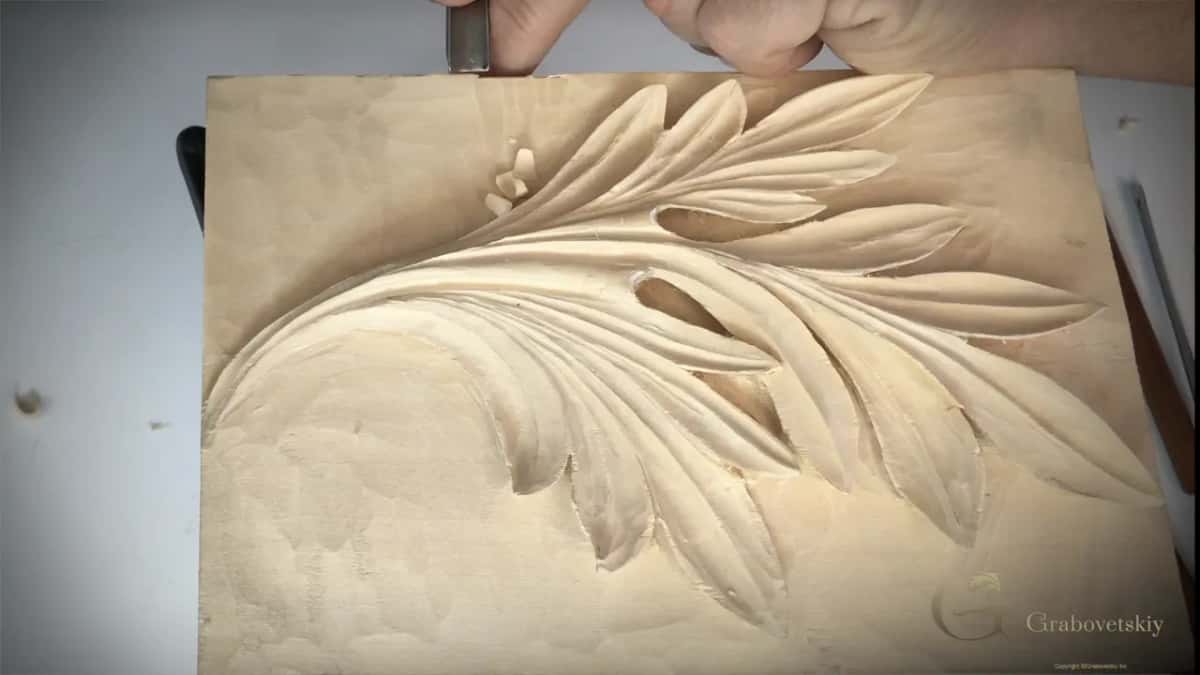
Which gouge takes the last sixteenth off?
Pretty much a number 5 gouge, and after that we clean it up using a number 3. Number 7 works for that first step too. My pick was about a number 5.
Place your tool on the line, like I do, and make your move inside. Against the grain. You should see some waviness, like I see, but you should still get onto the line. Hold the tool at the same position, keep placing it on the line, and work from outside toward the center. Ridges will show. Don't worry about them yet.
You can take them down with the same tool, and I did that with my number 5. Or the way I like to do it: just any number 3 will work. Place the tool on those ridges and make slicing movements, like this, just the slicing movements. Once you get really close to the carving design, take a V tool again and clean it, just like that.
| Tool | What it did on this ground | When |
|---|---|---|
| Number 5 gouge | Sits on the line, then travels inside toward the center | After the accents |
| A plain number three | Slices down the ridges the first passes left | Right after |
| The V tool | Cleans the ground where it meets the carved design | Near the end |
| The background tool from this lesson | Makes the final clean | Late in part three, near the finish |
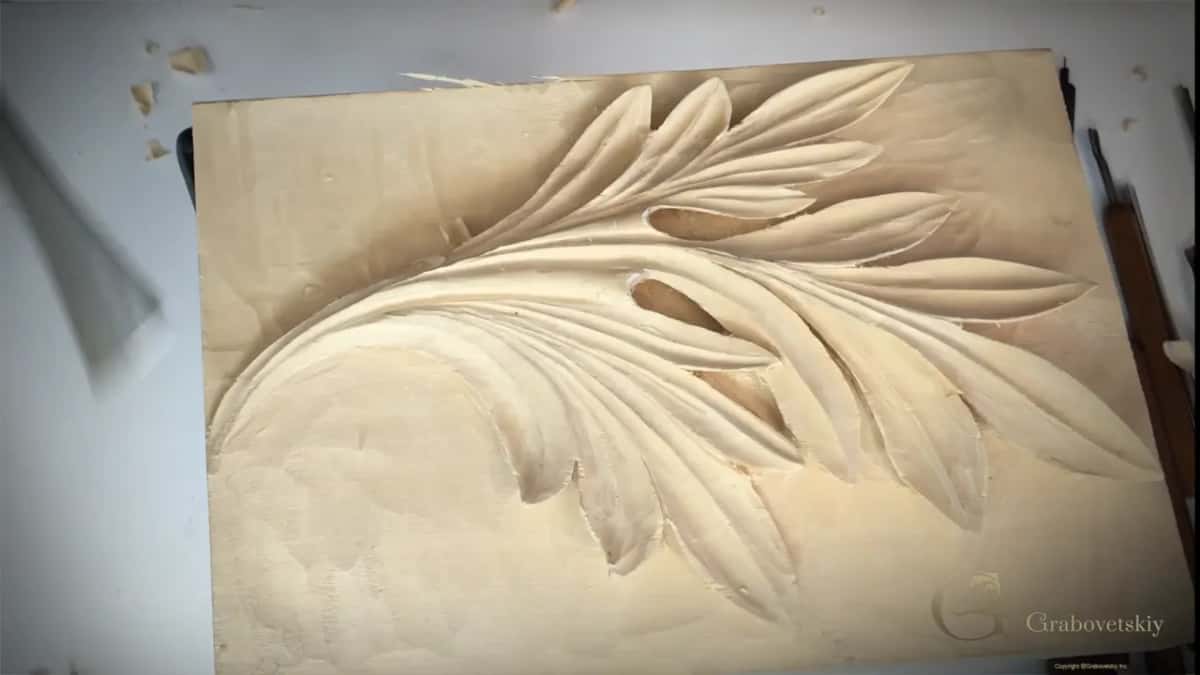
What is a background tool?
A really good idea is to have what I would call a background tool. I've got a couple of different ones. More than a couple, of course. The one in this lesson is a two and a half, a really good tool to make the final clean.
Less than a three, and still not a number one.
For the Greek leaf I took a grounding tool of about 1/8 inch (3 mm), made by Ashley Iles. I like that one because it has a slight bend in it. When a piece is in my way, a straight tool would not reach as deep, although even a straight one takes you near. They make smaller and bigger sizes too. In my opinion it's really a must-have tool. And keep an eye you don't go deeper than what the main background will be. Believe me, it's easy to do that.
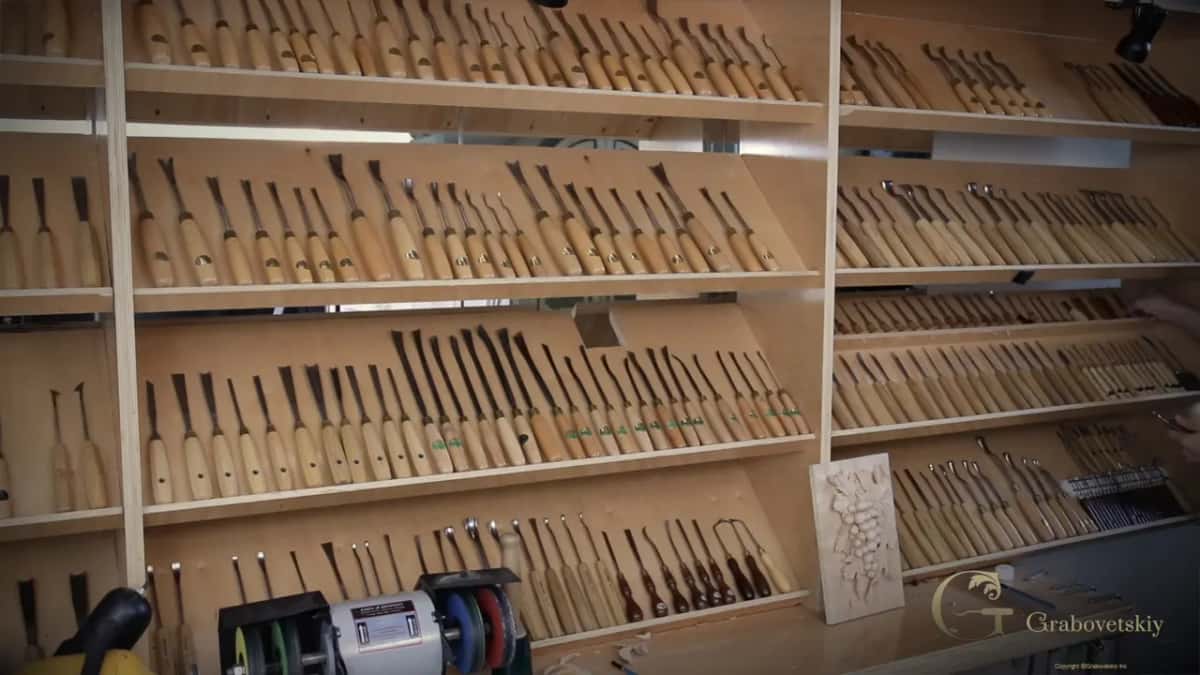
Why is there no number 2 in a London pattern set?
England numbers its gouges differently. In England, like a London pattern, they don't have number two like European brands have. Number two in Europe would still be a gouge, closer to flat. In England it would already be a skew chisel. So there is a difference.
I ran into the same thing on the Chamomile and Bow rosette. I wanted a flatter tool there, a number three. Number four works, or number two on a European chart. If it's an English chart, number two is not going to work, because number two in the London pattern would be a skewed chisel.
And in Venice Room workshop 10 I picked up a skew chisel for a couple of micro notches, which would be number 2 in London pattern. If it's European, it's marked absolutely differently.
Size is another split. In workshop 15 of the furniture panel I talked about length. Before most European countries adopted full size, like London pattern tools, European tools used to be a little shorter. I really like the European size: you can work near the detail, and you can still use it with a mallet or just by hand.
Why is cleaning the background my favorite part?
This is probably my most favorite part, to clean the background. You're also training your hand to make your surface really, really smooth and nice. By the time you finish, you should have a really clean background without any ridges.
The pipes earlier in the lesson train the hand too. There you're training it to be really stable with those passes, and still keep them clean and long. Important not to rush.
What did the pipes need before the ground went down?
This leaf has two pipes. One is right here, and the second one starts at the eye and goes all the way to the center. We need to make sure they are nicely done, because that's actually one of the details which makes carving beautiful. The acanthus leaf especially.
What a pipe is, and how big it should be, has its own pages on the Greek leaf, lesson 4, the Roman leaf, lesson 7 and the Byzantine leaf, lesson 8. Here is only what I did on this Corinthian one.

For that we need just the gouges at first. I took a number 9 of about 10 millimeters, three eighths of an inch. Number 8 will work too, if that's what you have. And it doesn't have to be 10 millimeters. A different width just changes how deep you can get with your carving.

The section between the pipes goes, and another section goes too. I worked really carefully between those lines, because we don't want to rush it. This ridge has to be higher, so I made a concave cut beside it and made it more exaggerated. I start from almost nothing, and then I dig that in. So don't push. Just slice, and go all the way to the center ridge.
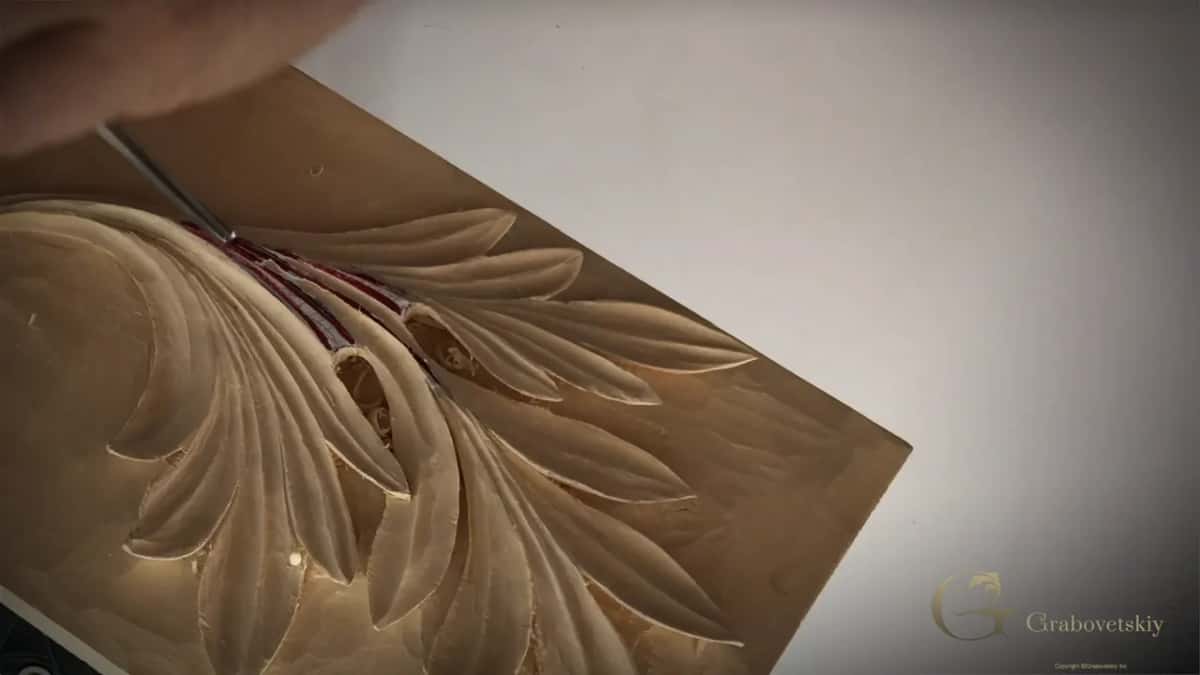
On the other side I used the same gouge, although I had to turn around and work from the opposite side. Then it was time for a smaller gouge, still a number 9, much, much smaller, about an eighth of an inch (3 mm). That middle ridge has to stay high. Well, at least I imagine that it has to be high. And don't worry about the middle lines while you do this. We fix them later.

For the middle lines I took small Dockyard gouges. They don't have numbers. Some of them look like a number nine to me, some look like a number eight, but they're still gouges, and they do what I need. This one has a slight fingernail, and that helps me in this case.
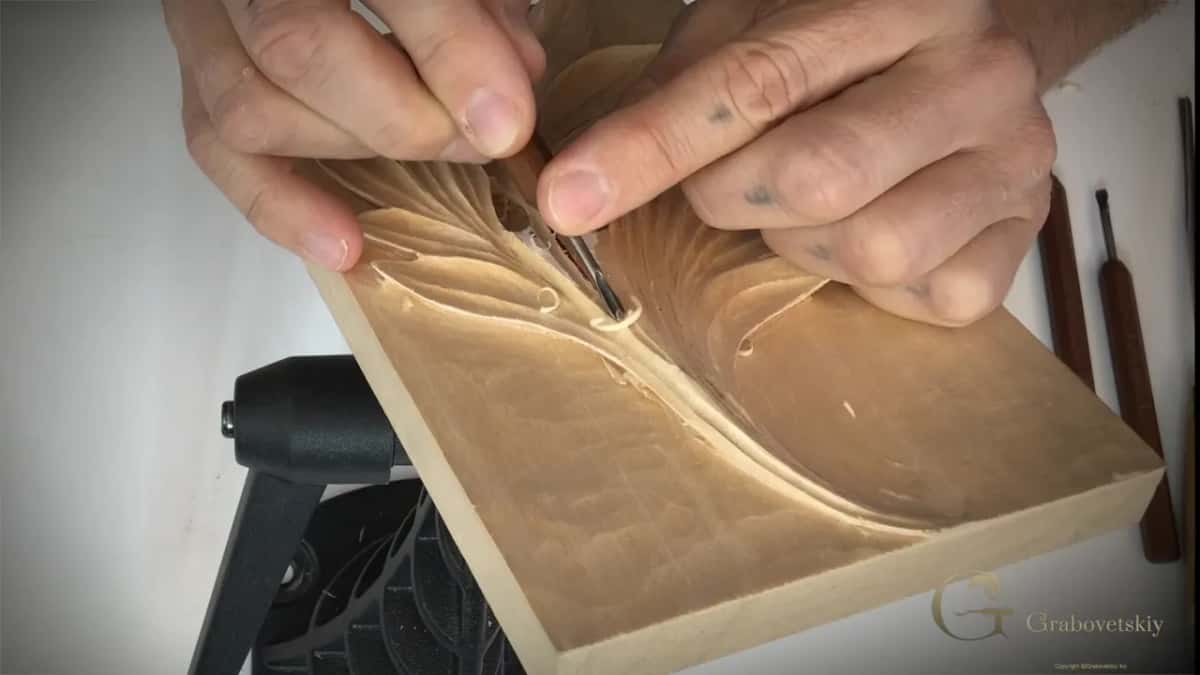
Then the edges get rounded. Pretty much any small gouge, about a number 3 or number 5, will work, from both sides of each pipe. The one in my hand was a number 5 fishtail. A back bent would be an excellent tool here too, because sometimes you can get into really, really deep areas with it. The back bents I showed in lesson 5, under the lobes. One of my bent tools has some limitations, so it could not go the whole way. Still, I do like what I see.
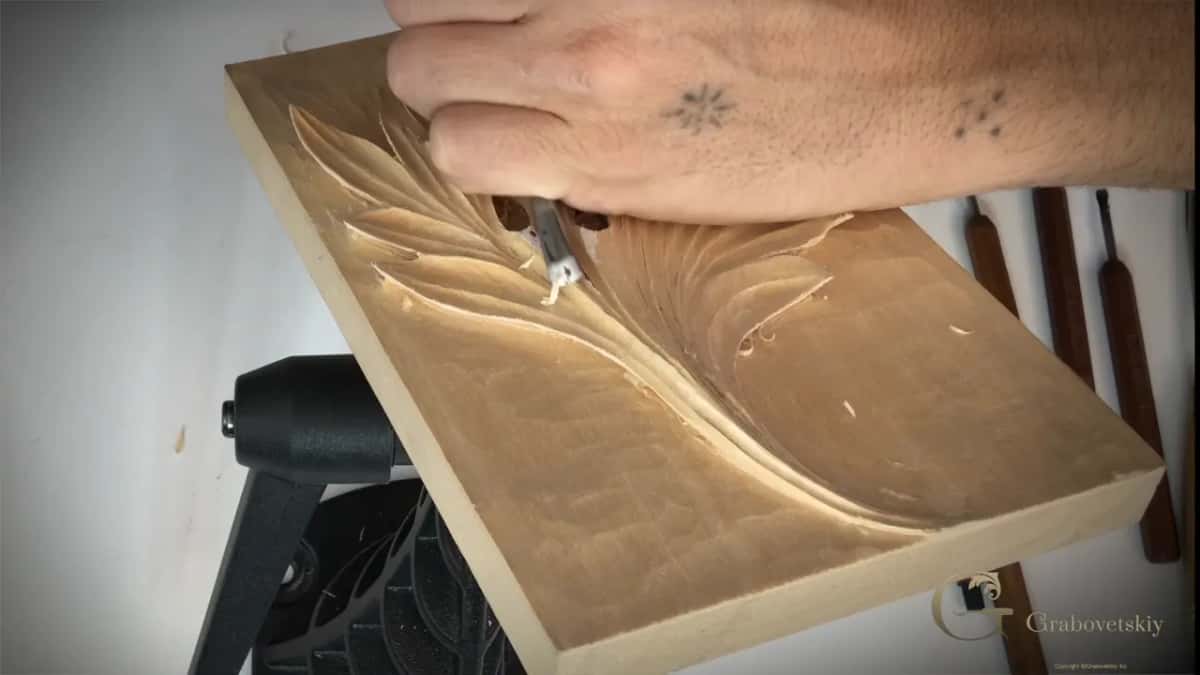
After that I took a really small, tiny gouge and cleaned the sides of the pipes, then made a long pass on one side to make the pipe stand out. I did the same on the other side, but I had to be really, really careful there.

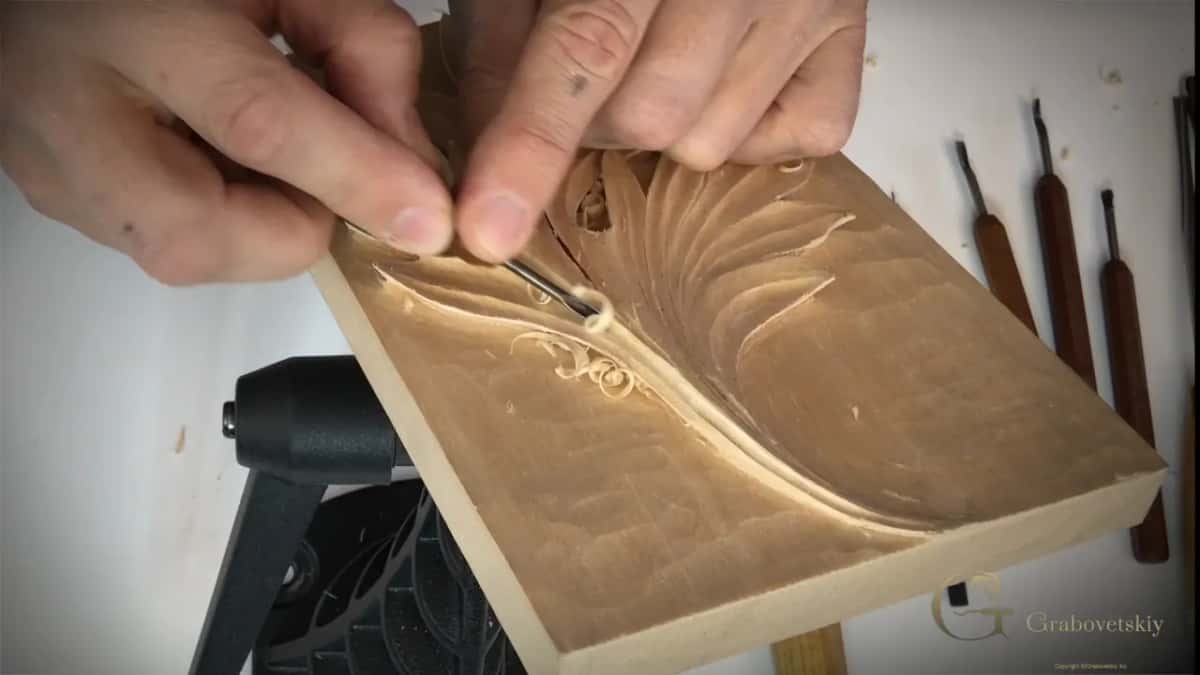
What happens to the line when the paper comes off?
It turns out uneven. First I removed the paper. It was glued on back in lesson 2 with spray glue. With the number 5 from my workbench I carefully took off the paper and the glue. And you can see, once they are gone, this line is not an even line.
We want to recreate the true flow. That's how I call it. Like a true movement, a true motion line. So again a small gouge, and little by little I reestablish my high ridge. The word I use is ridge, because a high point is the wrong name for it.
Keep an eye on your grain. As you remember, when you work with the gouge, one side goes with the grain and the other side goes against it. Then came even smaller gouges. I started even farther out and recreated that movement to make it more exaggerated.
The true flow line comes up on the Greek leaf too, in lesson 13. I said I would come back and refine all the outer lines to make them look like the true flow line. In one place there was a difference of 1/16 inch there, like a bump, and I didn't like it. So I took a knife and refined that spot right away, since I was there.

Should you add a few gouge cuts by the ridge?
In some spots, yes, and in this lesson they come right before the background removal. You can take either a V tool or a veiner. The veiner is round too, but it has extensive wings, more like a U shape, so you cannot take it down and you can't make a true circle.
In my case I like to use a small gouge, the same tiny one I just used. About one millimeter, pretty much, or a little more. In some areas, not everywhere, I place it against the side of the high ridge and make a gouge cut. Just some spots, to give some interest. Don't do it everywhere, otherwise it's not going to look as nice as you think.
In buildings this leaf is best known from the capitals of Corinthian columns, and Wikipedia covers that story under capital and ornament. My own wood carving part ends here. The full videos of every lesson are part of the school, and the course closes with an assessment page for your own leaf.
How it's done
- Hollow beside the pipes. My number 9, about 10 mm, made a concave cut between the lines, starting from almost nothing and digging in, slicing, right up to the center ridge.
- Go smaller. A smaller 9, about 1/8 inch, then small Dockyard gouges with no numbers, worked the middle lines on both sides.
- Round the pipes. Any small gouge, a number 3 or 5, rounds each pipe from both sides. A back bent helps in really deep areas.
- Take off the paper. Off come the paper and glue with a number 5. Then a small gouge works a bit at a time to reestablish the high ridge so the line has its true flow again.
- Add a few accents. My tiny gouge, about one millimeter, makes a gouge cut on the side of the high ridge in a few places, not everywhere.
- Take the ground down. Placed on the line, a number 5 moves in from the outside. A number 3 slices off the ridges, and a V tool finishes next to the design.
Frequently asked questions
Can a number 7 take the background down instead of a number 5?
Number five or number seven will work for that first pass. I placed mine on the line, moved inside, and worked in toward the middle, holding the same position each time. Afterwards a number three, used in slicing movements, takes down whatever ridges the first tool leaves.
Should a veiner make the small accents beside the ridge?
I prefer a small gouge of a little more than one millimeter. A veiner has extensive wings, more like a U shape, so I cannot take it down and cannot make a true circle with it. I set it beside the ridge in some spots, not everywhere.
What does a two and a half background tool do?
Mine makes the final clean of the ground, after the number five and the number three have done their part. Its sweep is less than a number three, and still not a number one. I own more than a couple of different background tools, and for the Greek leaf I liked a grounding tool with a slight bend.
What to carve next