

Alexander Grabovetskiy, woodcarver, School of Woodcarving · Published 2017
What should a finished Corinthian acanthus leaf look like?
Quick answer: A Corinthian acanthus is finished when every point is sharp, five to a section, with no curls. Every line runs to the center line, the two pipes stand raised with a hollow on each side, and the shadow falls inside each incut lobe. The last sixteenth of the ground comes off at the very end.
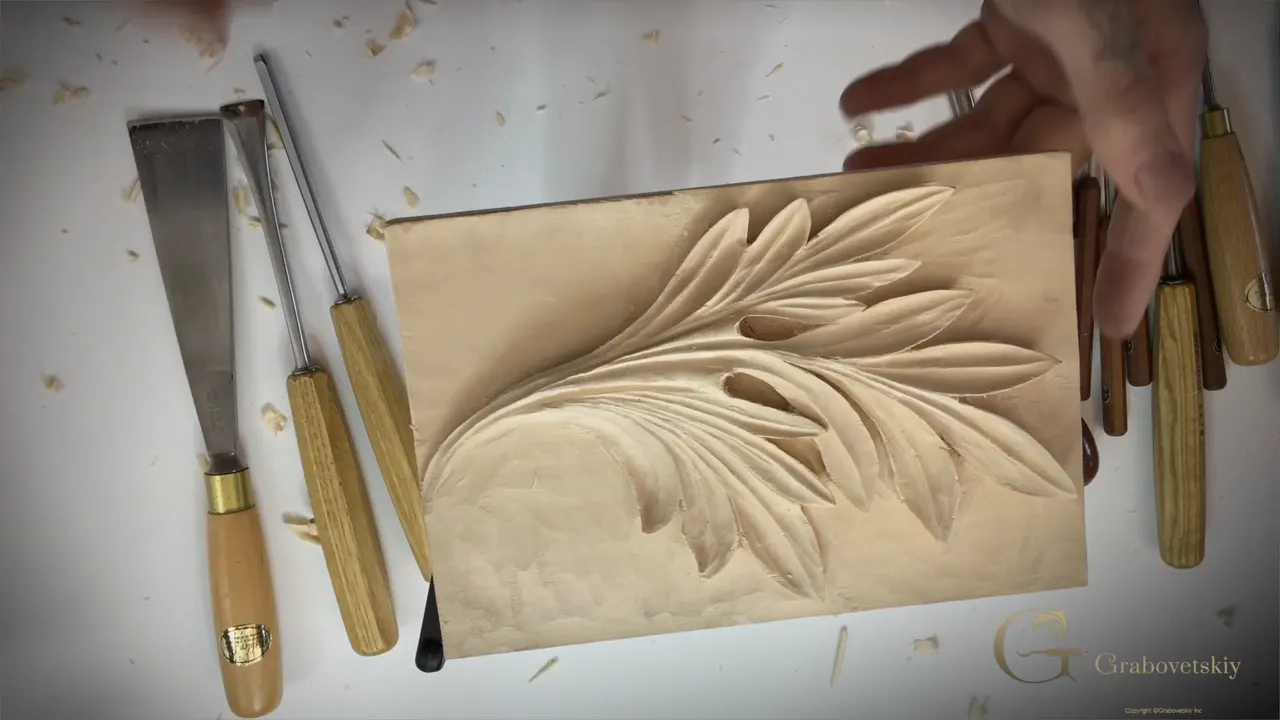
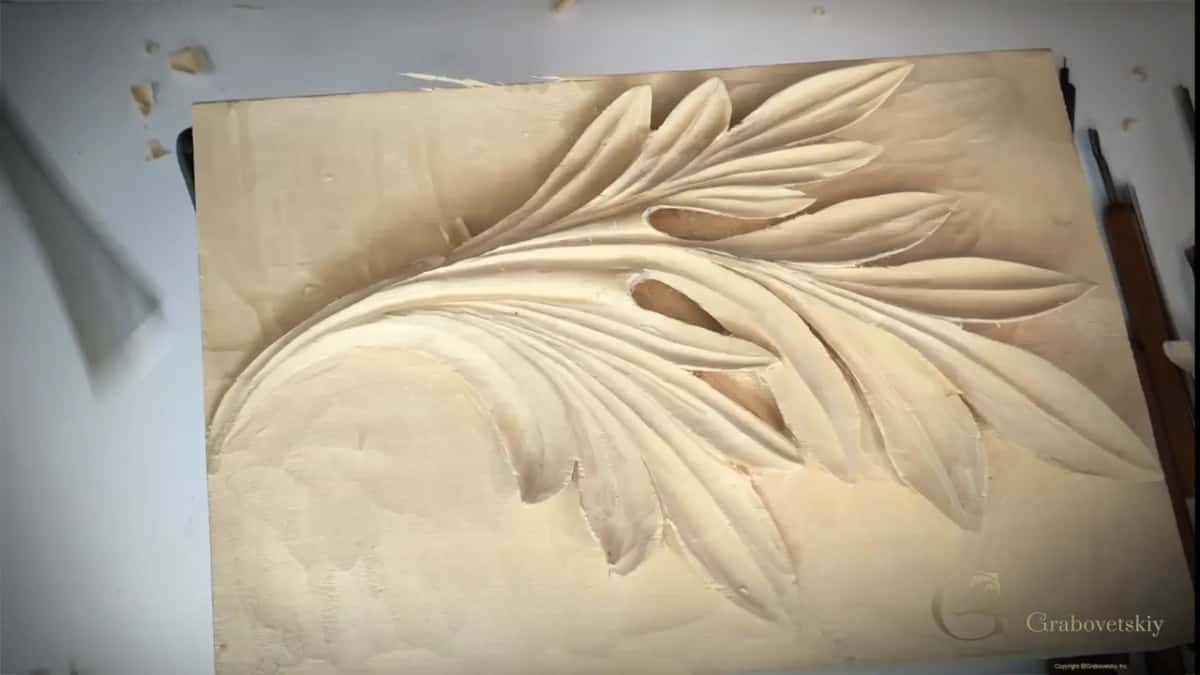
A finished Corinthian acanthus leaf is a deep relief carved from one solid block, with sharp points, no curls, and every line running to the center line. I had that on my bench at the end of lesson 6, when I said, that is Corinthian acanthus. I still planned a little cleaning and detailing after that. So even mine had some work left when the last video ended.
Your leaf is off the bench, right? You can hold it up and see where the shadows fall? And you want to know if it is right before you send a picture of it? Then hold it next to the rules I gave while I carved mine. They come below in the order the lessons taught them.
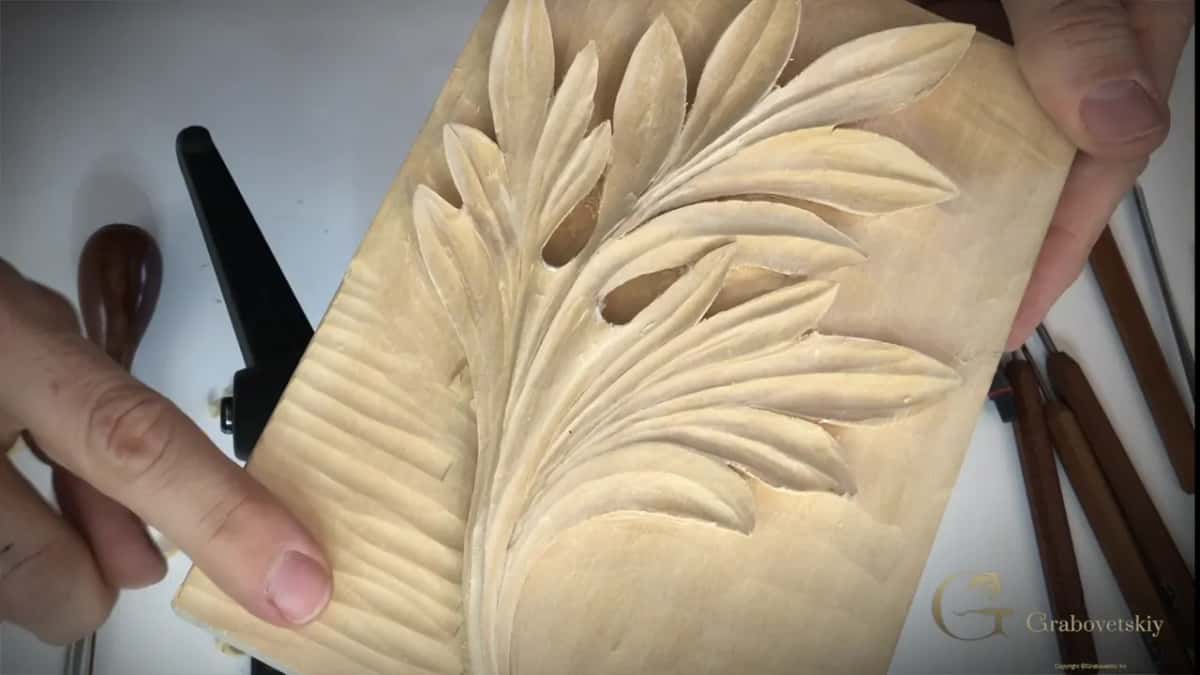
A short list for the finished leaf
- Every section ends in five points, and all of them are sharp.
- There are no curls anywhere on this leaf.
- Each line, from any point, runs down to the center line.
- Both eyes sit between the main movements, like a hole through.
- Two pipes stay high, raised in the middle with a hollow on each side.
- Each lobe is incut, so its shadow falls inside.
- The ground is clean, with the last 1/16 inch gone and the tool marks gone with it.
What does the assessment page ask you to send?
The assessment page is short. To get a certificate for finishing this course, you upload one picture related to the course. Use a JPG or a PNG file, not a zip. Run it through a size reduction on TinyPNG before you upload it, so the file comes out smaller.
Then I review it, and I certify you based on your progress. Progress is the word on the page. In capital letters, it also warns you to have the picture ready. You get only one chance to upload while you are on that page. The button goes away after you upload and leave.
There is no score sheet on that page, and none in the six lessons I filmed for this course either. So what I can give you here, instead, is the rules I said out loud while I carved my own leaf. One of them, I said, holds for most foliage carving, too.
Does every section end in five sharp points?
Count them. I split each part of the leaf into five separate leaves in lesson 1. All of them have to be sharp on this particular design. You always find the sharp point on the Corinthian type, and that is the detail of it.
The drawing started with one center line. I kept it simple, but it still had the center line, divided into three main movements. One more movement filled the space. Every one of those small points goes to the center line, or to the main movement it belongs to, and the same rule went on the other side. The drawing is a download in lesson 1, and the only tools on this leaf are carving gouges and a chisel.
And there are no curls. I said that plainly in lesson 1. On other types, I said, we would do some curls, some volutes and some really complicated stuff. The school teaches other acanthus leaves in its Greek, Roman, Byzantine and Modern courses. Here every tip stays a point.
Does every line run to the center line?
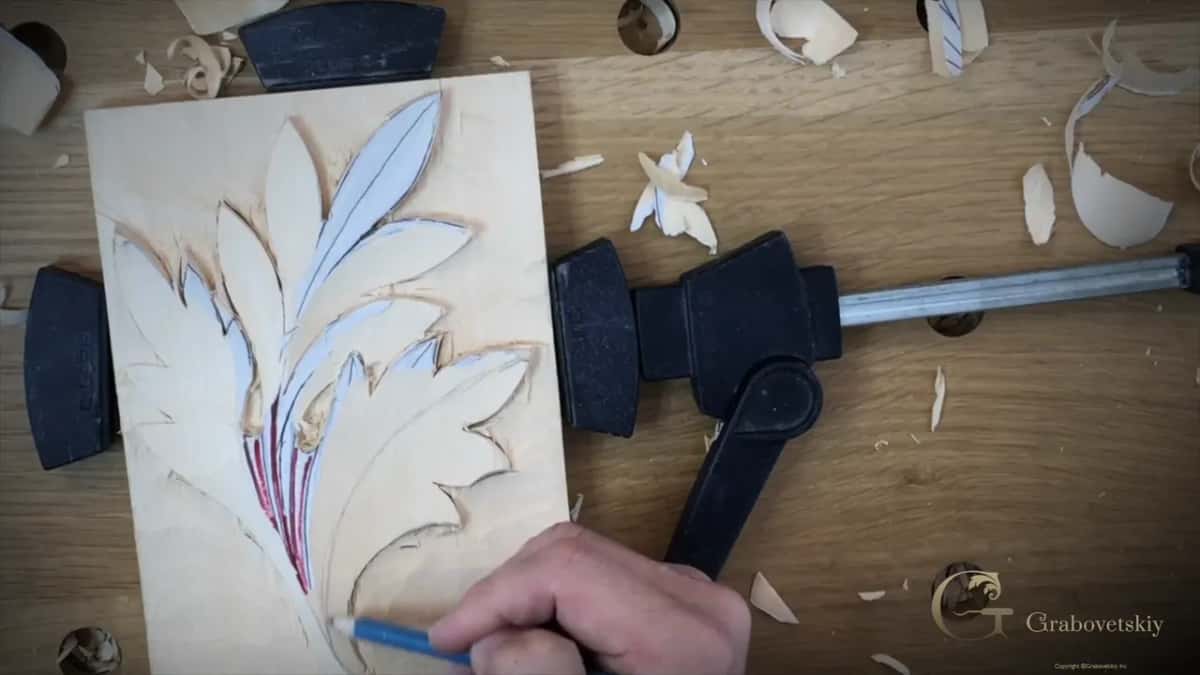
Every acanthus leaf has to have some type of movement, and I said so before I drew a single line. Pick any spot on the edge and follow its line with your eye. When I got to lesson 3, I redrew my main divisions on the wood, and I call the middle one the main flow line. From every one of those points, the line has to go to that center flow line. If you start from this point, it goes all the way down. Take another point, and the line still ends at the center.
I called it a law. You have to do that, and you have to understand it. The law applies to most foliage carving as well as the acanthus leaf. And you would never see a T-stop. I showed one on the wood and said it should not go like that.
A good idea, I said there, is to print a second copy of the drawing and check the lines against it. Myself, I skipped it that day. I just redrew the lines and went on to the details with a number 9, 20 mm (about 3/4 in), the same gouge as before.
Are the two eyes where the drawing put them?
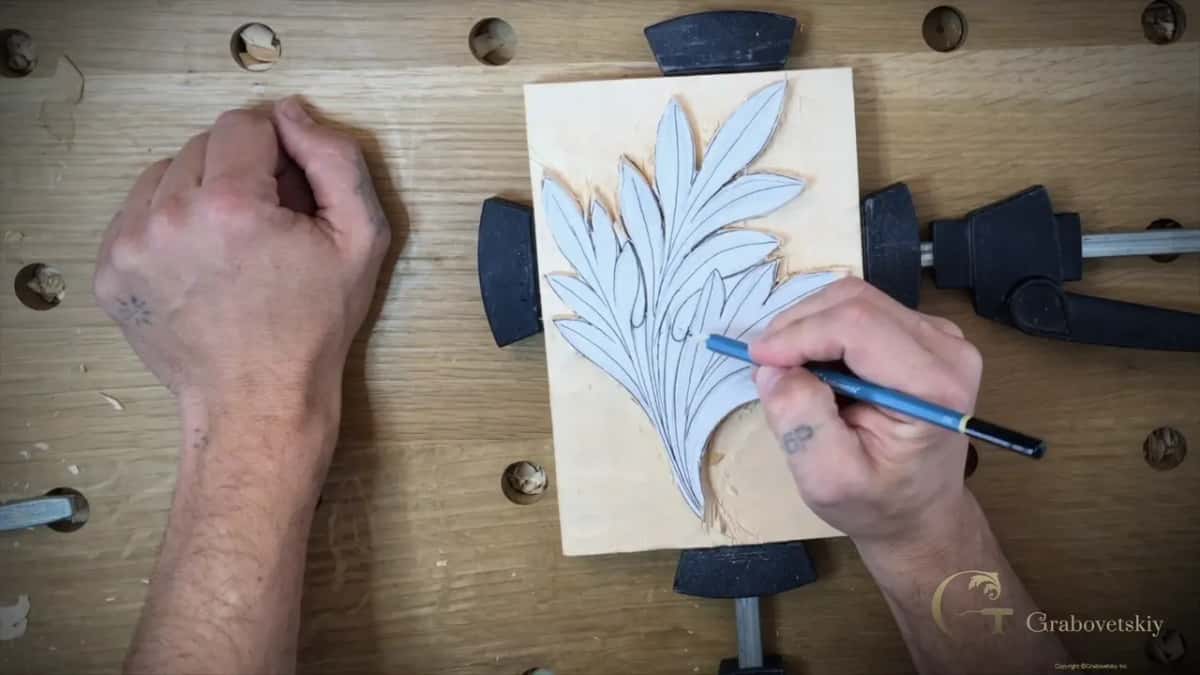
Almost every acanthus leaf has a special detail called the eye. The eye always sits between the main movements, and it is going to be like a hole through. I placed two of them on this leaf.
The eyes were step one of the main form in lesson 3. I took a number 9 first, then a smaller number 9, and just dug in. I did the eyes first because I didn't want to lose the overall picture. Once the main form was in, I did not want to lose the location of those eyes.
A carving knife, number 12, can also follow the outline of those leaves, I said in that lesson. That works if the wood is lime wood or basswood. The basswood page at the Wood Database describes it as soft, with a fine, even texture.
Do both pipes stand high?
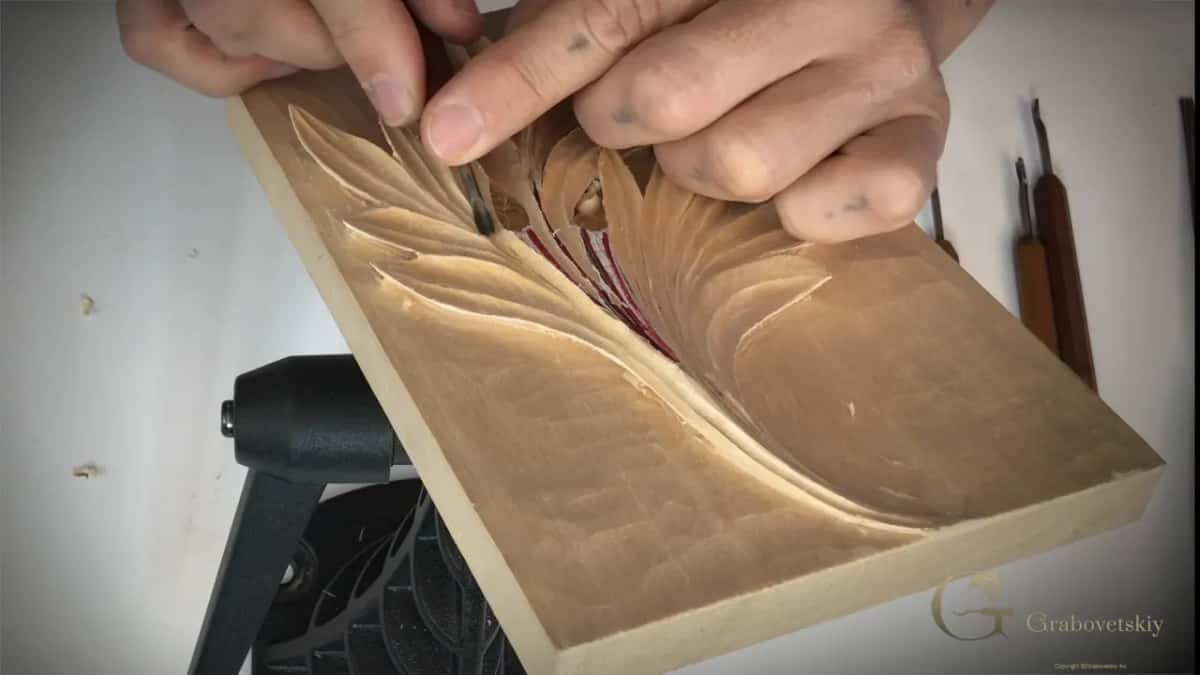
The pipe looks like a pipe. It is a raised part, convex, with a concave hollow on this side and on that side. I drew two of them in lesson 1, on that first drawing. The pipe always goes to the center line.
My red marker came out in lesson 3, and I went over both pipes on the paper. I wanted to keep each pipe as a high point. The center line was my high point too, and from there the sections go downhill, this way and that way. High, for me, meant somewhat at the same height the block had right then.
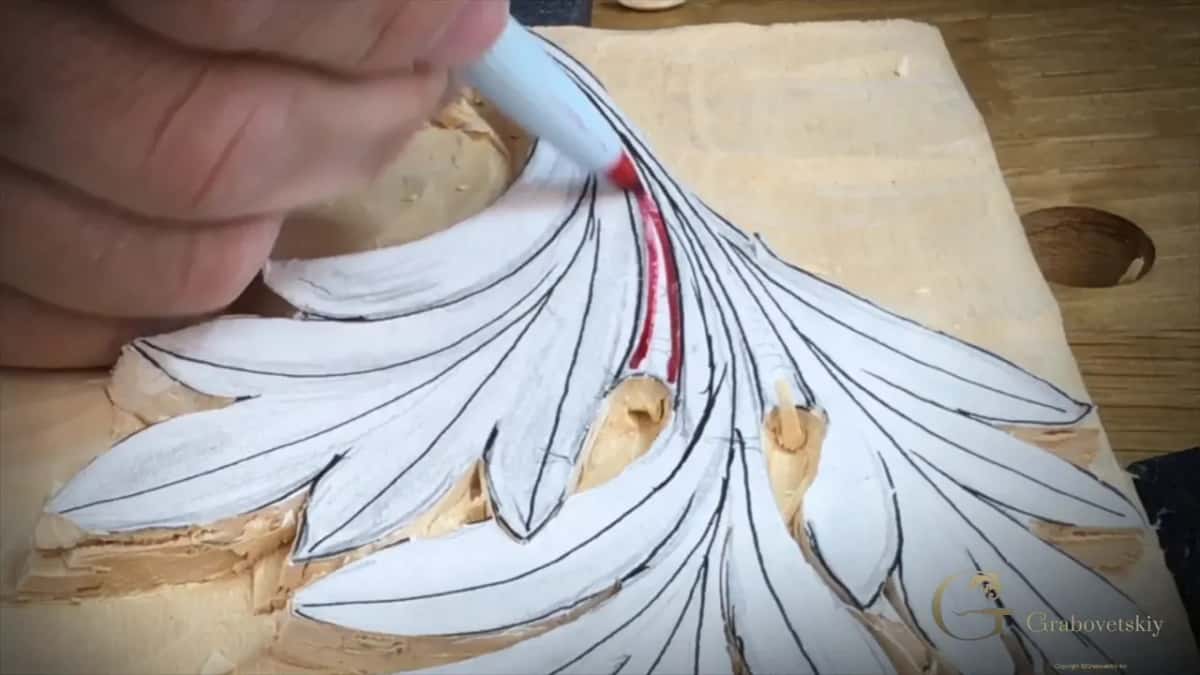
The pipes got their hollows in lesson 6, and a really tiny gouge, less than an eighth of an inch (about 3 mm), went in little by little, without rushing. Pipes are the main idea of the acanthus leaf on every design, I said there. Really ancient like Corinthian, or later and more complicated like a Renaissance design, you will still see those pipes. Those pipes, they must.
Is each lobe hollow inside, with a ridge?
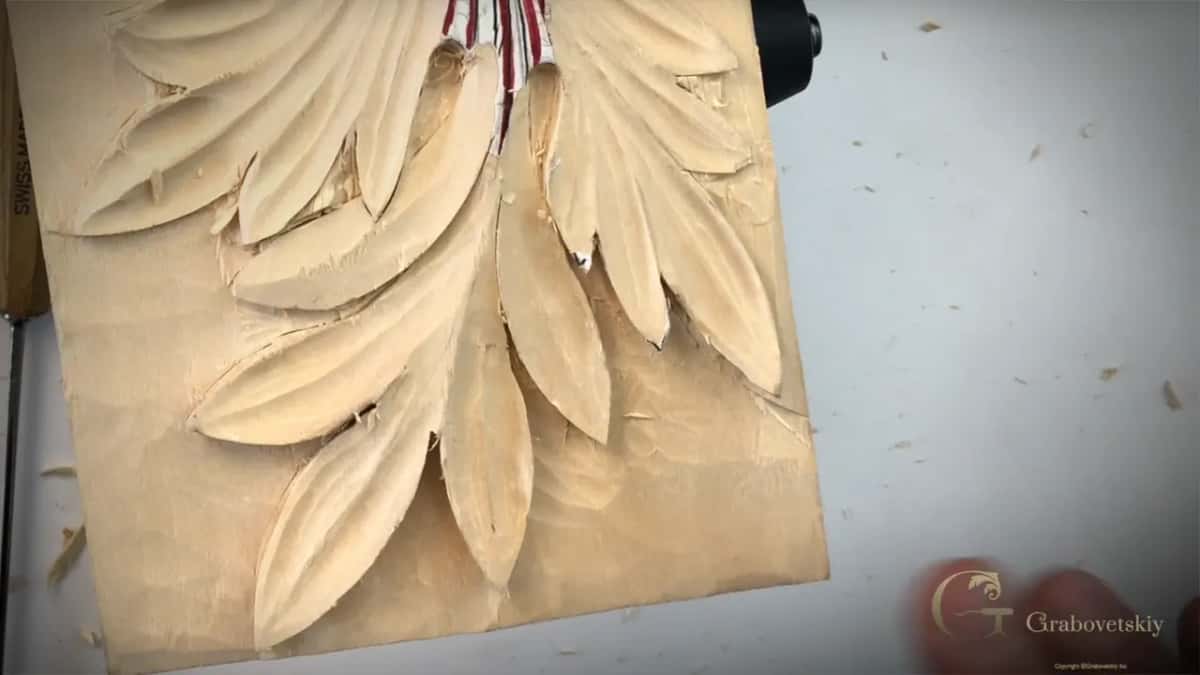
Look at one lobe from the side. Here it is incut, concave on the inside, so the shadow falls on the inside. Same applies everywhere on it. That incut, I said in lesson 1, makes it a little different from what you probably see on furniture today.
Inside each of those sections there is also a higher ridge, and in lesson 4 I said it gives beauty and movement. To get it, I hollowed between the edge and the center line.
Then look at the walls of each hollow. With a gouge, you really have only one clean side. The opposite side is somewhat rough, not as clean as you would expect. Doing everything in one stroke is a good temptation, but it is not always a good idea. Where the grain meets, at what I call the marriage line of the grain, I changed the position of my tool. That way it came out really clean. The same thing happened back in lesson 3, where I attacked it from the opposite side to make those grains meet.
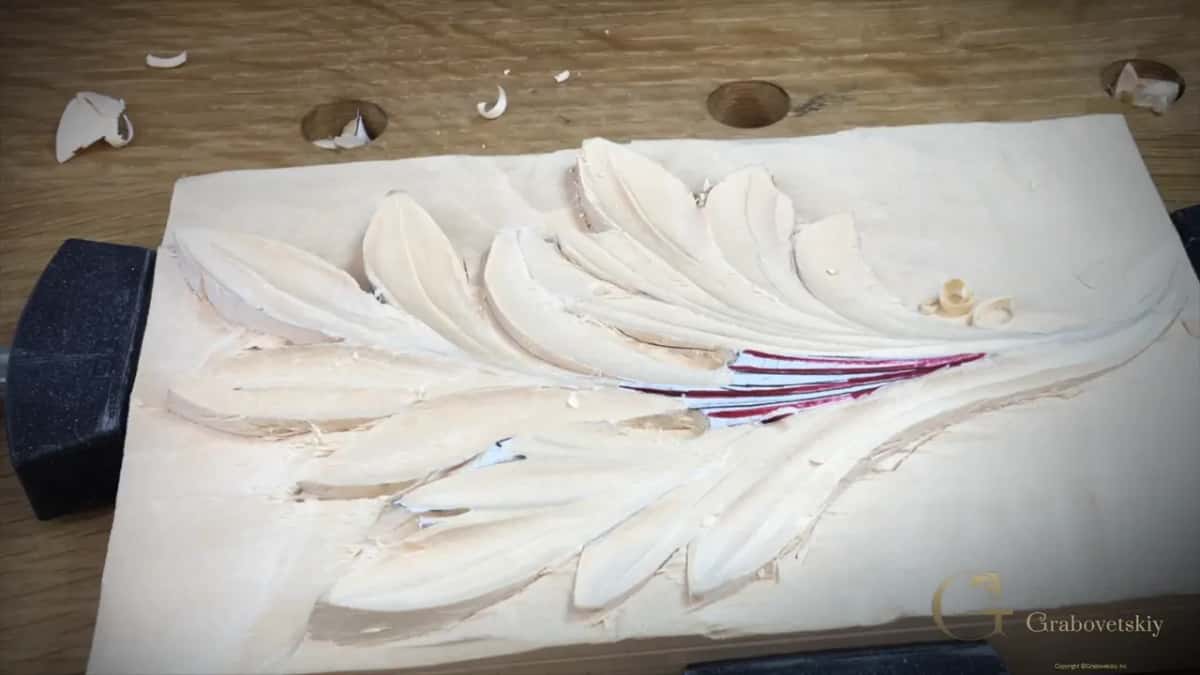
Once I took the paper and the glue off with a number 5 in lesson 6, I could see the line under it. It was not an even line. So I took a small gouge and, little by little, brought back the high ridge. I call that the true flow, a true motion line. I can't say it's a high point, because it's not a point, but it is a ridge. Important not to rush.
Is it undercut enough to look like it floats?
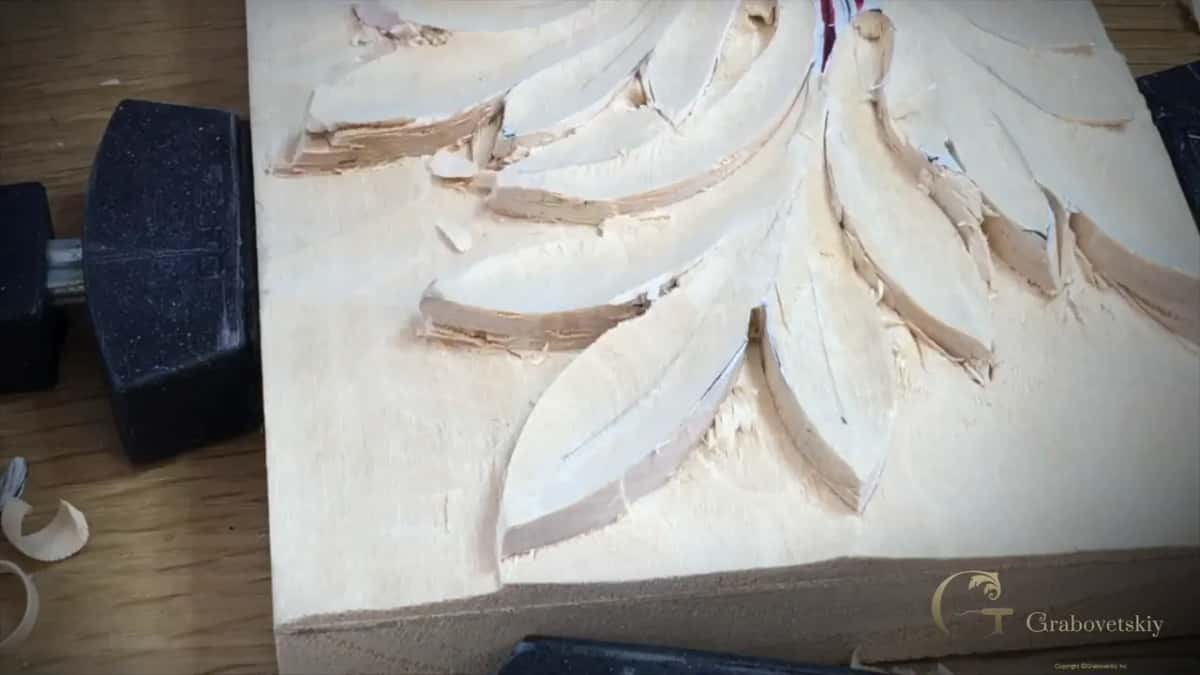
Tilt the panel and look along the edges. In lesson 5 I started the undercut with a V tool and a mallet, the flat side of the V on the background. Any V tool will work, I said. A low angle, like 45 degrees, would be the best probably. A 60 degree V gave about the same results, but the 45 let me go in even the lowest points. In one spot the edge was really close to the background, and I was still able to undercut it. You could see how it made a shadow line.
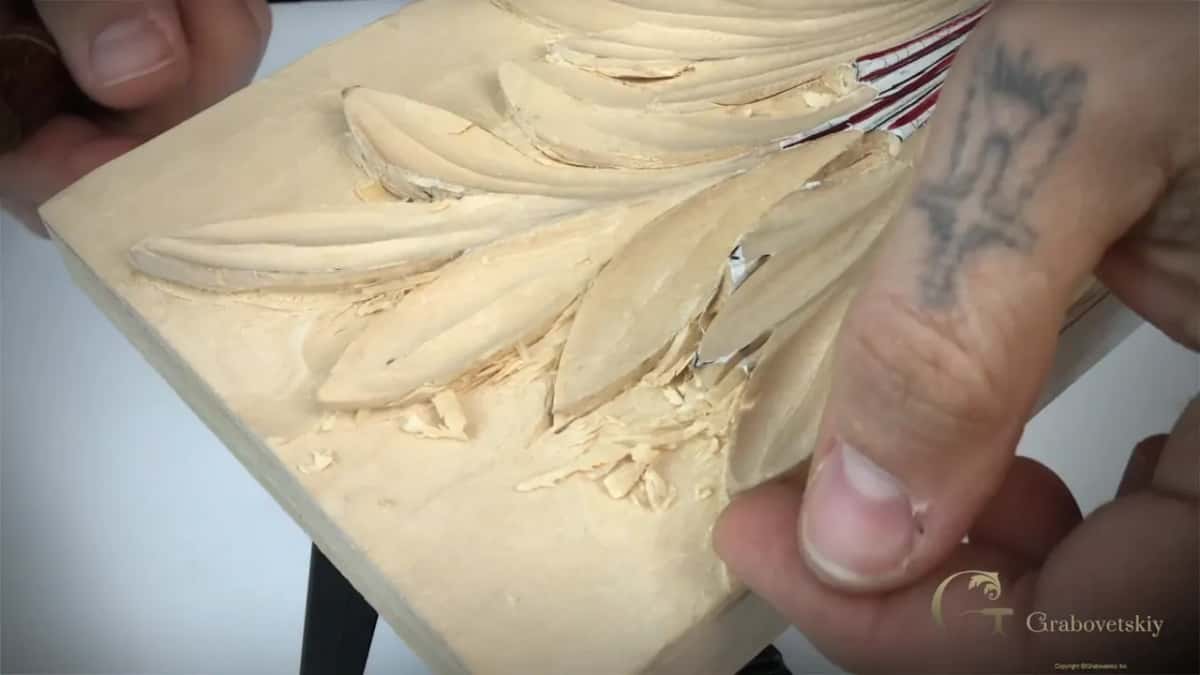
How far you go is a choice, and some people say you should not undercut much. For furniture that is probably true, when it is heavily used, touched all the time, or set against other pieces. A piece of art is different, and there I go to the extreme. Some of my work is so much undercut it can easily break, and I broke some tools doing it. Really be careful with undercut, I said, because you think it is simple.
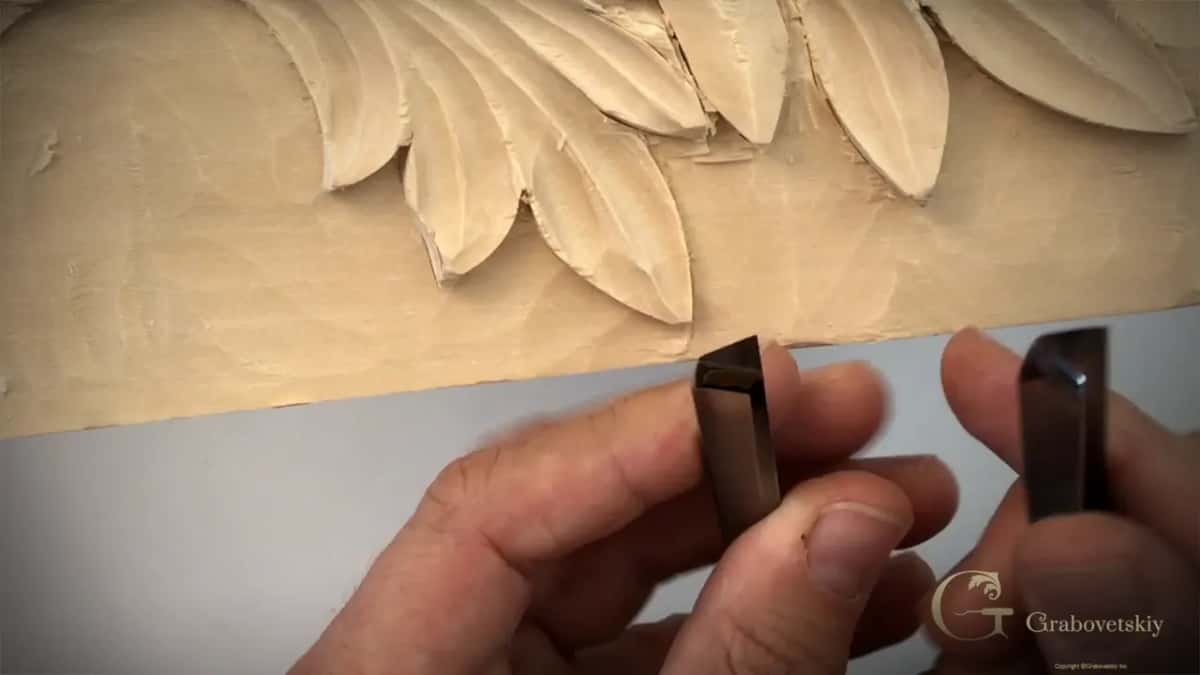
I like it even on really low relief furniture carving, because even a slight undercut, not extreme, still makes the shadow. The whole carving looks almost floating. Undercutting, I said in that lesson, is one of the most difficult skills. Just make sure you don't push your tool in, because it is not as easy as many people think. Learn clean undercutting, I said, and it gives you a whole lot of skill.
Is the ground clean, with no tool marks?
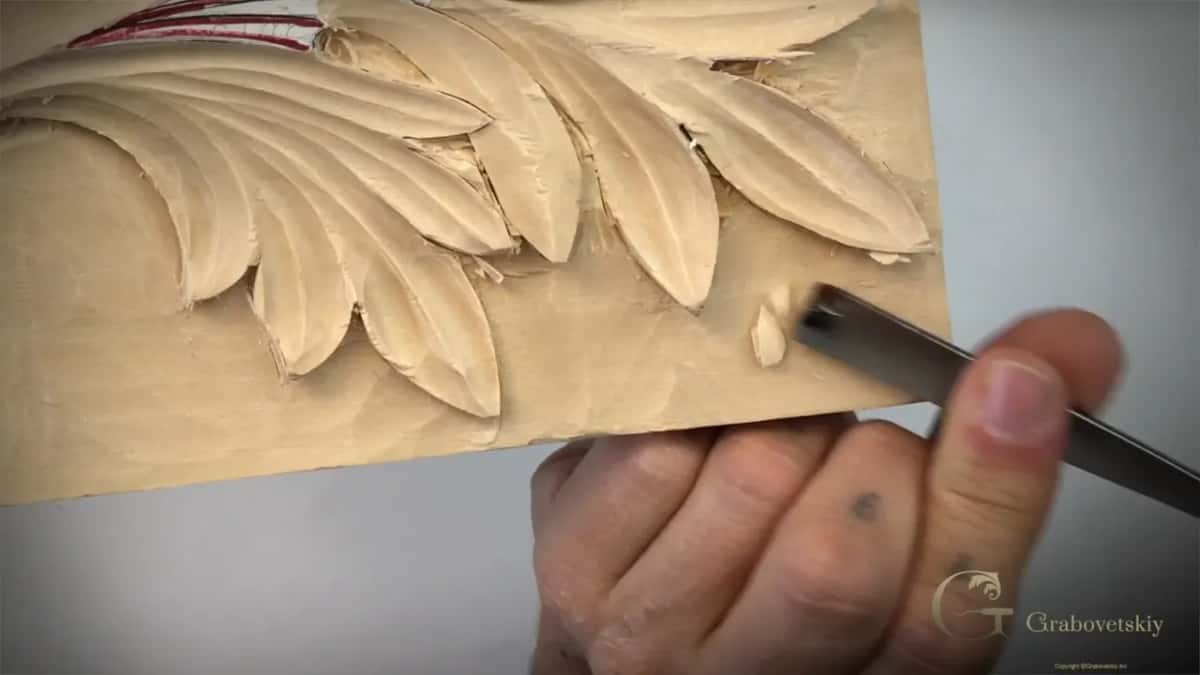
In lesson 2 I took the ground down first. My block was about an inch and one-eighth thick (about 29 mm), and I went down about half an inch (about 13 mm). That was plenty of deepness. With three-quarter inch wood, 19 or 20 mm, I would leave just about a quarter inch at the back.
Then I left about 1/16 of an inch (about 1.6 mm) over the final ground. It stayed there to the end. When you work the outside and make details, sometimes your tool digs inside the background, and it doesn't look too good. At the final stage that layer came off with all those nasty tool marks. You should be able to see ridges like that, I said, and the results should look really clean. Then a V tool went along the leaf to clean it. This is probably my most favorite part, to clean the background.
Are the small accents only in some spots?
In the last part of lesson 6, a really tiny gouge came out, a little more than one millimeter. In some areas I placed it right on the side of the high ridge and made a small gouge mark. Only some spots got one, to give some interest.

Don't do it everywhere, I said, or it is not going to look as nice as you think. A veiner can make veins, but a veiner is more like a U shape, so you can't make a true circle with it. I took the small gouge instead, the same one I had in my hand just before.

Where each rule was taught
| Rule | Said | Lesson |
|---|---|---|
| Five sharp points | You always find the sharp point on the Corinthian type. | Drawn in lesson 1 |
| Lines to center | Start from any point and it still goes all the way down. | Redrawn in lesson 3 |
| Eyes kept placed | Eyes come first, so I don't lose the overall picture. | Dug first, lesson 3 |
| Pipes stay high | I marked both pipes in red to keep them as high points. | Marked in lesson 3 |
| A ridge inside | A higher ridge inside each section gives beauty and movement. | Hollowed in lesson 4 |
| Undercut edges | Even a slight undercut makes the carving look almost floating. | Taught in lesson 5 |
| Clean ground | That spare sixteenth comes off with the tool marks in it. | Cleaned in lesson 6 |
Did you take your time at the end?
At the very end of lesson 6, I kept saying the same thing. Take your time and clean. Again, don't rush anything, just try to be careful, and it should look really nice.

When your leaf is there, take one picture, keep it small, and upload it on the assessment page. Still carving yours? The six lessons and the drawing are all on the course page, open with school Access.
How it's done
- Count the points. Count the points on each section of your leaf. I drew five on every one, each one sharp.
- Follow each line. Pick a point and follow its line. On mine, every one runs down to the center flow line, with no T-stop.
- Find the pipes. Find both pipes. I kept them as high points, raised in the middle and concave on each side.
- Check the undercut. Tilt the panel. A slight undercut, not extreme, still gives a shadow, and the leaf looks almost floating.
- Clean the ground. Take the last 1/16 inch off the background at the final stage, and the nasty tool marks go with it.
- Upload one picture. Save the picture as a JPG or PNG, never a zip, shrink it on TinyPNG, and have it ready. My page gives one chance to upload.
Frequently asked questions
What file should the picture be?
Use a JPG or a PNG only, and never a zip file. The lesson page also asks you to put it through TinyPNG before you upload, so the file is smaller. Have the picture ready first, because you get one chance on that page, and the button goes away once you upload and leave.
Does the leaf have to be perfect to get a certificate?
My lesson page says I will review your picture and certify you based on your progress. Nothing on it asks for a perfect leaf, and the six lessons give no score sheet. Send one picture of the leaf you carved in this course.
Can a Corinthian acanthus have curls?
Not on this design. A Corinthian leaf, I said at the start of the course, always has sharp points and no curls. Curls and volutes belong to other types of the leaf. On this leaf, each of the five points to a section stays sharp.
What to carve next