

Alexander Grabovetskiy, woodcarver, School of Woodcarving · Published 2022
Why does the order of cuts matter on a tiny carved flower?
Quick answer: The sequence of cuts on a small flower is what keeps its center from breaking. On my floral panel I drilled the center hole first with a plug cut, then took small passes in to that hole from its outer edge, and only then lowered the petals with a fishtail gouge.
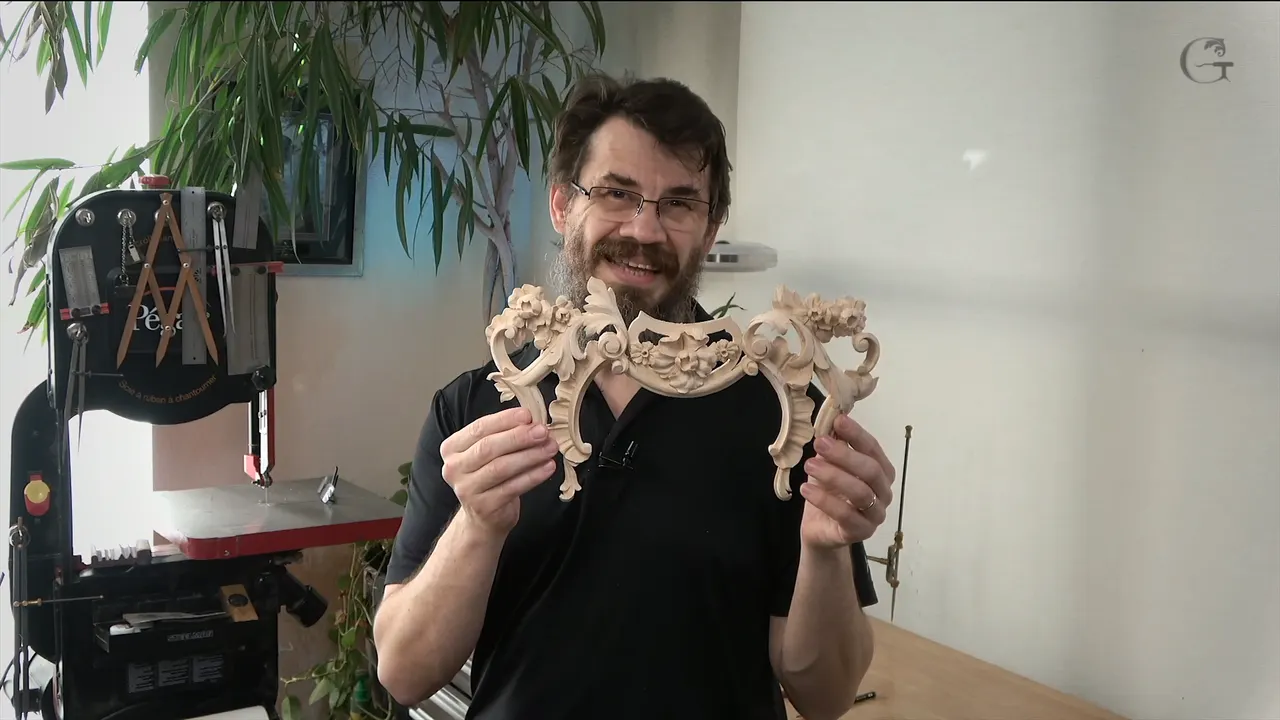
The order of cuts on a tiny carved flower is what keeps its little center from breaking. The center on this one is a little less than a quarter inch, about five and a half millimeters, and in lesson 13 of this floral and molding course I said it plainly. "If you do in the wrong sequence, you can break really easily, and you're not going to get the result."
Have you ever seen a combination lock? Do you know that the right numbers in the wrong order leave it shut? A tiny flower center works the same way.
This page follows one flower, the right-hand one on the relief panel, in the order I carved it on camera, with every tool I named. Lines from other lessons are named and linked.
The cut order on this flower, in six lines
- The final height came first.
- Step one was the center hole, a plug cut held straight to the surface.
- Then small passes ran in to that hole, many of them.
- The petals around it went down next.
- The center's walls turned around, so they slope inward instead of outward.
- Shaping the five outer petals came last, with a groove that starts from the golden spot.
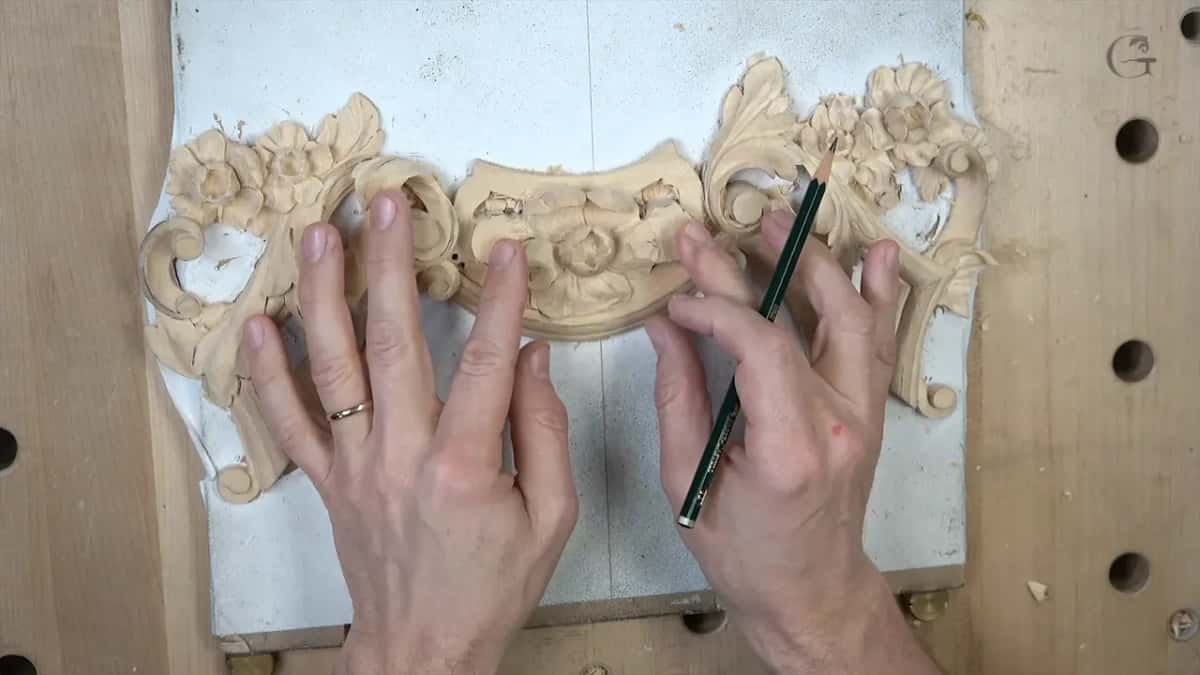
Why does a center this small break so easily?
A center a quarter inch across is fragile, and on top of that it looks basic. That is what I said on camera, right before I compared it to a combination lock. "You can know the numbers, but the sequence makes sense." Do it in the wrong sequence and the lock will not open. Same with this flower.
The shape is the trouble. Seen from the top, the widest part is the top of the center, and from there it narrows in toward the middle, with a hole inside that top and some movement running down into the hole. "So sequence, it's really important," I said, and I said it again more than once.
Hashemi Flowers lesson 24 has the same lock, about sharpening a V tool. My gym lock has three sets of numbers. You could know all the numbers, I said there, and get the combination wrong, and you messed up. And it holds for pretty much every tool, I added.
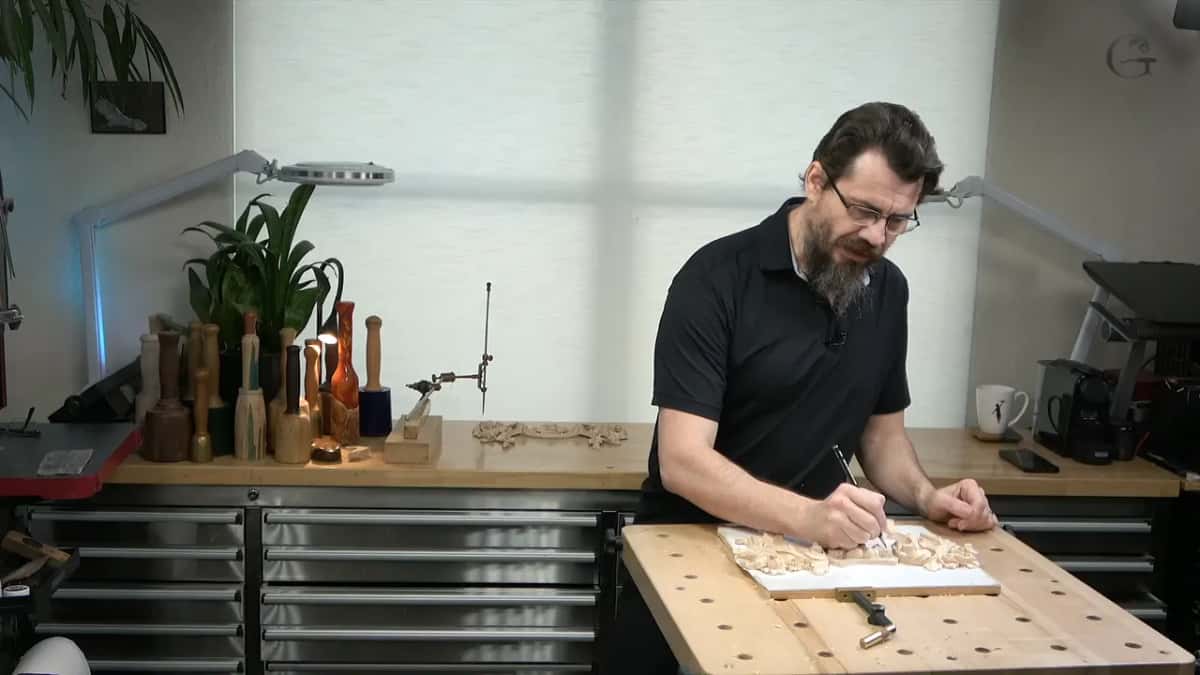
What was settled before the center hole?
The height. I had used my pointing machine before to measure where the highest spot would be, then I shaved the wood down on both sides. So what you see when this lesson starts is the final height, already there.
By then only two flowers were left. The others repeat the right-hand side, and the center flower is the same flower a size bigger, so there was no reason to film them twice.
"So that is not a vlog, if you wish," I told the camera. My goal is to teach the technique, the tips and my way of approach to wood carving, and my way is not the only way. Every carver probably goes through the same main stages, I said: the boasting, which is establishing the overall shape, then the carving, and the most important one, cleaning up everything into the final shape. The boasting stage has a page of its own in lesson 10.
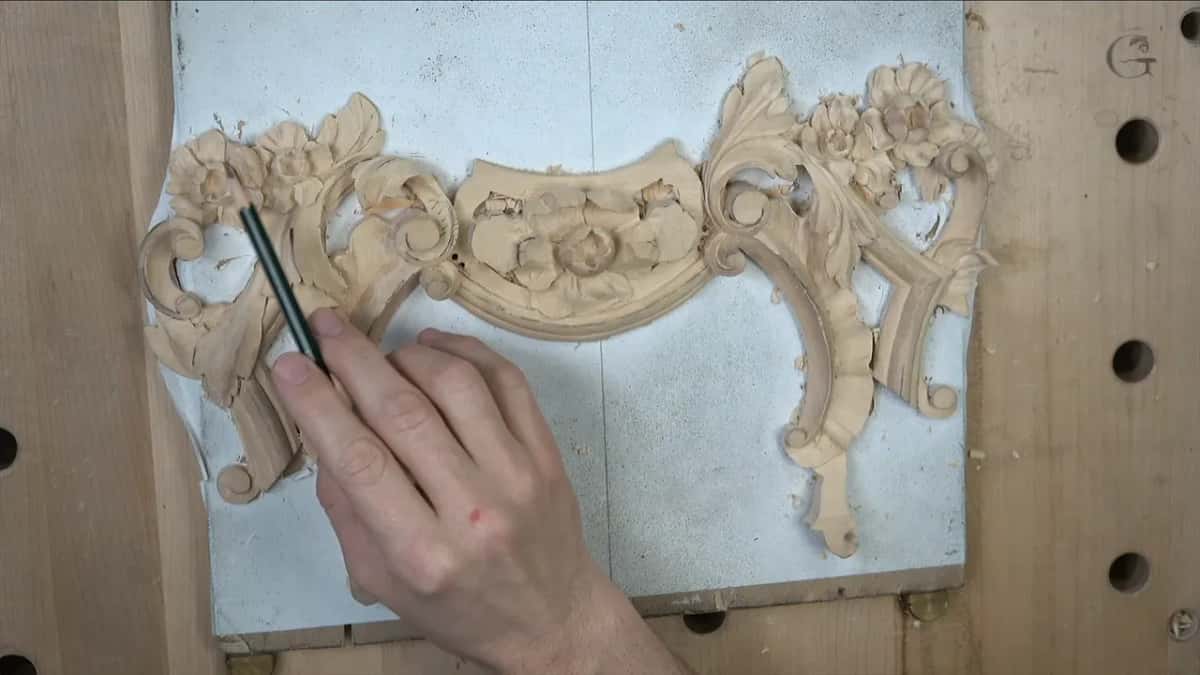
Why are these two flowers different from the rest?
Their centers are different. A little more simple, but different. I think it is a good idea to use different flowers sometimes, a different style of flower. People who carved flowers, like Grinling Gibbons, used different ones to make a piece more interesting, and that is what I did here.
My Grinling Gibbons class in Maine is a whole course on carving in his style. On this panel I had promised to show the two flowers, and I worked only one in detail on camera, since both are exactly the same.

Why is the hole step number one?
Step number one, I said, is to drill the center hole, so we approach that hole first. Once the plug was out, the next passes could all run in to the center. The passes that follow all aim at it.
The tool is tiny. I said it would be only a one millimeter tool, and then I read the one in my hand. The brand is Dockyard, and it says 1.5 millimeters. To my eye it is a little bigger than one millimeter but a little smaller than 1.5, and smaller than 1/16 of an inch. When you buy tools, don't count on them being really accurate, and in my opinion that's not really necessary for wood carving.
Planning to carve flowers without really tiny micro tools? You probably should buy some, I said, and they're not too expensive whatsoever. A Dockyard marked 1.5 also turns up on the small flowers of lesson 7.

I placed it straight, 90 degrees to my surface, and made a plug cut, the same plug cut I did before. Without pushing too hard. While that tool was in my hand I drilled the other flower too, even though I would work the details on only one. About a quarter inch deep, 6 mm.
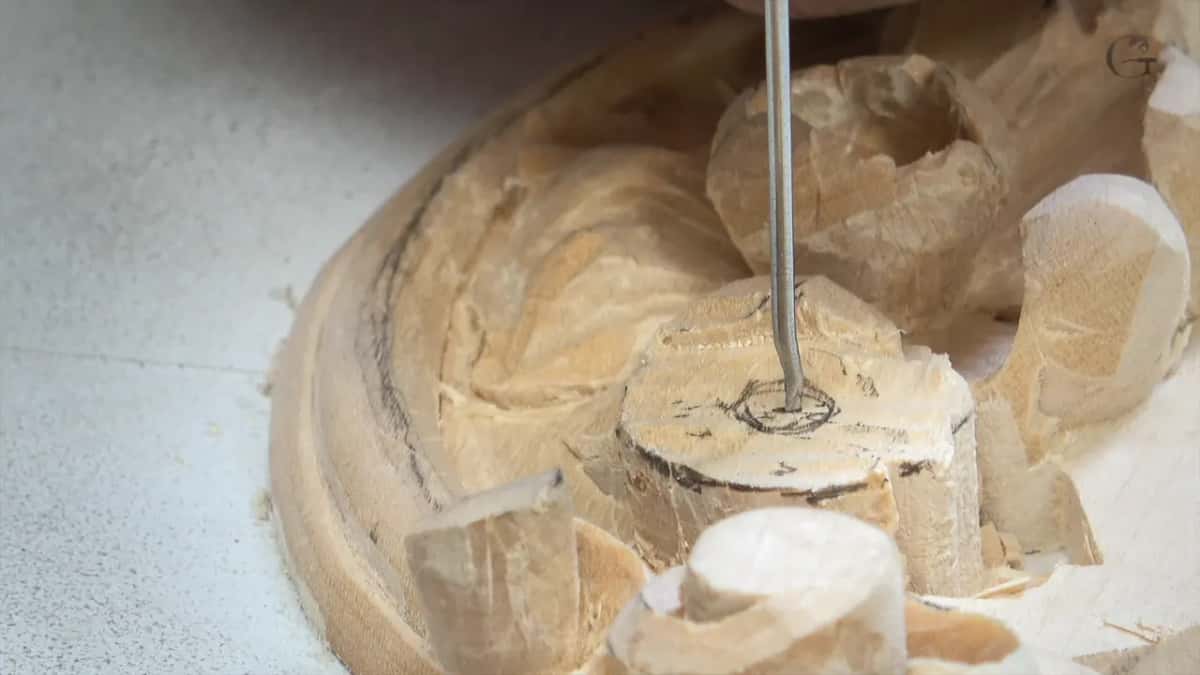
And if the plug does not pop out right away, don't worry about it. "We're going to attack that anyways, and we're going to clean it."
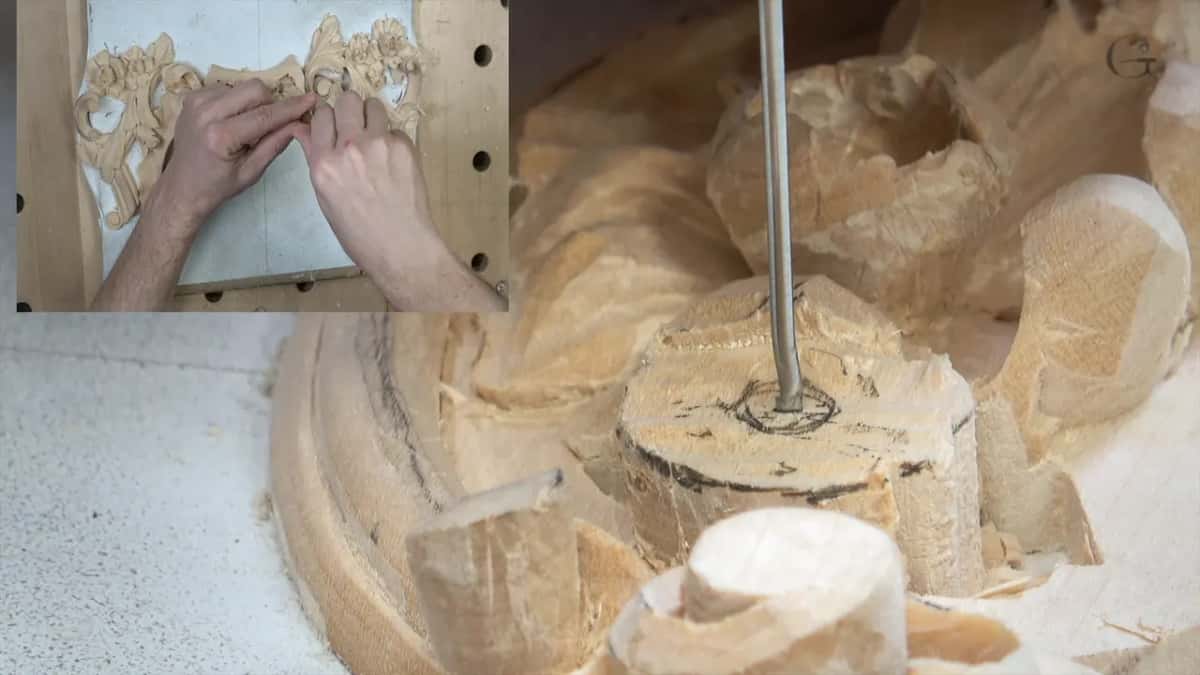
Which way do the next passes go?
Inward, from the edge. From whatever the outer edge of the center will be, I took many small passes with the same tool, all in toward the middle. "All the cuts are going to go from out inward. It's not going to be just straight down." Going around like that, I said, creates a feel of something growing from inside outward.
"Simple, but some people don't get it." I know it is obvious, but not to people who never carved one. And the tool has to be really, really sharp, almost like a surgeon's knife. A tool that isn't sharp leaves a lot of tear outs, catches the grain, and you get frustrated. After those passes the plug came out easily.
How low do the petals around the center go?
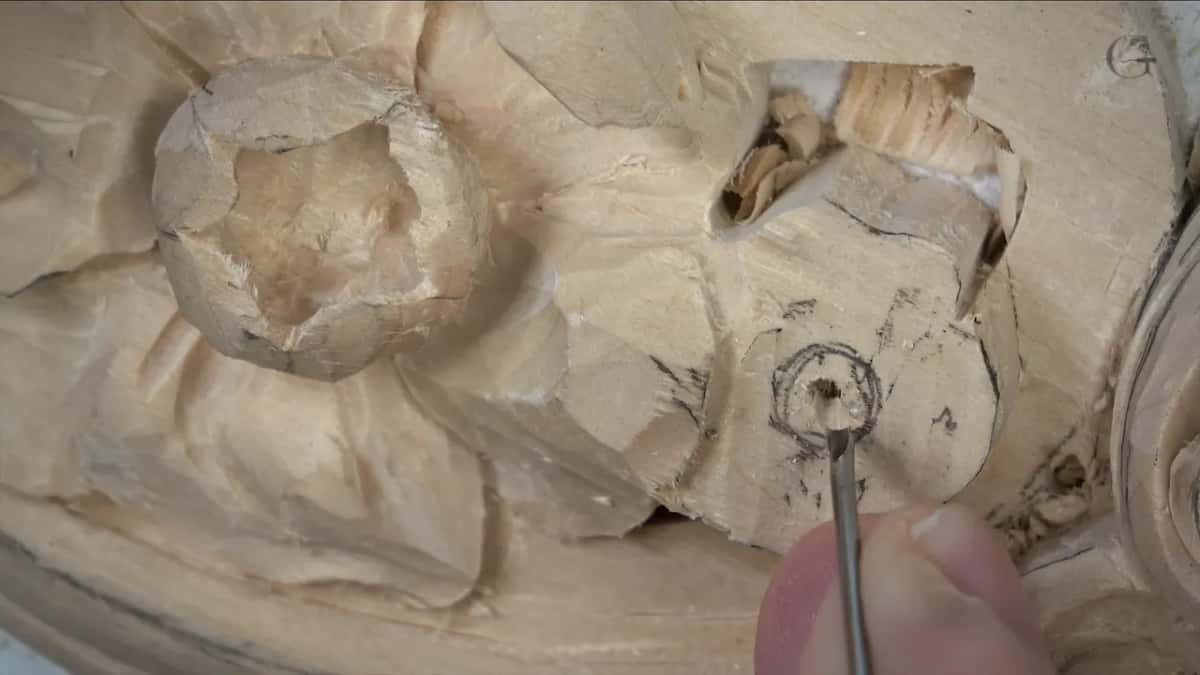
Almost all the way down. When I checked, only about a millimeter and a half was left above the movement in the background, about 1/16 inch. A number 9, 11 or 8 would all still work here. I took my number 9 fishtail, 6 mm, a quarter inch. I really like that one.
I worked around and could get really, really close to the line, but I did not want to go too low. A couple of millimeters stayed before I hit the lower detail. In one spot it was easier for me to go straight down with that tool, and for now the center looked almost like a mountain, sloping outward. That was okay. The carving inward on the inside would come later, I said.
Why work from the outside in?
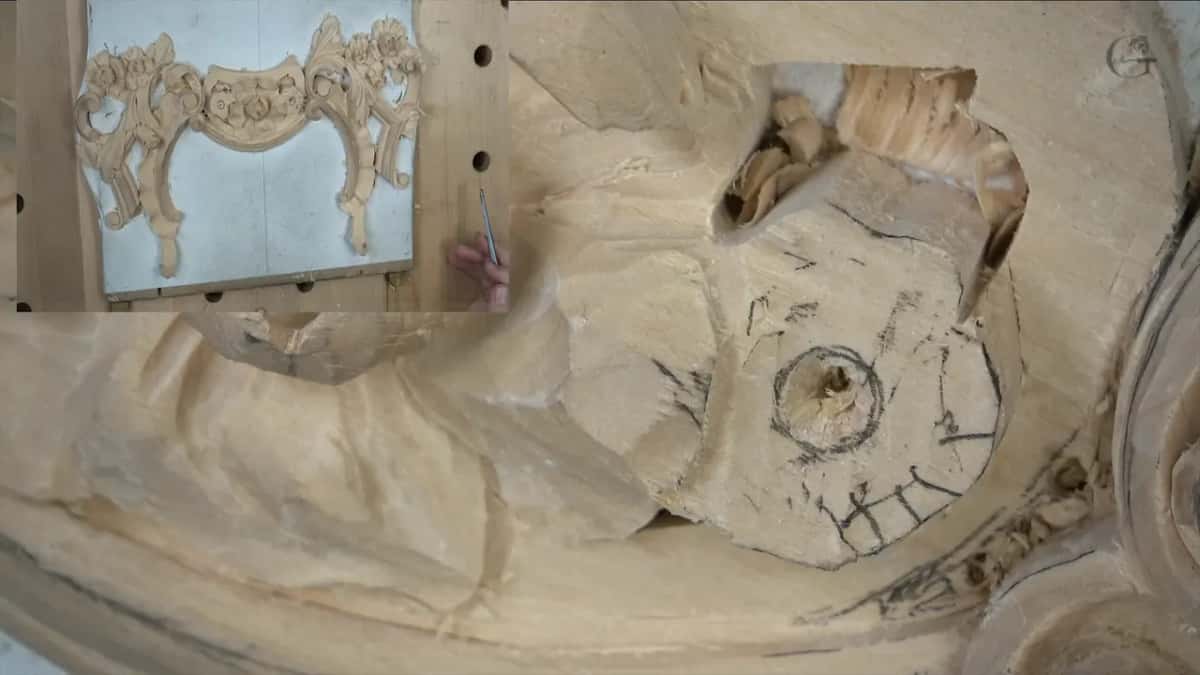
Catching the grain is the danger. On camera I showed a spot where, if I kept carving and pushed harder, I would catch the grain. In that spot it was not a big deal. But sometimes you break what you are not supposed to break, because the break point goes all the way, and it can damage the detail you already carved.
"Like I said, sequence. Sequence is really important." Always better to attack from outside toward the center, I said. After that I walked around and came at it from the opposite side with little bites, really small bites.
I stayed about one millimeter away from the line. Going to the line was possible, but it is safer to stay a little bit away.
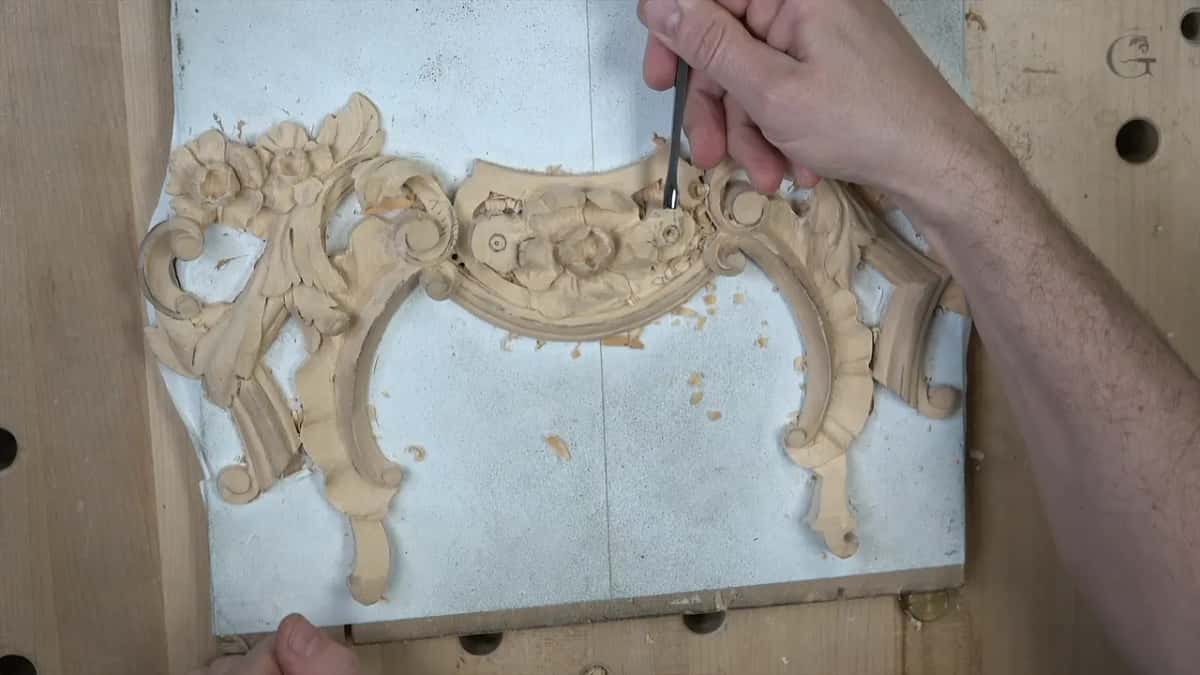
What is a wiggle cut?
A wiggle cut is my name for wiggling a gouge into a tight spot without pushing, so the sharpness of the tool does the work. I am not sure it even has a name.
The spot was the space between one petal and a small space right beside it. I could have taken a micro tool again, but I grabbed a number 9 of 1/8 inch, 3 mm, by Ashley Iles. Because I raised the other petal really, really high, this one also goes uphill toward the highest spot, so I said to be really careful how you approach it.
I don't push it. I don't create any force. Little by little I am just wiggling my tool, using only its sharpness. I had to be patient, because sometimes it takes a little longer than you expect, but I was okay with that.
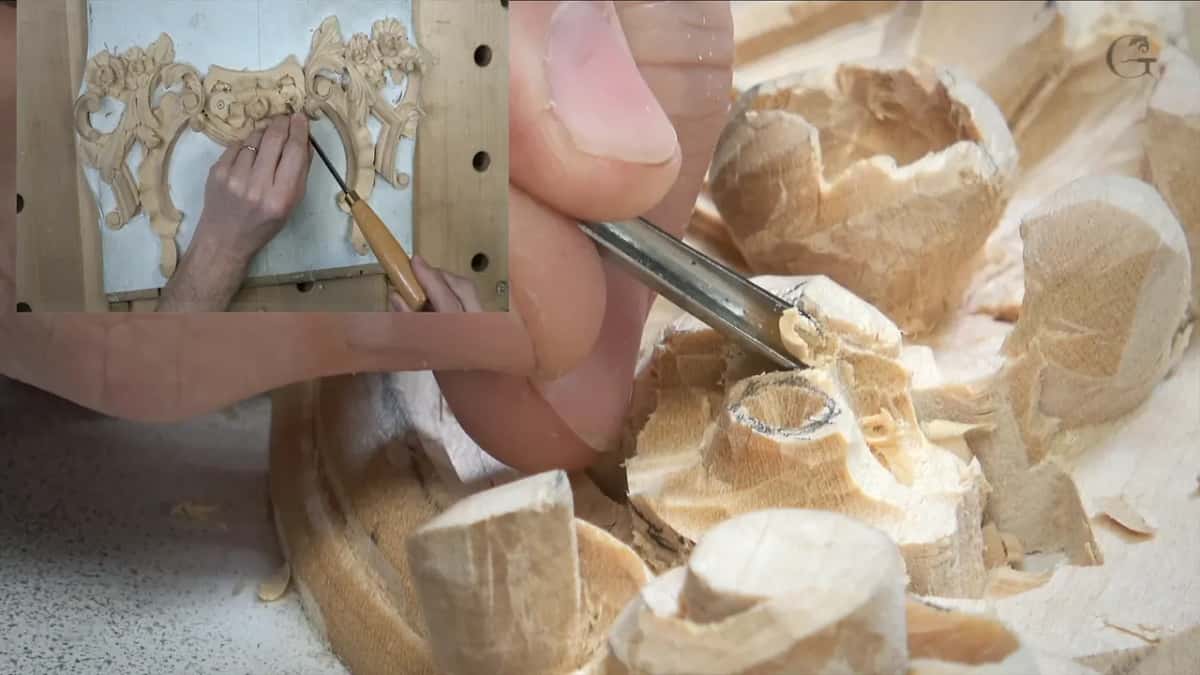
Next I switched to a smaller number 9, two millimeters, and with that one I did not need to wiggle anymore. Maybe a little bit. The wiggle does not leave a really clean surface, so later you go back and clean it. "But it gets the job done." Be careful not to break whatever is close by, because breaking it would be a big mistake.
Where does the flute point for the undercut?
About two o'clock. My flute was there when I went underneath one petal to undercut it. The flute is the groove on the inside of the tool. Not every tool has a flute, but knowing the parts of a tool is a good idea.

I dug a little deeper and got a little closer to the line, and then I stopped. "I think it is deep enough. It casts a really beautiful shadow." Then my really complicated tool, the hair blower, cleared the chips.
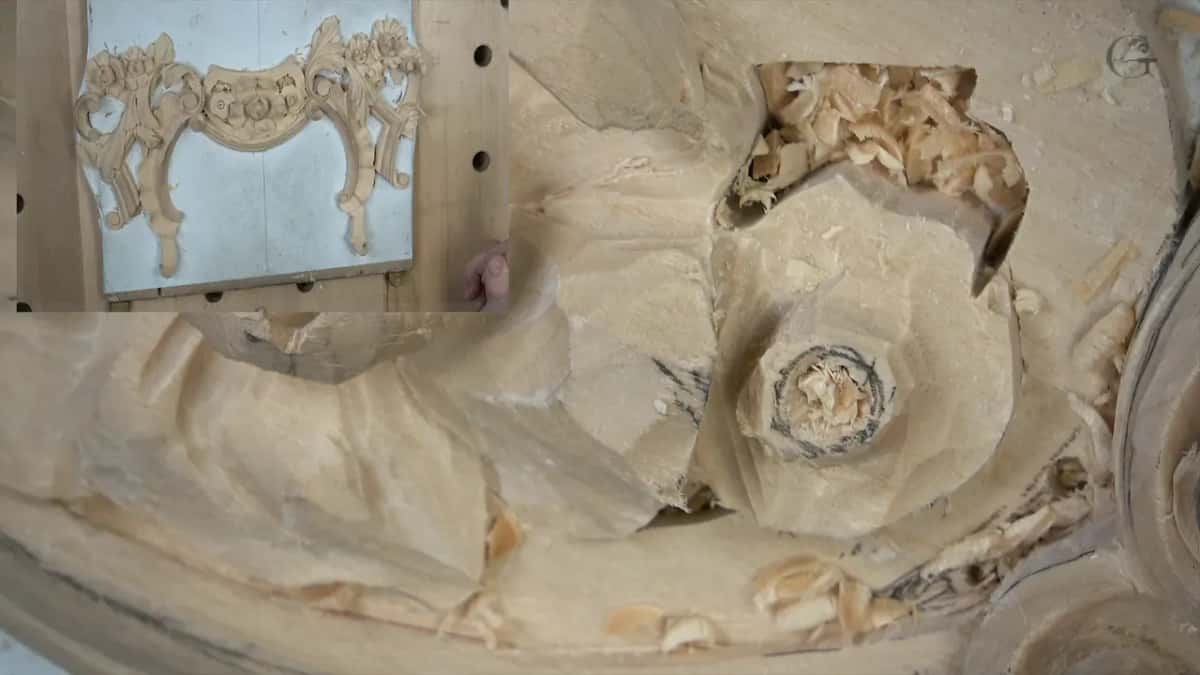
How do the walls of the center turn inward?
They get sloped the other way, by a number 11 on its side, or by a number 5 set on the line. After the petals, the walls of the center were sloping outward, and I needed the opposite direction.
There are a couple of ways. You could place a number 5 right on the line and make a straight-down cut. But be careful. Or you could take a number 11 and attack with the side of the tool, the left side in my case, like a left wing, and carefully go with the grain until you hit the line. Also a legit way.
Safer, somewhat, because you don't push anything. With a straight-down cut you still have to create some kind of stress. This way you don't really stress anything, you just take the material little by little. And I needed a smaller number 11 for it.
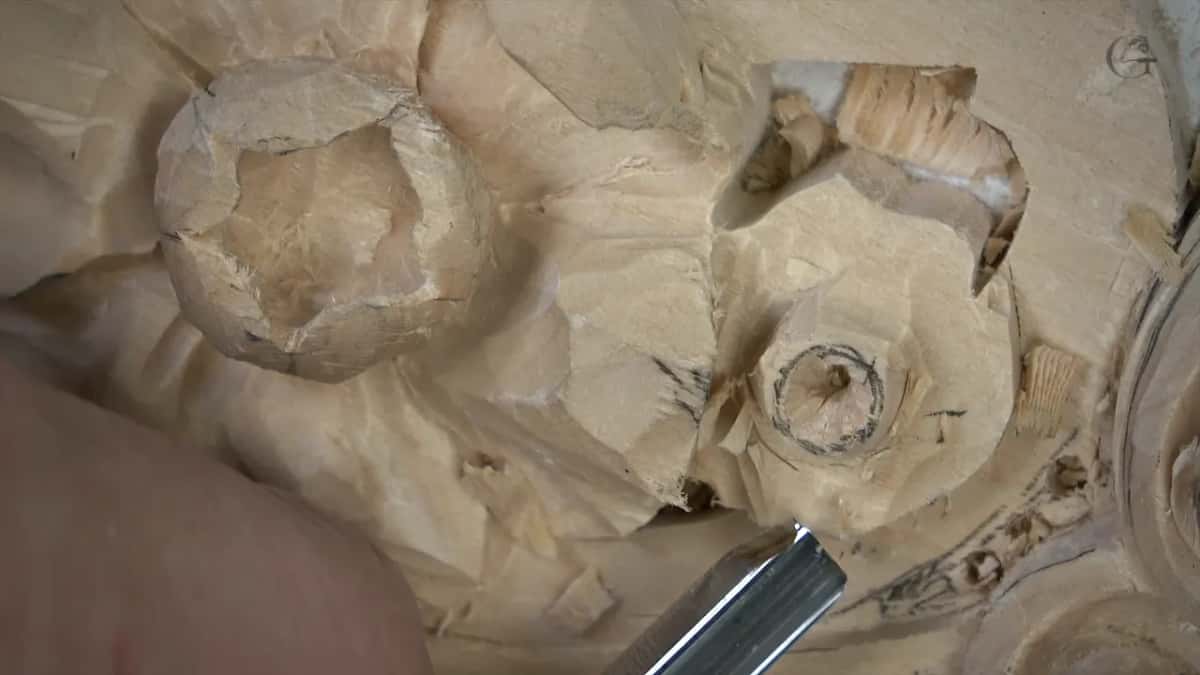
It is only one of the methods. I like a slow approach on a really fragile detail, but I still want it stable, so people do not hit it and break it. And it is not as slow as you think. More careful, not really slow.
What does a number 11 add to the wall?
A little movement, an arc, where a straight-down cut would give a straight line. Looked at from the side it is not really noticeable unless you pay attention, but it makes the flower more real, more like real life.
That arc repeats what is inside. The inside of the center has an arc, and you recreate the same arc on the outside. The number 11 can do it because it has a number 3 sweep along its side. As I have mentioned many times, the number 11 is a multi-tool, with many sweeps, and I call what it makes the arabesque movement.

The one I used there was a 4 millimeter number 11. From the ridge, from that edge, the wall starts to cast some shadow. Even now, I said, I can attack the neighboring petal and make a really nice transition on the inside. Just be careful not to overdo it.
Right under that line you can put almost a dome. No need here, because this panel will be painted. But if you are going to do a flower like this, I said, that is a beautiful, beautiful, beautiful detail right in the middle.
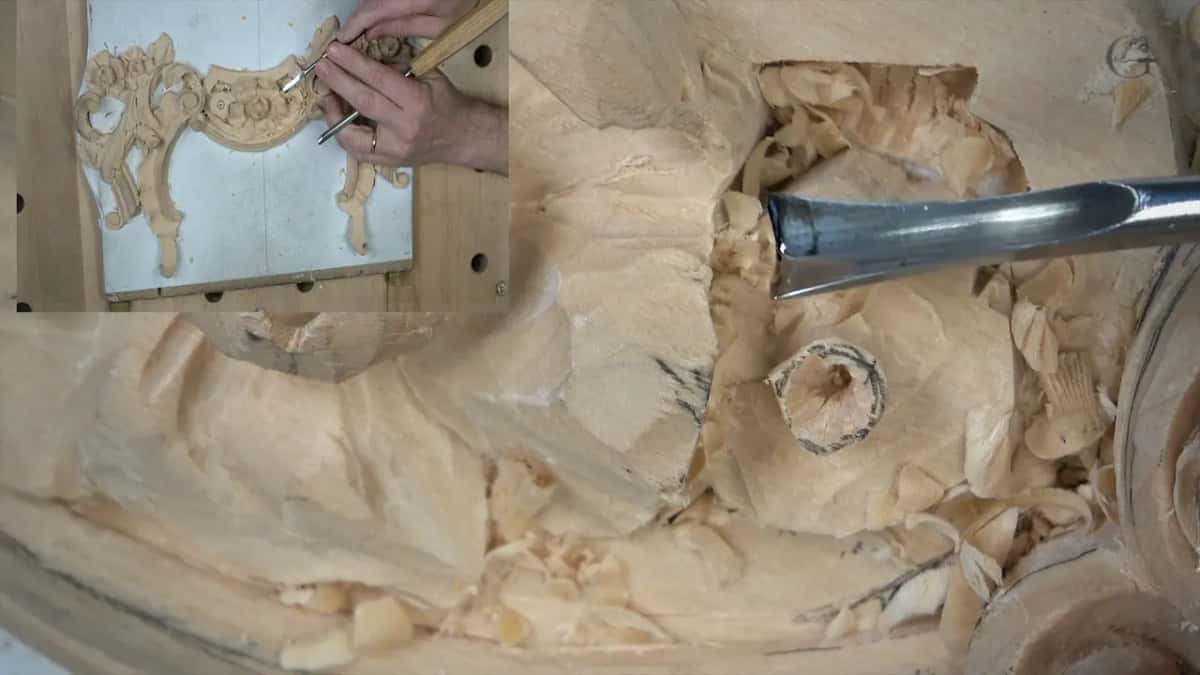
Then a number 5 went right on the line for the final upper shape, all around. It does not have to be a number 5. The lines do not have to look perfect, either. As a matter of fact, it is much better if they are not perfect.
Last on the center, the 1.5 millimeter Dockyard came back. It looks like a number 8 to me, maybe a 9, and in the Dockyard world it is just called a gouge. The same passes I made inside, I made on the outside, not as deep. "The tool must be super sharp. Just must." Then that was my center, and I think it looks good.
When do the five outer petals get their shape?
By eye. Five petals go around the finished center, and I just eyeballed them. First I went back in near the center with that small tool of 1.5 millimeters for a deeper cut, because I wanted shadow there. How the petals move is up to you.
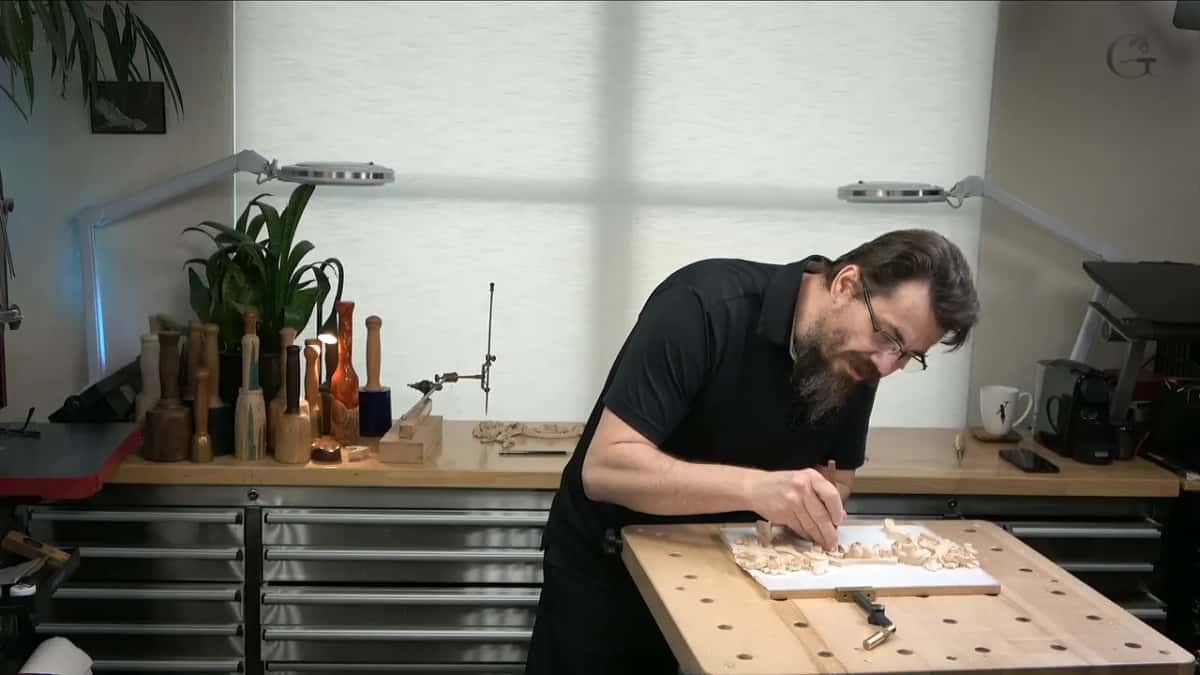
Again the tool goes in to the center, and closer to it. I rotated it upside down and carved inward on an angle, the same way we work on the eyes of an acanthus leaf. How turning a gouge over changes the cut is the question on lesson 12.
Where two petals meet, at the intersection, I wanted extra shadow closer to the middle. "It's a little different flower. Just a variation of it."
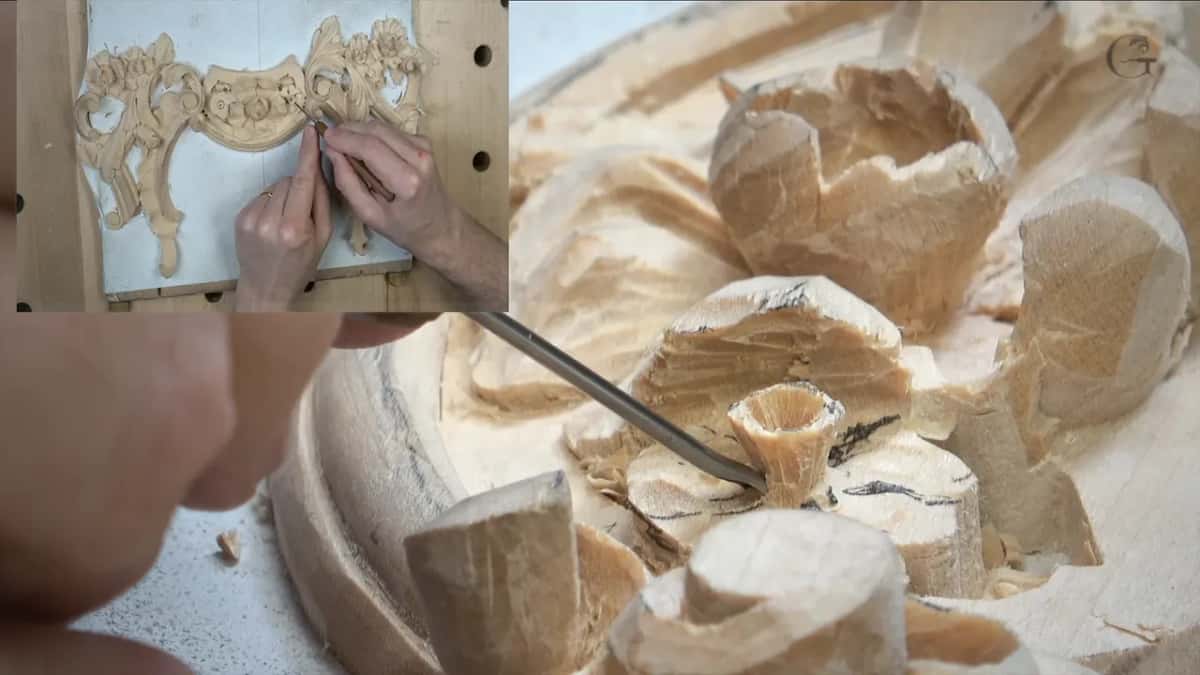
One spot sat under a petal, so it needed a small, tiny tool, and with a tool like that I can get into the tiniest spots. This one was a one millimeter number 9, a really small, tiny spoon. Without one, don't worry too much. Attack from two sides, and some of the details you will have to leave out.
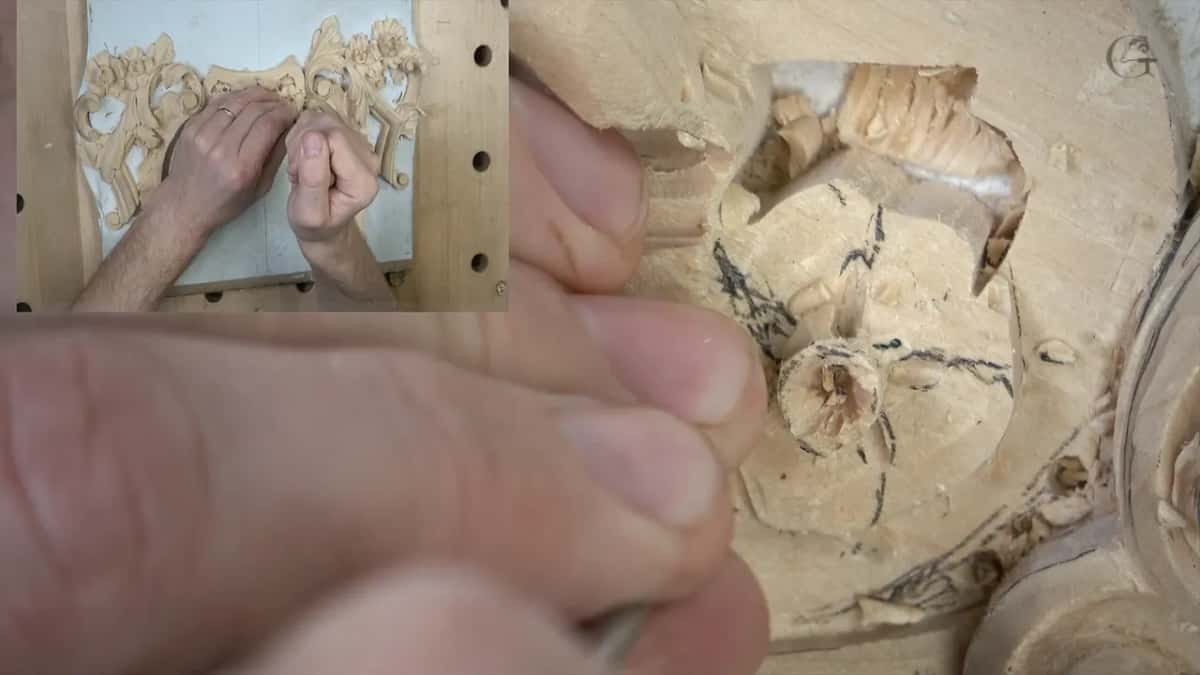
Then a number 11 veiner of half a millimeter went along a line and a little deeper inside. Really, really deep shadow. Can you see how deep that shadow is? There is no cleaning cut yet, because there is no reason for one at this point.

What shape does each petal get?
A slope all around, a bulge, and a concave down the middle. Each petal slopes down all around. My tool for it was a small one, a quarter inch number 5, and I showed one petal, maybe a couple, since the idea is the same on all of them.
Look at a petal from the side, like a section cut. It starts beside the middle part, goes up into a bulge, not a mountain, and then goes down. Every one of them.
A small tool of about 3 millimeters came next, a number 8 or 9, whatever you call it in Dockyard, and with it I made a concave going downhill in the middle of every petal. A second concave went in toward the center, and for that I used the 1.5 again.
Right now it is solid, I said, and I can just beat on it. But this can become fragile, so I did not go too near the middle part with my poking cut, or I could break it. From two sides, a bit at a time, really carefully, without rushing.

Last came a groove cut with the tiny number 11 of 0.5 mm, right in the middle of each petal, for an extra shadow spot. Not from the edge, though. I started it from the golden spot. "That would be 60, that would be 40," although the camera does not show it. Lesson 6 is where I called it the 40-60 rule, and Wikipedia gives the golden ratio as about 1.618 to 1.
Then I lost some audio. Not much, but kind of annoying. So while it recorded without sound, I drew the petal. A petal is not a simple shape. I want a lot of waviness on every one: a concave in the middle, a convex on the sides, and then a little concave at the ends.
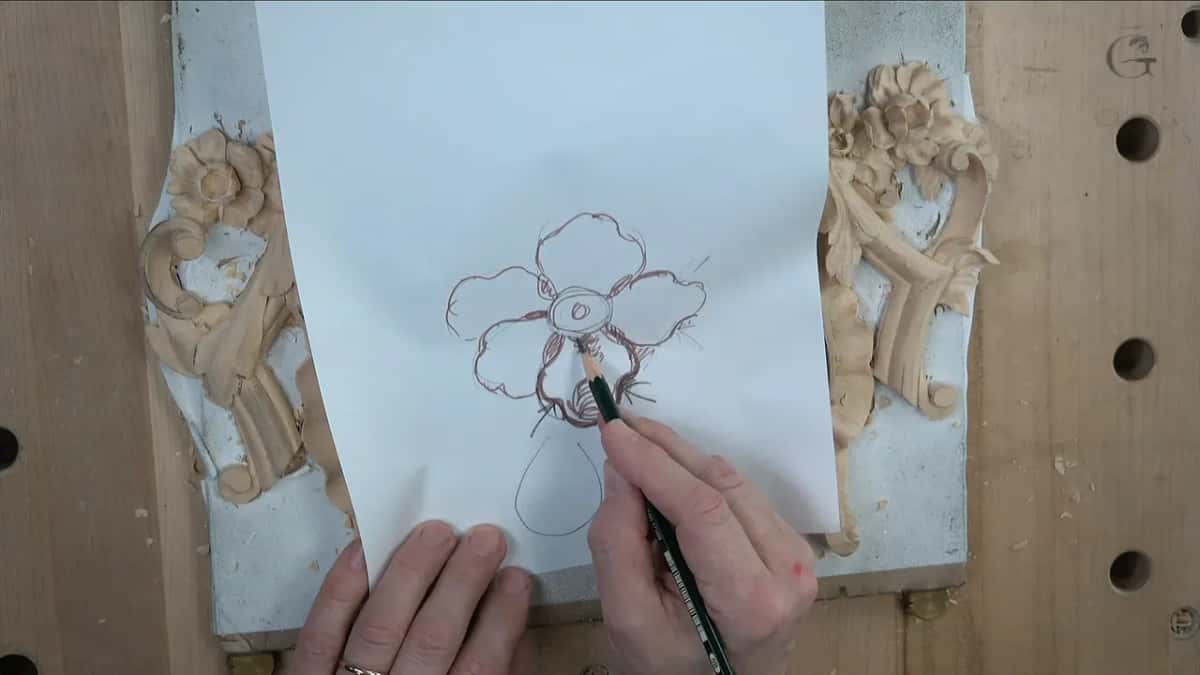
The rest of the petals I did off camera, and the cleaning too, because for that I really have to use my magnifying glasses and get really, really close. But the main idea of the piece was achieved, the first flower and the second one.
Which tool went with each step?
Here is the whole order in one place, the tools as I named them on camera.
| Spot on the flower | What I did there, in the order I did it | Tool I named on camera |
|---|---|---|
| Center hole | A plug cut at 90 degrees, about a quarter inch deep | A Dockyard marked 1.5 mm |
| Passes inward | Many small ones, all in to the hole from the outer edge | The same tiny Dockyard |
| Surrounding petals | Lowered until about 1.5 mm (1/16 in) was left above the background | A fishtail number 9, 1/4 in (6 mm) |
| Space between petals | A wiggle with no force, then a smaller tool | Ashley Iles number 9 of 3 mm, then 2 mm |
| Center walls | Turned to slope inward instead of outward | A 4 mm number 11, carving with its side |
| Outer petals | Sloped all around, then a concave down the middle of each | Quarter inch number 5, then one of about 3 mm |
| Groove on each petal | Started at the golden spot, not at the edge | Half millimeter veiner |
Does the paint change how far I take it?
A lot. This project will be painted, so I don't have to take it to the extreme, like a few projects of mine you saw in magazines. It gets primer first, maybe even two times, and a really thick primer that covers most of the facets you see. Then chalk paint, which is also really thick.
The panel goes inside a room, really close to the level of a shoulder, where people could damage it, so I want the primer to soak right into the tiny petals. I really like how chalk paint looks. Really matte, no sheen at all. Not cheap, though.
Some facets in lesson 9 I left on purpose, for the shadow they cast.
Where can you use a design like this?
On a picture frame, a mirror frame, or on furniture. This project is Venetian style, from Venice. In lesson 14 I call it part of a bigger Venice room project, a real-life project, and the Venice Room has a course of its own.
How does the piece come off the paper?
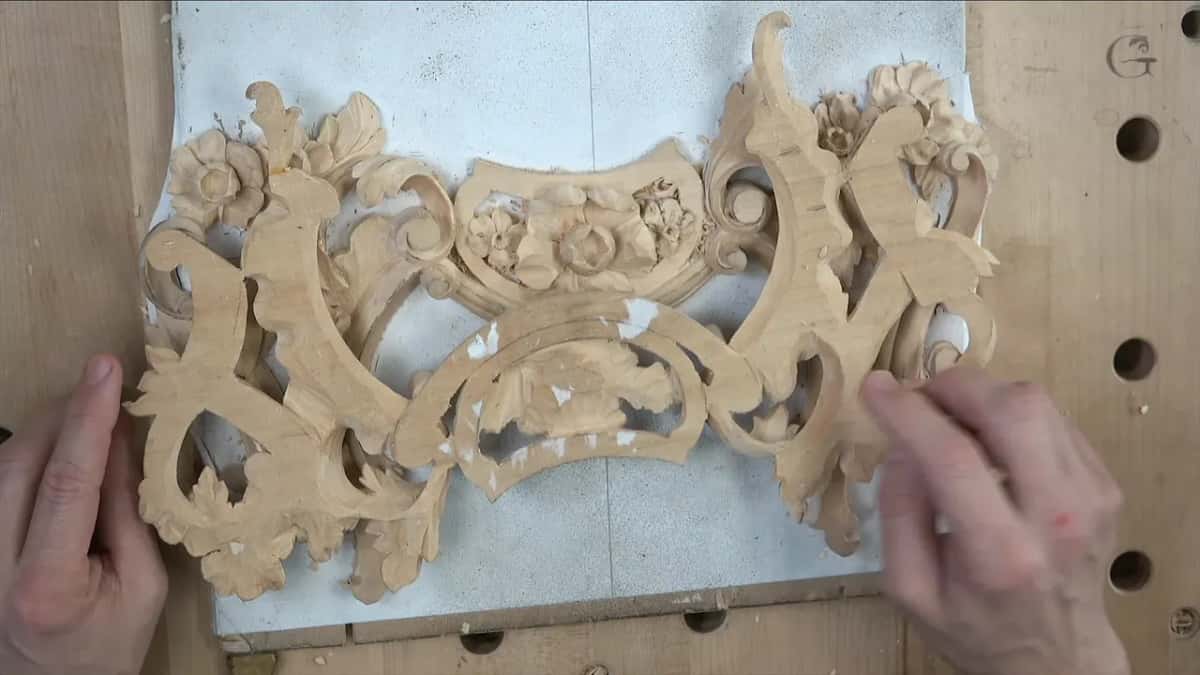
Easily. I did not record it, but after I took the piece from the paper, I carved it from the back, to the edge. Back carve it, an undercut, pretty much. "Once you're going to take it out from the paper, it's much easier."
To get it out of the paper I use a chisel or a gouge and just crank it. See, it is already moving. Really, really easy, no complications whatsoever. Some paper is still left on the first piece, because I have not cleaned it yet. Back carving has its own lesson, a simple tip for back cutting.

The two flowers are in the course as a picture you can download and print as a pattern, on the Material tab. When yours is done and you send it to me, run the photo through TinyPNG first. I have so many students from all over the world, and a full size picture slows down my server for everyone. One picture is all I need.
Lesson 13 sits near the end of Carving Floral and Molding for the Panel. Small flowers get carved in lesson 7, the exact depth in lesson 4, and the acanthus shaping in lesson 6. Right before this one come the boasting, the eye and the turned gouge, and lesson 14 comes after. All three parts of this lesson are on video with Access to the school.
How it's done
- Set the final height first. Find the highest spot with a pointing machine and shave both sides down to it.
- Drill the center hole. Hold a tiny gouge, about 1 mm, straight at 90 degrees to the surface and make a plug cut a quarter inch (6 mm) or so deep, without pushing too hard.
- Carve in to the hole. Using that same tool, take multiple small passes in to the middle, starting at the rim of the center. Keep it super sharp, or the grain tears out.
- Lower the petals around it. Work around with a fishtail number 9, 1/4 in (6 mm), in little bites, and stop a couple of millimeters before the lower detail.
- Slope the walls inward. Carve with the side of a number 11, with the grain, until you hit the line. A number 5 set on the line for a straight-down cut also works. Be careful.
- Shape and groove the petals. Slope each petal down with a small number 5, carve a concave down its middle, and start a half millimeter groove at the golden spot, not at the edge.
Frequently asked questions
Do you need micro gouges to carve a small flower?
If you plan to carve flowers, you probably should buy a few, and they are not too expensive. Without one you can still work a tight spot from both sides. Some of the details under a petal will be left out, and you will not be able to work them.
Should the plug pop out when you drill a flower center?
Don't worry if it stays in, I said. We attack that area again and clean it anyway. Mine went in a quarter inch or so, with a plug cut and no hard pushing, and the plug came out easily once the small passes around it were done.
Why carve two flowers that differ from the rest of the panel?
Variety. Carvers of flowers like Grinling Gibbons used different flowers to make a piece more interesting, and to me that is a good idea sometimes. My last two have a different center on this panel, a little more simple, but different, and I showed one of them in detail.
What to carve next