

Alexander Grabovetskiy, woodcarver, School of Woodcarving · Published 2022
How does rotating a gouge change the cut?
Quick answer: Rotating a gouge is turning it in your fingers so the flute faces a new way, and a different side of the edge does the work. In lesson 12 my 7 mm number 11 started flute up, like 12 o'clock. At about 10 I attacked closer to a raised edge, and at about 1 I blended the center.
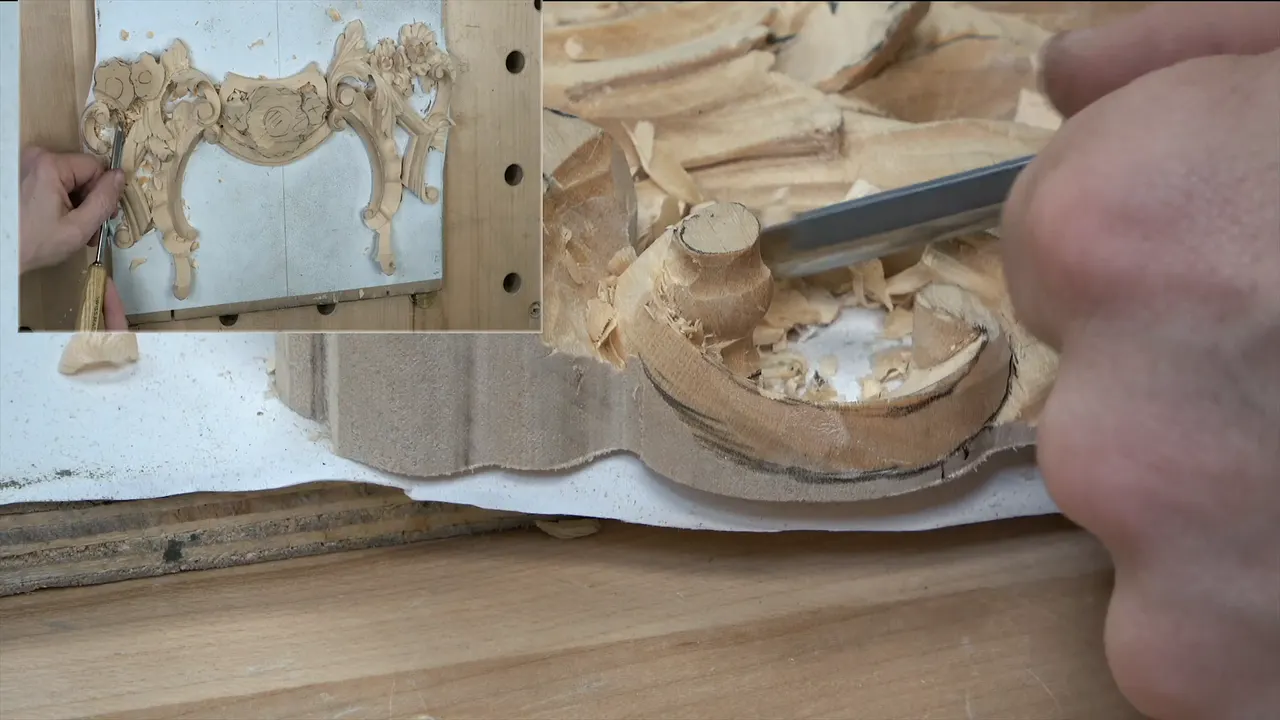
Turning a gouge so its flute faces a new way puts another part of the edge to work. I said it in lesson 12 of my floral and molding course, with a 7 mm (about 9/32 in) number 11 gouge in my fingers: "I can rotate any direction and use just either side of the tool. So that is a really, really good thing."
Have you seen a gouge with a groove down its middle? Could you turn one a little in your fingers, just to watch the edge move? Then you can follow this leaf one turn at a time.
Here is every clock number I said in that lesson, in the order I said it, with what each one did on the wood. Lines from other lessons are named and linked.
Lesson 12 in six short lines
- Flute up first, like 12 o'clock, on a 7 mm veiner.
- Rolled toward 10, the same tool got closer to an edge meant to stay a little raised.
- Toward 1 o'clock it blended the middle.
- On the second leaf I said 3:00, corrected myself to 9:00, and then blended at about 1:00.
- For an undercut I held a 1 mm eleven with the flute near 10:00 and broke the grain rule, since my tool was really sharp.
- Where my straight tool couldn't reach a line, a 4 mm number 9 spoon could.
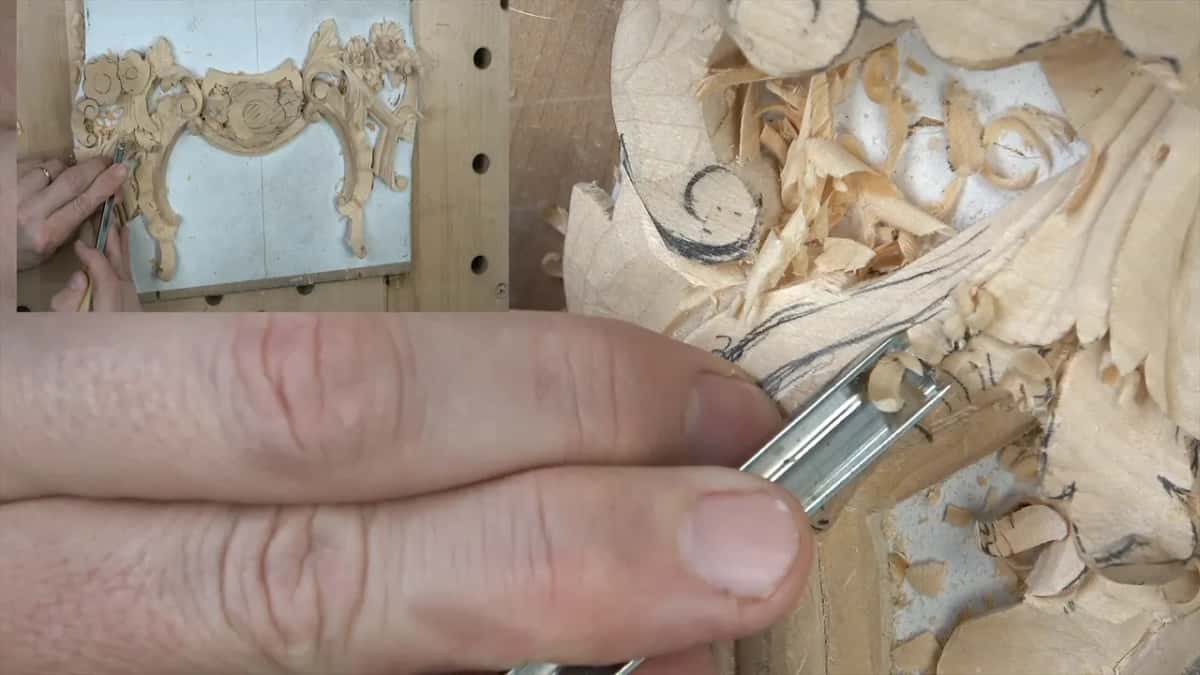
What did I check before carving the first leaf?
Heights. At the start I looked at the previous piece to see what was going on, then measured the volute and the part next to it, so I'd know exactly how it should slope. One small detail went nearly to the bottom, to about 3/32 of an inch, a couple millimeters, and that was no problem. The volute had to come down only about one millimeter or so.
Twice the clamp came up. "Oh, don't want to forget my clamp," I said, and then, "It's always good idea not to forget that stuff, right?"
In the space between there wasn't much room, so a 3 mm (1/8 in) eleven did it.

Why was the middle line not in the middle?
I put it off the middle on purpose, and these are my words for why. "As you remember, I'm really big about the golden ratio. If you take that point and if you take the opposite point, that would become approximately 62% versus 38. 60/40 rule, okay? So that middle line is not going to be really in the middle."
The same idea is in lesson 6, over another leaf. Around that line went a convex and two concaves, and I called it the anatomy of Byzantine acanthus.

What changed when I turned the flute to 10 and to 1?
Near 10 o'clock I could get closer to one edge, and near 1 o'clock I could blend the center part. I started with the flute facing up and stopped to tell anyone new, "That is the flute for those of you who don't know." My plain words on it are in lesson 7: the groove right in the middle of the gouge.
Up meant 12 o'clock. Then I set the tool "to about 10 o'clock or so" and went in closer to the edge, which would also end up somewhat raised. Or I could "rotate that to about 1 o'clock" and blend.

The first side of that leaf had its own reason to stay up. A molding sat right there, so the hollow couldn't go too deep or reach it, and one of the sides had to be a little raised up. I like a number 11, too, because with it "you can blend pretty much right away."
Then the concave went right down. I wanted it to feel like it was almost rolling underneath, and I said I'd undercut and take that wall off for good.

Which tool did the blending after the veiner?
A number three back bent. I said it didn't have to be a five or a seven. And I caught my own words: I shouldn't say try to blend it when I have to blend it. "There is nothing to try."
After that I took out the center line, since I didn't need it anymore, and I was really, really happy with how it all flowed together.
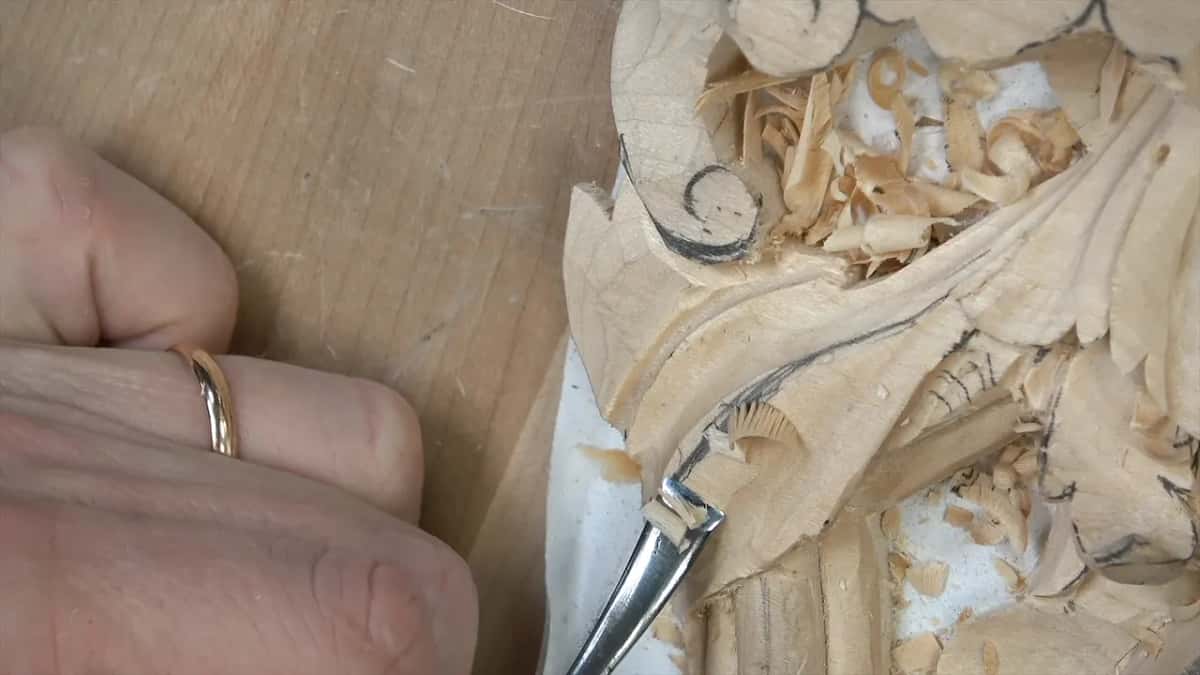
How did I split the leaf and chop the triangles?
Three main divisions first, and subdivisions after that. It looked like I'd have to subdivide even more, one more time, and then I changed my mind: "I don't have to actually make that subdivision. I think that is plenty."
Next came the relief cuts, straight down in those triangles, with a 3 mm eleven once more. I counted two, fixed my border right away, and did a couple more spots. One I left alone for now.
I still couldn't go too deep, because that molding needed more work later. But I could exaggerate the concave a little in one spot.

What went wrong under the S curve?
A small number one gave me a letter S curvature, running down the leaf. Next came a number 7 of 14 mm, about half an inch, and it fit, but barely.
To clean out the mess I picked up a small double bevel number one. It's supposed to be about an eighth of an inch, three millimeters, I said, but to me it looked more like four.
I was cleaning right underneath with a small number nine when I said, "Oops. That is no bueno." The number one came back, and it was all fixed. After more cleaning it still didn't look too good, which is absolutely okay, and a number three right on the ridge made me say I liked it.
What made the shadow at the molding?
An undercut. The acanthus on that part grows from somewhere underneath and wraps around the molding, and it was almost done. All I had to do was feel it and make a small undercut at its point.
First a back bend, sweep number three, set the form little by little. The undercut couldn't be deep, since the grain direction goes that way, and I said it still wouldn't be as easy as it looks.
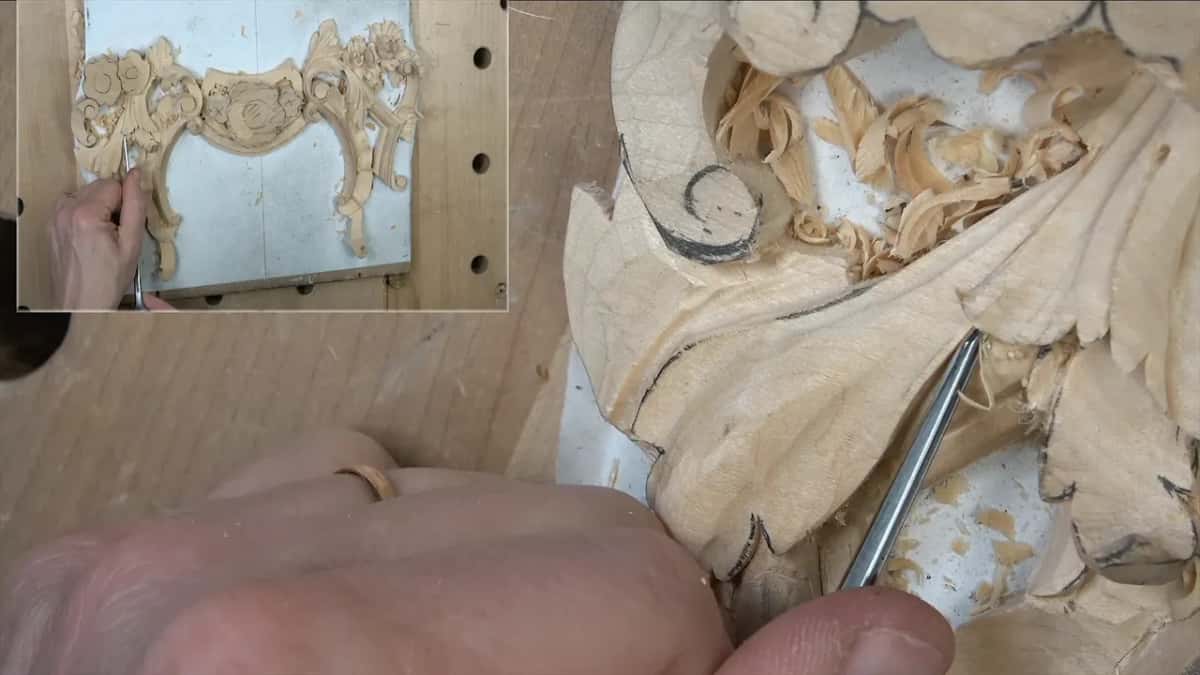
In went a 1 mm eleven, then a different 1 mm, then a half millimeter. "And that creates beautiful shadow. But I always have to be careful because I can damage overall shape of that molding." After that came one that was actually less than half a millimeter.
I made the zipper even and held back, since I knew it could present a problem: it would be too weak.
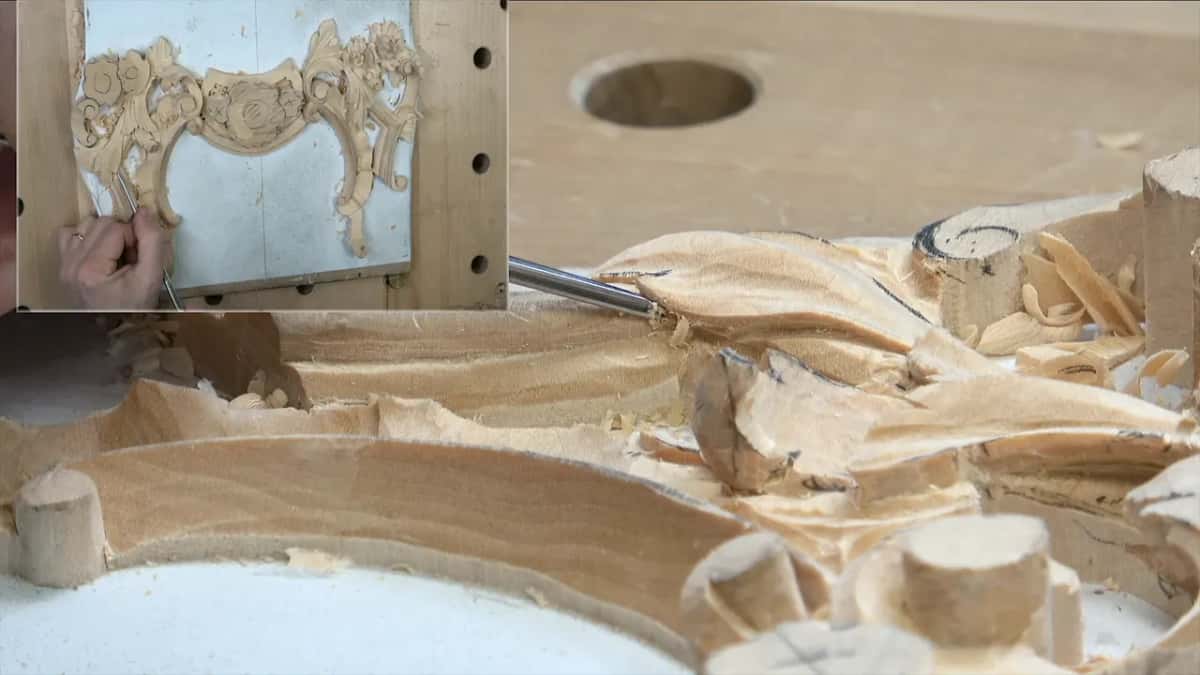
Which spoon made the fillet on both sides?
A tiny one, almost flat, a number three, one-eighth of an inch. Really small, I said.
"You really don't have to have sometimes lots of tools to do the same operation." Some of them matter a lot, though, and "you have to get some kind of spoon gouges," which would be "a lifesaver." Picking them has a course of its own, Tools Selection for Wood Carving.
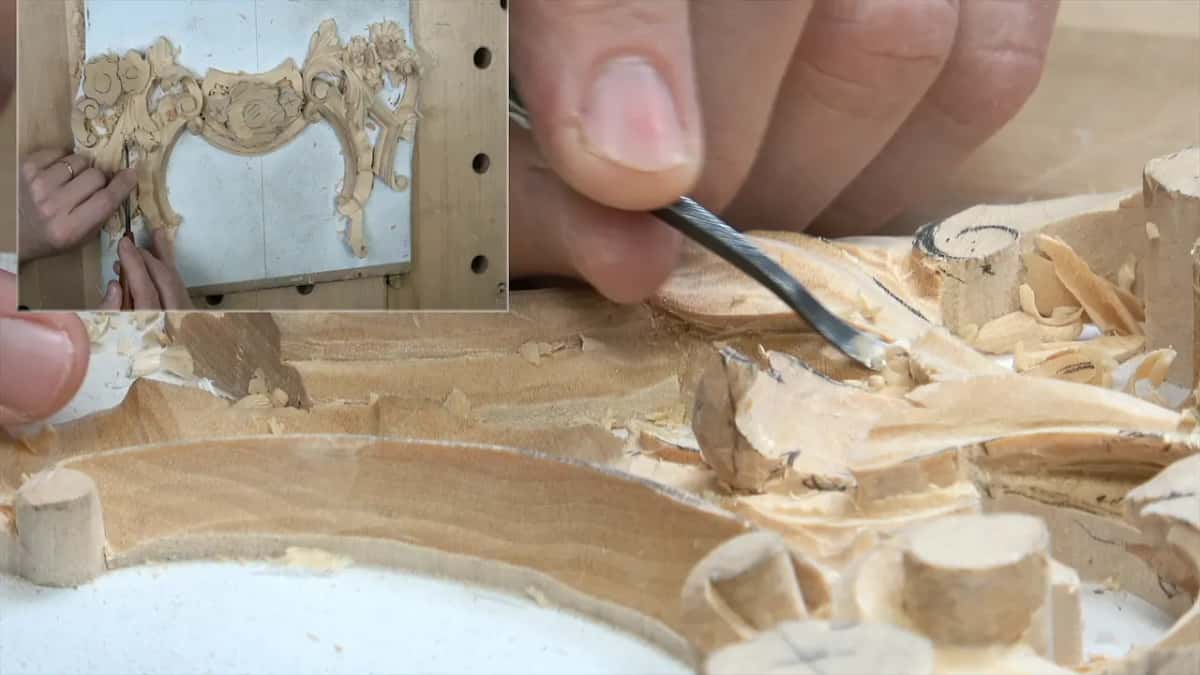
The other side got the same fillet with the same tool. I rode right at the edge for a really sharp-looking one, because I didn't want to see any movements in it. A really small number one chisel, double bevel, then brought everything to the edge; it could be done with the knife, I said, but I used the chisel.
Later I'd get really close with my magnifier glass and clean everything.
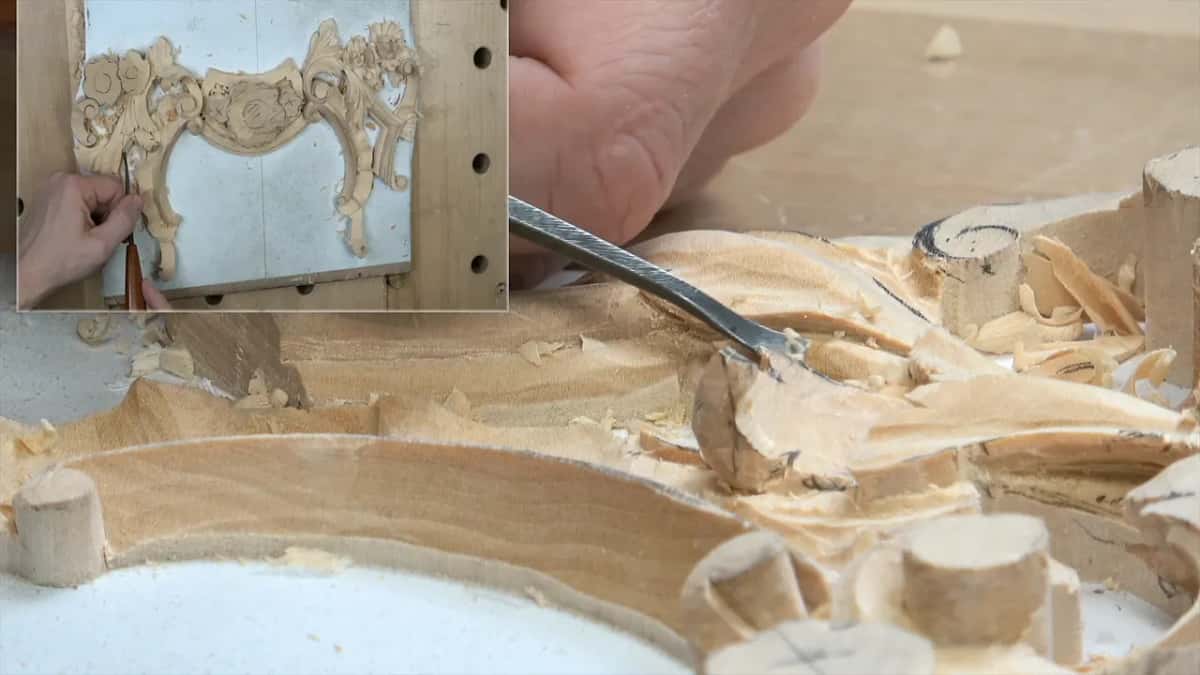
Which number was the gouge with no marking?
Number five, as far as I could tell. It was a quarter inch gouge for the line around the volute, and I said, "It's number five or number seven, I don't know. There's no marking on it. I think, yeah, it is number five." Whatever was on it was barely there anymore, and I could just about see it.
Before that, on the far side, a double bevel number one made a straight down push cut, if you can call it that, and it was not good. A small number three was a much better tool.
The 14 mm seven came after it, then a number 9, an eighth of an inch, from the opposite side. Lots of junk inside, but I was happy with how it looked.
Why did I say 3:00 and then 9:00?
I named the wrong number first. With the second acanthus I took a 5 mm number 11, three-sixteenths of an inch, and tried the flute in a different position. "Right now, my flute's at about 3:00. Oh, I'm sorry, not 3:00, 9:00."
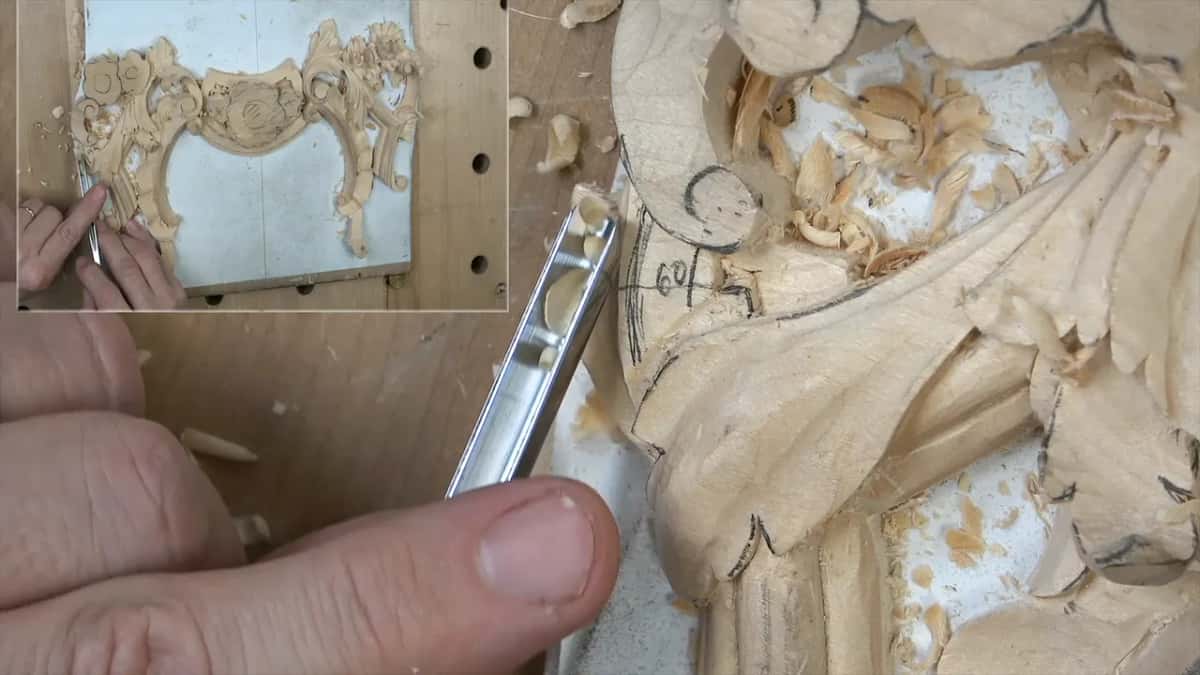
From there I could blend with my flute at approximately 1:00. I apologized. "I'm recording all day long. So sometimes when you record all day long, you start saying whatever."
In lesson 14 my flute was about 3:00 "if I look at it," and I added that on the screen it might not look like that. A clock face seen at the bench and one seen through a camera don't always match.

Where did my straight tool stop?
Near a line it couldn't reach. "See, I'm using just a straight tool, and I have some limitation," I said, and for that line I needed a small spoon of about four millimeters. It was my new toy, a number nine of 4 mm (5/32 in), and it got really close to that line and to the opposite one too. A really small spoon gouge blended it after.

How could a sharp tool break the grain rule at 10:00?
The edge was really sharp, and I said so. Under there, a number 11 of 1 mm went right on the side with my flute at approximately 10:00. "And yes, I know I am kind of breaking rule again. That my tool is really sharp, I can go against the grain."
Then an even smaller one, about half a millimeter, for a little deeper excavation underneath. I stopped there. Of course I could go even more, but it should be okay.
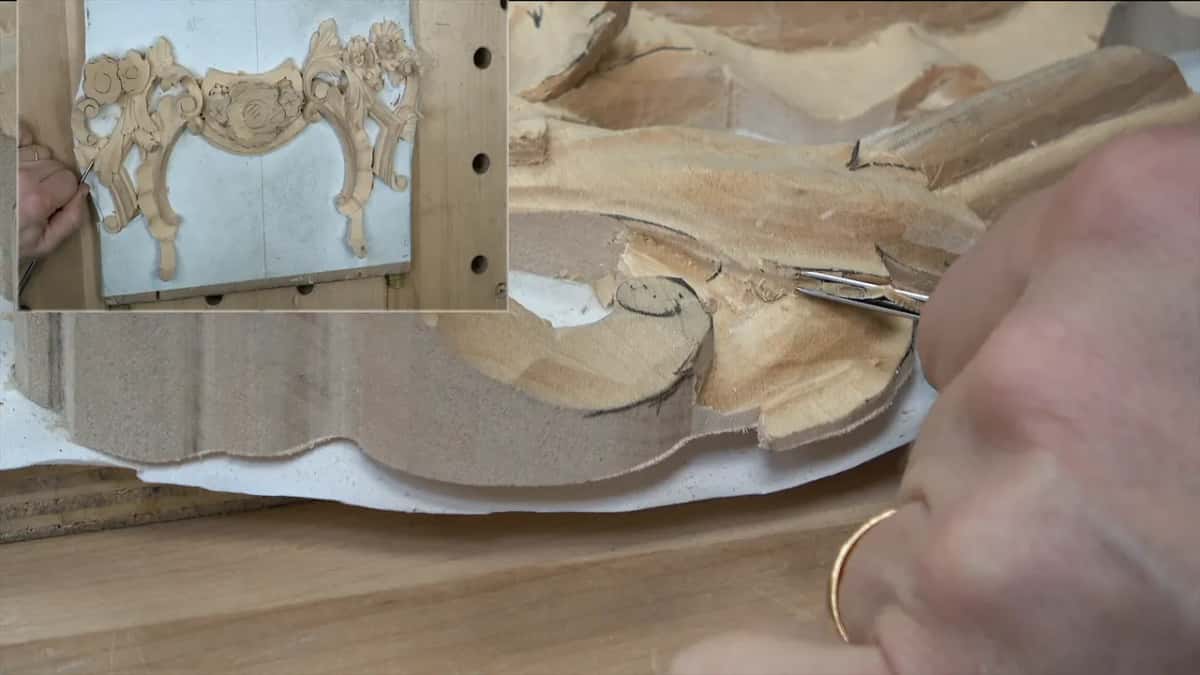
How much lower than the volute did the flower go?
Only the petals went lower. The center of the flower stays at about the same height as the volute, and the petals drop below it.
A 7 mm eleven went around the line first, and then the 14 mm seven gave the overall shape with a straight-down cut. For the outer part I picked up a tool I just like. "It doesn't really matter, but I kind of like to use it. Why not?"

Then I noticed my edge didn't look as sharp, so I took a bigger number seven, and it looked all right. Keeping an edge is its own subject, with its own sharpening course.
With a pencil I compared it with my previous piece. That petal goes almost all the way down; I left only about a couple of millimeters, and then it goes up.
The next section was about five to six millimeters from that line. Near the volute it gets a lot smaller. It wasn't flat, either: a convex with a concave on each side. The lower part went nearly to the bottom again, so it looks like it's lying flat, then curls.
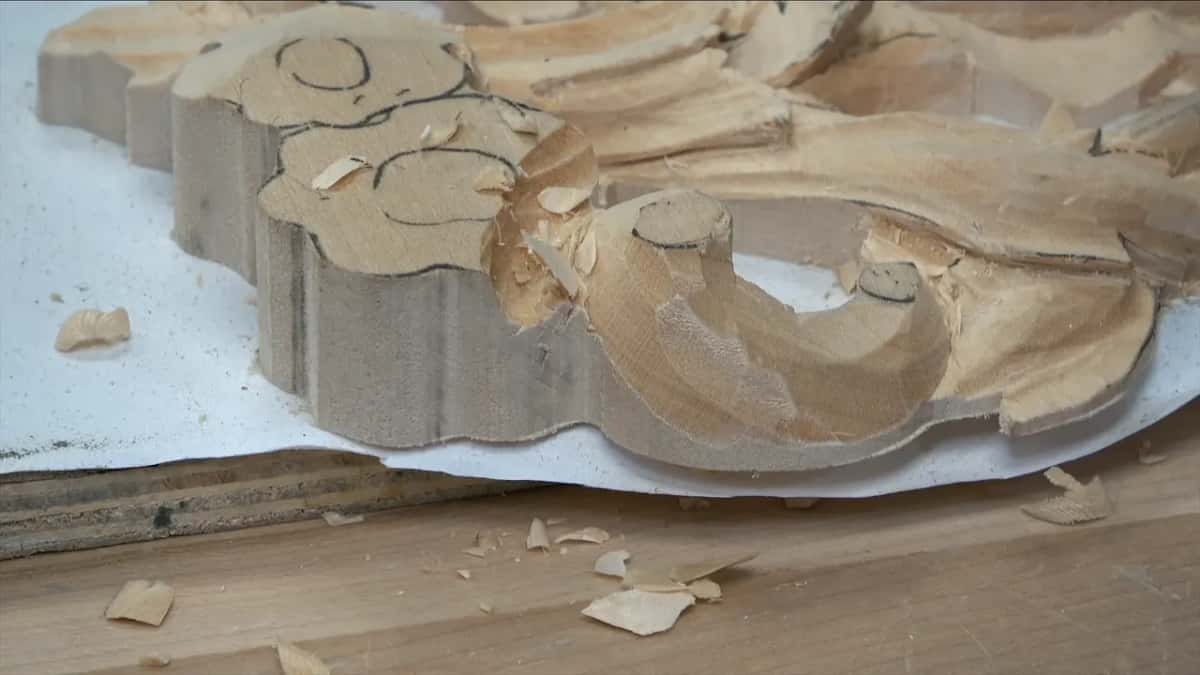
Why leave a thin wall on that side?
For a shadow. I left only a couple millimeters of wall there, since I still wanted to undercut it.
Right below there I turned the same tool upside down.
Then a chip. "That is a mistake what I just did, but it's okay," I said, and told myself to be more careful. My number seven of 14 mm went straight down on that side, and I thought it was fixed; it didn't look too bad at all.
What is the barrel of a volute?
My own name for it. "I don't know how else you can call that thing. I call it like a barrel of volute."
The idea there was the same again, convex, concave and concave, carried around the curve so it isn't so boring.

A tiny number nine spoon gouge made the two concaves, both directions, and I kept saying it: "Small bites, especially at the end grain. Really small bites."
I didn't need that part too big, so I took some off, down to about 1/4 inch, about 6 millimeters. The 5 mm eleven went next; another size would have done, but I just went with 5. Then a quarter inch number five, upside down, took the convex in the middle.
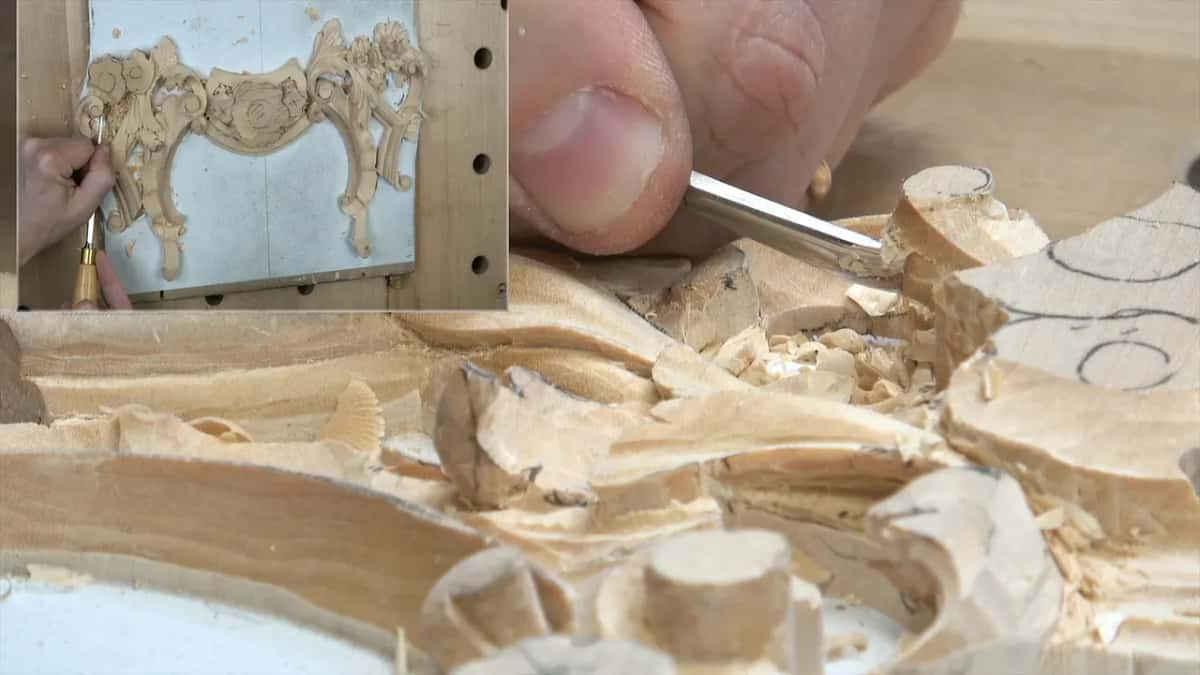
I left the inside for later on purpose, because I knew I'd have a chance to clean everything.
How big is that veiner in real life?
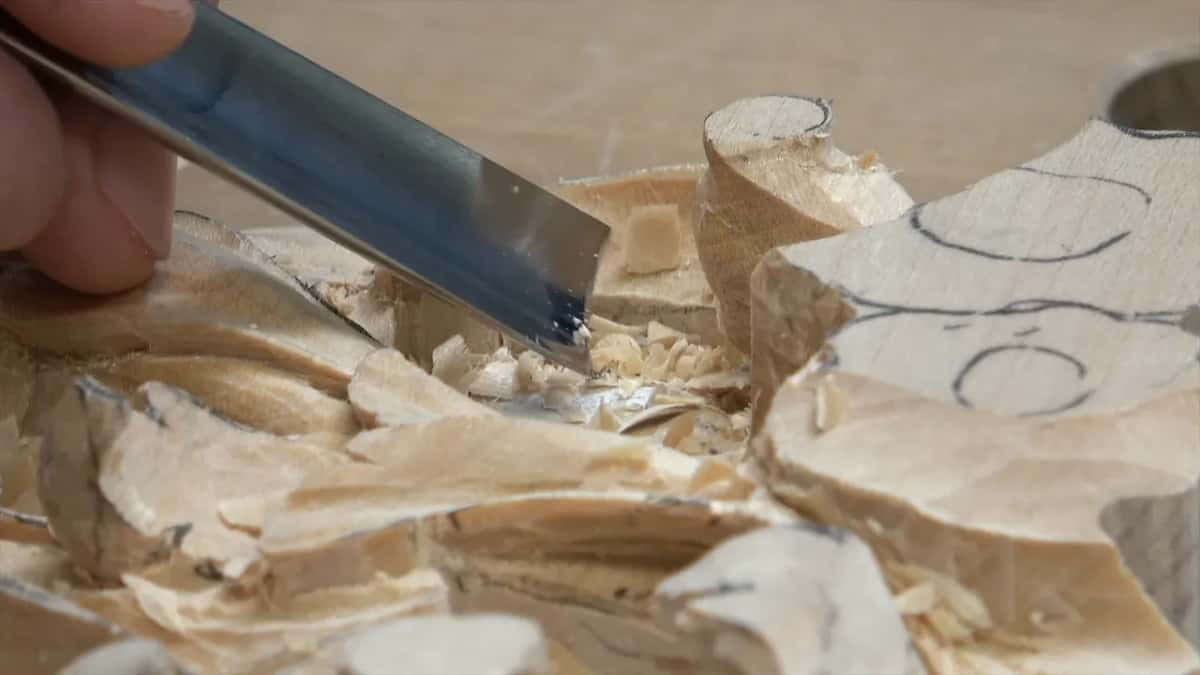
Small. "I know it's huge. It looks really, really huge on your screen, but I'm using only 5 millimeters veiner," I said, and that is about 3/16 in. You see it a lot bigger than I do, which is okay.
My seven came back after that, and I wanted that part to feel like it really rolls. Then the clean-up, without spending too much time on it. "There is absolutely no reason." The rest of that section I said I'd clean off-camera.
Every flute position I said in lesson 12
| Flute position I said | What I did with the tool right there, in the order I did it | Tool I named |
|---|---|---|
| Flute up, 12 o'clock | Facing up at the start of the first acanthus | Number 11, 7 mm |
| 10 o'clock or so | Got closer to an edge that would also end up raised | Same 7 mm veiner |
| Toward 1 o'clock | Blended the middle of that first leaf | Still that veiner |
| 9:00, after I said 3:00 | A different position on the second, simpler leaf | Smaller 5 mm eleven |
| Approximately 1:00 | Blended after the first concave on that leaf | Same smaller one |
| On the side, 10:00 | Undercut that broke a rule on purpose, the edge really sharp | One millimeter number 11 |
| Upside down | The lower part by the petal, then the convex at the center of the barrel | That tool, then a 1/4 in number 5 |
Where else do I give the flute a clock number?
In Byzantine acanthus lesson 3, with a number 11 of 3 mm, I placed the tool on a mark and twisted it a little to the right, "like about my flute going to be 2 o'clock. Not all the way to 3 o'clock, but 2 o'clock." For the opposite side I turned it the opposite way, to about 10, where one part of the leaf overlaps another.
Turning a tool can mean other things in wood carving too. Lesson 1 is about the slicing motion, lesson 9 uses it for a curl, and Greek acanthus lesson 4 for a round. Each page has my words on it.
What was left on this side after lesson 12?
This side was almost done, I said as the lesson closed, with a couple of flowers to go and then clean up, clean up, and clean up. Those flowers are the same as on the opposite side, with some variation, and if you missed how I did them, you really have to go back and watch the flowers.
This panel is part of "a bigger Venetian or Venice room project, real-life project," as I said in lesson 14, and the Venice Room has its own course. This relief goes on in lesson 13.
Do you have a gouge you could turn a little today? Access to the school puts every turn of this panel in front of you, on video, in the order I carved it.
How it's done
- Set the flute up. Flute facing up on a veiner of 7 mm, for the two concaves beside the middle line.
- Roll it toward 10 beside a raised edge. Get closer to the edge that also has to end up somewhat raised.
- Roll it toward 1. Blend the middle of the leaf with that same veiner, no tool change.
- Smooth it with a back bent. A number three back bent takes over from the veiner. Nothing to try here, as I put it on camera: it has to be blended.
- Change to a small spoon where a straight tool stops. A 4 mm number 9 spoon gets really close to one line and to the line opposite.
- Undercut on the side near 10:00. A one millimeter veiner goes in at the side, then about 0.5 mm, and I only went against the fibers there because my edge was sharp.
Frequently asked questions
Which clock numbers come up in lesson 12?
Twelve, ten and one on the first acanthus, all with one 7 mm eleven. Later I misspoke, said three, apologized, and meant nine, then blended near one. A 1 mm veiner went in close to ten afterward for the undercut beneath the second leaf.
Why choose a number 11 for blending a leaf?
Blending can begin right away with it, which is what I told viewers. Either side of its edge works once you rotate it, so one 7 mm tool handled both the raised edge and the middle before a back bent smoothed everything.
Is carving against the grain ever all right?
In this lesson I did it on purpose, close to ten with a 1 mm veiner, and admitted I was breaking a rule again. The edge was my reason; that tool had a really sharp edge, and a duller one got swapped out later for a bigger number 7.
What to carve next