

Alexander Grabovetskiy, woodcarver, School of Woodcarving · Published 2022
How do you make a carved leaf catch the light?
Quick answer: A carved leaf that catches the light is, on my floral and molding panel, one with a small raised ridge I call a micro pipe. I put a concave on each side so the ridge stands up, went deeper under one leaf until that spot turned much darker, and left some facets because they were casting shadow.
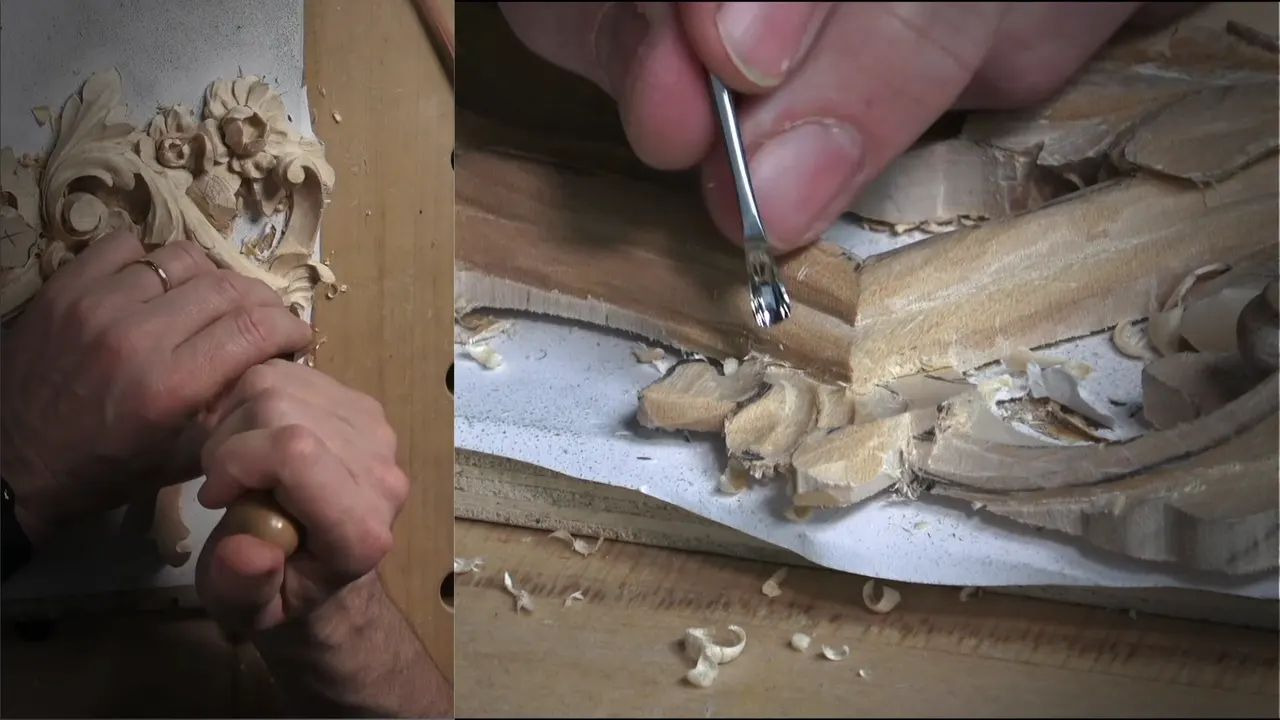
To make a carved leaf catch the light on my floral and molding panel, I raised a small ridge I call a micro pipe, with a concave on each side of it. "It's not big, but still, I think it's going to help for the light and the shadow." I said that in lesson 9 of this course, just before I started on a second one.
Have you ever seen a carved leaf where one thin edge looks bright and the hollow next to it looks dark? Did your eye follow that bright edge along the leaf? That edge can be carved on purpose. On this panel it is a very small thing.
This page follows lesson 9 in the order I carved it, and every tool size here is the one I said on camera. Lines from other lessons are named and linked.
Lesson 9 in six short lines
- One concave per side raises the micro pipe between them.
- The hump came off before any shaping.
- The number 8 went in without forcing and gave me a curl.
- Deeper excavation made one spot much darker.
- Some facets stayed because they cast an interesting shadow.
- The lowest spot read roughly 3 mm, all around, on my pointing machine.
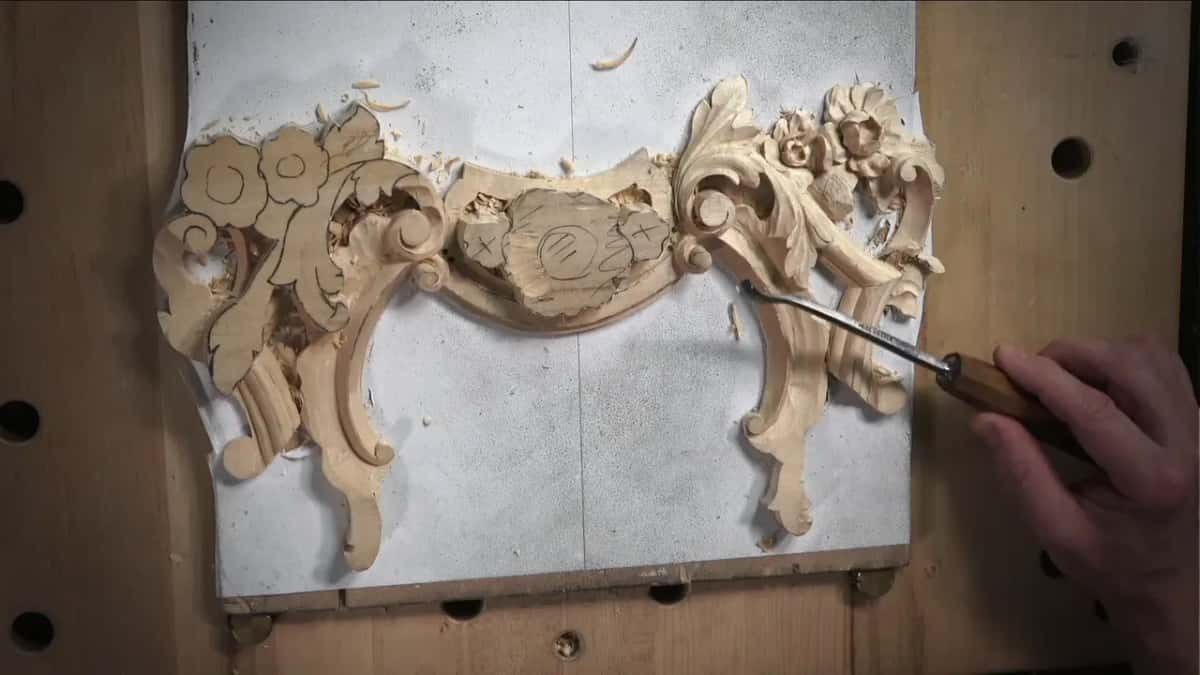
What does a micro pipe look like on a leaf?
A micro pipe looks like a thin raised line along the leaf, smaller than a real pipe. When I planned this one I said, "It would be just like a ridge." "It's not really pipe, but micro pipe." I wanted the leaf to feel like it grows in one direction, and that little ridge does it.

The same name turns up on other pieces. Back in lesson 6 of this course I pointed at a ridge and called it a little facet, "almost like a micro pipe." Over on the modern acanthus, lesson 8, I said a micropipe there "does not have to be really pronounced." And please, no stripes. I don't like stripy acanthus.
The furniture panel, lesson 19, has a number 8 making an extra ridge beside a separation. It's almost indistinguishable, I said, but it will still cast some shadow. It would look organic, I said, "like every separation is supposed to have micro pipe." A full pipe on an acanthus is a bigger thing, and the Byzantine acanthus, lesson 8, has its own page on that.
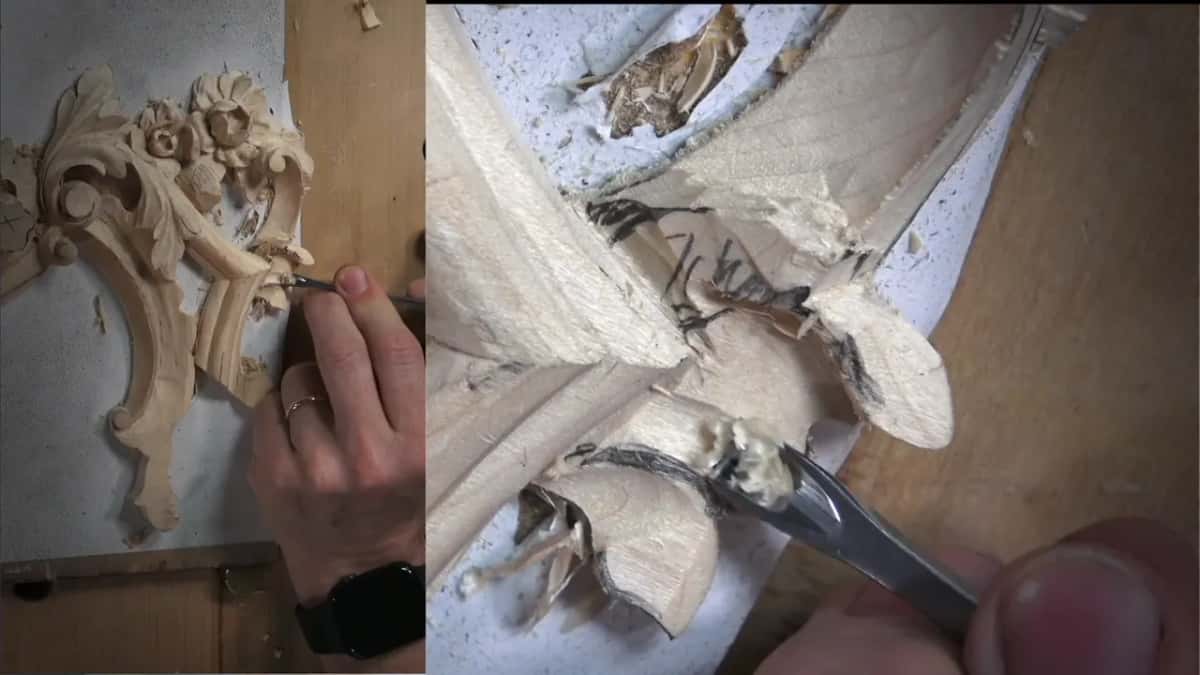
Why did the hump come off before the shaping?
It was too much wood, and it stood in the way of the movement I wanted. What I said was, "First of all, I need to get rid of this hump." I took a tool, got rid of some of that material, and said the right movements would be a lot easier to get "without the destruction."
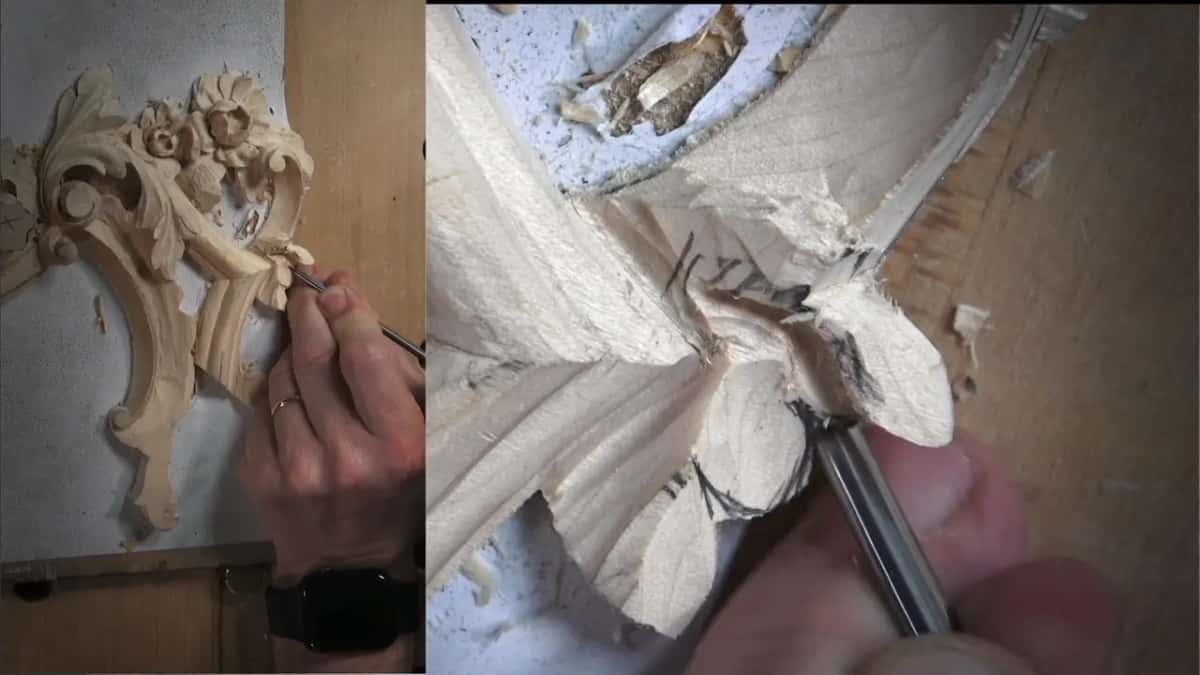
Even before the hump, a small triangle got small bites from a number 11 of 3 mm, about 1/8 in. "It's enough," I said. Once the hump was off, I kind of liked it, and the direction of the leaf could be set. My plan was to keep that same flow along the line. There would be an S curve at one point, and one section I would chop a little and blend. "In my opinion, it does look really good, if you look with the overall movement."
Then a quarter inch number 9 went in straight down at another spot to make that motion, and a volute had to run all the way to that point. "Hope it makes sense," I said, and then, "Well, it's got to make sense, right?"

How do two concaves raise the ridge?
One concave goes in on each side, and the strip left between them stands up. On that leaf the first concave followed the overall movement, and the second went on the opposite side. "And I can feel there's that ridge," I said. "It actually moves my eye to the right direction."

Later in part 1 I wanted that ridge raised slightly, even though I was pretty sure the movement already felt right. I did it anyway, carefully, one concave and then another, all the way. "But don't want to force it. But can you see how raised that micro pipe is? And that's what I'm after."
One side still left me not too happy, so another concave went in there to bring out that micro pipe. The sharp lines I didn't need, and those got blended nicely.

How did I open the hollow under the curl?
With a small number 8 of 3 mm or so, worked in beneath it. "I can just wiggle," I said. "Not wiggle, but like a drill, without forcing too much." It got me what I called a really wonderful curl, and out came my phone so you could see what was going on. "See that curl right here? It just curls backward."

Before that, the area got cleaned with a spoon gouge. The antique one came out, by Herring Brothers, with Prize Medals stamped on its steel, and I said it was a really, really good one. "I absolutely have to make it clean first." The curl had to grow from underneath so it would look really good.

Next came my new addition, a 4 mm (5/32 in) number 9, a really tiny spoon. A separation there was possible, but I didn't think it was necessary. When one curl still looked off, a small number 5 came out, and I said a number 4 or a number 7 would work too. "So it doesn't have to be just five. You can just use any tool."
Where the leaf butts the molding, it had to feel like it is growing from right underneath. There, a 1 mm number 11 (under 1/16 in) made a little deeper excavation, and even a half millimeter one would go deeper still, I said.

| Spot on the panel | What I did there, in the order I did it | Tool I said on camera |
|---|---|---|
| Small triangle | Small bites with it until I said it was enough | A 3 mm (1/8 in) number 11 |
| Curl at the molding | Drill-like, without forcing too much | A small number 8 of 3 mm or so |
| First volute | Size checked on the first piece, then I eyeballed it | A quarter inch number 5, Ashley Iles |
| Second volute, a bit bigger | Relieving cut all around it first, because it is small | Number 10 at 6 mm |
| Wall by the volute | Straight down with no undercut, then sloped outward | My number 7 at 14 mm (9/16 in), then a number 2 |
| Under one leaf | Deeper excavation until the area went much darker | Two number 11s, 2.5 mm and 1 mm |
| Next convexes | Blended from both sides, the way I showed | Quarter inch back bend |
Where did the shadow get deeper?
Under a leaf, where I wanted a volute to look like it runs right underneath. A number 11 of 2.5 mm (about 3/32 in) made the relief cut, chopped straight down. The exact size did not matter, I said. It went "not as deep, but somewhat deep." Then a smaller one, about 1 mm, the antique one "just for fun of it," took the undercut deeper underneath.

I didn't go really deep. As you remember, the panel is paint grade, and all of it will be painted. I had already started painting some of that job. "Kind of sad, but it is what it is." "Okay, that's what client wants."
The other side got the two and a half millimeter one again, for a deeper excavation. "That way, I'm going to have a beautiful shadow. It's really makes huge difference." That tool looked huge on camera, I said, but it is not in real life, and it was still a little too big for the spot. So I went to a 1 mm one. "You can see it's already much darker in this area. Much darker."
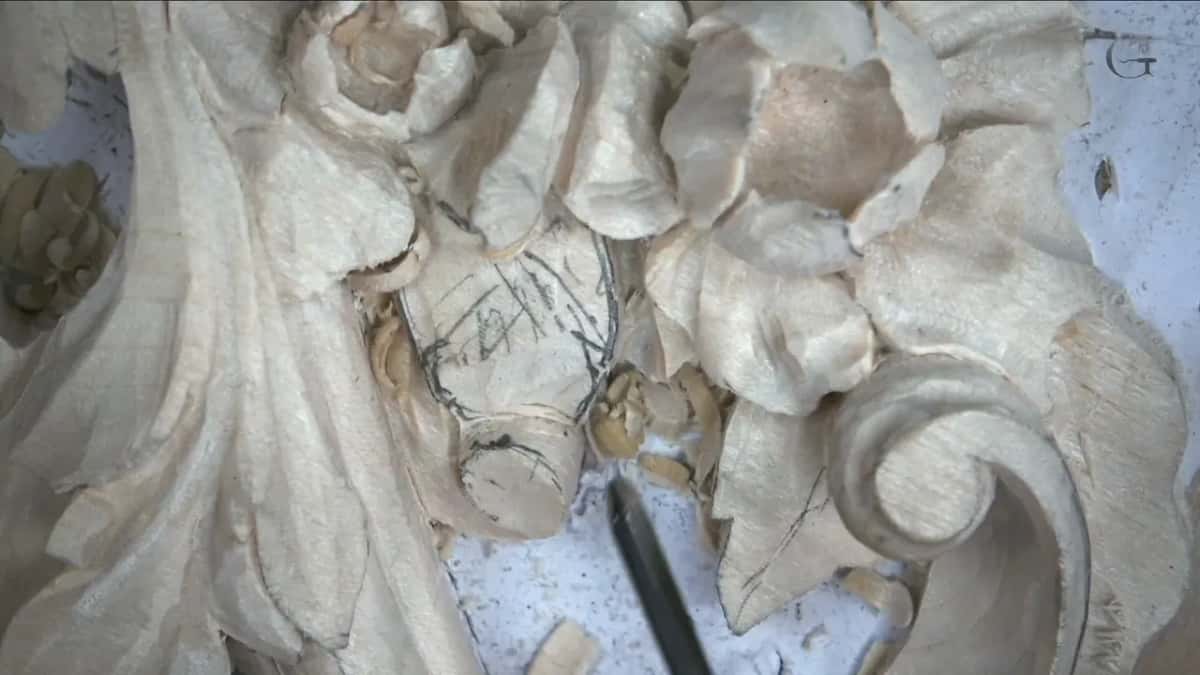
Much the same came up on the furniture panel, lesson 26. I can always go deeper, I said there, but I want to make sure "it catches the light and create some shadow."
Should you leave the facets on a carved leaf?
On these leaves a good part of them stayed, because they were working for me. "I'm not going to take too many facets out as much as I really like to make it clean." "But in this case, those facets, they actually working for me." "They're going to create some kind of interesting shadow casting."
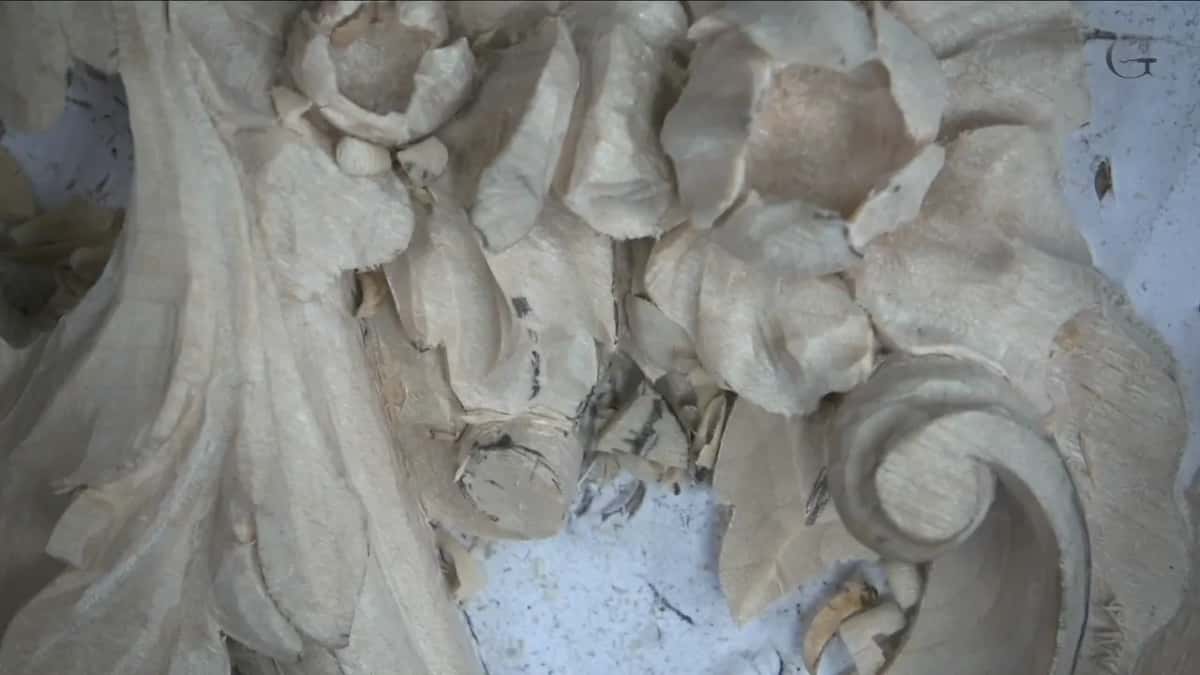
I still cleaned, just not as much. The tool was a spoon, but a number one. "Spoon chisel, I could call it." Before that I kept the details down, because there was no reason for many details in that section. The overall shape is what I wanted to leave.
Two other lessons in this course add to that. In lesson 13 I explained that this project gets painted, and not with a paint that just soaks in. It gets chalk paint over a really thick primer, maybe two coats, and I said even the primer will cover the majority of those facets. Then in lesson 14 I said I'm not the biggest fan of sanding. "I really like to leave all my work with the facets and so on." A lot of furniture makers like their work really smooth, and I said that is absolutely fine. For smoothing a surface when a job asks for it, see the scrapers lesson.

What size were the two volutes?
About 6 mm, a quarter inch, for the first, and about 7 mm (a little over 1/4 in) for the second. The first was checked against the first piece, and then I said, "I'll just eyeball it." On the screen it looks huge. "But in real life, I am working with a really small detail."
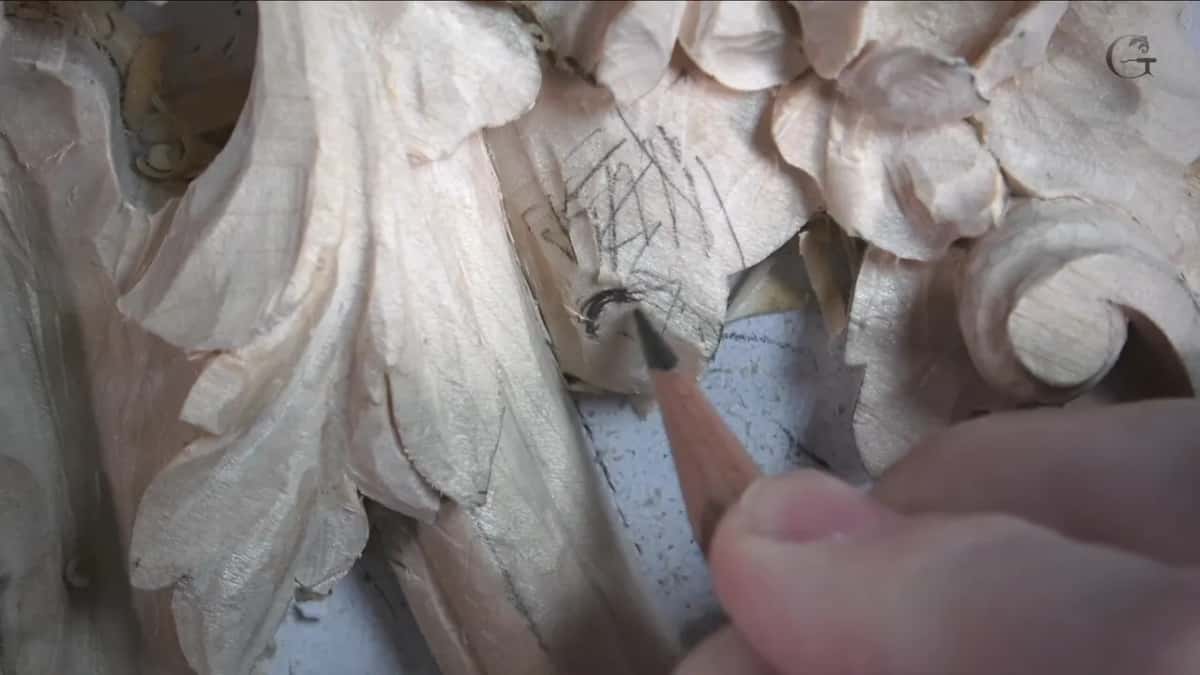
Ashley Iles made the number 5 I used on the first one, a quarter inch. A relief cut first crossed my mind, but I said, "I think I should be safe." That leaf went a little below. Its side does not go straight down like 90 degrees, so a small spoon gouge with a really tiny spoon part lowered it. Again, there was absolutely no reason to overcomplicate that volute, and I said so.
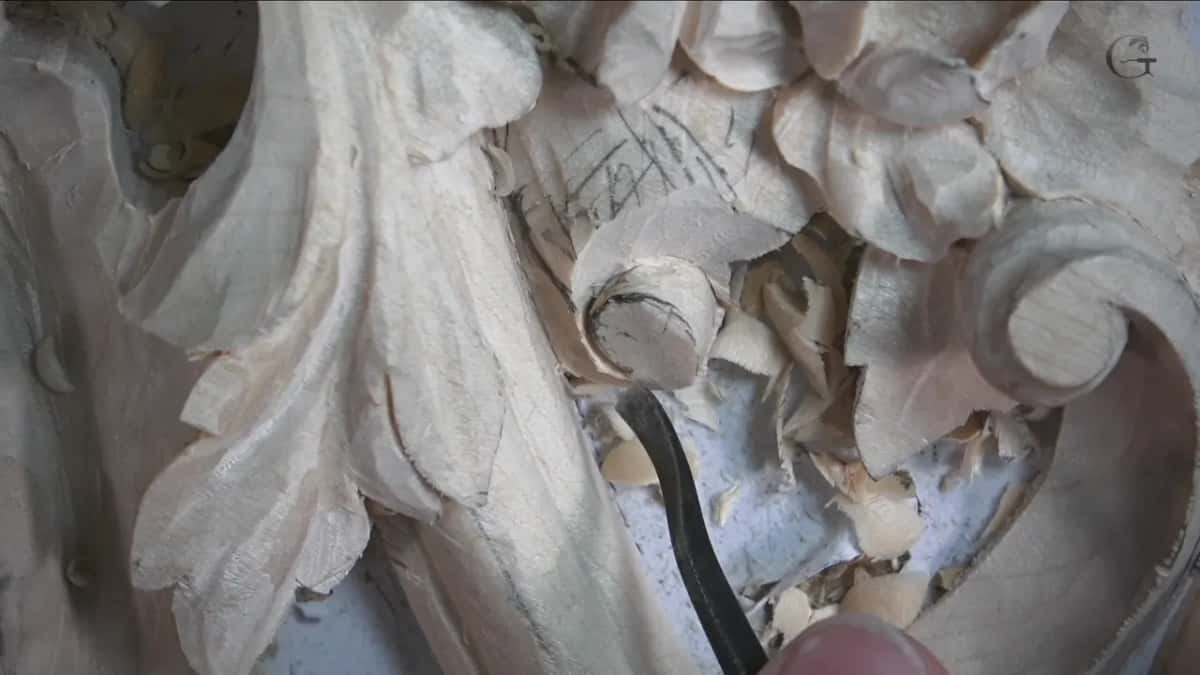
The second volute runs along the molding, on both sides. "I think personally, it's just really such a nice detail." Because it is a small one, a relieving cut went around it first, with a number 10 of 6 mm (1/4 in). It is "still not like a true round," I said, more "like a U shape, but not as tall." I called it a really smart idea. Then came a tiny tool from a brand I really like, Ashley Iles, a Peter Benson detailing tool. "Really love how it works."

Partway in, the piece started coming loose, just because that glue is not as strong. I had absolutely no problem with that. Just be careful, I said, and that's all I had to do.
Why didn't I undercut the wall by the volute?
That part had to slope outward. It went straight down first and got its slope after. My number 7 from before, 14 mm (about 9/16 in), took it down on the line.
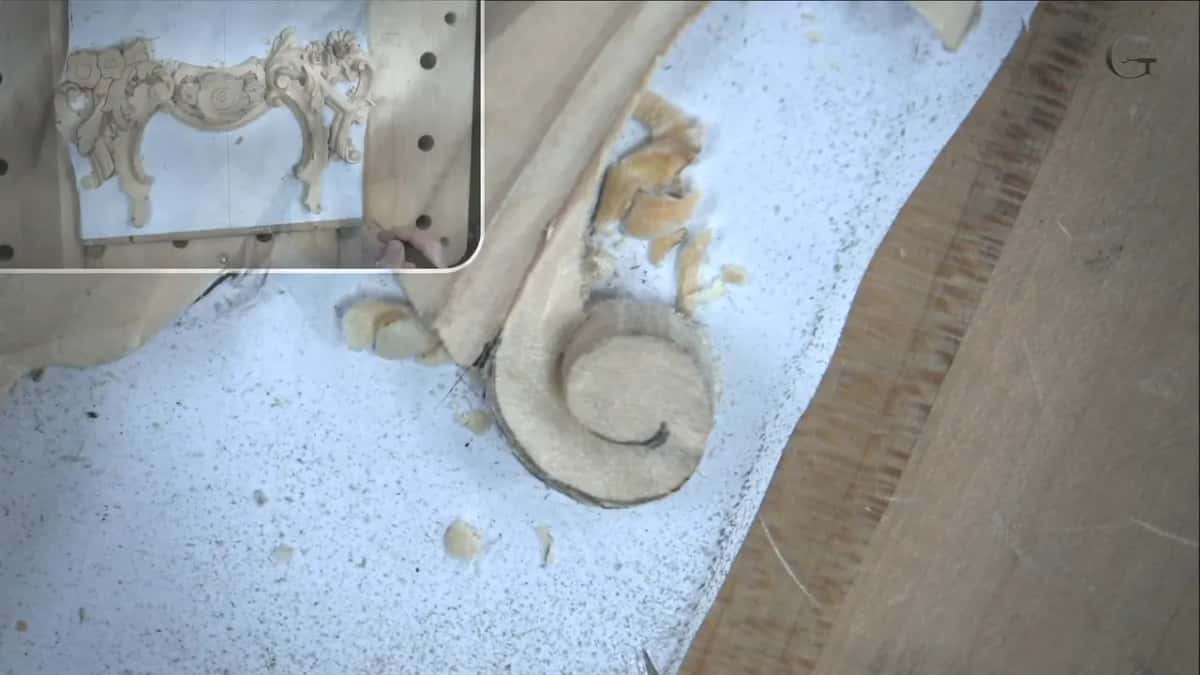
The corner needed care, so a small number 1 with a double bevel, both sides, came out. That point could not get damaged, because I still had to get the miters to it and attach the moldings. Back with the number 7 to clean, I said, "I don't want to undercut." It should not look like it is going underneath, because I wanted that part sloping outward. For the slope, any straight tool will work, I said, and I used a number 2, though a number 3 works too, going both directions.

One more spot was hard to see, and it had to go. The tiny number 1 came back, one-eighth of an inch, held with a finger. "I think it's enough." There was no need to spend too much time on it.
What did the red and blue lines mean?
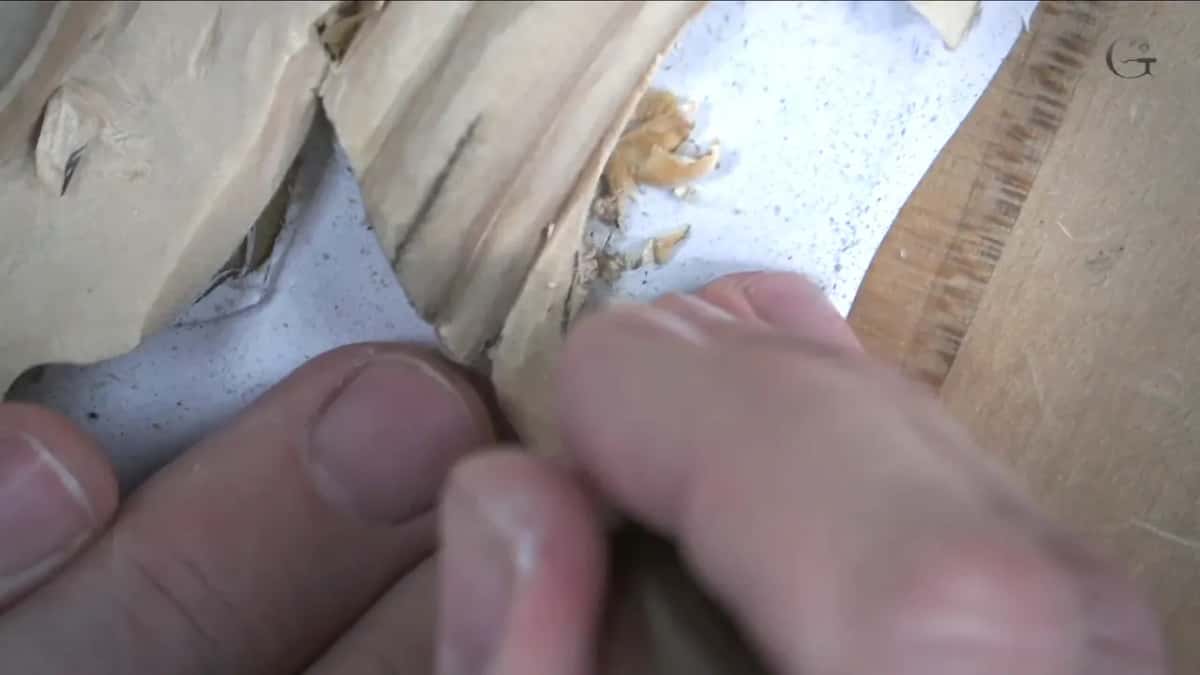
Red was convex and blue was concave. I drew them on the next part "for you just to understand the concept," with a picture to go along. "Just to think about that red as sunshine and the blue is like ocean." First I looked at the first piece and repeated its main movements, convexes going up and a concave in the middle. One of them I moved a little, for better spacing.

To find how low that part goes, out came the tool I really love to use, my pointing machine. "One of the best tools." It read about 3 mm at the lowest spot, then about the same at the next one and the one after. One-eighth of an inch, all around. For the whole method of setting an exact depth with that machine, see lesson 4 of this course.
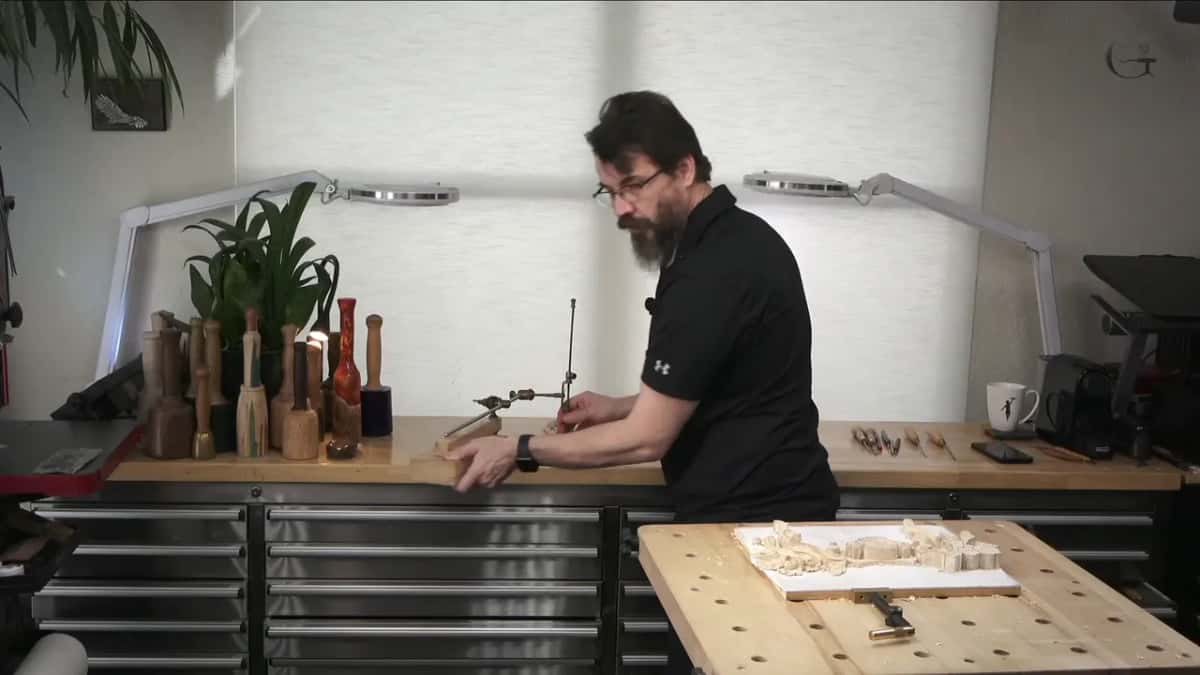
Another concave got excavated with a number 9 of 10 mm (3/8 in), and I had to be careful there, because I was carving along the grain. The convexes got a quarter inch back bend, blended from both sides.

Where will the light come from when the panel hangs?
From only a couple of places, so its shadows will look much deeper than they do on my bench. My words in lesson 10 of this course were, "wood carving, like I said multiple times, it is always about light and shadow." My bench has lots of light coming from all the points. Once the piece is installed, light at night will come just from above, and during the day the main source will come from the front, with some secondary light from the room on the right-hand side. "So it's going to be much deeper shadow." More three-dimensional, I said.
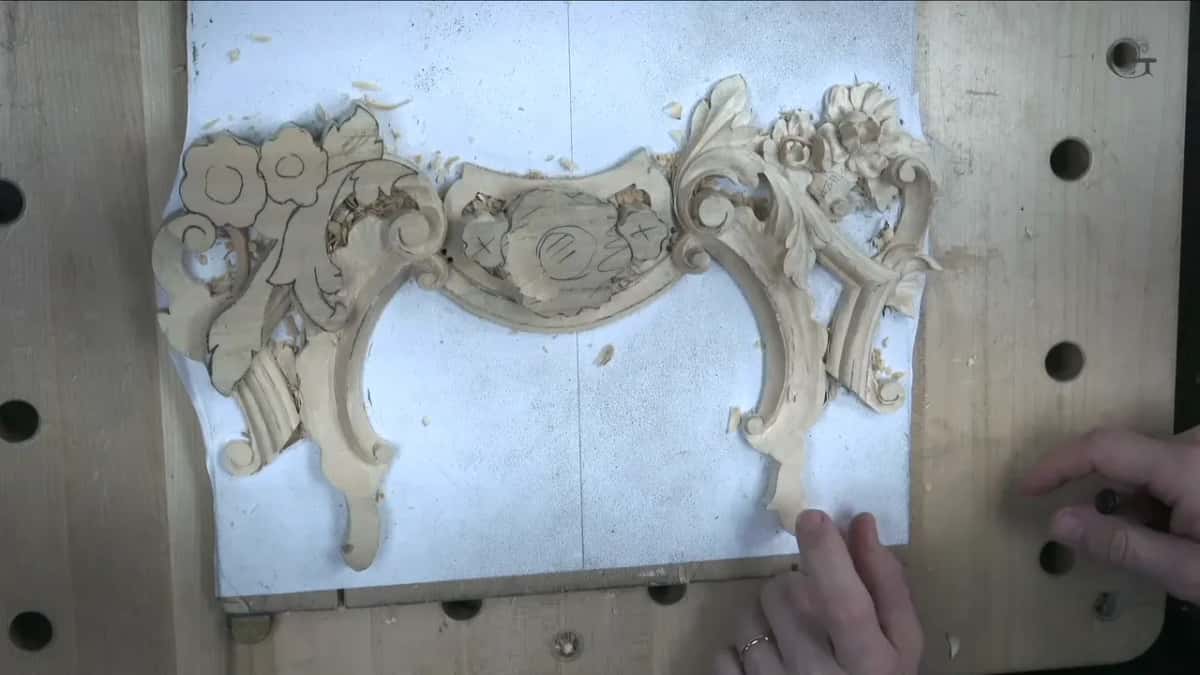
On the Roman acanthus, lesson 16, I covered one side with a piece of wood. Those edges, I said, were "catching the light," and the shadow went inside, in the concaves. "But try it yourself." Play with the shadow and the light, and you will see what I mean. Later in that lesson a chamfer gave me what I called a lighter point, and I showed my shadow point and my light point.
There is a name for light like that. Raking light, as Wikipedia puts it, comes in at an oblique angle, almost parallel to the surface, and it is widely used to examine works of art. Artists call strong contrasts of light and dark chiaroscuro.
Lesson 11 had a pipe going under the flower, and that one had to be a big convex. A real convex feel was what I wanted there, or it would look too dull. When you photograph a finished carving, the light matters just as much, and the Greek acanthus assessment page walks through it.
What else came up in lesson 9?
A few small things. The last leaves on that side were nothing complicated, with the same movements, and I said I have more freedom on those leaves. For those of you who wonder what pencil sharpener I use, I showed it. It is battery-operated, the brand is Office Goods, and the version is V7 or whatever it is. "Not as expensive as other ones, but works fine." I've had it a couple of years, with absolutely no problem.
Some footage got lost, too. "Sometimes it happens, and that happened again," I said, and about five minutes of my footage were gone. And there was noise outside from landscapers working on the grass. I didn't want to stop recording just because of that, and I asked you not to pay attention.
Has a bright edge on a carved leaf ever caught your eye? Would you like to see where it comes from on a real piece? Access to the school opens every lesson of this panel, the facets I left on purpose included.
How it's done
- Take the hump off first. On my leaf there was a hump of just too much wood. I got rid of it before any shaping, and the right movement was a lot easier to get.
- Put a concave either side. The first concave follows the overall movement, and another goes on the opposite side. The micro pipe rises between the two, and then the sharp lines get blended.
- Open the curl from below. Beneath that curl I worked my number 8, about 3 mm, in gently, the way a drill goes in. It curled backward.
- Go deeper where you want dark. First the number 11 chopped straight down, and then a 1 mm one went deeper underneath, until that area was much darker.
- Leave the facets that help. I cleaned lightly, using a number one spoon chisel, and kept the facets that gave me shadow.
Frequently asked questions
What is a micro pipe in wood carving?
My name for a very small ridge, smaller than a true pipe, with a concave sunk on each side. I raised one on a leaf of this floral panel and said it would help with light and shadow. Over on the modern acanthus I said a micropipe there need not be really pronounced.
Why carve deeper under a leaf?
To get a darker spot there, on my panel. A deeper excavation gives a beautiful shadow, I said, and makes a huge difference. After the 1 mm tool the area was already much darker. I still did not go really deep, since the whole piece is paint grade and gets painted.
Do you sand the facets off a carved leaf?
On this panel, no. Some facets were casting an interesting shadow, so I cleaned them only a little. Lesson 14 is where I said I am not the biggest fan of sanding, though plenty of furniture makers like their work really smooth, and that is fine with me.
What to carve next