

Alexander Grabovetskiy, woodcarver, School of Woodcarving · Published 2022
How do you carve a clover molding by hand?
Quick answer: A clover molding is three convex shapes side by side, a convex in the middle and a rounded side on each side. On my floral panel I took the width with calipers, about 19 mm, read the sides about 5 mm lower, then rounded the middle with a number 7 upside down and the sides with a back bent.
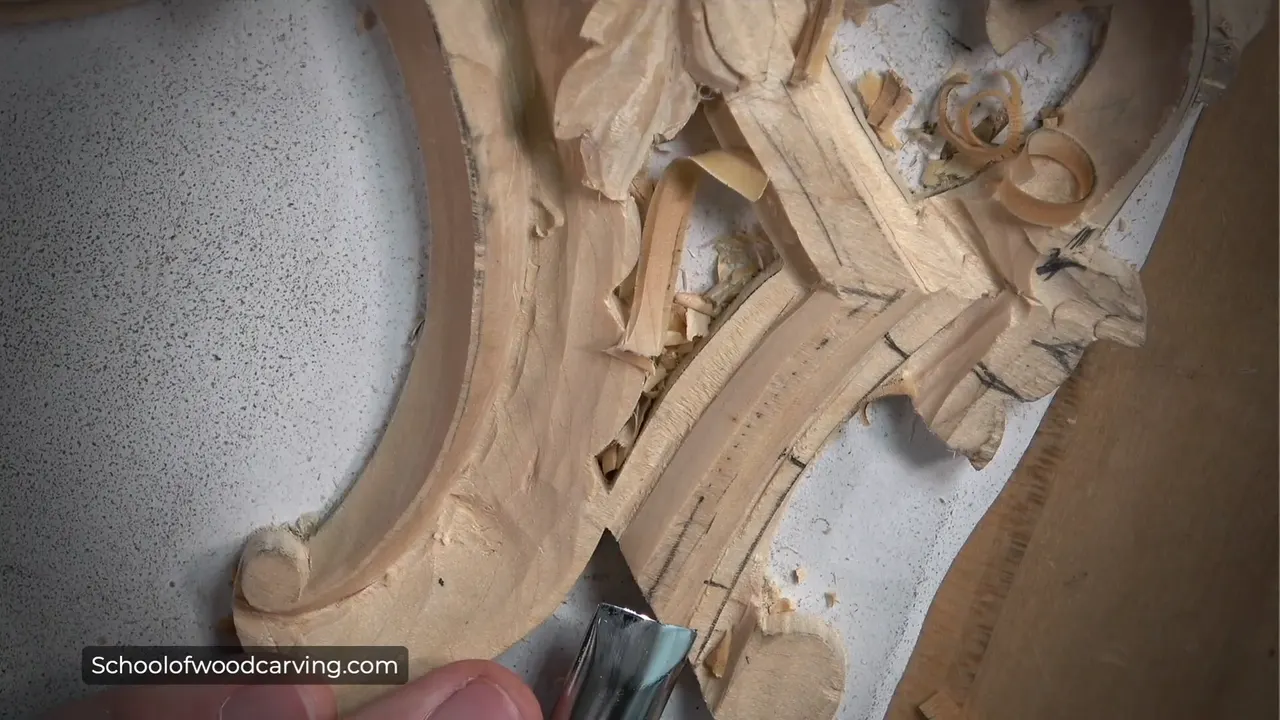
A clover molding is a profile of three convex shapes side by side, convex, convex and convex. I put it that way in lesson 8 of my floral panel course, and I called it pretty much simple, not as complicated molding. By hand, measure first. Then draw the lines, lower the sides, and shape the middle and the sides with gouges.
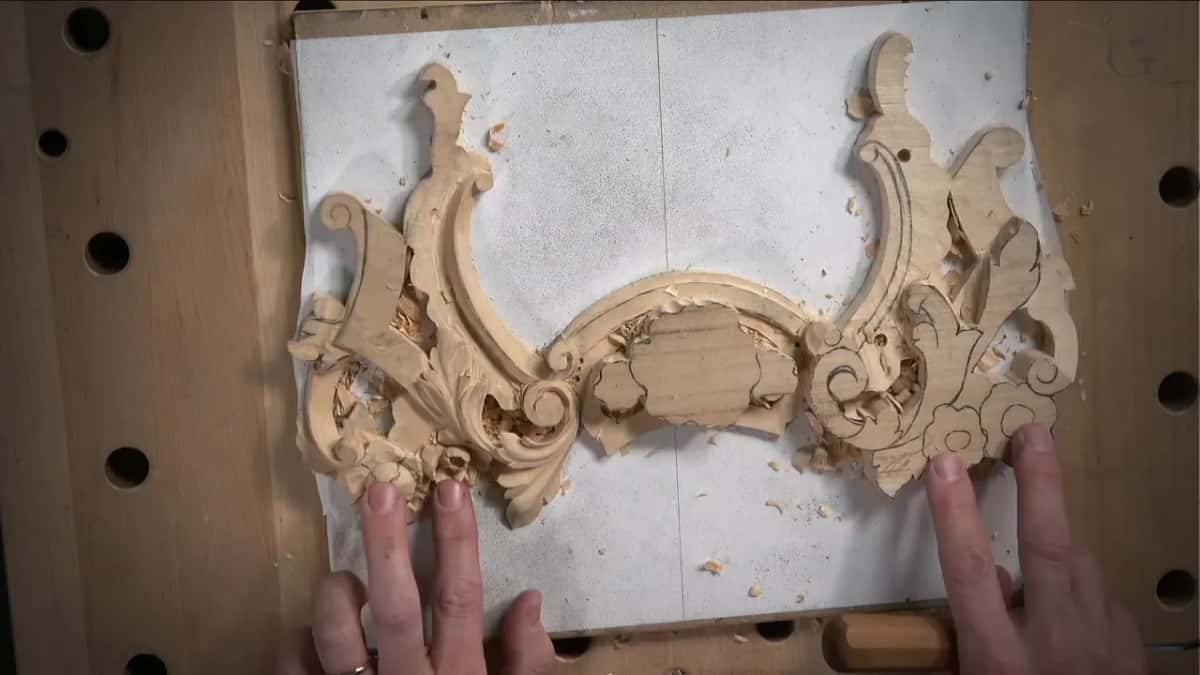
This is lesson 8 of Carving Floral and Molding for the Panel, and the molding comes right after the second flower of this relief. On this panel it turns a miter at each end, and a small volute runs along its side, on both halves.
You want a profile that looks the same along its whole length, right? And you would rather catch a slip while there is still wood to fix it? Then measure first and carve second. Below are my readings, the gouges in the order I took them, and the spot where I went under my line.
Six things I did on this clover molding
- Calipers first, for the width.
- The center line went in by eye, between marks I already had in the middle.
- The pointing machine read the sides lower, five millimeters or a bit less.
- Near the volute I worked with only the side of the tool and never dug in.
- The middle convex got the number 7 gouge turned over, edge first.
- A back bent did the sides.
What does a clover molding look like from the end?
Three rounded bumps in a row. Before I started, I turned around and showed you the existing piece edge-on, and I said it again: convex, convex, and convex on this side.
You really don't see that in a real movement, I said. But if you look from above, there's a miter going this direction, and another miter going that direction.
Clover is the common name, actually. In Acanthus over Moldings, lesson 2, I described it as a molding with a convex right in the middle, and on both sides it goes downhill.
Same thing in lesson 6 of that course: rounded sides, both of them, and then the middle part is convex.
Why leave extra wood at the end of a clover molding?
For the miter. On the existing piece I left about a millimeter or so of material all around, and on the new one I left the molding slightly wider at the end.
I have to carve other moldings, and I want to make sure that when it's mitered, I have some room to play around and make it look really nice.
Later the two drawn lines had to meet at one point, right where the miter goes. It's going to look like it's mitered, which means I really have to connect those lines together, right at that point.

Which tool measures a clover molding first?
The calipers, for the width. The first step would be to measure how wide that molding's going to be. For that I use just the calipers. Always, always the best tool, I would say.
I double-checked on both sides. A little more than three-quarters of an inch, I said, then no, exactly three-quarters of an inch. Perfect. So about 19 millimeters or so.
Then the middle. I've got a few spots in the middle, and that makes it a lot easier for me. I eyeballed the center line between them, approximately.
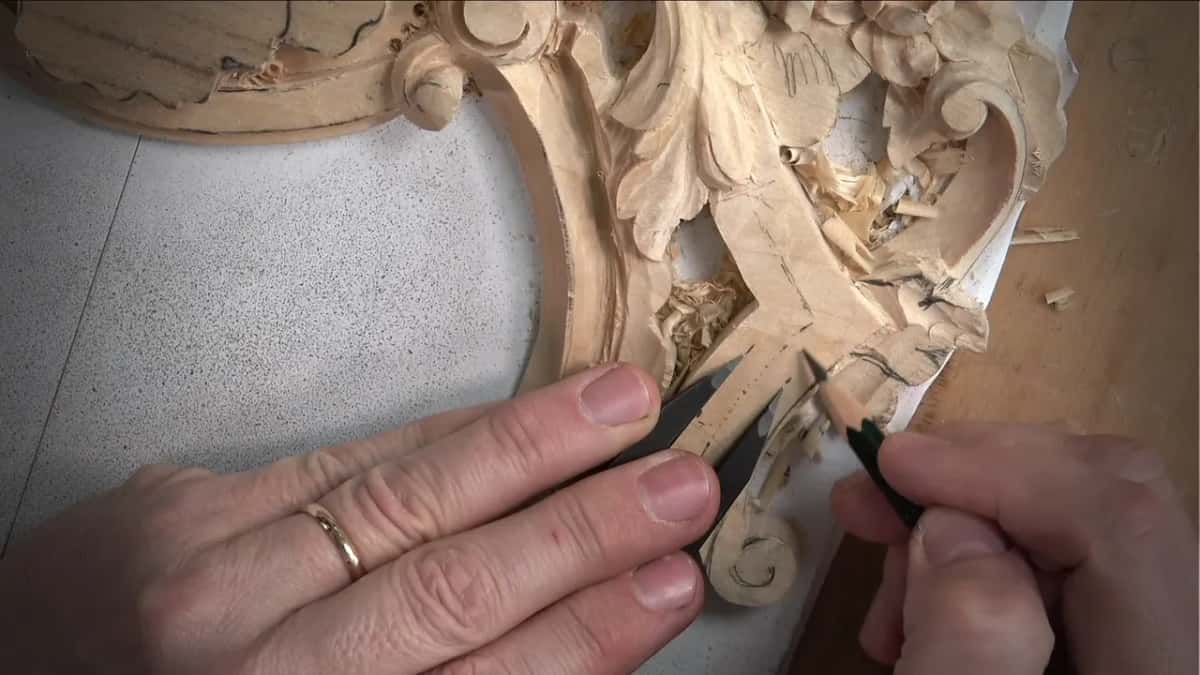
This molding starts wider at one end and gets a little more narrow the closer it gets to my acanthus. The opposite side got the same treatment, and that gave me a really good idea.
Once the lines met at the miter point, that was it. Don't need any more calipers.
How low do the sides of a clover molding go?
About five millimeters (3/16 in), maybe four and a half. I took my pointing machine again and measured the height, not of the middle part but the height on the sides.
My clamp had to come off for a moment. Both sides got marked, and I drew a line.
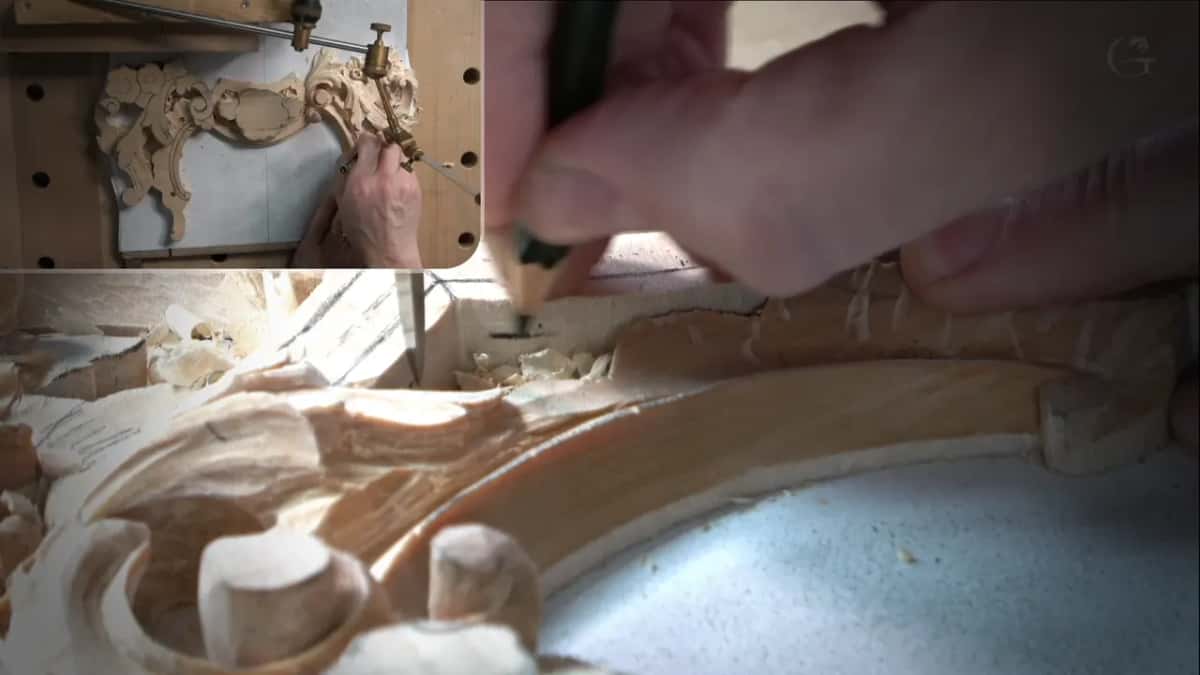
Maybe slightly less than five. Doesn't really matter in this case.
If the machine is new to you, the pointing machine page in the tools course shows how it works, and lesson 4 of this panel is the one about carving down to a depth I measured.
Which gouges clear the wood inside the drawn lines?
First a number 9, 1/4 inch (6 mm). Number 11 will work, number 8 will work, but I took just the number 9 and removed the wood between those two lines.
The volute next to the molding would be lower too. So for the beginning there I took a bigger tool, a number 7 of 14 millimeters, half an inch, and removed some of that volute. But I have to be careful. It is somewhat fragile.
Then a number 9 of 10 millimeters, 3/8 of an inch, between those lines on both sides. I had done the opposite side already, but for some reason I forgot to turn my camera on. And that gouge needed to be buffed.
Next I drew the boundary of the molding and double-checked how wide the volute would be. That volute goes lower than this part of the molding.
To lower that section I took a number 11 of about 1/4 inch, and this part went pretty low. The other half needed a smaller one, maybe 1/8 of an inch (3 mm).

Right away, with that same tool, I attacked the space between the curl of the volute and that line. Pretty much I'm using just the side of the tool. Without digging in. So important for me not to dig in, and I didn't want it to go too low.
| Tool and its size | What it did on this clover molding, in order | My note |
|---|---|---|
| Number 9, 1/4 in (6 mm) | the first pass between the two drawn lines | Number 11 works too |
| A 14 mm number 7 | took some of the volute down, since it sits lower as well | somewhat fragile |
| The 10 mm number 9 (3/8 in) | between the lines on both sides | it needed buffing |
| An 11 of about 1/4 in | lowered the section by the volute, which goes pretty low | 1/8 in on the other side |
| Macaroni tool, 23 at 6 mm | both walls, straight | Swiss-made; 4 mm when 6 is too big |
| Same number 7, upside down | the middle convex, starting at the edge | no rush, I said |
| Back bent, a number 5 | the sides | any back bent will work, I said |
Where does the macaroni tool come in on a molding?
Along the walls. After the volute I took my macaroni tool and attacked this side and that side, six millimeters first. If it's too big, I switch to four millimeters.
If you want to buy one, it would be number 23 in the six millimeters. Mine is Swiss-made, and the handle in the frame below says so too, SWISS MADE 23/6. Those guys aren't the only ones who make them, though, and there are a couple more companies making that tool.
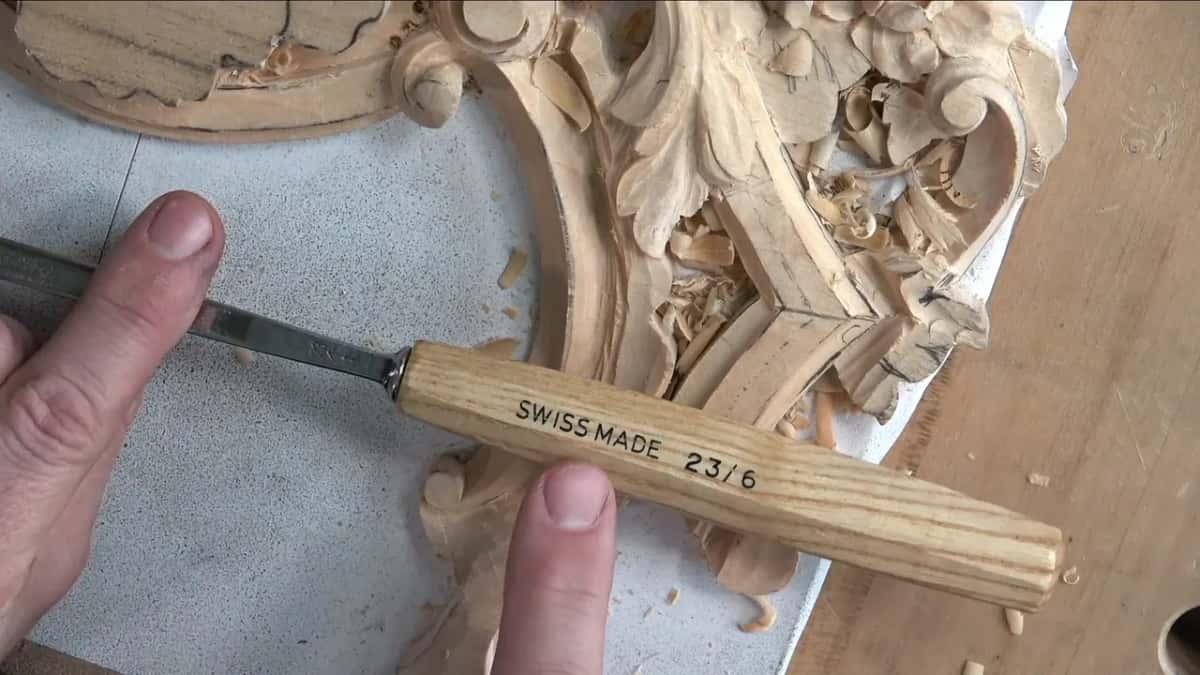
It has two sides and a bottom. That's three chisels, chisel, chisel and chisel, so three sides, and I ran it just straight. Back in lesson 3 I talked about the same tool while carving the volute.
As I said on camera, I did not use any V tools on this project, because they didn't have one. Still, the macaroni is one of the really good tools to have.
What if the side wall goes under the line?
You fix it, and you get more careful. Working right on the side, I undercut slightly underneath of this line, and I saw it right away. That is no bueno.
I'll fix it, it's not a big deal. I'll fix it, but I should be more careful.

Over on the second side, some of that shell had to go first. Don't really need it.
I thought about the four millimeters there and said I didn't need it, although I could. I used it anyway, just its side.
How do you round the middle of a clover molding?
A number 7 gouge, upside down. I could start with just the straight tools, like number seven, and I did it upside down.
So I didn't go to full depth right away. I went little by little. That was my first boundary, because I really need to make sure it comes out really round.

As you see, I attacked first really the edge, and then with the second pass I got a little closer to the middle line. That way I'll know my convex will be really good. And I don't want to rush it.
For me it is really important not to create a lot of pressure. I don't want to remove more material than I need to. I'm just pretty much shaving, and you can see how tiny that shaving is.
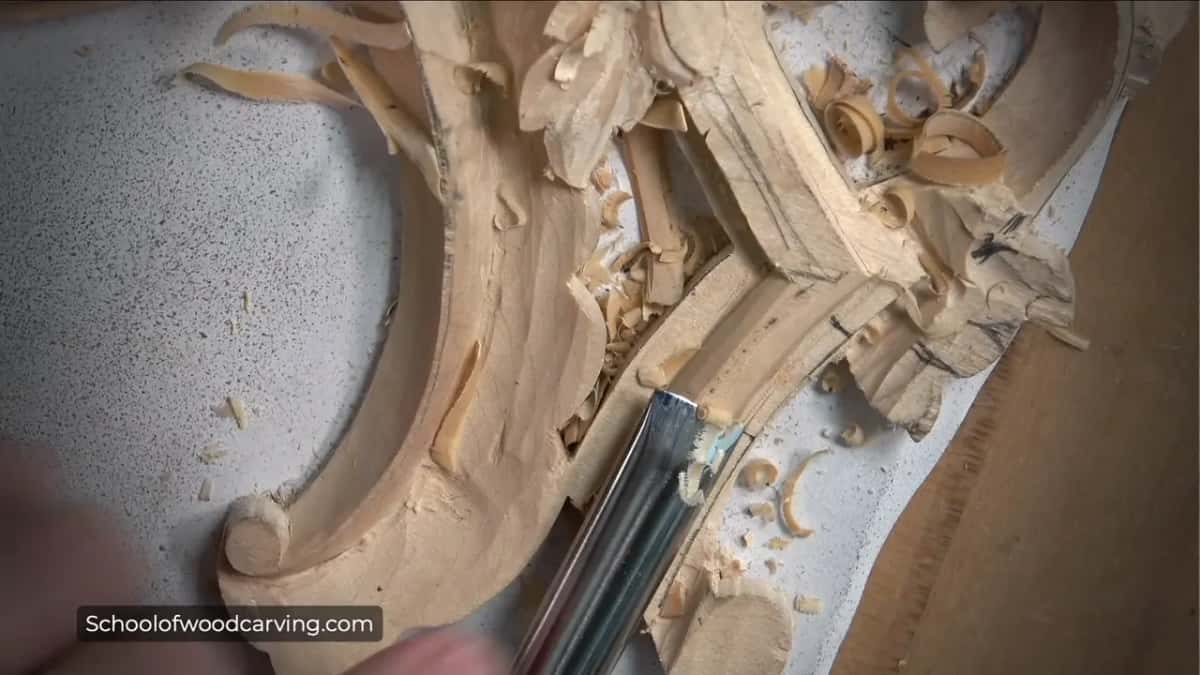
What do you do when the grain turns against you?
Come at it from the other way, if you can. In one area, if I kept going that way, it would be against the grain, so it's a wrong position, and I said I really have to attack that from the opposite side.
I did the left-hand side first. Now the other side. Working from the opposite direction was not really convenient for me there, so I went from this side, carefully, and I hoped I'd be okay.
What you hear in the background of that part is my second granddaughter, visiting me that day. Please accept the noise in my shop.
Why use a back bent gouge on the sides?
Easier, a lot easier. I could use pretty much the same tool for the sides, number 7 and 14 millimeters. But I said back bents are always the best tools for that operation.
The one I picked is an antique, by Henry Taylor, and it has specific properties. It's a really short hook. Really short. It's still back bent, you can see the backward shape, and I can get to the tiniest spots with it.
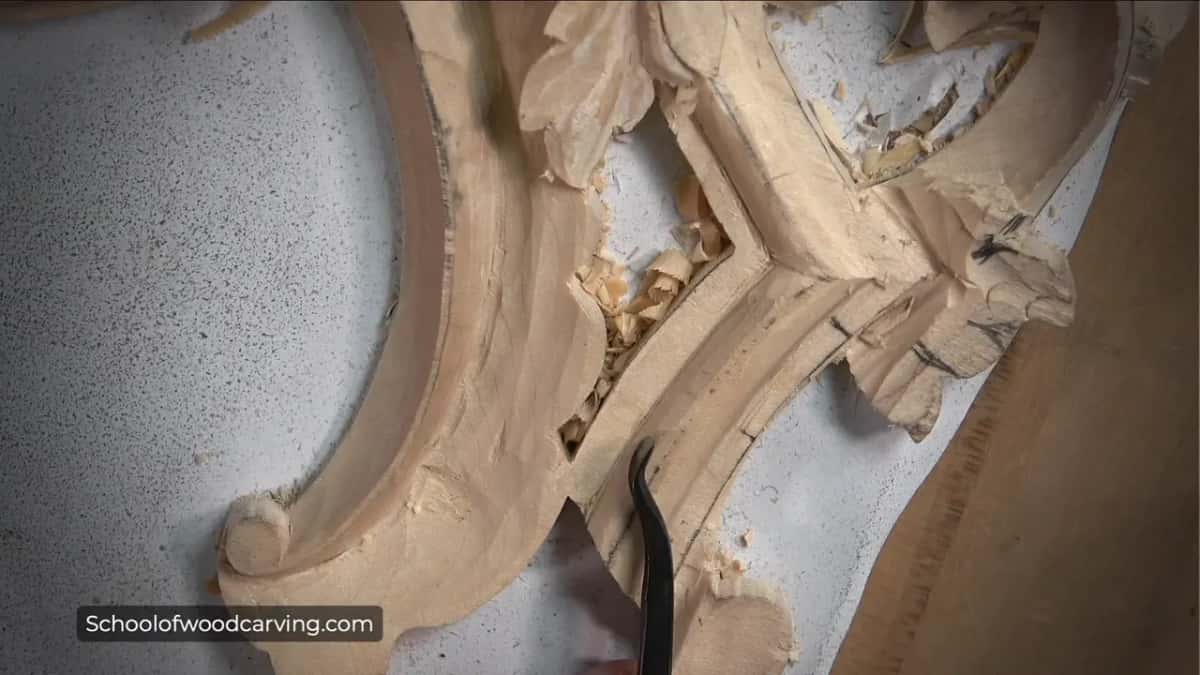
You don't need that exact one. Any back bent will work, and here I could probably get by with straight tools. I just feel it's safer to use that back bent.
On that side I used a number 5 back bent, again without forcing it. See how nicely I can do a job with the back bent? What was left, I can always take out with a 1 mm or 2 mm number 11.
Why shave the shell next to the molding?
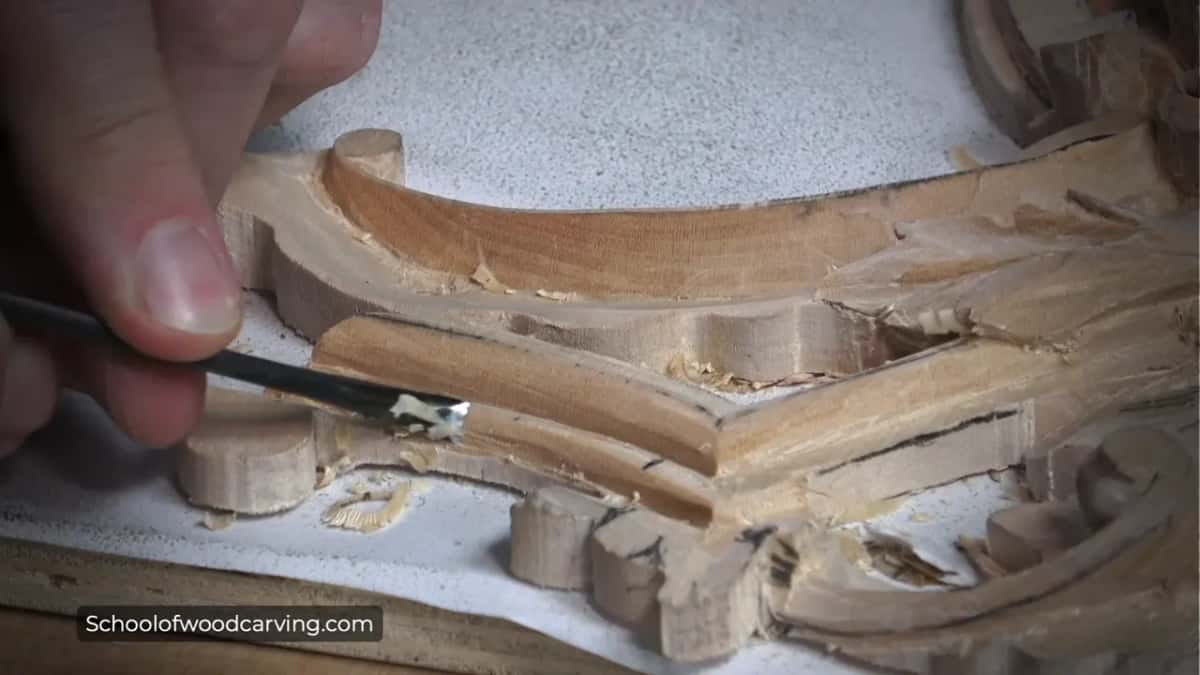
Again it's about the miter. Once I got to the second side, I checked what I had done on the previous one, and part of a shell would go a little below my molding.
I got my pencil and checked, then shaved a little of that shell to remove the extra material. Otherwise, I'm not going to be able to miter.
Then the back bent again. Like I said, it doesn't need to be a back bent. You could do it with straight tools, or with a small, tiny spoon, like a number three or number two spoon, and carefully remove the material. The result is pretty much the same. But with the back bent, it just makes life a lot easier.
The other side I did off camera.
Is there another way to shape a clover molding?
There is. In lesson 10 of Acanthus over Moldings, on another piece, the first step was to put the middle line right in the center. It doesn't have to be perfect, but try to be still accurate, I said.
After that came multiple chamfer cuts until I got the final shape. In lesson 6 of that course I put it this way: just by doing multiple chamfers I can create half a circle.
Two pieces, two ways. On this floral one it was a gouge upside down and a back bent. And if you build furniture, lesson 2 of this course has my few words on why a piece like this is good practice for you.
What did the second flower need before the molding?
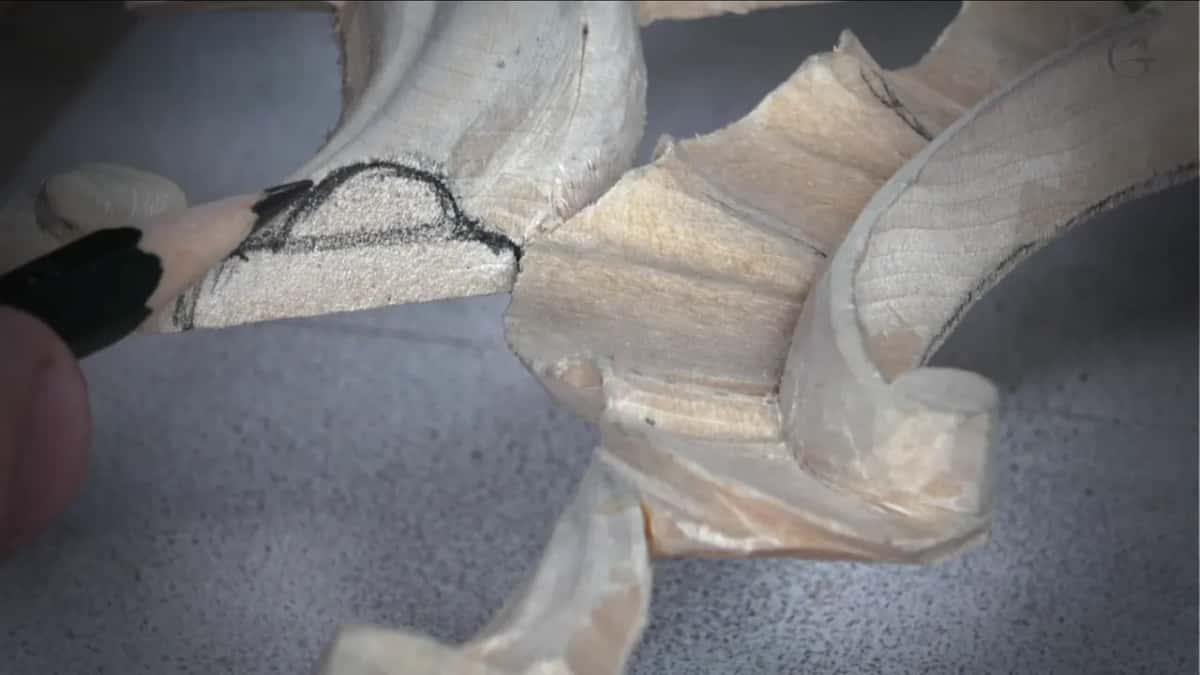
A curl you only see from the side. On one petal I drew a pencil mark so you could follow the movement. The curl goes up, then it goes back, and then up again, and that ridge is raised.
Look from above, and you don't really see it. Seen from the side, it makes a huge, huge difference, so I connected my phone and showed it to you that way.

Inside I excavated with a tiny gouge, number 8 of about 2 millimeters (5/64 in), then an even smaller one, maybe 1 millimeter (1/32 in), to go deeper. See how deep a shadow it creates?

Then a number 5, upside down, blended it and raised the ridge where my pencil mark was. One ridge I kept, and a back bent made a convex out of it. Why not?
There is no end, absolutely no end to what you can do with that stuff. Five flowers on this panel are exactly the same, and two others get different centers. Lesson 7 comes right before this one.
What comes after the molding?
Leaves, which are not as complicated whatsoever, and some of them stick out from underneath the flowers. After that, on that side, all that's left is a shell, leaves, another shell, and another small acanthus movement.
I did the first leaf. Another one, I said, has some kind of curl, an interesting movement. First came a number 9, just to expose material, and I left approximately a couple of millimeters on the side, maybe even less.
The roll itself came from a number 7 of 14 millimeters, and it has that movement backward. To get right underneath, a number 11 of 3 millimeters went first.

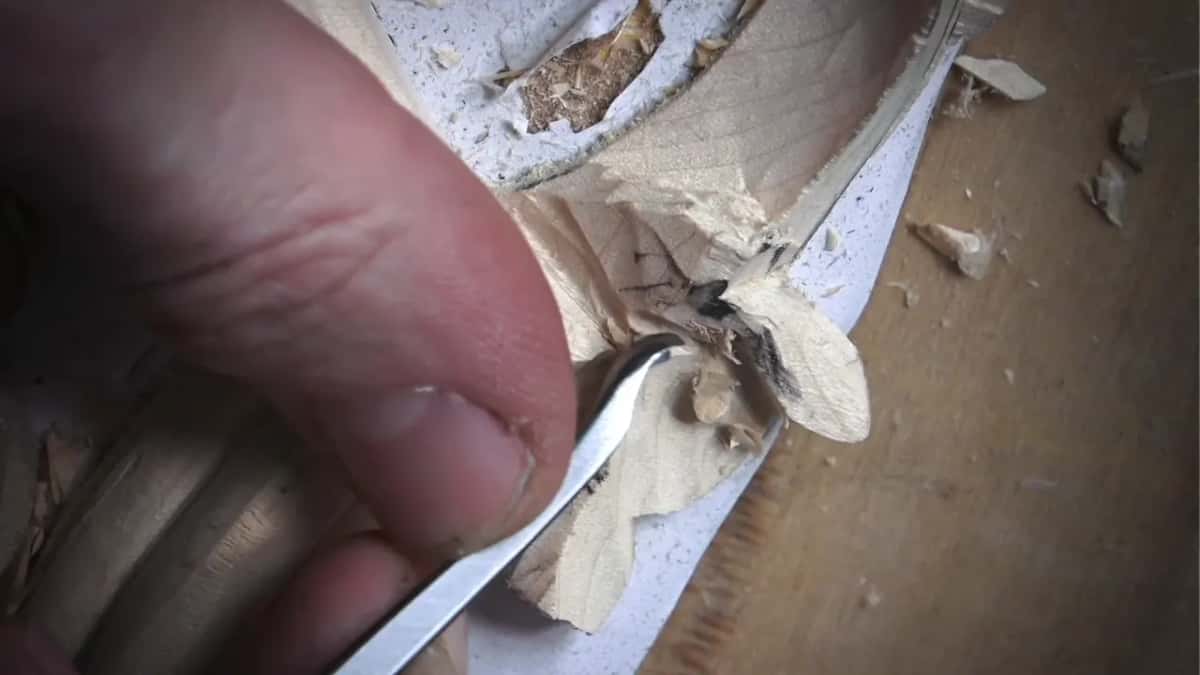
Working in that direction was not really convenient for me, so I switched to a really tiny spoon. I got it a few days before, but I opened the package on the livestream that same day. That tool is absolutely one of the best. Then I got maybe two millimeters, obviously also a spoon, exactly the same idea.
Where does lesson 8 sit in the course?
Just before lesson 9. The whole piece is part of a bigger Venice room project, a real-life project, and the Venice Room course holds a lot more of that carving, while that acanthus course puts leaves across profiles like this one.
You'd like to watch that gouge go upside down along the whole molding, wouldn't you? With Access you get the full videos of all fourteen lessons on this panel.
How it's done
- Measure the width. Put calipers across the molding and double-check on both sides. Mine read 3/4 in.
- Mark the middle and the miter. Mark several points along the middle, eyeball a center line through them, and bring the two lines together at the miter point.
- Read the side height. Set the pointing machine on the sides. They read lower by about 5 mm, so I marked both.
- Clear the waste. A number 9 starts it. Lower the section by the volute using a number 11, and there keep the tool on its side, never digging in.
- Run the walls straight. Take the macaroni tool along both walls, 6 mm, with a 4 mm ready if it's too big.
- Turn the gouge over for the convex. Turn a number 7 over, start at the edge and work inward pass by pass. Finish the sides using a back bent and no force.
Frequently asked questions
What number is a macaroni tool?
Number 23. If you want to buy one, I said, it would be number 23 in the six millimeters, and mine is Swiss-made. I kept a 4 mm one close in case the 6 mm was too big, and finally used the 4 mm anyway, its side only.
How wide was the clover molding on this panel?
Exactly 3/4 inch, about 19 millimeters or so, taken with calipers and double-checked on both sides. Toward the acanthus it gets a little more narrow, so I relied on some points along the middle and eyeballed the center line from there.
Can you shape the sides without a back bent gouge?
Yes. I said a back bent is not a must. Straight tools work, or a small, tiny spoon like a number three or number two, carefully. The result comes out about the same, but the back bent makes life a lot easier, and to me it felt safer.
What to carve next