

Alexander Grabovetskiy, woodcarver, School of Woodcarving · Published 2024
How thick should a carved branch be?
Quick answer: Branch thickness is the width a branch keeps after you shape it. On my grape onlay I wanted the widest spot no more than maybe five millimeters, about 3/16 inch, and maybe even three. Where one branch sat beside another, one of them could go a little thinner, by the golden ratio's 60/40 rule.
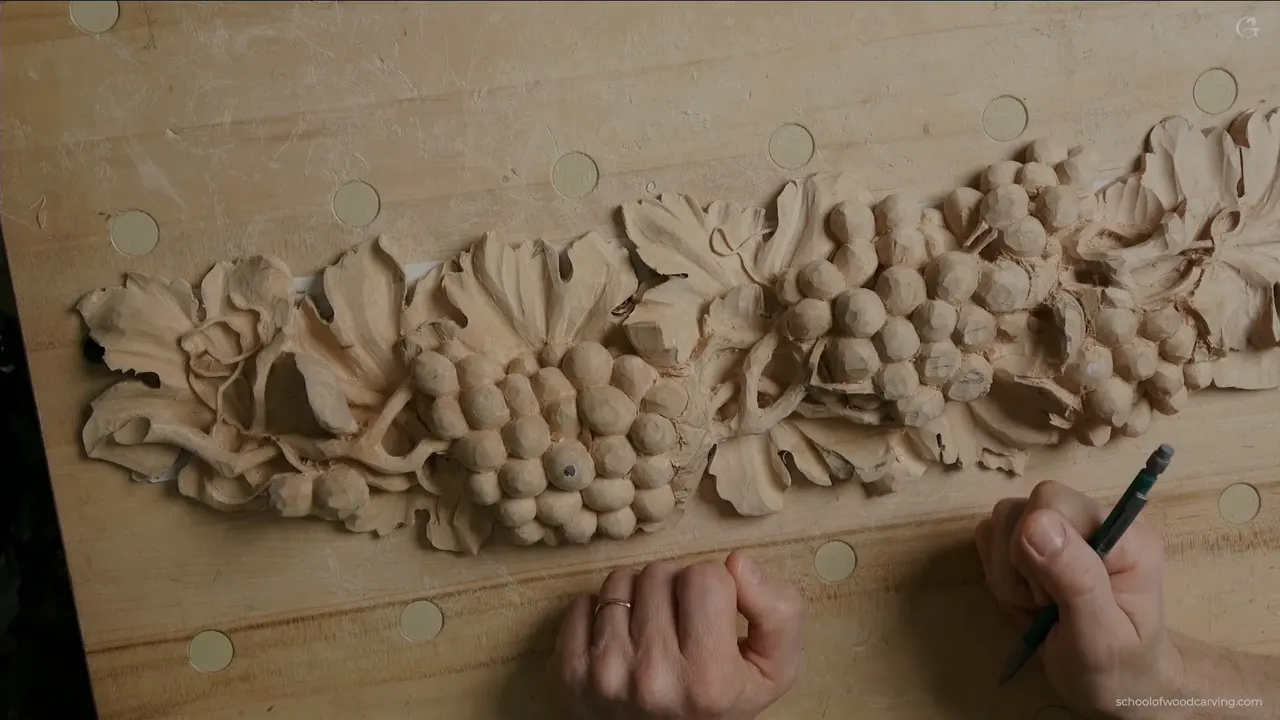
Carved branch thickness is the width a branch keeps after you shape it, and on this grape onlay I wanted the widest spot no more than maybe five millimeters, about 3/16 inch. Maybe even less. Maybe an eighth of an inch, three millimeters or so. I said both numbers in one breath while I shaped that branch, with a maybe in front of each one.
Picture a carved grape vine. It has more than one branch, right? And those branches run between the bunches and connect the grapes? Then one branch can stay a little thicker, and it makes sense to thin the one beside it. That's what I said in this lesson.
You'll get the numbers from this lesson and from a few other pieces of mine, the rule I gave for thinning one of two branches, and why I outline with a bigger tool than the gap needs. You'll also see why I stopped short of the last thinning.
The short version of this lesson
- About 5 mm (3/16 in) or less is what I wanted at the widest spot of a branch.
- One branch can be a bit thicker while the next one goes thinner, by the golden ratio.
- A branch needs some curvature. Too straight, and it won't look good.
- Thin wood is fragile, so I don't go too thin while I'm still blocking in.
- I outline with the bigger tool when it fits, because a tiny tool gives you no shadow.
- The Venice Room stem was about a quarter inch, and on a lily box I wanted one millimeter at the most.
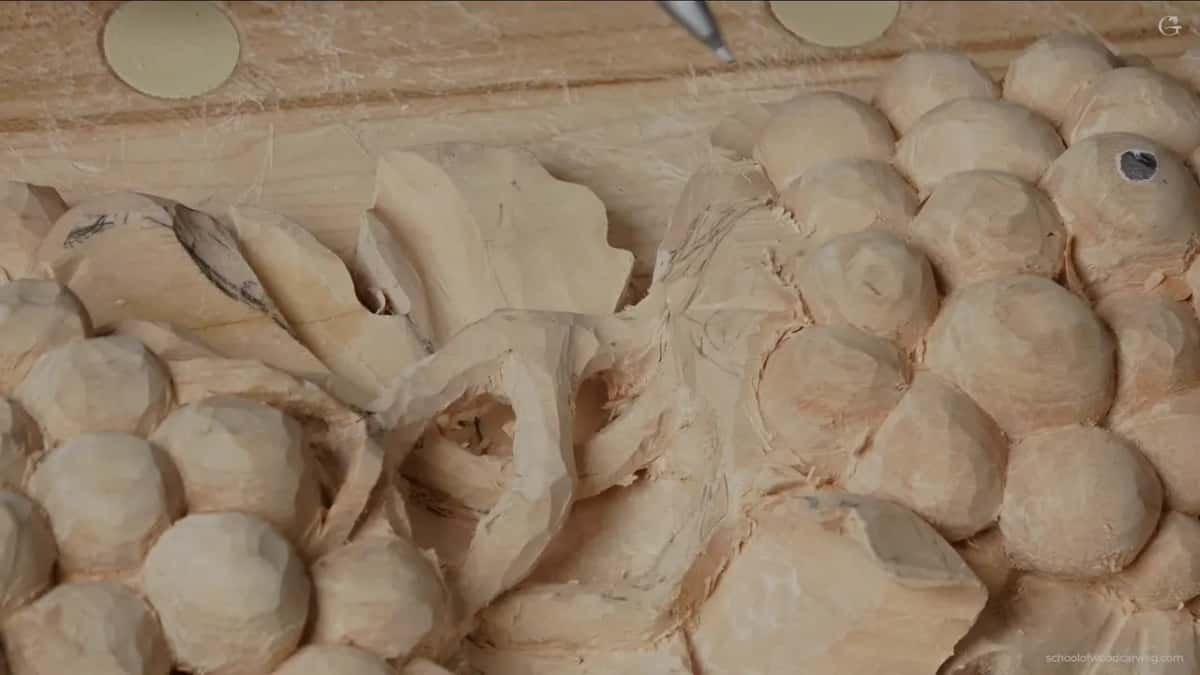
How thick did I make the branches on this onlay?
Five millimeters at the widest, maybe less. I shaped that branch using a four millimeter number 11 and said it should be okay for now. Then I picked up a number 3 to give a shape to a grape. With the same tool I cleaned up a little. Sharper edges, or better edges, I should say. That's when I said I didn't want this one too thick.
Width is only half of it. Before I shaped the branch, I left about half an inch (13 mm) from the high spot down, so I could excavate right through and make the branch airborne right away. As always, I outlined with my favorite number 11 at five millimeters, 3/16 of an inch. I did the main movement first and looked at it from different angles, just to see how it's going to look.
Why does one branch go thinner than the other?
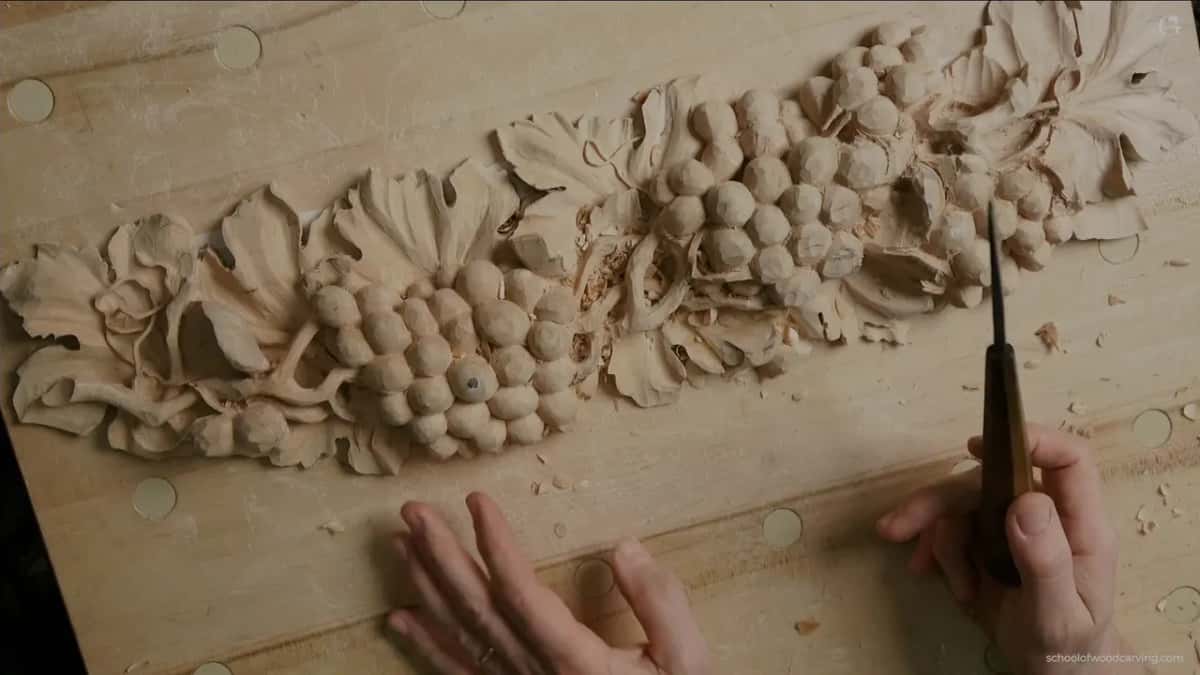
It comes from the golden ratio. That came up in the second part. It's okay to have one branch a little thicker, but with the other one, if you follow the 60/40 rule, 62% against 38% of the mass, it makes more sense to make it a little thinner. I'm also okay with the thicker branches at the ends.
The golden ratio is a number close to 1.618, and the math behind it is on Wikipedia. The Venice Room got the same rule. There 60/40 was going to be easier, I said, and to be exact it's 62% and 38%, and it set the boundary of a leaf.
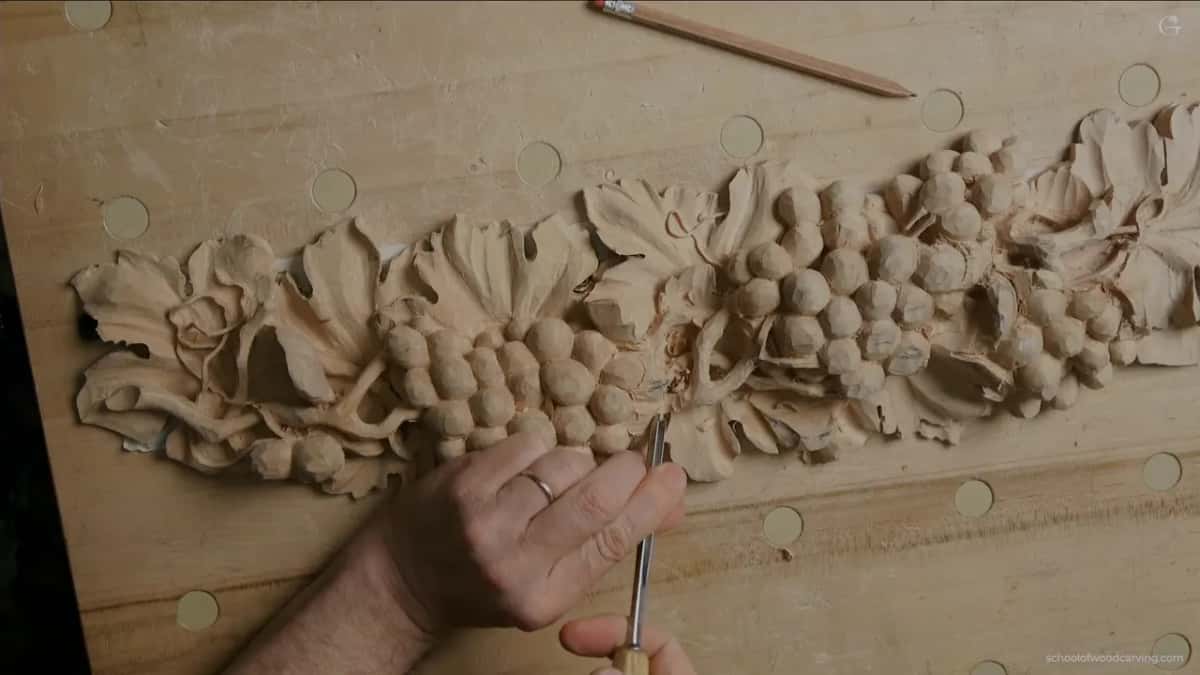
In lesson 8 I found the point of a grape leaf lobe with the same rule, 60/40, like a golden ratio, from a center hidden under the grapes. The theory behind it is in the design course.
Which branch goes on top where two branches meet?
The main one, and I decided which one that was before I outlined anything. At the start of this lesson I had two branches, going in two directions. To make it more complex, like a knot, one branch could go below, then flip above, and the other one could go right underneath.

But I could also take the main part above, with a section of it going right underneath. That was probably going to make more sense for me. Then, partway through the outline, I said, "I think I have to rethink." The main one went even lower, with two separations right there to repeat the two separations I already had at the top.
Where one branch ends, I let it die on the inside somehow. It goes this direction, and it's dying somewhere right there, near a grape that sticks out. I rotated the board for the other branch, a much better position for me, and took it right underneath from that side. And I could even go under that grape a little bit.
Why shouldn't a branch run straight?
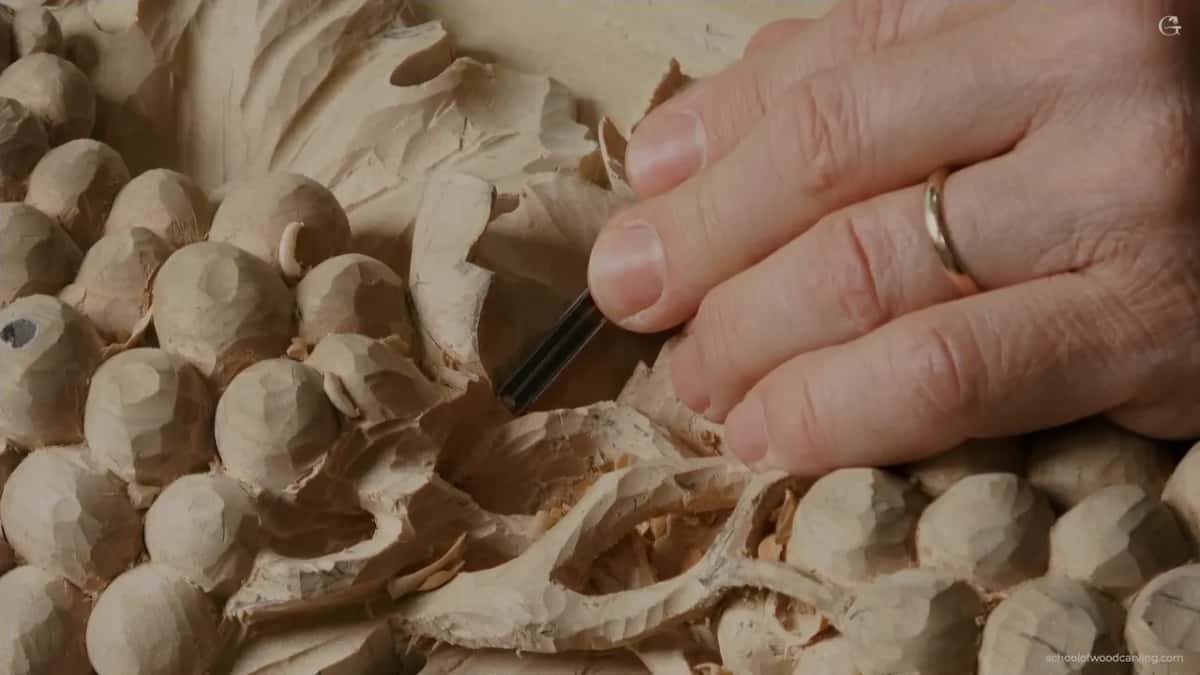
I don't want it too straight. Right after I shaped the branch, I put it this way. I want some kind of curvature in it, otherwise it's not going to look good.
In lesson 4 I said much the same about a tendril. I really don't want to see any straight lines.
I wanted a really thin movement right underneath a bunch on the Furniture Panel, so I took a flatter gouge, maybe a number 3, and lowered it even more. That gave it some depth.

When do you thin a branch to its final width?
Later. Late in part three I didn't like how thick one area looked, so I made it somewhat thinner. But I didn't make it too thin yet, because it becomes more fragile. That was still blocking in. I said it again later on.
I did the same with the vine in lesson 6. I drew it about 1/8 inch wide at the end, and it's going to be about a sixteenth, a millimeter and a half wide. But for now I kept it at about three millimeters, because I didn't want it too fragile at the beginning.
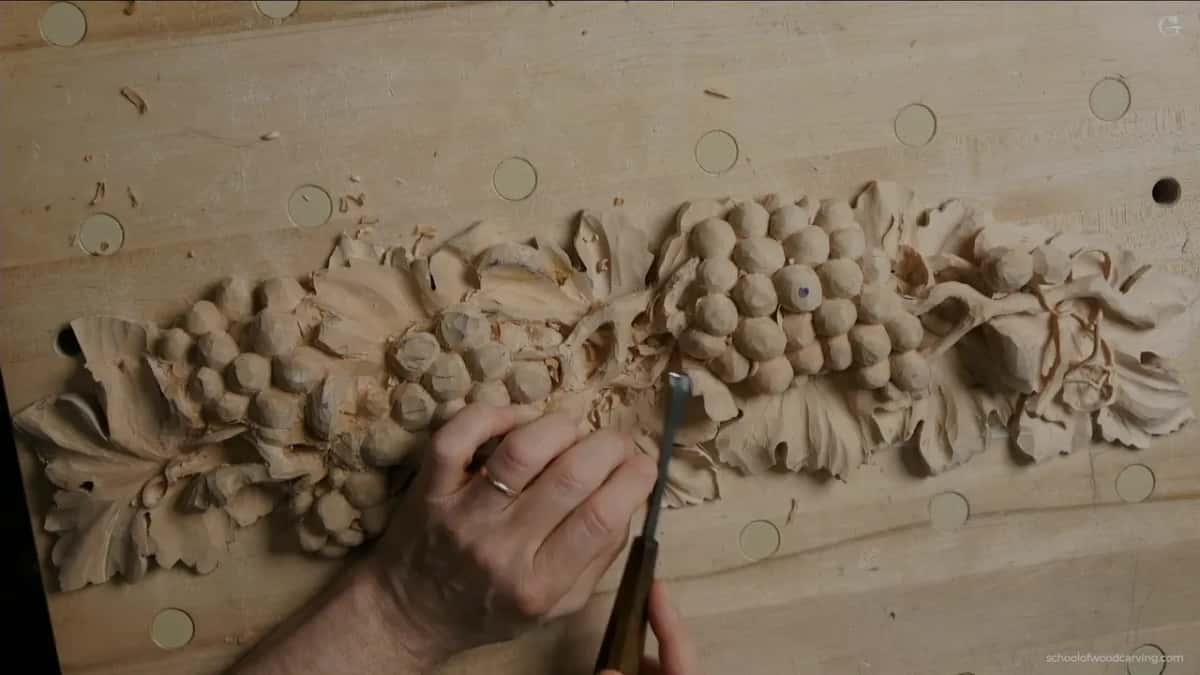
The Furniture Panel was the same story. I don't worry about cleaning up yet, I said. I can always clean that a little later and refine it, and by refining I mean making those stems even thinner.
Cleaning waits too. In the last minutes of the lesson I said it's a little too early for me to clean. If I'm going to change something, or break something, after I spent so much time cleaning everything, that won't make me happy.
I pushed too hard at one spot on the lily box. I didn't break it completely, and I said that's what happens when you're forcing too much. The finish would hold it together, but I shouldn't force it.
On a Hashemi flower an edge became really fragile, really thin, but to me that thin edge was a good thing.
Which pieces had thicker or thinner stems?
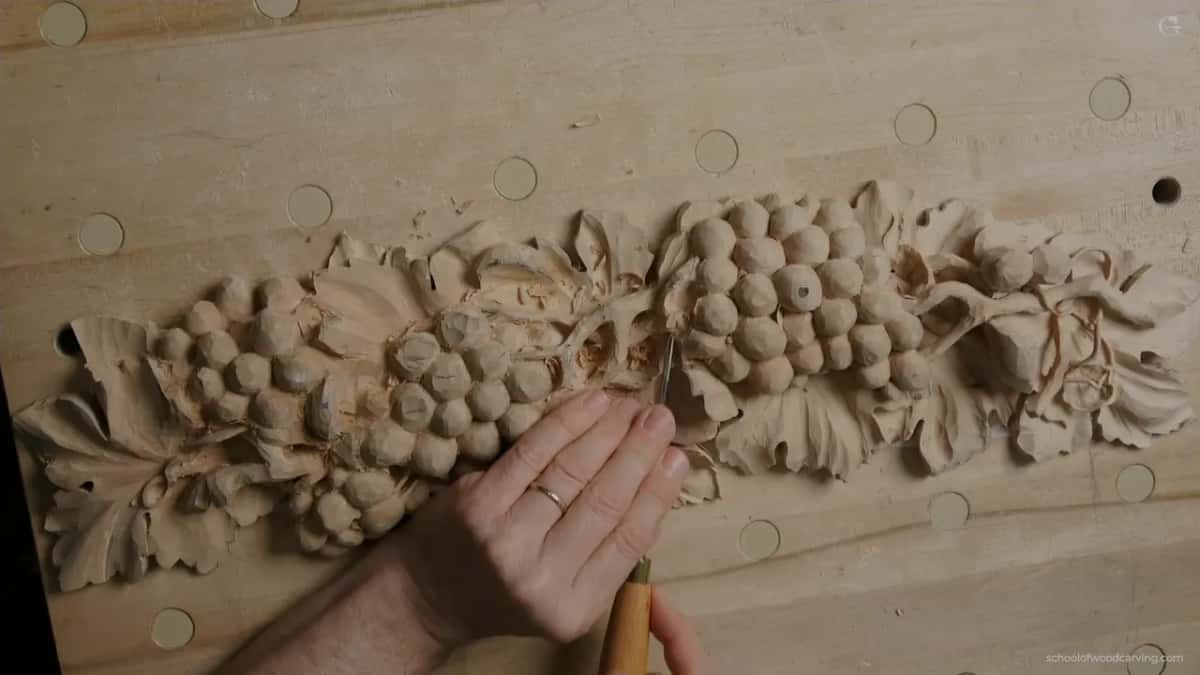
Each piece got its own number. For the Venice Room I said the stem shouldn't be that thick, so I made it about six millimeters, about a quarter inch. A lily box stem was about a sixteenth of an inch, a little too thick in my opinion. I wanted it at one millimeter or less, maybe about 1/32 of an inch.
A gouge that fits will do, or a knife. I went with a small number 3 and gave the edge a little roundness. I chamfer the edge, or fillet the edge, and it creates the illusion that the stem is really, really tiny.
| What I carved | Width I wanted, in my own words | Where from |
|---|---|---|
| One branch here | Five millimeters or under, maybe even three | This lesson |
| Vine, same panel | Three millimeters for now, a sixteenth later on | Lesson 6 |
| Tendrils, same panel | Two millimeters the most, maybe a sixteenth of an inch | Lesson 4 |
| Venice Room stem | Six millimeters or so, a quarter inch | Workshop 97 |
| Lily box stem | A millimeter at most, maybe 1/32 inch | Lily Box 3 |

Why use a bigger tool around a branch?
For the shadow's sake. First I tried my number 11 at two and a half millimeters, then two, before anything smaller. I could just use a half millimeter and get those two branches close to each other, almost connected. But you're not going to get shadow with the smaller tool, and I really want to outline those branches with the shadow.
As I said before, in carving you pretty much paint with the light and the shadows. I know it sounds philosophical. But that's exactly what it is, and you are a painter of the shadows and the light. Wikipedia calls that way of working in light and dark chiaroscuro.

When I reached my limit, I switched to the half millimeter. Take your time with that one. Tiny tools still have their limits.
It depends how the light is going to hit. On the Tray of Blessing I said the same thing, we are painting with the shadows and the light, but that tray won't hang on a wall. The light comes from the side, from a window, so I had to excavate deeper to get the shadow. With the piece on a wall and the light above, you can get by with less depth and still cast the shadow.
Shadow even settled one spot for me in the first part. I had a little section with material left. I could make a small branch there, which probably wouldn't make any sense, or excavate it into a really dark spot. The 2.5 mm number 11 fit that narrow spot, so I excavated, and I think I made the right decision.

How do you get daylight under a branch?
I drill a plug cut from both sides. Under the high spot I drilled right underneath with a number 9, three millimeters (1/8 in). Then I came from the opposite side with exactly the same idea, like a plug cut, until I was all the way through, and made it a little wider.
A number 9 is a half circle tool, for those of you who don't know it.
At another spot I used a number 8, about 10 millimeters, straight down and maybe pointing slightly inward. I'm not poking with it. In slow motion you'd see I'm slicing, so I'm not pushing the whole wedge in. Then from the other side I removed a plug with the number 9 again, went toward the hole, and that section was completely airborne.

One piece I held with double-sided tape in the second part, and I don't think I did a really good job of fastening it, but it's all right. That tape is the subject of lesson 10.
What if a branch has no room to go under a grape?
Then it goes over the top. Toward the end of the first part I had another branch to place, and logically I didn't have enough space. I couldn't lower that side any more, which is logically what I had to do. So that part goes right at the top of the grape, and the grape sits right on the side.
I had a limit like that from the start, too. Early on I said I had plenty of material and no problem going a little deeper, but not too deep, because I had already excavated on the bottom.
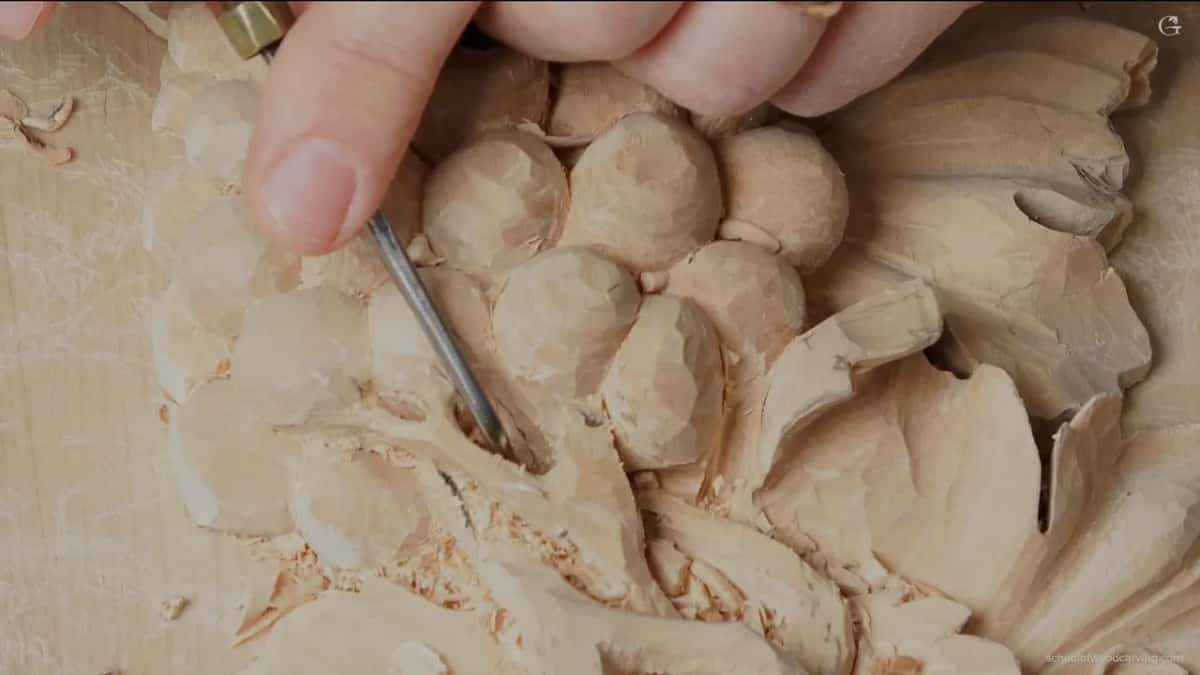
And near the end I kept some wood on purpose. I didn't want to remove too much from one side, because I still wanted some connections. From the same branch I connected a grape by making an opening. You've got to connect to other spots underneath too, not too much though. You don't want to overwhelm your composition, so be wise.
Which tools did I use on these branches?
My favorite number 11 did a lot of it, in six sizes. It went five millimeters for the outline, four for the shape, 2.5 and 2 mm for the narrow spots, then one millimeter, then a half. The 2 mm one is German, a really good brand. My 1 mm is a Two Cherries. Two Cherries is the mark of Kirschen, a German toolmaker. And the half millimeter comes from a little cheaper German brand, and it works really well, still much cheaper than Two Cherries.
That number 3 is an antique, about 11 millimeters, a little bigger than three eighths, and it probably used to be a half inch, or maybe 12 millimeters. Really good steel. It doesn't have any ferrule, just the handle and the blade itself. Maybe that's not too appealing, but I'm after the quality of the steel more than the look.
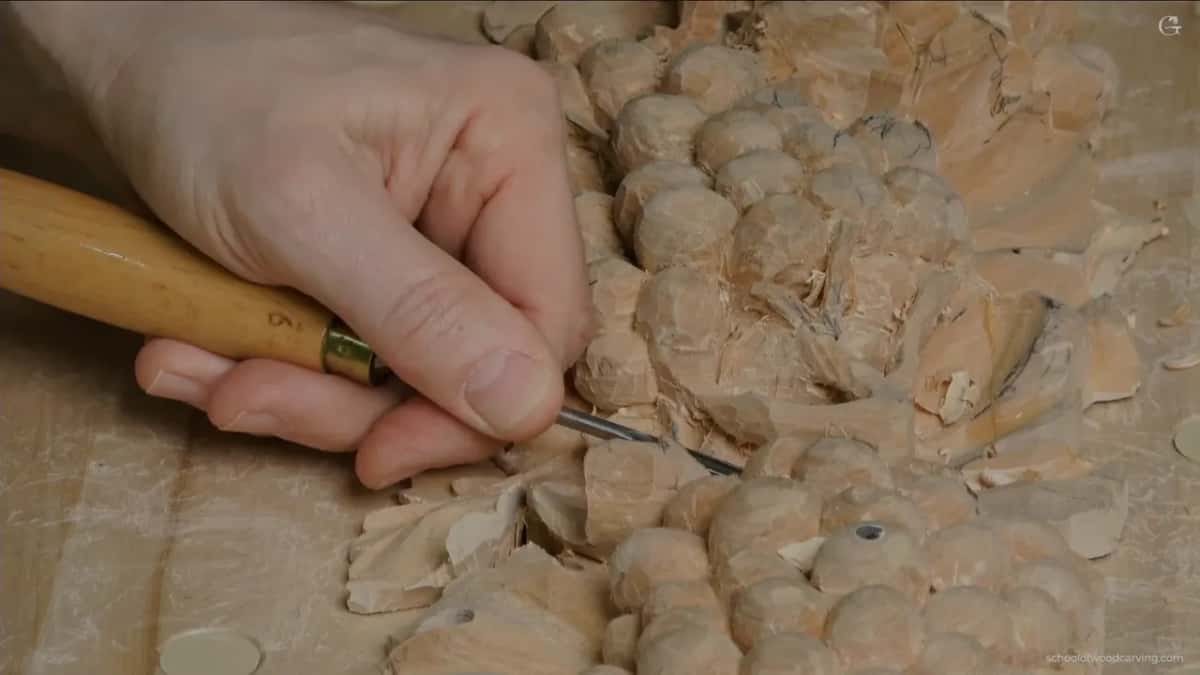
At one weak spot I didn't want the number 3. You could use it, but just because of its sweep it can catch the grain there and create damage. That's why I took a number 5 and attacked from above. It says four millimeters on it, but really it's more like three, 1/8 inch. And I'm not pushing. I'm slicing.
Since I don't have to be authentic to any period here, I can use more modern tools. Under one leaf I took a V tool, 35 degrees, equal to a number 16 if you buy the Swiss made tools. I like how it handles, though I don't use it too much.
A number 6 by Ashley Iles, about 12 millimeters, took some of the excess material off the leaf. Sometimes it's better to attack from outside inward. And the skew chisel, a number one, works pretty much like a knife. I like skews.
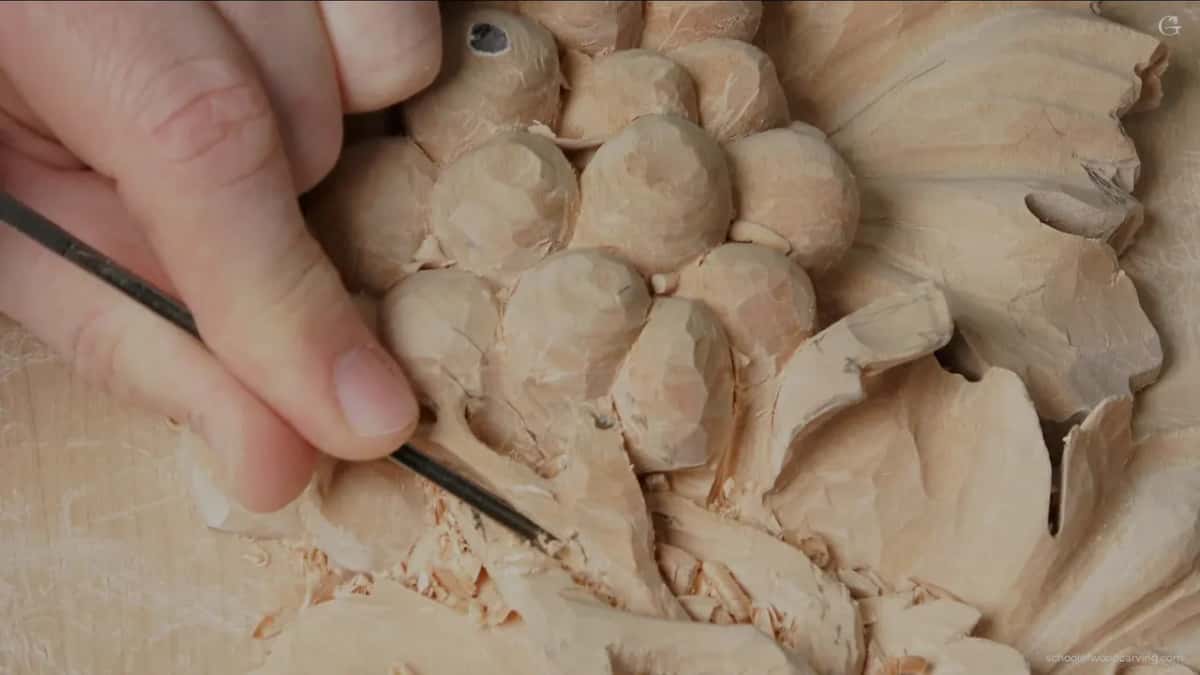
For one spot inside I grabbed a really nice, small, tiny back bent, an antique one. The back bend lets me go above what's in the way and excavate. No force whatsoever. You have to feel what the grain does, and if it fights you, don't force it. I can hear by the sound of it that the inside isn't rough.
Most of you probably don't have one more tool I have, a really tiny spoon gouge, and it's a wonderful tool, because with it you can get right on the side and excavate all day long. A fuller tour of the profiles is in the tools course.
Want to see these branches go airborne? The whole lesson opens with Access, along with the rest of Carving Grape Onlay.

And you don't have to repeat exactly how mine looks. You can be a little off, and just create something.
How it's done
- Decide which branch is the main one. Two branches came at the cluster from two directions. Before I outlined anything, I decided which one goes above and which one goes right underneath.
- Outline the main movement. Veiner #11 at 5 mm, and I looked from different angles.
- Drill under it from both sides. I drilled a plug with a number 9 at three millimeters, then came in from the opposite side until it went through, and made the hole a little wider.
- Give the branch some curvature. A four millimeter veiner for the shape, and not too straight.
- Make the second branch thinner. It's okay for one branch to be a little thicker, and the other goes a little thinner, 60/40.
- Outline with shadow in mind. I tried the bigger tool first, 2.5 mm, then two, and only went to the half millimeter when I reached my limit.
- Stop before it gets fragile. Thinner where it looked thick, and no more for now. The details and the cleaning come later.
Frequently asked questions
What width did you leave the widest branch on this onlay?
About five millimeters at the most, maybe less, maybe three or so. I outlined it with a five millimeter number 11. Underneath I left about half an inch from the high spot down, so I could drill through and make it airborne right away.
Should two branches side by side be the same width?
I was okay with one branch being a little thicker. The other one goes a little thinner if you follow the golden ratio, 62% against 38% of the mass. The thicker branches right at the ends were fine with me, too.
Why not thin a branch down right away?
Thin wood becomes more fragile, and I was only blocking in, so I didn't take it that thin. I wait to clean up as well. If I change something or break something after I spent so much time cleaning, that won't make me happy.
What to carve next