
Alexander Grabovetskiy, woodcarver, School of Woodcarving · Published 2017
Can you use a chip carving knife for relief carving?
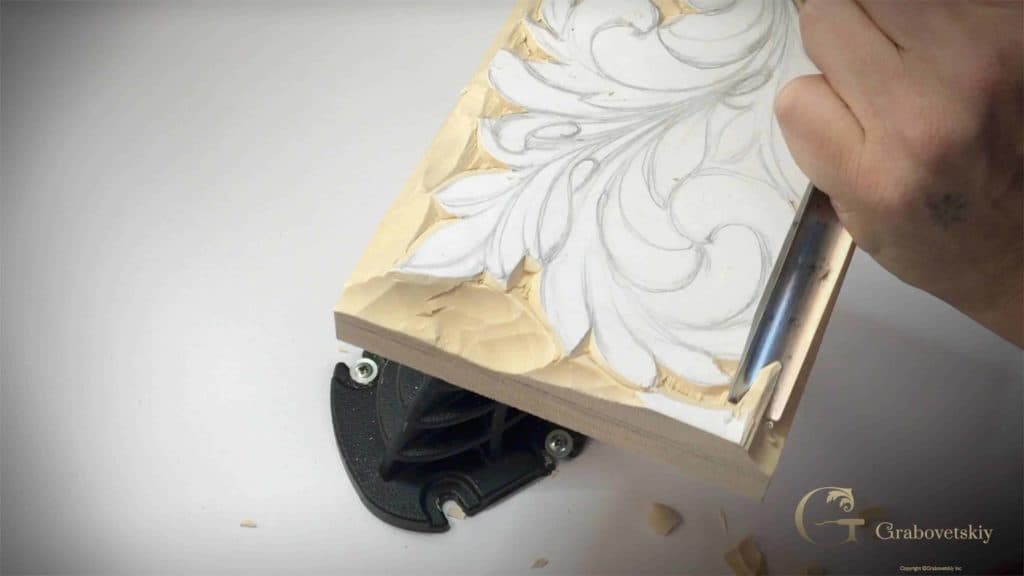
Quick answer: Relief work with a chip knife is how I opened this Greek acanthus leaf. A number 12 carved round the drawing at an angle, tight against the drawn line, and on lime that is sometimes the fastest route. Gouges then lowered the waste to a pencil line, and a number 7 stood the wall straight up.
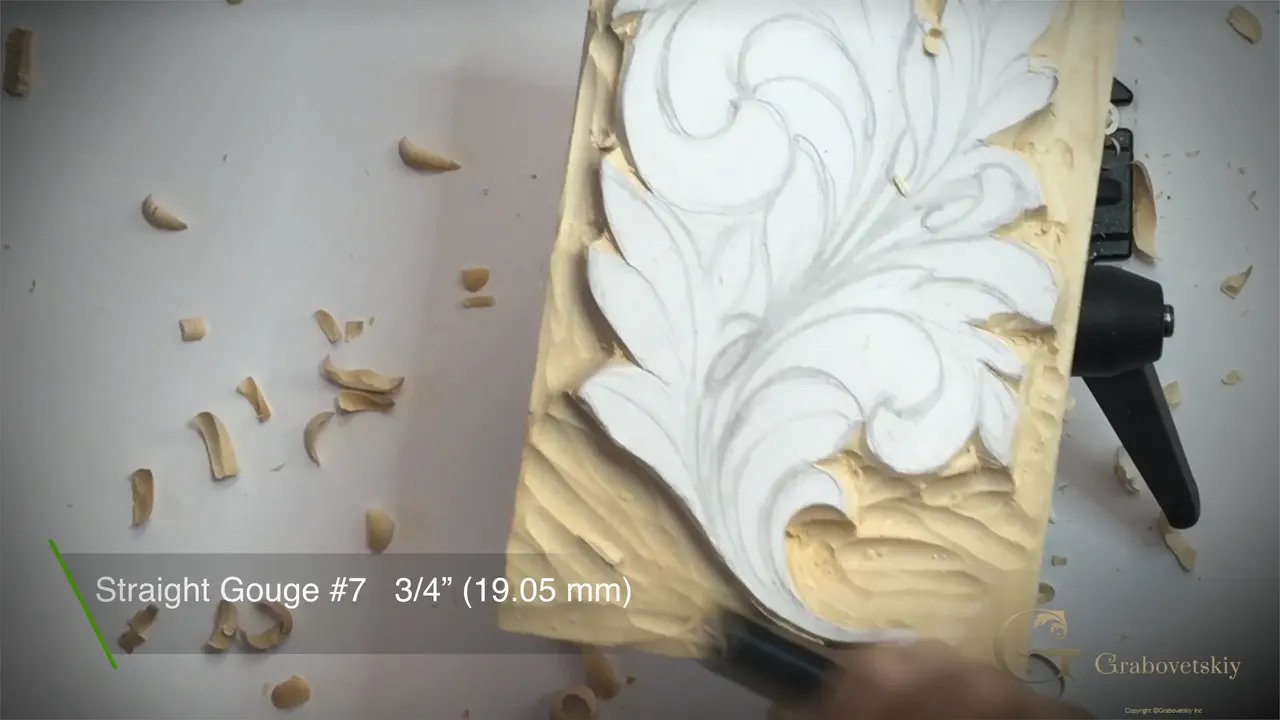
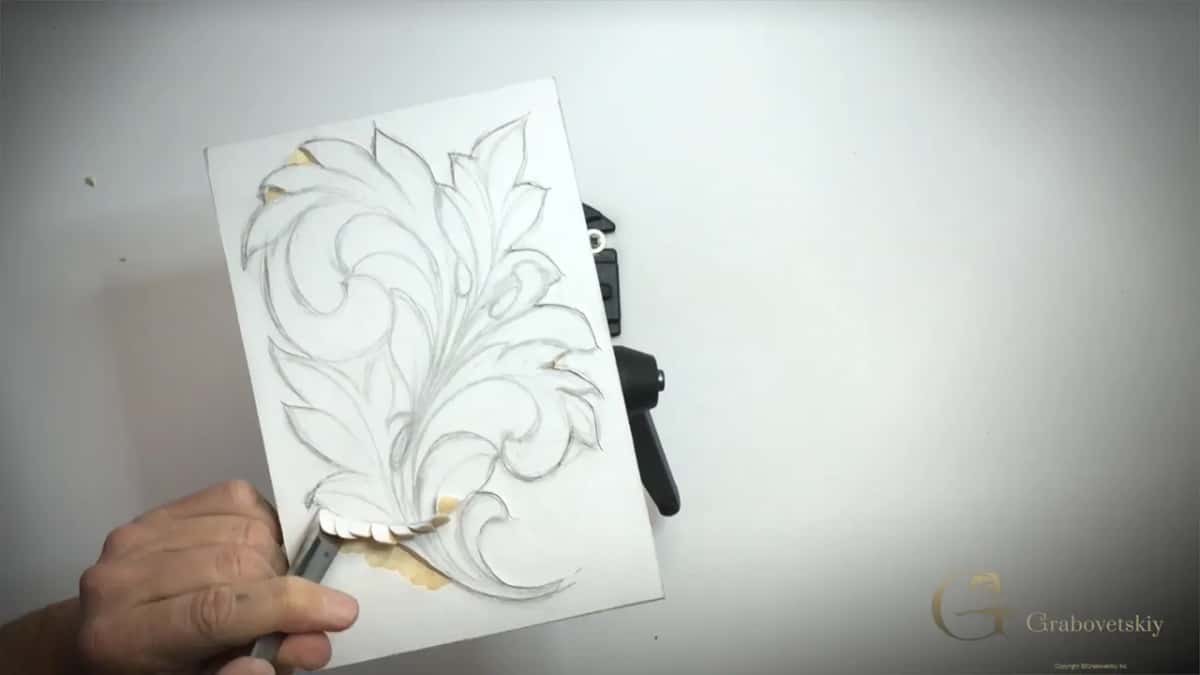
Relief carving with a chip carving knife is something I do a lot, and on this Greek acanthus leaf the knife made the very first move. My number 12 went all the way round the drawing with an angled pass, like a bevel, really close to the final line. Then the gouges came in. They took the waste down to a second pencil line, and a number 7 about three-quarters of an inch (20 mm) wide stood the wall straight down at 90 degrees.
Want a leaf that stands up off its own background? Want to know where a knife helps and where it has to step aside for a gouge? Then follow the number 12 round my lime block, one stage at a time.
This stage has a name. Setting in, I said on camera, is probably the proper term. If that name is new to you, my Roman acanthus lesson 2 spells out what it means, and it marks the same two lines with a woodworker's marking gauge instead of a finger.

What the knife and the gouges did on this leaf
- Two pencil lines went on the block edge first, the depth line plus a second one just above it.
- The knife followed the outline at an angle, pulled toward me, while I turned the block.
- The same knife, kept about 5 mm (3/16 in) off the line and angled at the leaf, cleared a lot of waste on soft wood.
- Gouges lowered the ground only as far as the second line, never the final one, in this lesson.
- A square wall came last, before any undercutting.
Why open a relief carving with a knife instead of a gouge?
On lime, I found the knife is sometimes the quickest way to go.
I had a few ways to start. A V tool can go round the outline, and that's setting in. A big gouge, like the big number 7 I had right there, takes big chunks out. Today, on this piece, the first pass was the number 12, a knife made for chip carving, setting the outline of this relief in right at my final line.
The pass is angled, a bevel, the same way I work in chip carving. I place my hand upright, move to the right and start pulling the blade toward myself. We come back later, clean that edge and undercut it. At the beginning, though, it's the angled pass.
That is actually an ancient way of carving, I said in the video: use just the knife as much as possible.
How do you mark the depth before the knife goes in?
With two pencil lines on the edge of the block and my finger as the guide. The drawing was already glued on top with photo mount glue. You can find it probably in any craft store, it's easy to apply, it holds really nicely, and it's not as messy as the commercial glues I sometimes use.
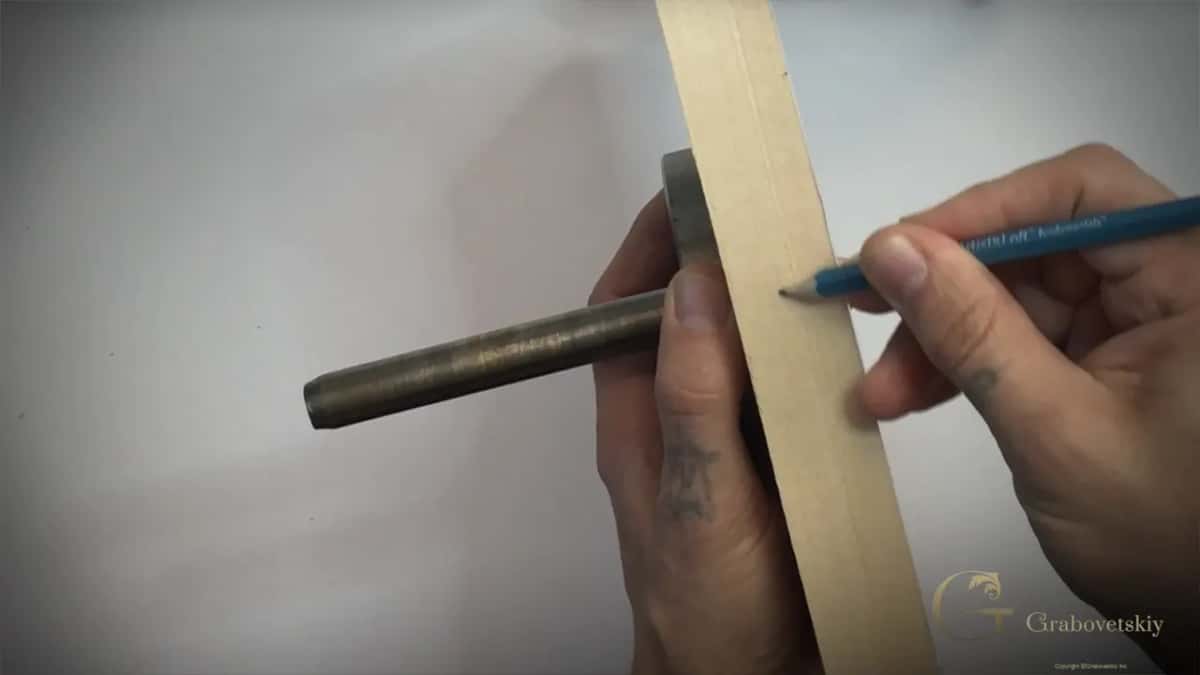
Like I promised in the drawing lesson, this leaf goes deeper than the Corinthian one. My block is about one inch and an eighth (29 mm) thick, and I go about five-eighths of an inch (16 mm) down. I'm just eyeballing, but I'm really accurate. I place my finger against the wood and draw a straight pencil line with the finger as a guide, a little deeper on one side, until the two points meet.

The second line goes about an eighth of an inch, about three millimeters, above the first. Anywhere between two and three millimeters is safe.

Why does that second line matter?
The second line is my border line for the first stage, the boasting stage, and I will not pass it.
The deeper line is my clean line. I reach that one almost at the end of the carving process, not before. In this whole lesson the ground goes down to the second line, never to the final one, and I kept saying it: only to the second line, the one closer to you.

How does the vise help when the knife goes round?
It holds the block really, really tight, and it turns easily. I do love my vise and use it for almost all of my carvings. I mount my plate on the back side, set it in the vise, and you can mount anything in it like that.
With the knife I pull toward myself along one stretch, rotate, do exactly the same on the next, and rotate again. I feel safe that near the line.

How near the drawn line should the knife go?
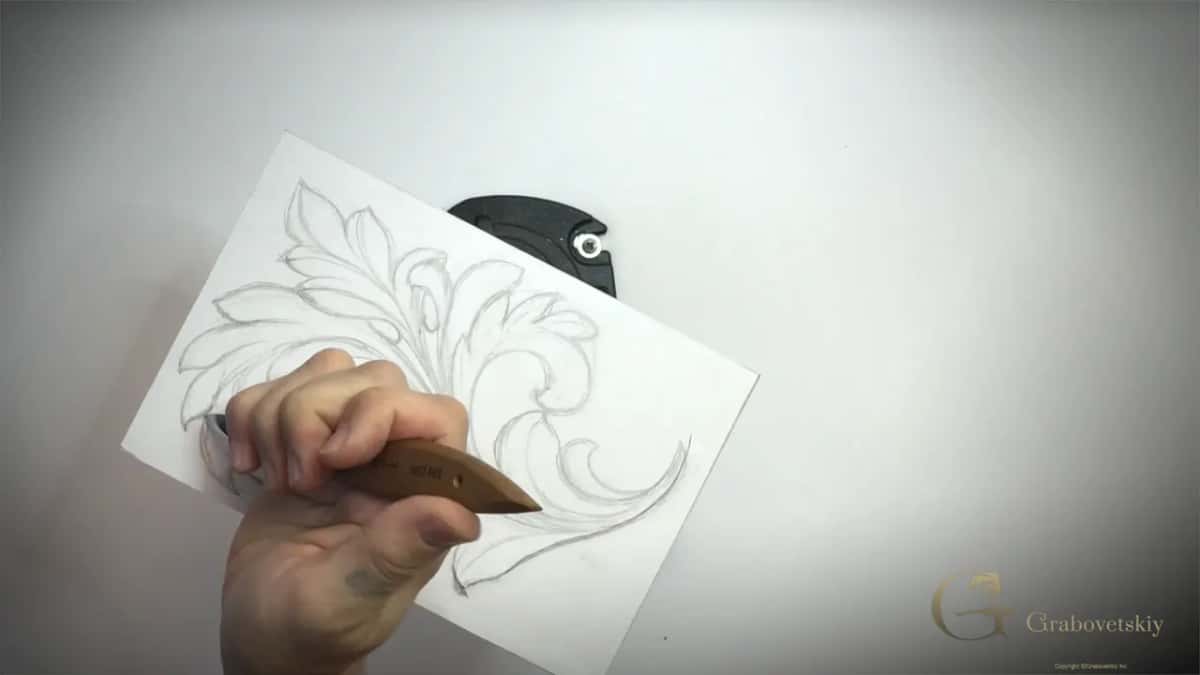
As close as you feel safe. For me that's right next to the true line.
If you don't feel comfortable that close, leave a space of about 3 mm, an eighth of an inch, from the line. Up to 3/16, up to five millimeters away from the main picture, it's safe. Nothing wrong about that.
When I picked the same number 12 up again in lesson 3, I said any chip knife will do. Whatever you have.


Is knife work real wood carving?
It's still carving, and I said so on camera.
Not every country sees it that way, though. In the UK, in England, if you work with a knife or a chip knife, some wood carvers would not even call you a wood carver. And I don't understand why, because you're still carving.
In my first beginner workshop the number 12 comes out in the second video, and I tell students we're not going to do chip carving the way most people understand it. We start from the most ancient forms of carving and walk all the way to the classical, traditional kind.

Can the knife clear waste too?
On a soft wood it really is one of the quickest ways to remove a lot of waste.
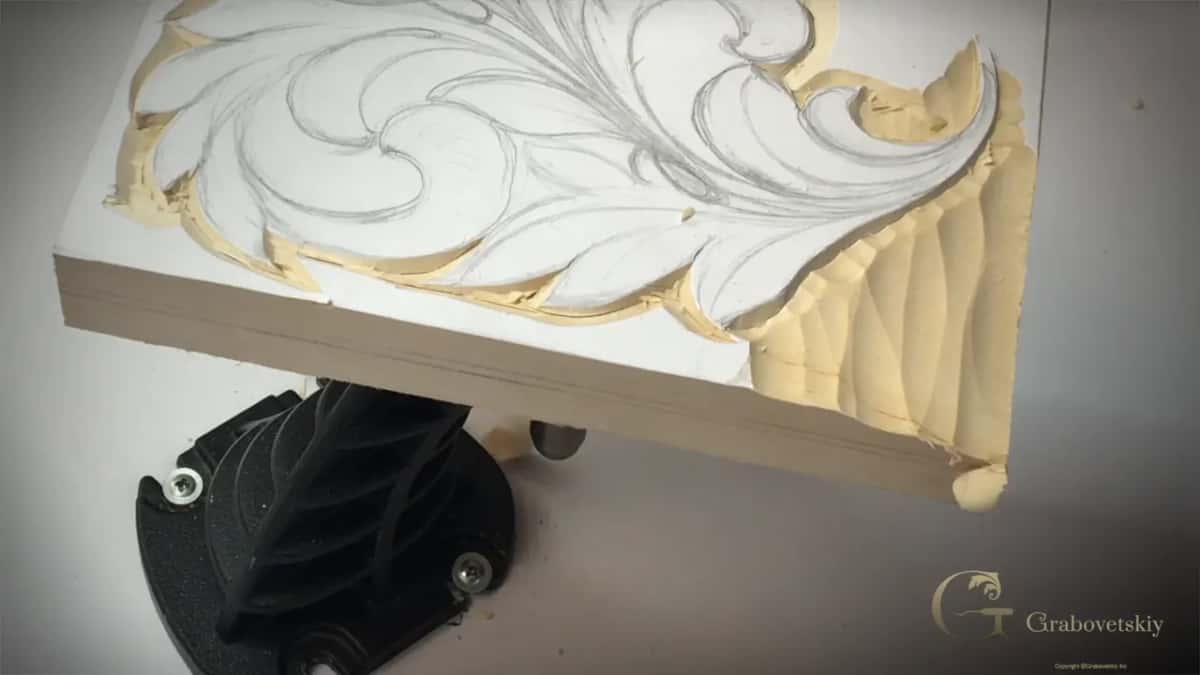
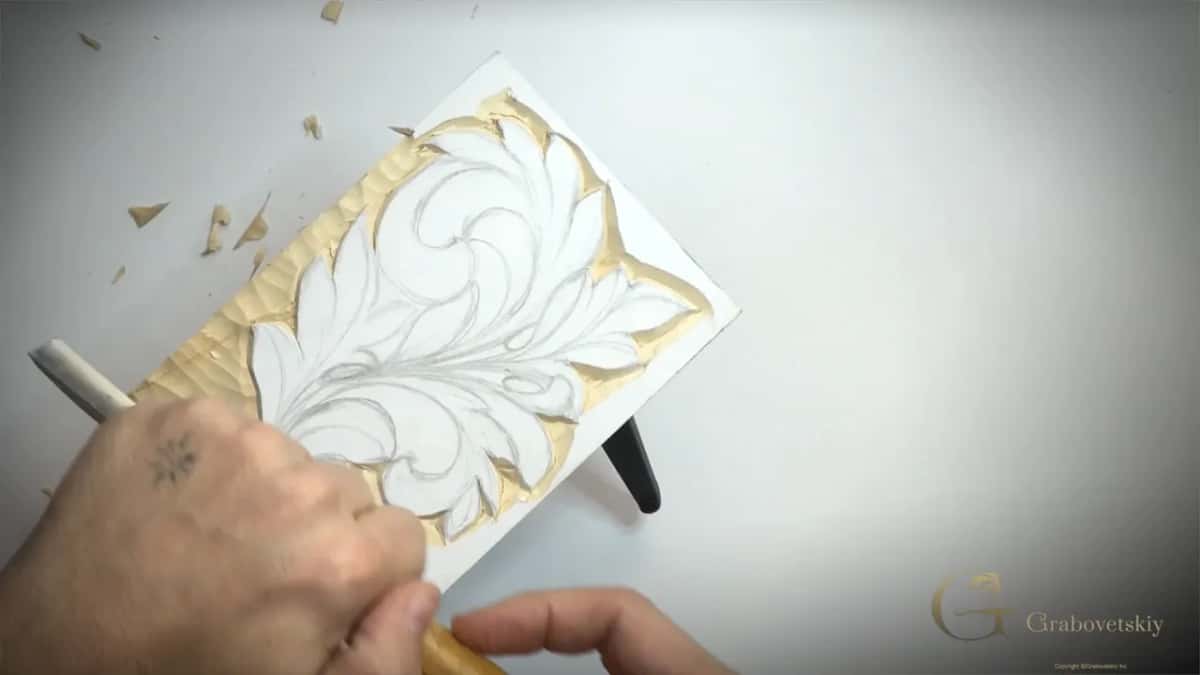
After the outline I showed two ways forward. One way is a number 7, 14 mm (about 9/16 in), taken straight to the line for some preliminary passes. That's safe too. I'm not afraid of hitting the wall, because it's going to be undercut later on.
The other way keeps the same knife about five millimeters, 3/16 of an inch, away, with the outline pass angled toward the leaf itself. I can go even deeper if I have to. The main idea right now is just setting that main picture in place.
When do the gouges take over?
When the whole area around the leaf has to come down to the second line.
Some of you feel more comfortable with a gouge, and then please, by no means, use the gouge. Any gouge pretty much will do. I really like this number 7. Take just one corner of it and get closer and closer and closer to the final picture.
On my flower rosette I put the case for gouges. In earlier workshops I used mostly gouges to set the form, and I prefer them, because I think they're more accurate and look nicer. That day I used mostly a knife, to show that with simple tools, a chip knife and maybe one small gouge, you're still able to do that type of carving. It has some challenges. It's not the easiest thing.
Which gouge should you buy first, the small one or the big one?
The bigger one, if you have neither.
With a bigger gouge you're still able to use just one corner of the tool when you need it. And when you have to take a big chunk, you can do that too. Even a slightly bigger gouge helps a lot. If gouge numbers are new to you, there is a whole course on carving tools.
Watch my hands in that part. I'm slicing, with rotation, toward myself and sometimes away. On camera it's not always visible, but all of my passes go with rotation, and it's much easier that way.

What did the grain do on this leaf?
It took an edge, exactly where I said it might.
Working with the grain feels easier, and it is easier, but it's not as safe as it looks. There can be a micro crack inside the timber itself, and an edge right in the way of that split can go with it.
That edge was fine, because it still had to go down. I feel comfortable with that. You be careful, because you can take too much out.
Across the grain is the best practice. It won't look as clean, but who cares? It gets undercut later anyway. There's a law you're supposed to keep about grain direction, and on complicated pieces I have a habit to break it and attack from different points. For that you really have to have sharp tools.
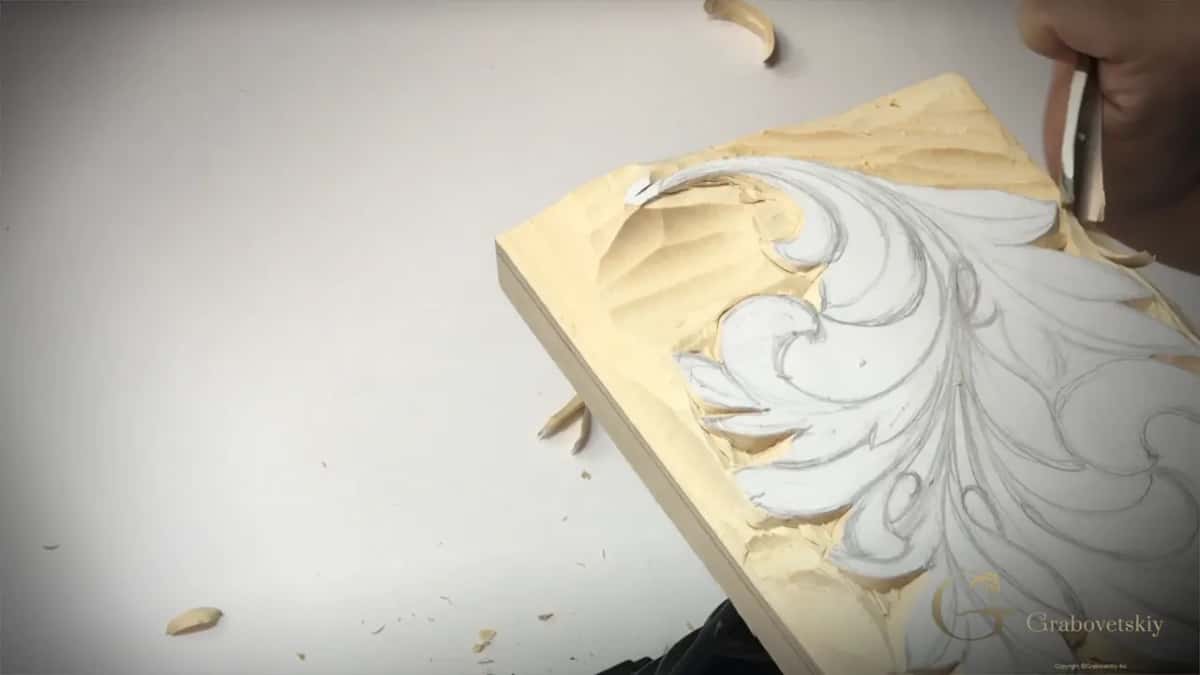
Why wiggle a gouge near a thin edge?
A couple of points on this leaf run right up near the edge, and I want to be safe there.
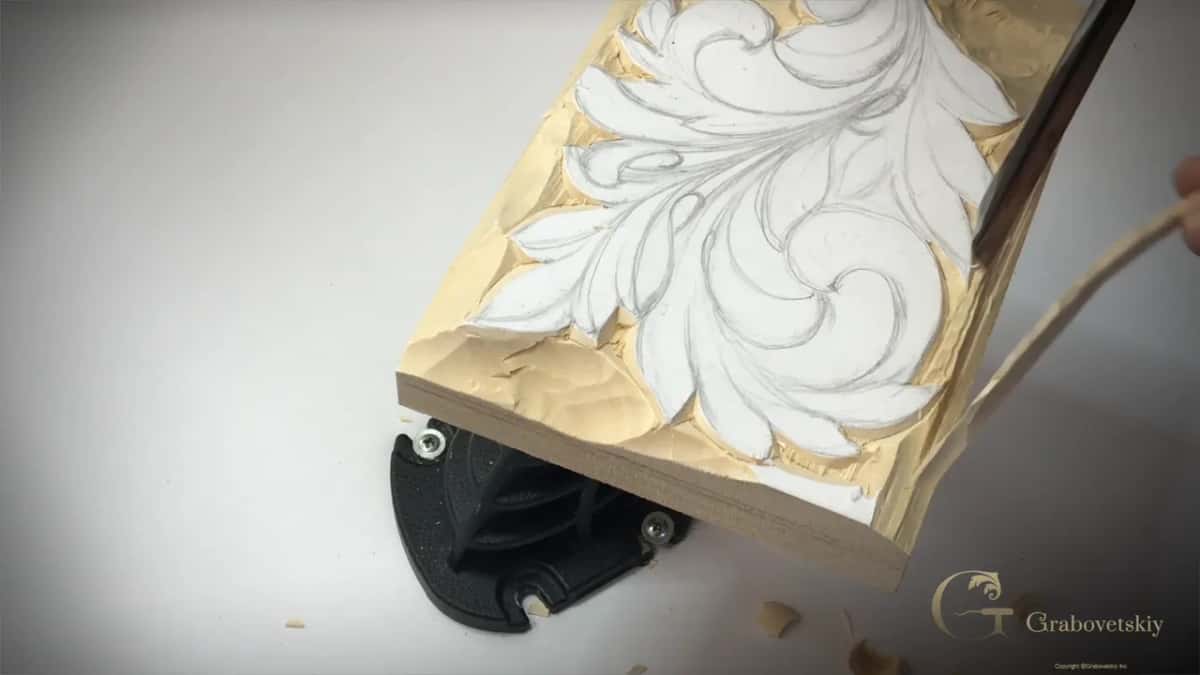
I know a lot of wood carvers would say anathema, you're not supposed to do that. But if I'm able to control it, with my hand referencing right on the wood, I can make those wiggles safely, especially working against the grain like here. Then I come back and make a clean pass.
The gouge there was a number 8, the one I had used with a rubber mallet at the start of that video, and later I went to a number 8 half an inch (13 mm). You could use smaller. There's no reason not to, and it may be even safer in some areas. Near details that are too small, leave some space for the clean pass and finish before you hit the wall.
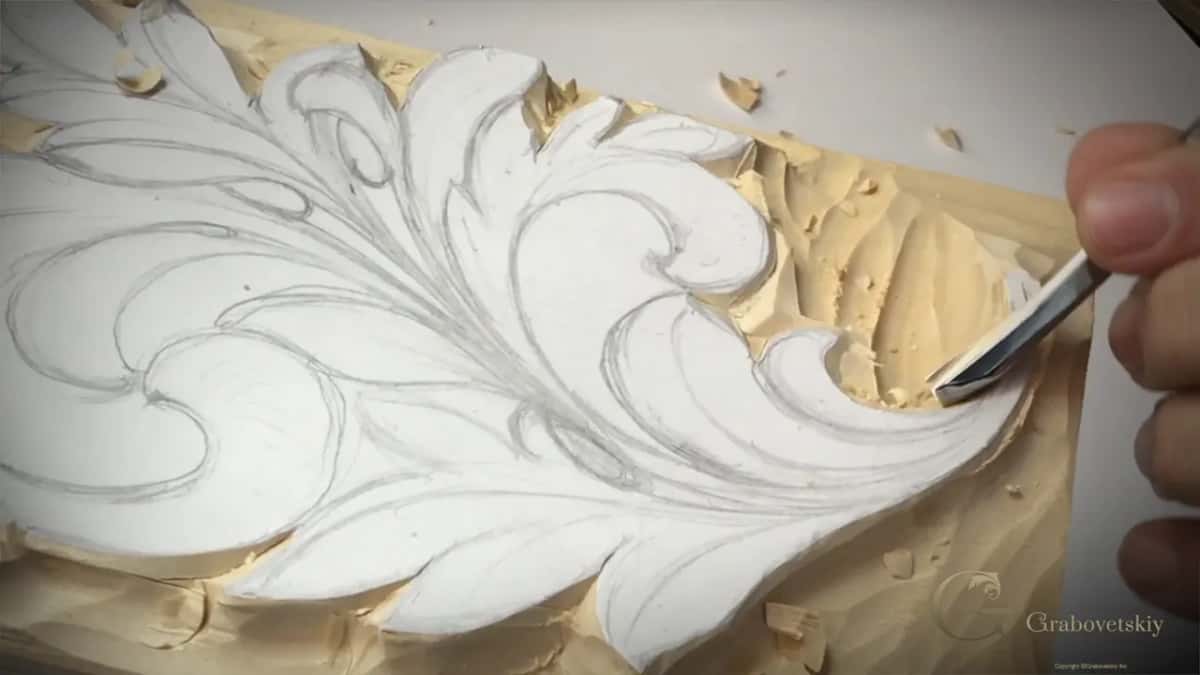
Tools in lesson 2, in the order they came up
The table lists the edges I worked with in this lesson, in the order they came up, each with one note in my own words.
| Tool | What it did on this Greek leaf in lesson 2 | My note |
|---|---|---|
| Chip knife, number 12 | Carved the whole outline at a slant, near the line | Quick on lime, sometimes |
| First number 7, 14 mm (9/16 in) | Preliminary passes right up to the line, then the waste | Gets undercut later |
| Bigger number 7 | Lowered the ground to the second line, one corner where needed | Even slightly bigger helps a lot |
| Number 8, about 5/8 in (16 mm) | Removed chunks almost to the line, with a rubber mallet behind it | Watch how the grain goes |
| Half inch number 8 (13 mm) | Did the same job in some areas, where smaller may be safer | No reason not to use smaller |
| Number 7, about 20 mm (3/4 in) | Took the main ridges off, then stood the square wall up | Same tool cleans the waste |
Why does the wall stand at 90 degrees?
The straight-down wall comes first and the undercutting comes later, and for now that wall is my main outline.
It's called a cut with the wall. The wall is exactly 90 degrees toward the background, a right angle. I had the number 7, 20 mm, in my hands, looked for the spots it could fit, went straight down, then cleaned the waste right away with the same tool, deeper, and even deeper. Don't force it. If you have to use a mallet, just use a mallet. Why not?
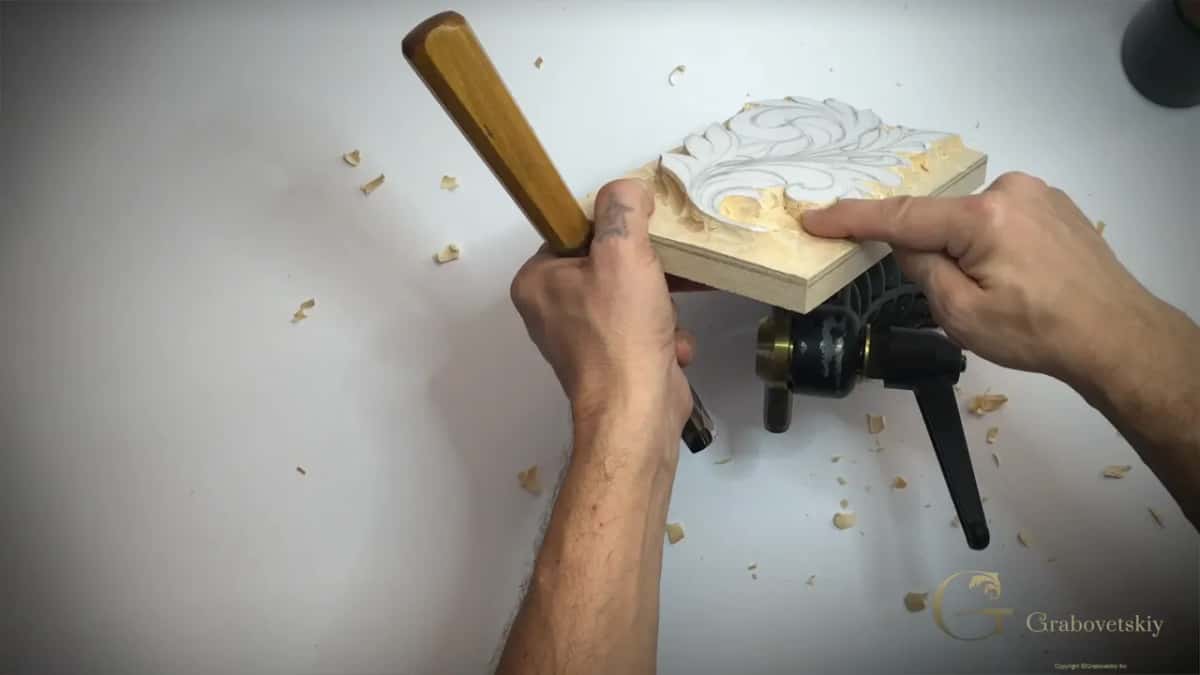
Is there a limit on how deep you go?
On this piece there was no restriction for me. Still, I didn't want to go deeper than I had to, although I could.
Sometimes, when you're working on a furniture piece, you do have a restriction. You just can't do whatever you wish.
The ground itself looked rough at that point, and that's absolutely fine. Before the wall I took that number 7 over the main ridges. I don't worry about too much cleaning, because there's still an extra eighth to go down. But to make it look nicer, why not? I do know it looks messy, but once it's done, it won't look messy anymore.
Where else does the number 12 come back?
In undercutting on the Corinthian leaf, and in cleaning edges on two other pieces.
On the Corinthian leaf I undercut using a chip knife, which I use a lot. Sometimes it's the only way into an area where two lobes meet together, and pretty much the only tool you can get in there is a carving knife or a chip knife. I angle it, go inside, lay it and take that away. A back bent gouge works there too, and I like back bents a lot.
On the Roman acanthus the number 12 made a cleaning pass while the form was still a preliminary one, and on my Hashemi flowers I took just a number 12 to clean my edge a little.
Where does lesson 2 leave the leaf?
With the main idea in place and the rest still rough. Later on we find the different shapes and refine everything, but for now I already see the main idea, and that should be plenty for one day.
I love acanthus leaves. There's no end to what you could design with just one acanthus leaf. Some of the most beautiful furniture over the centuries carried it, and some furniture makers still use it today. I think it's probably one of the oldest plants found in ornament, and you can find the acanthus in different cultures, anywhere.
The whole Greek acanthus course starts with the drawing, and every lesson in it is open with Tuition. Not sure where to begin? Start here.
How it's done
- Glue the drawing on. Use photo mount glue and lay the paper drawing right on top of the block.
- Mark the depth. With your finger against the wood as a guide, pencil a line 16 mm (5/8 in) down the edge of a block about 1 1/8 in (29 mm) thick.
- Add the second line. Draw a second line 3 mm higher, and let all the rough work stop there.
- Mount the block. Fix a plate on the back and set it in a vise that rotates.
- Outline with the knife. Angled passes toward yourself, on the line or a few millimeters off it. Rotate the block and repeat on the next side.
- Lower the waste to the second line. Gouges now, a number 7 and a number 8, and a rubber mallet where it helps. Not to the final line yet.
- Stand the wall up. Take the 20 mm number 7 (3/4 in) straight down, square to the background, wherever it fits, and clear the waste with the same tool.
Frequently asked questions
Which knife opened this Greek leaf?
The number 12 did, a chip knife, in the first video of lesson 2. Picking the same knife up again in lesson 3, I told viewers any chip knife works, whatever you have, so you need not hunt for my exact one before you try this on your own block.
How far from the drawn line should a beginner keep the blade?
Roughly 3 mm (1/8 in) if working right on the line feels risky. Up to 3/16, five millimeters, is still safe. I work really close to it because I feel safe there, and I said plainly that staying away is nothing wrong.
Does the angled edge left by the knife cause trouble later?
Not for me. That edge gets cleaned and undercut later, so a gouge can come right up to the line now without fear of hitting the wall. The square wall comes at the end of lesson 2, before any undercutting starts.
What to carve next