

Alexander Grabovetskiy, woodcarver, School of Woodcarving · Published 2022
Why should carved flowers be connected instead of carved apart?
Quick answer: Connecting carved flowers is rounding a group of blooms so every one runs into its neighbour, with no trench sunk between them. In Maine class 3 I said a deep excavation there does not look nice and gives you only trouble, how to clean it and how to undercut it.
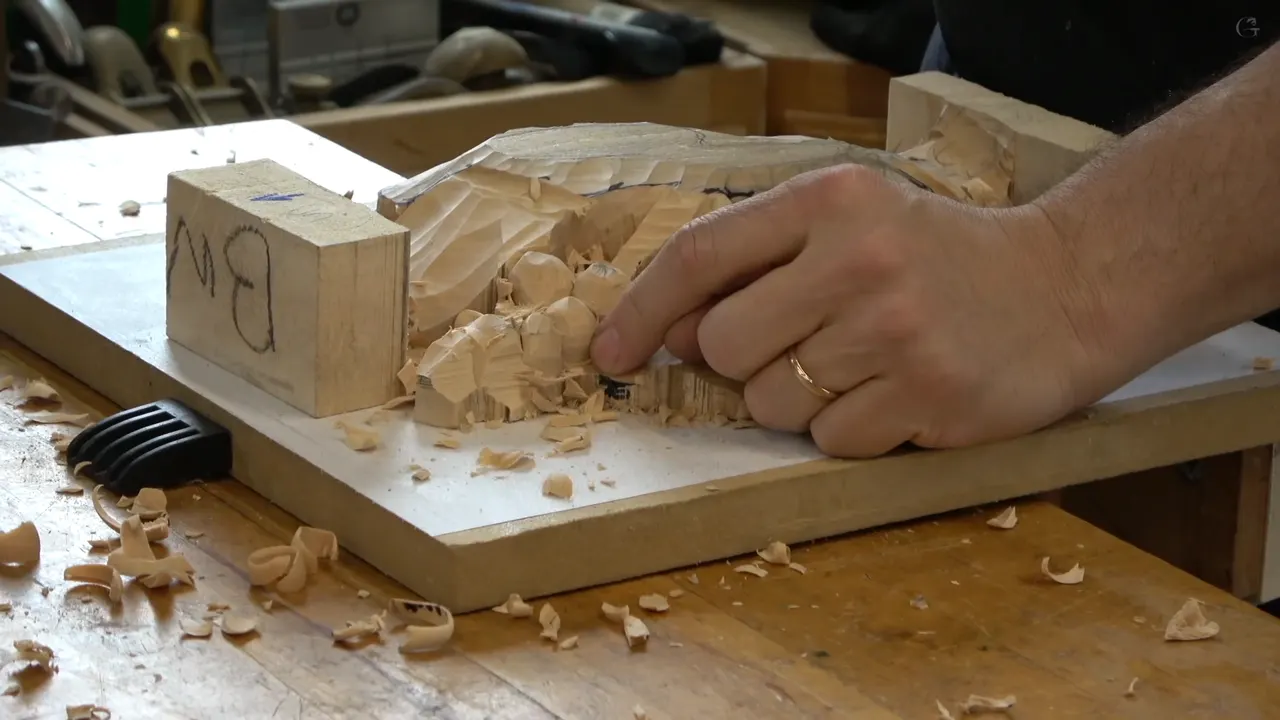
Connecting carved flowers is carving a group of small blooms so each one runs right into the next, with no trench dug between them. I gave that rule in class 3 of my Grinling Gibbons course, the class we recorded live with students in Maine. They gotta connect, I told them.
Ever rounded two blooms side by side and left a narrow ditch between them? Then tried to reach down in there to clean it? That ditch is the trouble I mean. In class I told everyone not to create a deep excavation between two flowers, because it won't look nice, and it gives you only trouble later, cleaning it and undercutting it.
Below is the order we worked in that day, the gouges I named and the depths I gave, and the shape I wanted where three blooms meet.
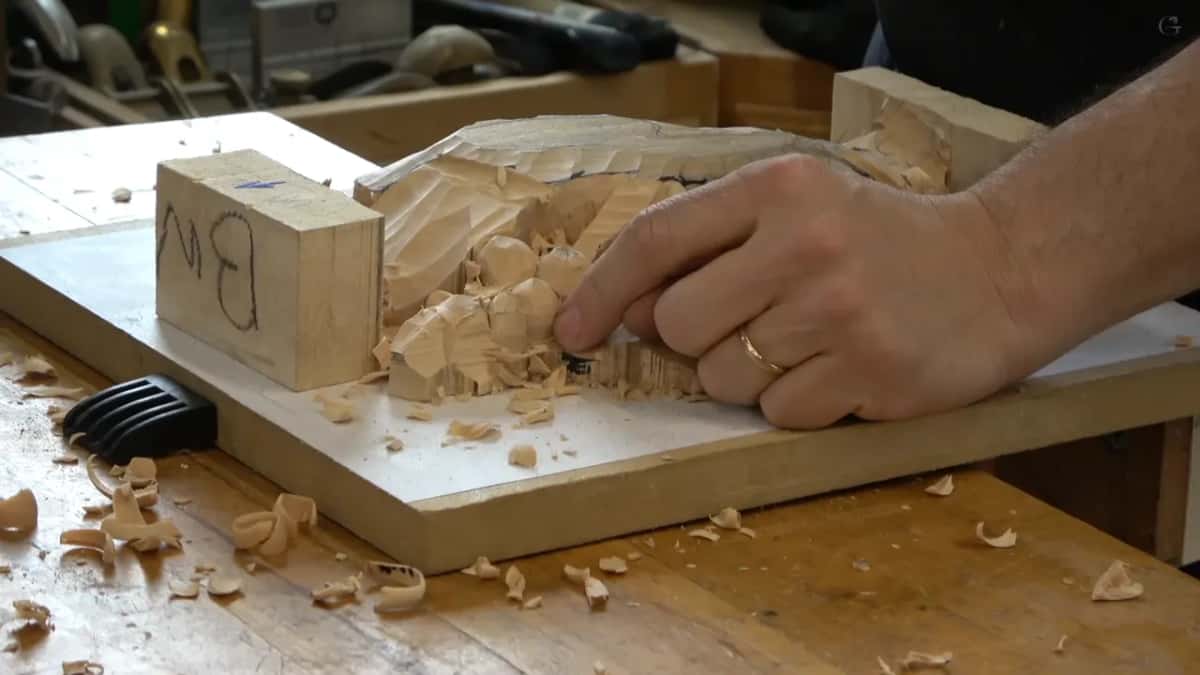
Five things I did to the flowers in class 3
- The outline went in with a number 9 at 10 mm (3/8 in).
- A bigger nine, 20 mm, lowered the area beside them gradually, about a quarter inch, keeping a dome.
- A stem had to start at nothing and go down from there.
- Each bloom was rounded on one corner of a 14 mm number 7, held at about 45 degrees to the surface.
- Neighbours stay connected, and where three of them meet I want a little triangle.
What goes wrong when two blooms are carved apart?
A trench opens up between them, and the trouble comes later. Somehow you still have to clean the bottom of it, and somehow you have to undercut it. They have to connect, I said in class, twice in a row.
Grapes work the same way. On the Tray of Blessing, lesson 8, a tray of Cabernet Sauvignon grapes, I said a lot of people miss the spot between the grapes. Put four together so they make a quad instead of a triangle, and that spot is going to be really hard to clean, because how would you get down there? Those grapes, they gotta connect. Rule number one, I called it.

How do you round a bloom with one corner of the gouge?
Present it on one corner, near 45 degrees to the surface, and slice around the bloom with that corner. My tool was the number 7 I had used before, 14 mm, a little bigger than half an inch, as I told them. I started using only part of the tool, and roundness showed up right away, pretty much.

Next I went the opposite direction. I did not want to remove that waste yet, so I jumped to the other side, did the same thing there, and connected the two passes.
A few minutes later I said it again. You are just working with the corner of your tool and working your way around it. It is a matter of how much of the tool you use, I said later. Using it upside down, I said at one point, is absolutely right. A seven, upside down, rounds the middle of a flower again in class 8.
What shape do you want where three blooms meet?
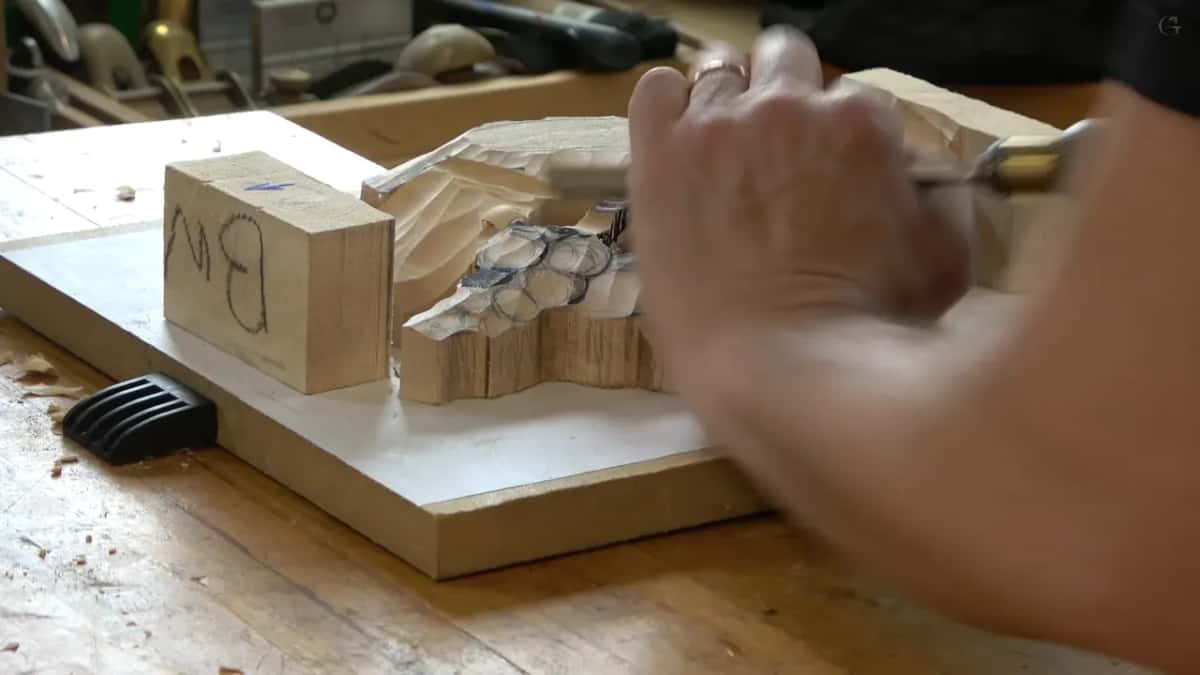
A small triangle, with no big separation between the flowers. With the next bloom I told the room that was what I was after. I wanted to connect them all. I kept asking if they could see it, and then I pointed to how I had just connected two future flowers with this one.
After that I went around all of them, same tool, same operation. Don't push too hard right away, I told them. Take your time, but they all must be connected.

With grapes, as I said on that tray, I always try to get a triangle as the point where they intersect. The smallest flower here, I said, was about a quarter inch, which meant one part had to drop pretty much to a quarter inch.
Which gouges did the work in class 3?
Every flower tool I named for this relief is below, with the depth I gave each step.
| What I did | The gouge I picked up, with its size | Depth that it reached |
|---|---|---|
| Setting in flowers | A number 9, 10 mm, or 3/8 inch | Quarter inch, maybe 3/8 |
| Lowering the area | The bigger nine at 20 mm (3/4 in) | Roughly a quarter, gradually |
| Sinking the stem | Nine at 20 mm first, then 10 mm | Nothing to half inch |
| Blending that area | Number 7 at 14 mm, slicing all along | Down to that edge |
| Rounding each bloom | Same seven, one corner only, near 45 degrees | Neighbours all stay connected |

What depth did the outline get?
A quarter inch (6 mm), or a little more, maybe 3/8 inch (10 mm), judging from the picture. Setting in was step number one. It's called setting in the main idea, I told them, a channel around those flowers with the 10 mm number 9.
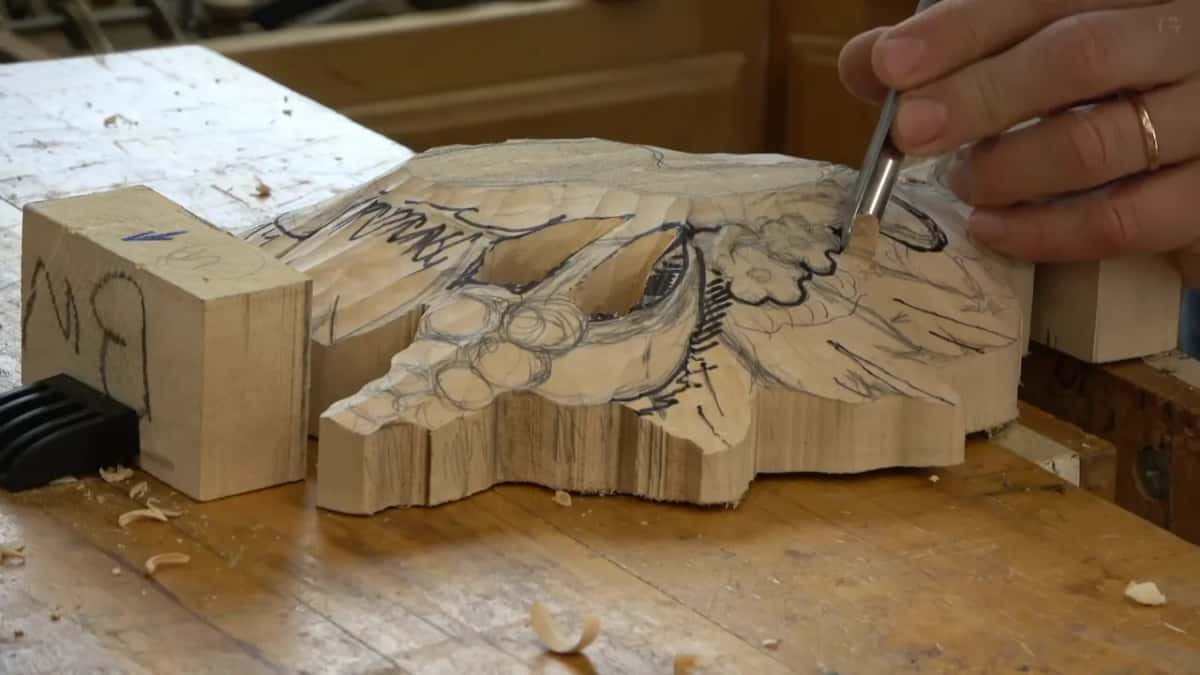
That nine is half a smile, like a half circle, the full American smile. I like to put it that way. I asked everyone to keep an eye on it and not fall asleep, then marked the line in black so they would understand much better.

Short strokes, not long ones. I outlined the future flowers with short passes and still sliced on every one, and told them slicing is the most important. Don't go too deep. A deep outline makes a problem later on.
Left side first, since it looked easier to me, then the right side later. One side went a little deeper because a flower hangs upside down there, and another spot didn't have to be too deep.
Why lower the ground gradually?
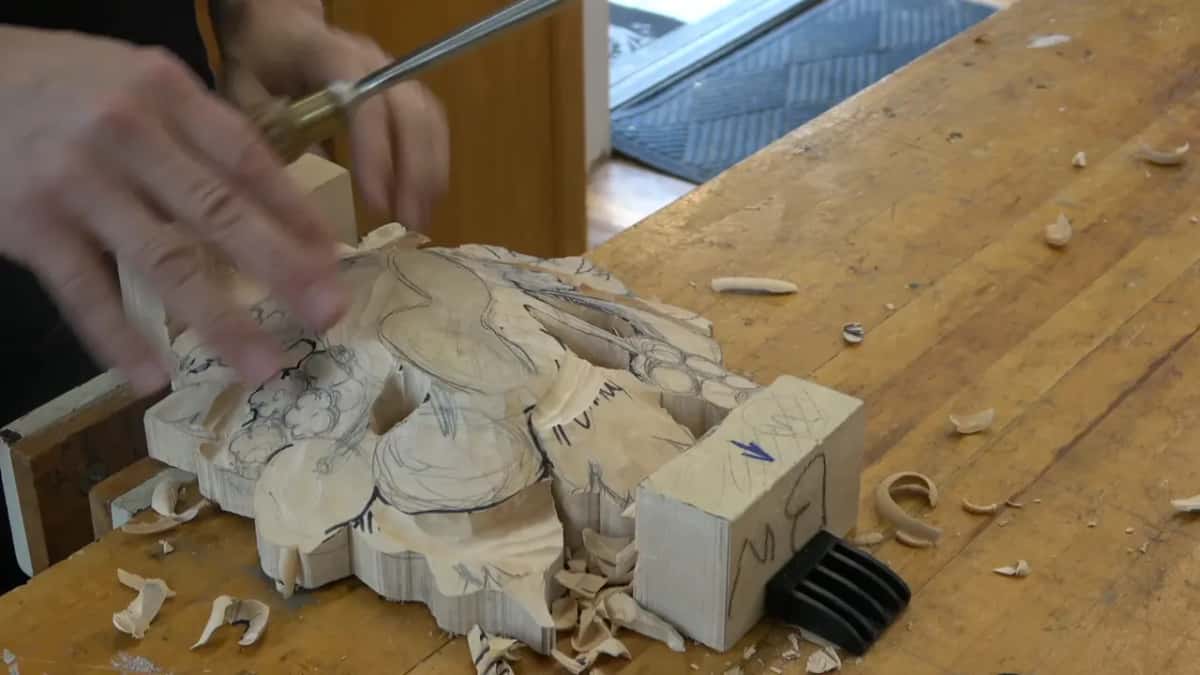
Gradual keeps the dome. For the second step I took the bigger nine, 20 mm, three quarters of an inch, and lowered those guys roughly a quarter inch. One high spot stays, and the rest falls away from it. Still doming, I said, we're not scooping out, we're making some kind of motion from above down.
An area next to it belonged to that lower movement. It's connected, I told them, and I lowered it slightly with the same tool to show some stuff is going on underneath. In one spot I was careful not to lower too much, and said I would probably change the design slightly rather than make overcomplicated stuff.

Two shapes on the other side looked like parsley leaves, and they came down about the same quarter inch from the background. Parsley gets a class of its own later, class 14. Those two steps should take no more than 15 minutes, I said, and don't get into the zone, or flow, whatever you call it.
Why does one part of the cluster sit lower?
Without it the flowers look childish. One area sits somewhat lower, with some movement going on underneath, and if we did exactly the same flowers there, I told the class, it would not look organic. It would look almost childish.
First we made the full 3D shape of those flowers, just like a grape, pretty much, and the details come later. Maybe a simplified form, I said, not necessarily to the degree of the picture.

What we were really doing, I said, is trying to release those flowers, like Michelangelo looking at the stone and seeing what is inside it. Feel like a Michelangelo. Then I admitted it was a joke. He never did it, I told them, nobody ever interviewed him, and you can see whatever you want in the stone.
How far down does the stem go?
Roughly half an inch (13 mm) at its deepest, starting at nothing, because the stem is not going to sit on top. We are working in full 3D, I said.
For the first pass I took the 20 mm nine, and in that spot going across the grain was much better. Even with small passes I was still slicing. In one place I did not go deeper, because the upper piece would cover it and I'd blend the two together.
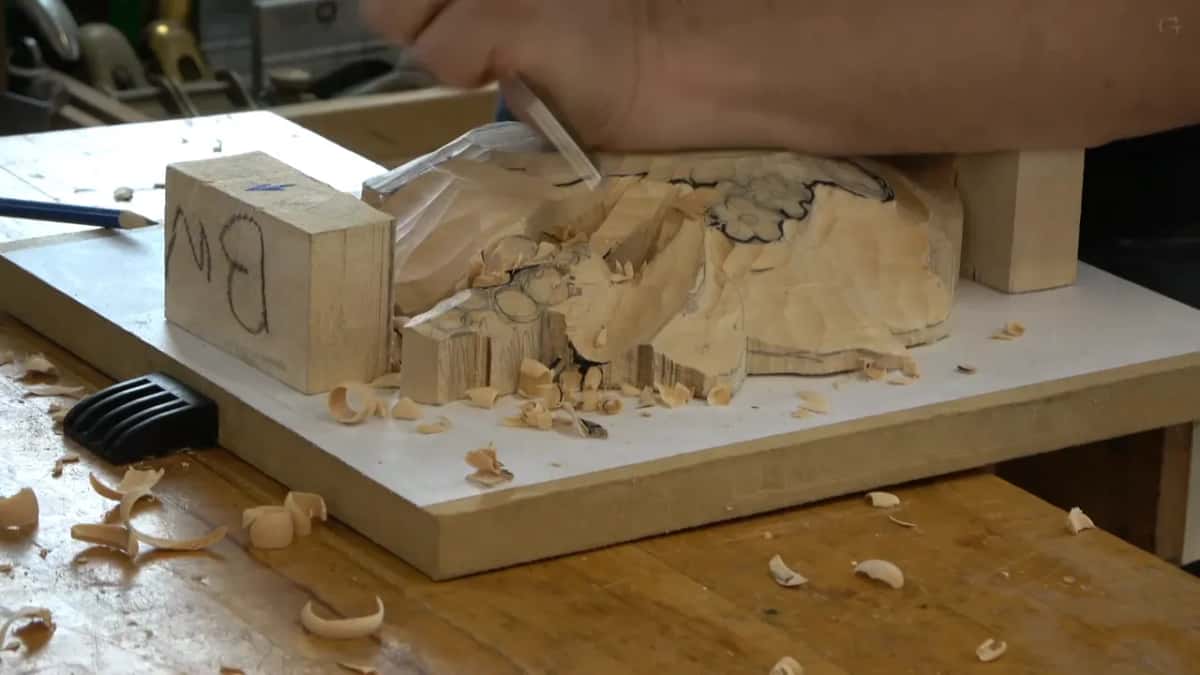
If the tool is a little too big, grab a smaller one. Mine was the 10 mm nine, and the stem went down to about 1/2 inch, approximately. It does not have to be perfect. For another area I first gave one side 3/4 inch (19 mm) and the other a quarter inch from the background, then changed my mind. Maybe not the full three quarters, I said, let's do a half inch in this spot.
A seven then blended that area up to the edge. How I undercut a stem until light shows behind it is in class 5.
How do you slice instead of push?
With the muscles of your palm. Watch my hand, I told them, I am not pushing. I squeeze my fingers, and that gives me the slicing motion. Every pass starts on one side of the tool and ends on the other, right or left, it doesn't matter. Long or short, I'm still slicing, and some people call that the carver's cut.

Do the blooms need to be perfectly round?
Roundish is what I asked for, not true round. It's a flower, so later we make some kind of movement inside it, and if the blooms are not perfect, I said, it's actually going to be better.
Grapes take the same technique and the same seven, and you can carve beautiful grape vines with it. See how quickly I can get it done, I said, it's just a matter of rounding them. Grapes come out slightly prolonged, though. These flowers do not.
On that tray I started each grape extra large, because I can always make it smaller later. Small ones won't look like grapes. At the beginning I go for about an inch (25 mm), a little less, maybe 7/8 to 3/4 inch, and once they are cleaned they end up close to three quarters of an inch.
Is connecting only a rule for flowers?
In my design course I call it the law of arabesque, where nothing is straight and everything is supposed to be connected to everything. I know it sounds really weird, I said in Design principles 4. Can anyone find a straight line in my flowers, I asked. Absolutely not, none, but everything connects everything.
The Byzantine acanthus, leaf 3 got the same reminder. The points of the leaves run to an invisible center line with no T-stops, because a T-stop is no bueno. In wood carving, I said, everything is supposed to flow.
Do you have to pierce the openings first?
Not right away, I said early in class 3, though going through is okay if you want it. Sometimes you still need a really deep one, a big hole right inside. You can miss the spot if you never trained to work from behind. I compared it to a nail gun on millwork installation, shooting from the back side and still hitting the molding.
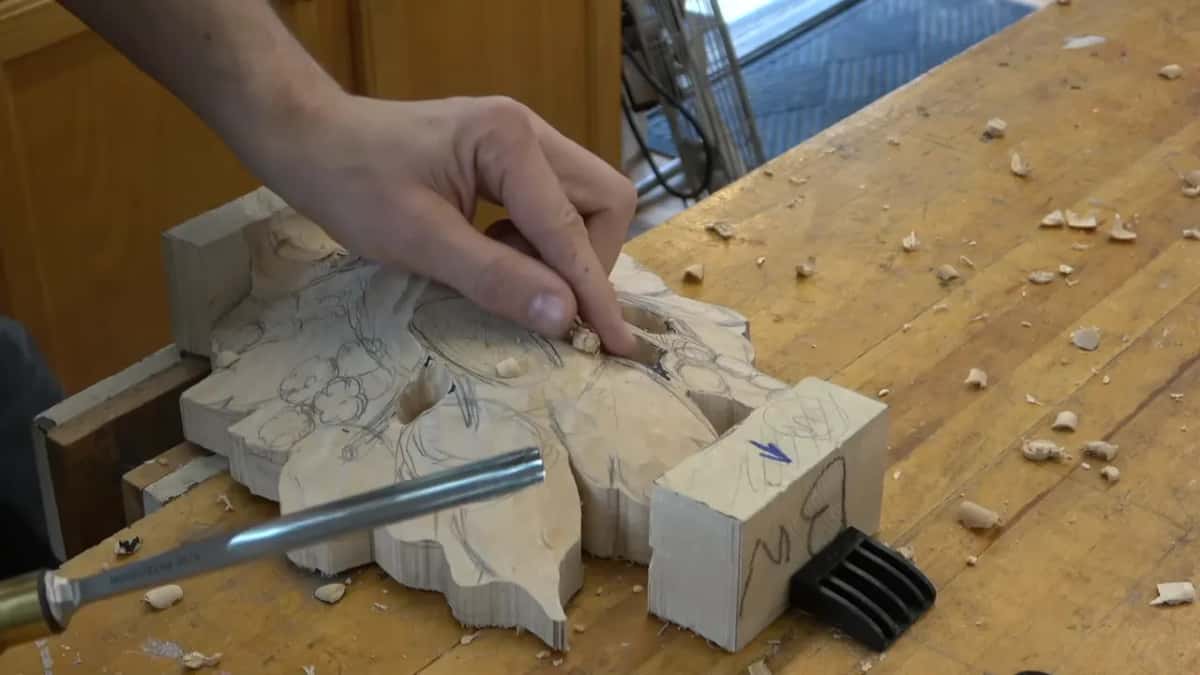
Don't abuse the tool, either. A quarter inch deep is the deepest I go with one plug, then little by little. Abuse it and you're going to break it. To go all the way through, flip it over and work from the back side, or use a drill if you wish, though this is a good technique to learn.
What holds the panel while you carve?
A backer board of MDF with paper glued on it, the paper sandwich. We used spray glue, though other types of glue work too. Spray the MDF first and the back of the paper, wait a couple of minutes until it's not as sticky, and then put it down.

Leave no gaps between the two papers, and don't overlap them, or the piece on top won't be solidly placed. It will be loose. Spray only the back of that piece, wait again, and stick it on top. Don't over spray, or it gets harder to take out. If you never used spray glue, that is absolutely okay, since not everybody uses everything.
How fast should this stage go?
Fast. See how quickly I can get it done, I said while rounding, and later, we have to move fast. Don't take too long, I told them near the end, we have the second layer yet to carve by tonight. That is a nice project, isn't it?
I did not take my own flowers to the cleanest point for them. You go ahead and do that, I said, and if you got lost, come and take a picture, nothing wrong with that.
Earlier I had told them we'd do two steps at a time in this class, because I wanted it to look like something, not a pile of firewood. If it did not look nice, we would burn it on Friday, like we did the last time.
Class 3 sits between class 2 and class 4. The panel starts in class 1. Every class of this course on carving like Grinling Gibbons is open with tuition.
How it's done
- Set in the flowers. A 10 mm number 9 runs a channel around them with short slicing strokes, a quarter inch deep or a little more.
- Lower the ground. Take the 20 mm nine down a quarter inch or so, keeping one high spot and a dome.
- Sink the stem. Start at nothing and go to about 1/2 inch (13 mm), so the stem does not sit on top.
- Round each bloom on a corner. Present the 14 mm seven on one corner at about 45 degrees. Slice round one side, then the other, until the passes meet.
- Connect the neighbours. No deep hollow between blooms. Where three meet, aim for a small triangle, and let them stay roundish.
Frequently asked questions
Should the flowers in a carved cluster touch?
Yes. In Maine class 3 I told the room not to sink a deep hollow between two flowers, since it looks bad and makes cleaning and undercutting hard. Where three of them meet, I wanted a little triangle instead of a gap.
Which gouge rounds a small carved bloom?
A number 7, 14 mm wide, about the size I called a little over a half inch. Present it on one corner at roughly 45 degrees, slice around one side, then do the same from the other side until the two passes meet.
How deep should the outline around carved flowers go?
Around a quarter inch (6 mm) on this panel, or a bit more, near 3/8. I judged that from the picture. Going too deep with the outline creates a problem later, so I went slowly, with short slicing strokes.
What to carve next