
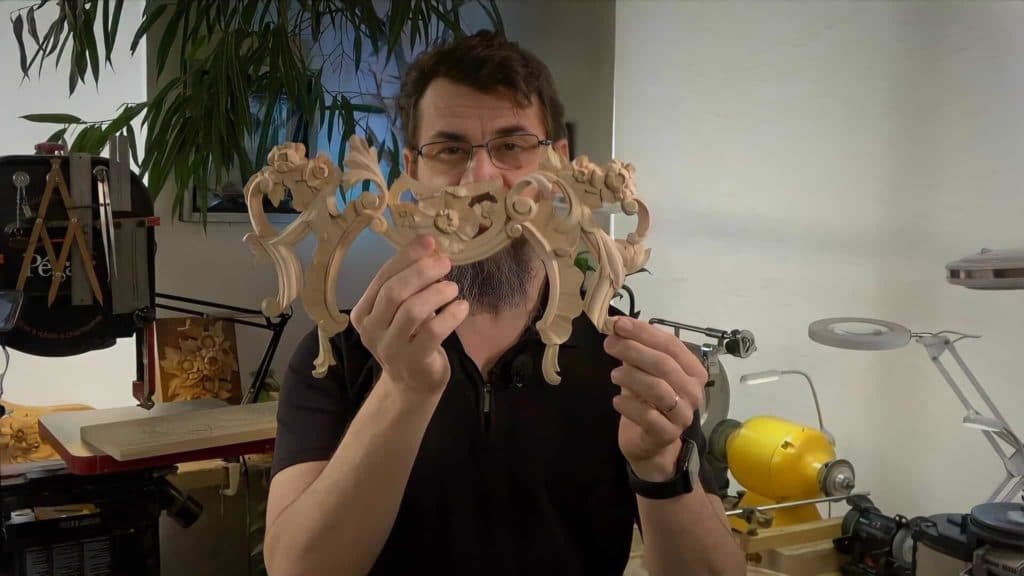
Alexander Grabovetskiy, woodcarver, School of Woodcarving · Published 2022
What should a finished floral and molding carving look like?
Quick answer: The finished piece from this course is half of a mirrored pair made for a room in the Venetian style. Acanthus rolls over a clover molding among flowers, volutes and a shell. Crossing lines stand highest, petal edges stay wavy, and some facets remain, since paint will cover it.
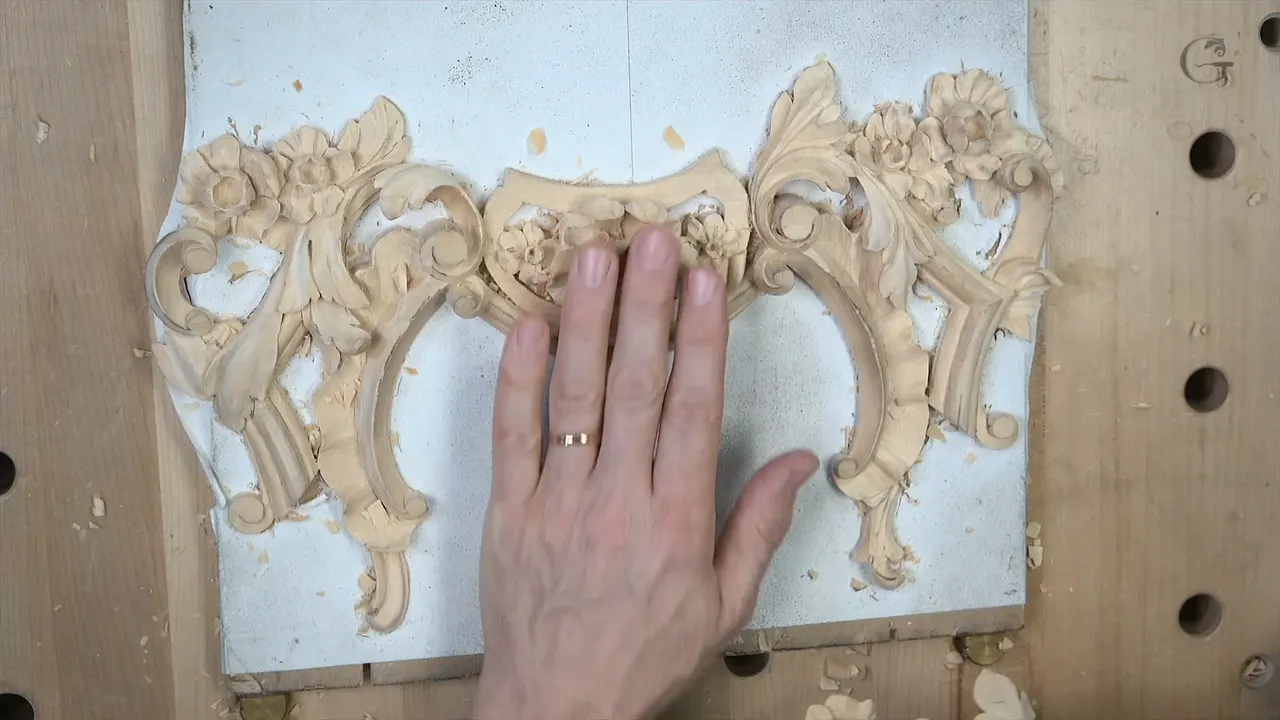
The finished carving from this course is one of two mirrored details for a Venetian-style room, with acanthus riding right on top of a clover molding. Five of its flowers match. Two get a different center. Its acanthus has a convex middle with a concave falling away on either side, the top line stands highest at each crossing, and the petal edges stay wavy instead of straight.
Do you see the leaves in the picture above, rolling over the molding? Are there small flowers sitting on them? That's the piece, and below it comes apart for you, with a link to the lesson for each part.
This is the last page of the course, and its note is short. "To earn certification points for this course, upload a photo of your work." Then: "I will look at your photo and certify your progress based on what I see." What follows is how my own piece looks once it's finished.
How to light and take that one picture is a separate question, and I answered it on the Greek acanthus assessment page, so I won't repeat it here.
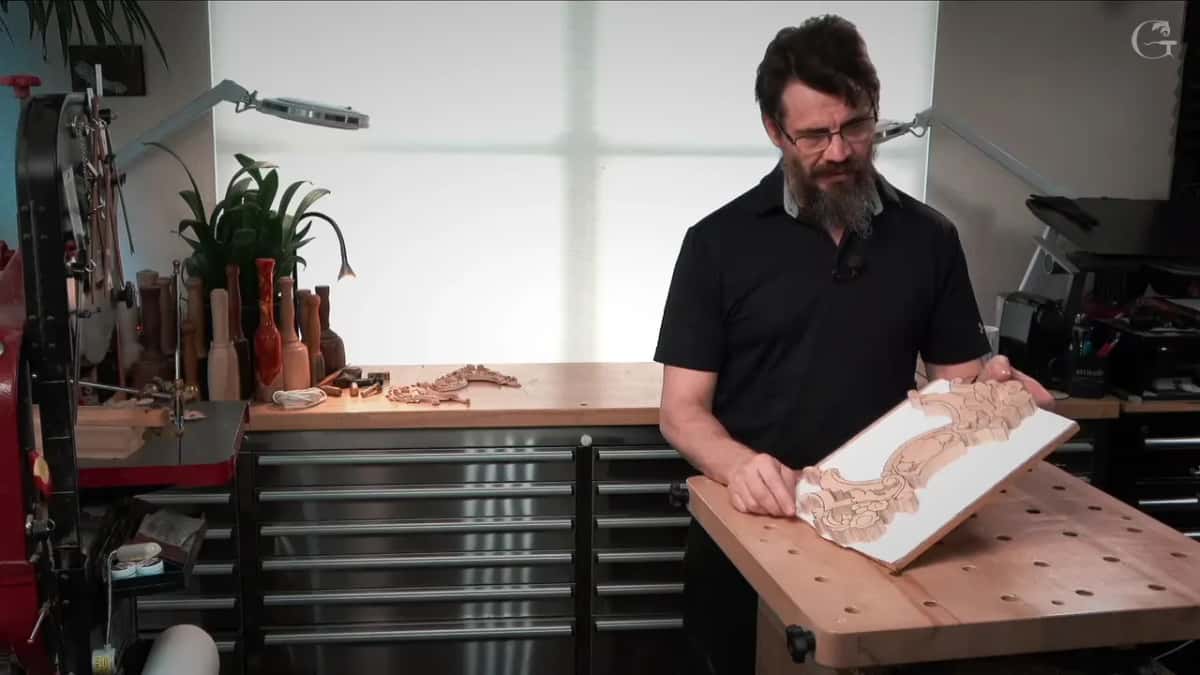
Seven things on the finished piece
- One of a pair, mirrored.
- A clover molding, convex three times, one height all along.
- Acanthus leaves with a convex middle, right down to the two small ones I carved last.
- Every crossing with its top line up high.
- Wavy petal edges and gaps, with a center opening that isn't too round.
- Shadow under the volutes and leaves, with some wood kept below for the glue.
- Facets left in places, because this one gets painted.
What should a finished floral and molding carving look like?
Like a detail out of a room. The project is the same Venetian-style room as before, and by lesson 1 I'd carved the upper part, the small rosette and the big rosette already. This piece goes right above the earlier rosette.
As a separate piece it isn't as attractive. I kind of like it anyway, because there's a molding, then a miter, then another molding going down. It's carved from a single piece of basswood, the same limewood or linden as the rest of this room.
At the very end of the course, in lesson 14, I called it what it is, "just a part of a bigger Venetian or Venice room project, real-life project."
Why don't the two sides match?
On purpose. I carved one piece first, and on the second one I just had to mirror it, "So it's not the same," as I put it in lesson 1. Look closer and even the direction of some movements changes between the two sides.
It looks symmetrical. It is not, and I like that. Back in lesson 3 I put it stronger: "Even if it looks like it's symmetrical, it is absolutely not. That movement is different from this side, and that what creates beauty."
Between the two pieces I changed one flower on purpose. On the earlier one it goes right underneath, and on this one, in lesson 10, I drew it going on top, just to make a variation. I've done that before with the tongue on lion corbels, one line downhill and one uphill, so it looks almost the same but isn't. "That way, people will know it is not machine done."
At the close of lesson 14 I set the pair side by side. "So that is the first piece, and that is the second piece."
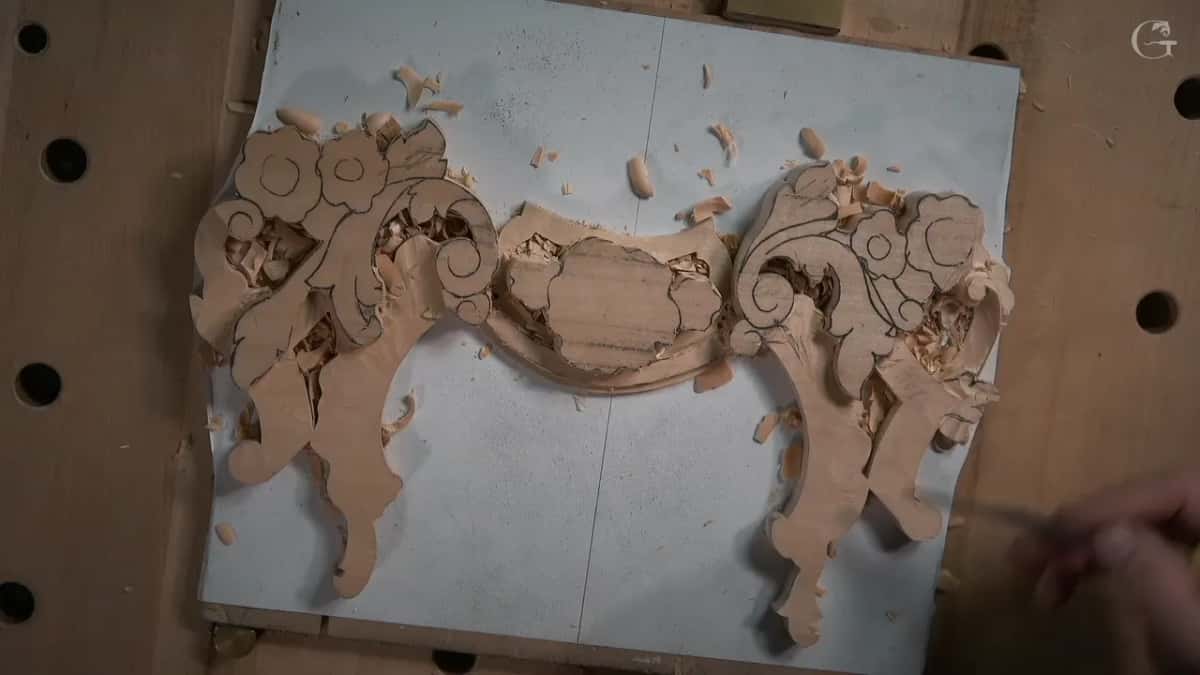
How does the clover molding look when you finish?
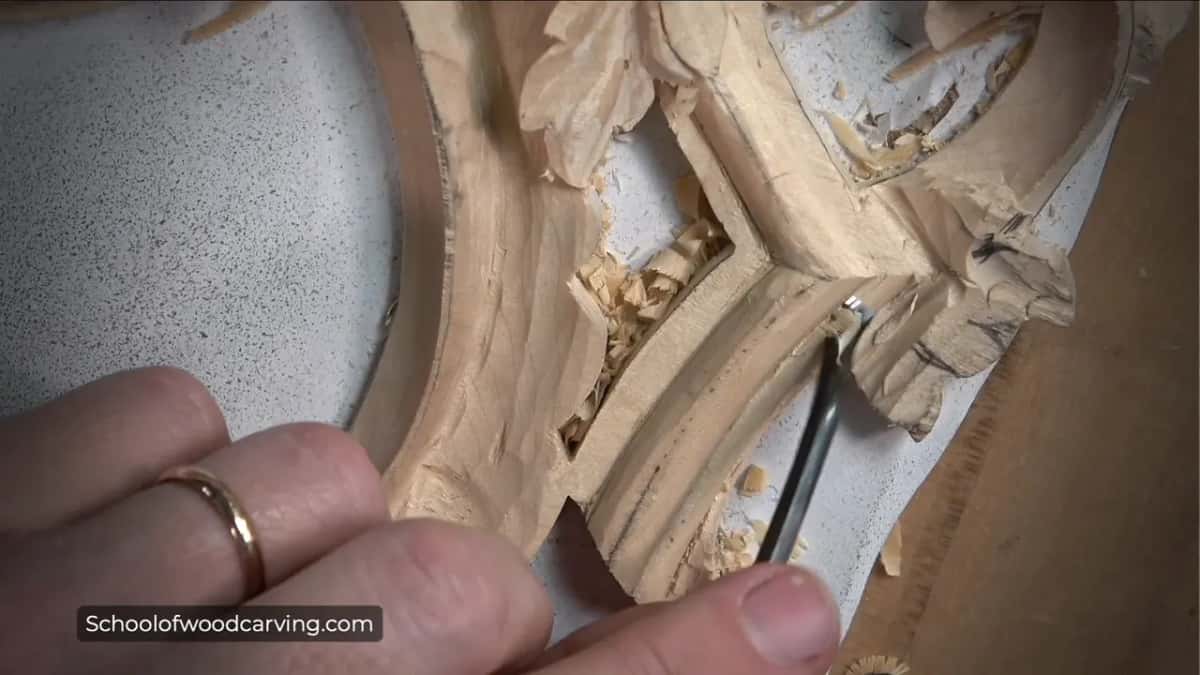
Convex, convex, convex. That's the clover molding profile I named in lesson 8, and I called it "not as complicated molding."
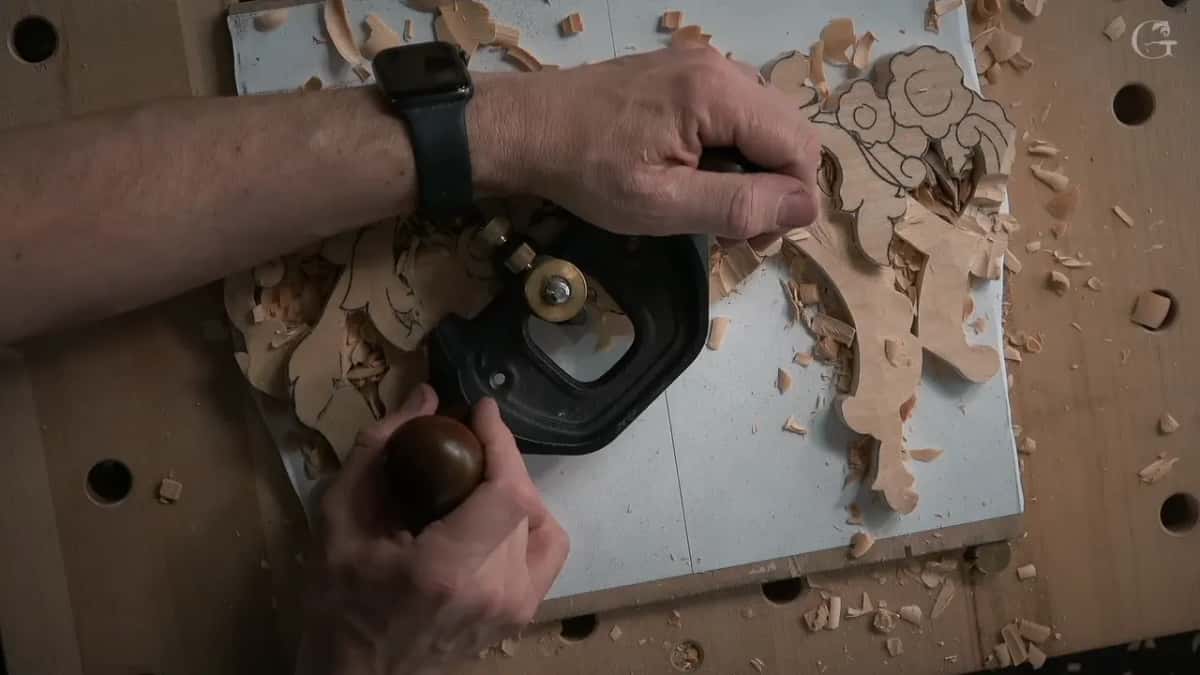
Its height runs the same all along. Back in the third lesson I took it down to the line, worked it from the opposite direction too, and then I knew for sure the height was even along the whole run.
The ground got that treatment in lesson 2. A router plane isn't a must, but I think it's a good idea, because with one "all of those surfaces are going to be absolutely dead flat." When I was done, the height of that detail was "exactly the same on the backside and exactly the same on the front side."
How should an acanthus leaf on it read?
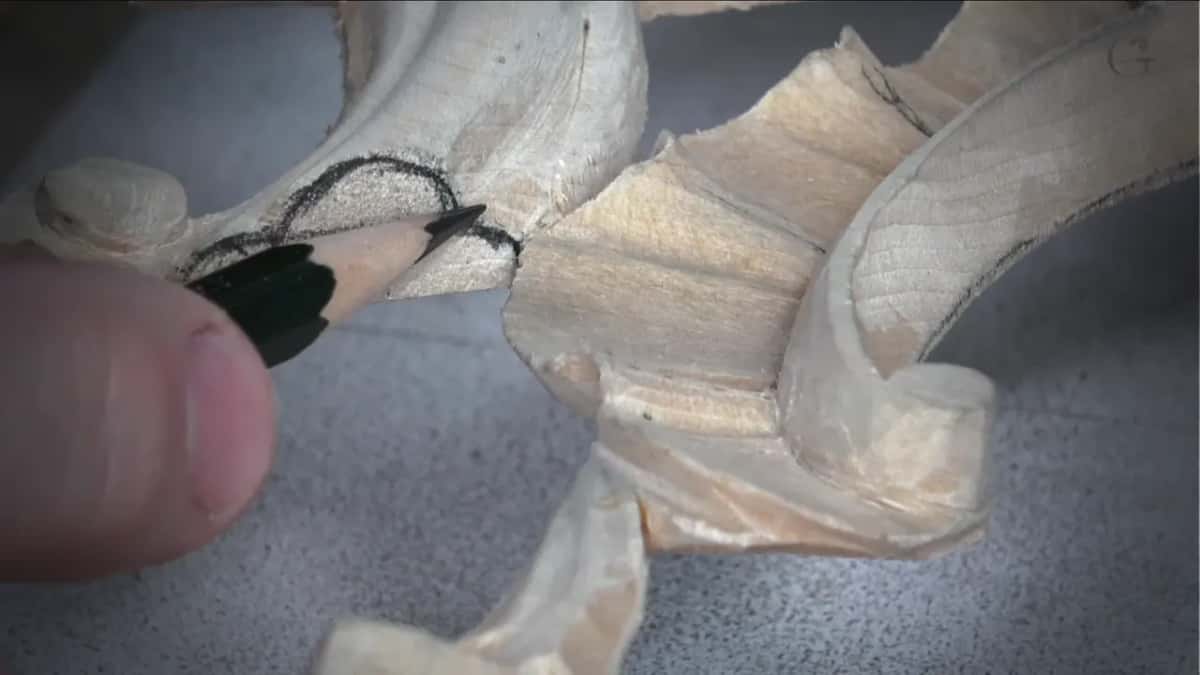
With a convex middle. It was lesson 6 where I said that specific acanthus "has to have right inside convex. Concave on one side and concave on another." Then I caught myself, "Well, not always," but on this leaf the middle needs that convex movement.
The middle line isn't in the middle, either. On camera in lesson 6 I said it like this: "Again, as you know, 40-60 rule. So we've got 62% and 38% on this side. It's a golden ratio." And I added that it's a line "which you really don't going to see too much."

Even the two small leaves I carved last got the same idea, a convex on the center line and two concaves. "Even on a small detail like that, I think it's going to create beautiful look," was how I said it in lesson 14.
Don't roll a curl too far. My warning in the sixth lesson was that if you do, it will look like a straight line and you lose that feel. Later on, in lesson 10, I held back again and didn't curl it all the way, since all you'd see then "is just a straight line, and that point not going to be visible."

The volutes have their own shape in section, "concave, convex, concave." On the volute in lesson 3 the first concave dropped about three millimeters (1/8 in), and the convex, as far as I could see, came to about six (1/4 in).
And where two leaves meet on this piece, I made an eye. During lesson 11 I called it a water drop shape, "the place where two leaves intersect."
Which part should stand highest?
The line where two parts cross. Here are my words from lesson 11: "the intersection line has to be higher than anything else. So it cannot go right underneath."
Pipes follow the same rule. On camera in lesson 5 I told you that every time you have a pipe, that intersection line must sit higher, much higher than the rest of the leaf, so it's convex.

The pipe running under the flower got a big convex too. Without it, it would look too dull and not three-dimensional.
One more feel matters here. A leaf should seem to grow from underneath. I gave that as my reason in lesson 6, and the tenth lesson says it again: "I have to really create that feel. It actually goes from underneath."
Heights like these I took off the first piece with my pointing machine, starting in lesson 1. There's a whole page on that tool, so I'll leave it there.
Which lesson covers which part?
The table puts each part next to its lesson.
| Part of the piece | What it looks like at the end | Where it's on camera |
|---|---|---|
| The clover molding | Convex, convex, convex, at one even height along its length | Lessons 3 and 8 |
| The acanthus leaf | A convex middle line, set off center | Said in lesson 6 |
| Crossing lines and pipes | Up above everything else anywhere around them | Taught in lessons 5 and 11 |
| Petals | Wavy, never a straight line, with an opening that isn't too round | Shown through lesson 7 |
| Undercuts | Soft and dark, with no more than about 1.5 mm (1/16 in) of wood below | Lesson 4, then 11 and 14 |
| Surface | Some facets kept, since paint covers this one | Lessons 9, 13 and 14 |
What do the flowers look like when they're done?
Five petals, on the flower in lesson 7, and the fifth one goes "right on top of the acanthus movement." Each petal has a convex middle and a hollow on either side. "That way, it's going to give me some 3D," I said.

Keep the edges wavy. Don't leave that line straight, I said plainly then, or it won't look natural and it won't look nice.
The gaps between petals don't have to match in width. "The main idea, not to make a straight line." Make it wavy, and even the opening in the middle shouldn't look too round, since that's not natural.

Five of the flowers on this piece are the same, and two get a different center, as you can see in lesson 8. Those two came in lesson 13, where I drew the flower on paper while the audio was off, then said, "I would like to see a lot of waviness on all of them."
None of it needs to be perfect. "So matter of fact, it's much better if it's not perfect."
Where does the shadow go?
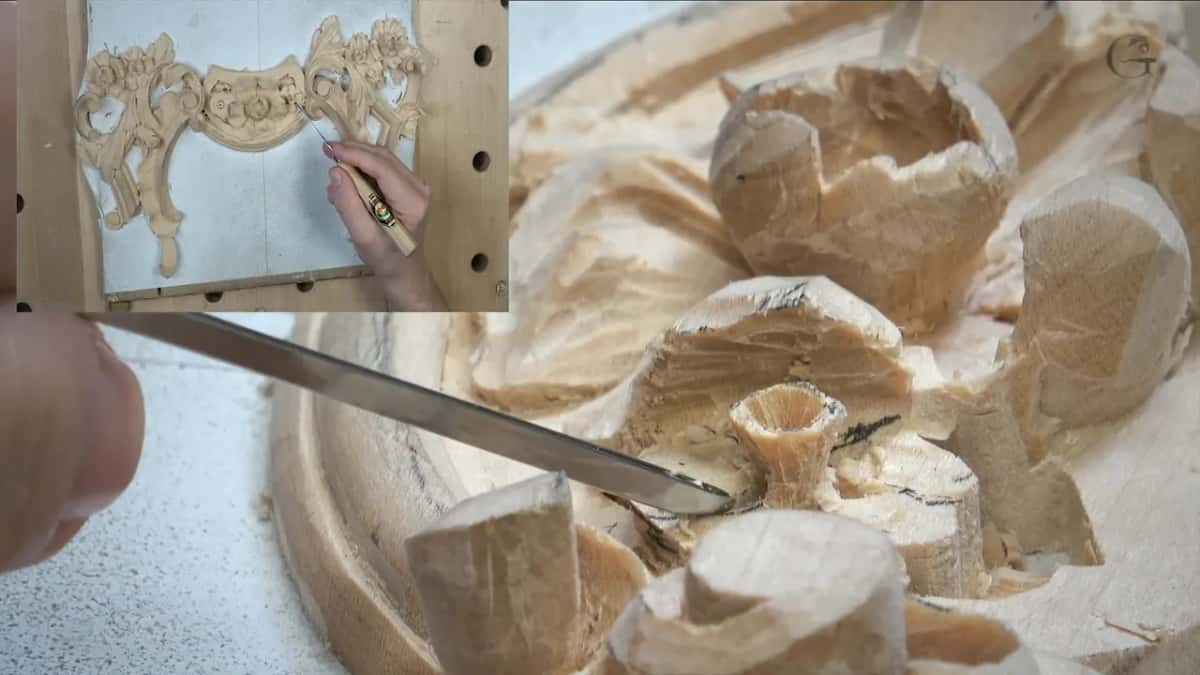
Under the volutes and under the leaves. "I always do undercutting even on those volutes, even on the panels," I told you in lesson 4. It casts some shadow, and the carving looks much better for it.
Wood carving, like I said multiple times, "is always about light and shadow," and this relief will have only a couple of light sources once it's installed. At night the light comes from above. By day the main light comes straight from the front, with some more from the room on the right, so the shadow gets deeper than on my bench, "more 3D, more three-dimensional, more to real life." I went through all of it in lesson 10.
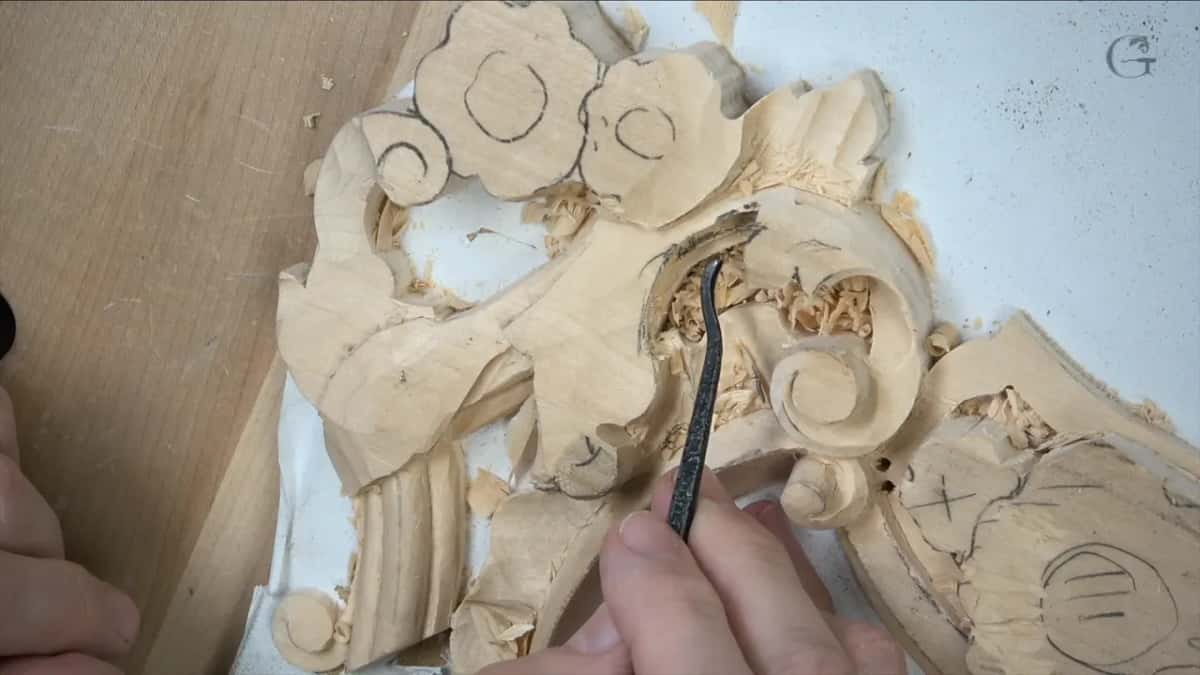
Soft beats sharp here. "I think smoother gives better shadow," was my line in lesson 11, and a sharp undercut every time isn't what I'm after.
Not every spot gets one. Under one pipe in lesson 11 I kept the undercut out, because it wouldn't look natural.
Walls get set in straight down first, with no lean either way. Undercutting at that stage is "a big mistake," as I called it in lesson 5, and in lesson 8 I caught myself doing it anyway, said "no bueno," and promised to fix it.
The undercut also can't go all the way through, or there's no way to glue the piece on the panel. For the last small leaves I said I'd leave "no more than maybe a millimeter and a half, about 16th of an inch." That's in lesson 14.
Should the surface be smooth or full of facets?
Facets stay, just not too many. My first words on them in lesson 6 were that I didn't want them, and then I took it back: "I want to see facets. I'd like to see facets. I like those facets, but not as much."
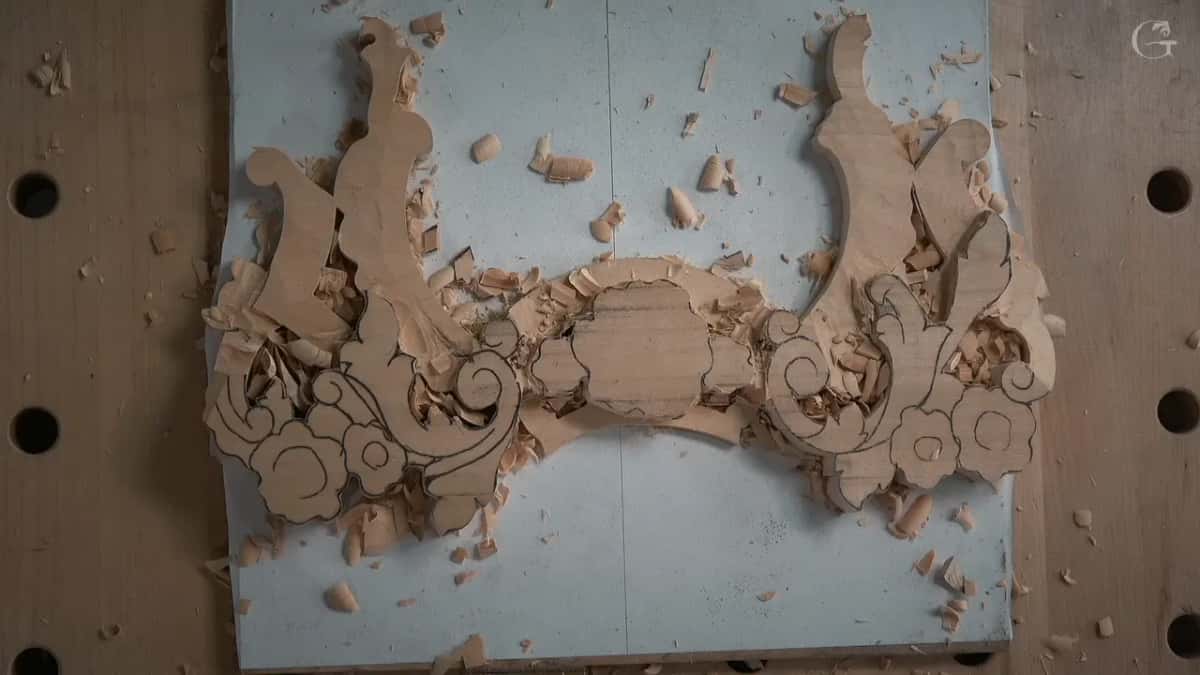
Ridges that are too sharp are "just a little destructive." But some facets stayed on purpose in lesson 9, since "They're going to create some kind of interesting shadow casting."
This one is paint grade. The client wants it painted, and by then I'd already started painting other parts of that job.
It won't be a penetrating finish, either. That's in lesson 13: chalk paint over a really thick primer, because in that room it sits close to shoulder level and people could damage it. With this project I didn't have to take it to the extreme of some of my other work.
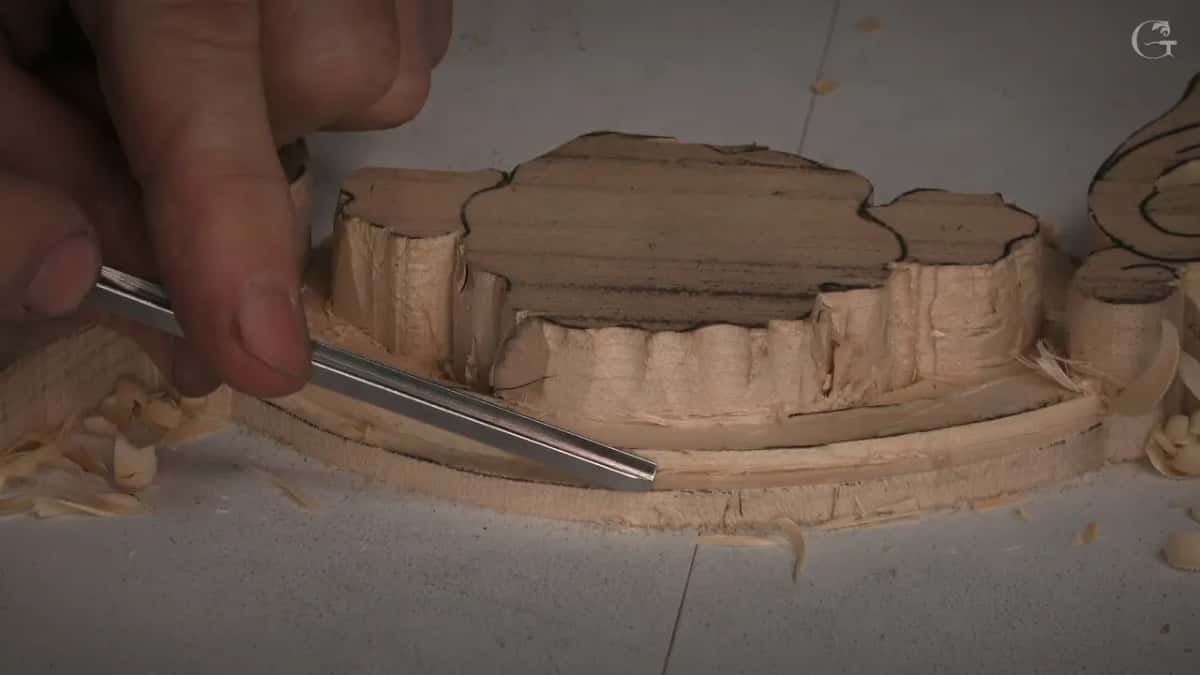
Some of what you saw "I left somewhat rough," since paint covers it. On furniture that won't be painted, I'd spend a little longer and clean it up, as I said at the end of lesson 14.
In what order does the piece get finished?
In three stages, the way I laid them out in lesson 13. First the boasting, which is "establishing overall shape." Then carving, with more of the detail. And "the most important stage would be to clean up everything and just make the final shape."
What does a sharp tool leave behind?
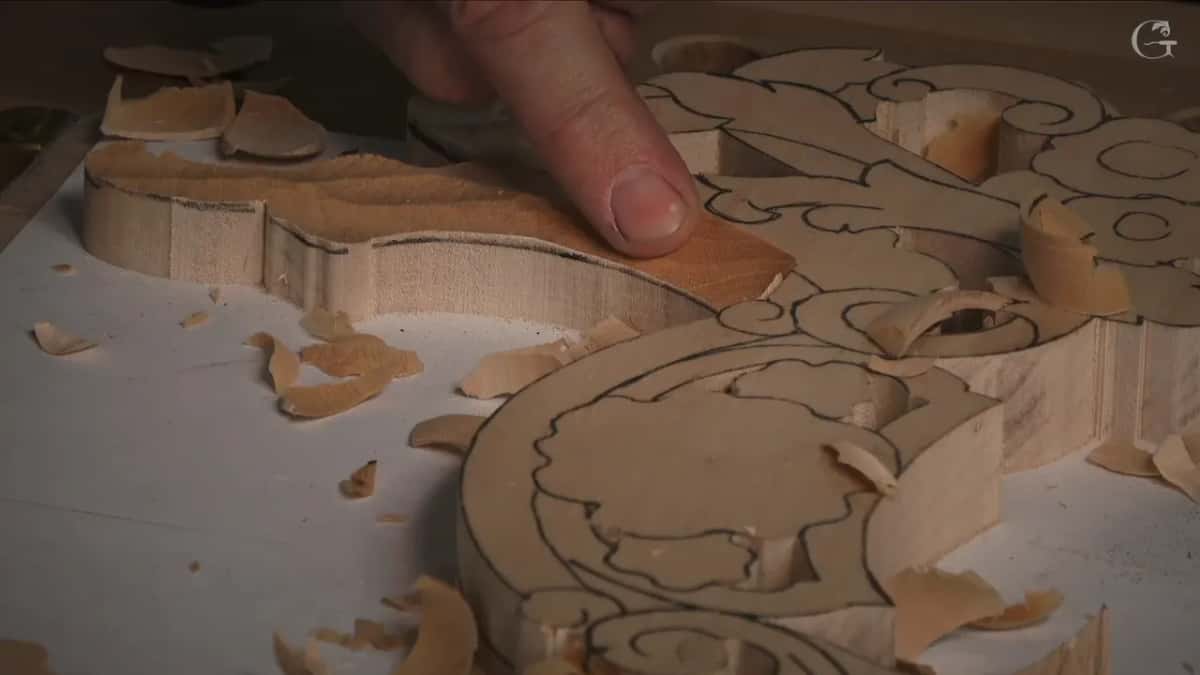
A shiny surface with no trail. During lesson 1 I asked you, "Can you see how shiny that cut is?" That means the tool is really sharp, I said, if there's no trail and you can see a grain.
End grain tells you the same. My tool in lesson 7 "doesn't leave any trails," and in lesson 3 you can see how a super sharp tool and one that needs sharpening leave a different color there.
A dull tool just rubs, leaves a lot of marks, and you feel a lot of resistance. Spend a few minutes more and sharpen it. If it isn't sharp, you'll see a lot of tear outs, catch the grain and get frustrated, so in lesson 13 I asked for a tool sharp "just almost like a surgeon's knife." There's a whole course on sharpening on this site.
And slice. When I teach in person, pushing is the biggest mistake I see. The finish never looks as nice, and you get tired a lot quicker.
What if your piece has a slip in it?
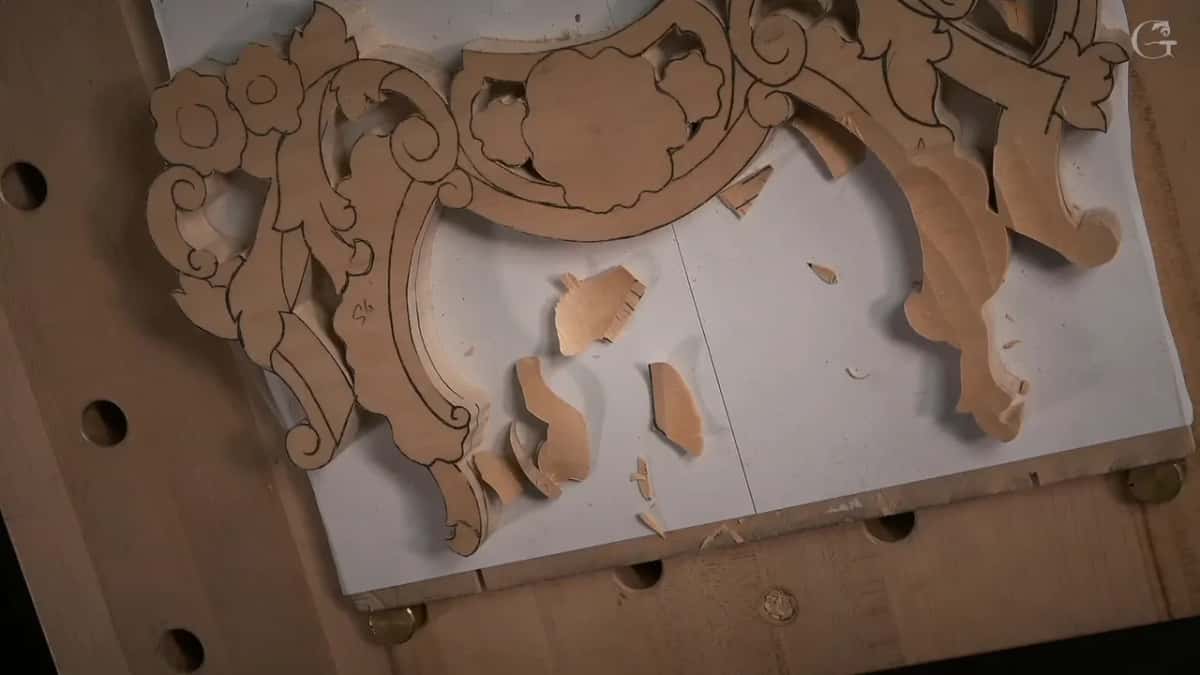
Mine has a few. Partway into lesson 7 a piece came off, and I said "Oops," then told you the reason was mine, just pressing too hard and rushing, since it's a real production piece and I'd had several conversations that morning. I could glue it back and restore it.
A chip came off a spot in lesson 12. "That is a mistake what I just did, but it's okay," I said, and told myself to be more careful.
Rushing came up as early as lesson 2: "Even if there is a deadline, rushing is not really a good thing." And right after it: "woodcarving is an art of deduction, art of subtraction, and once you take too much, you can't put it back."
My goal in all of it, as I put it in lesson 13, is to teach "techniques of approach to wood carving, and that's my way, of course. Not necessarily the only way." If you want to carve this piece with me, the lessons open with Access.
How do you send your one photo?
One picture, jpg or png, after you shrink it at tinyPNG. The note says no zip files.
I asked for it out loud near the end of lesson 13: "once you carved that and you're ready to submit to me, please make sure you just run that tinyPNG website." My server is the reason. I have so many students and a lot of submissions, and a full size picture slows it down.
I want to be fair to everyone. My students come from all over the world, and not all have great internet. And tinyPNG is free. "You don't have to upload 20 pictures. All I need is just the one picture, and I can take a look."
Have it ready before you open the upload. You get one chance while you're on the page, and the button disappears after you leave.
Does your phone take pictures? Can it save a jpg? Then you have all this last page asks for.
How it's done
- Look at the first piece, flipped. Before the last details, check the earlier piece. Mine had to be flipped, since each detail sits on the opposite side.
- Measure the highest spot. Even when you think you know it, measure it with the pointing machine. It takes a couple of seconds.
- Take the small leaf down. Remove what's left above the mark, about 3 to 4 mm (1/8 in) on one leaf and about 6 mm (1/4 in) on the other, sloping both sides downhill.
- Keep meat where it meets the shell. The grain runs the weak way there, so don't go too low at that joint, or it gets too weak.
- Shape a convex with two concaves. Along the center line, take the two concaves with a 5 mm (3/16 in) number 11, then blend them into the convex.
- Undercut around the shell. Take the undercut all around the shell. Under the small leaves, leave at most about 1.5 mm (1/16 in) for the glue.
- Clean up, then send one photo. Clean up, then clean up again. Shrink one picture at tinyPNG and upload it before you leave the page.
Frequently asked questions
What wood is this piece carved from?
Basswood, the same basswood I still use on this room, also called limewood or linden, or lipa, carved from a single piece. Mine was about 19 or 20 millimeters (3/4 in), maybe a little thicker, 20 or 22 (about 7/8 in). As I said in lesson 1, it doesn't really matter, and three-quarter-inch material will do.
Can you sand a carved floral piece?
If you want to, why not? I'm not the biggest fan of sanding, and I like to leave my work with facets, but a lot of furniture makers like it really smooth, and that's fine. For that I'd pick AbraNet by Mirka, a mesh that holds the dust and won't clog.
Who looks at the photo after you upload it?
I do. The note on this page says I'll look at your photo and certify your progress based on what I see. Questions are better as a comment below a video than as an email, and I'll answer them there.
What to carve next